

Notifications are essential as they make us aware of a critical call to action, status updates, or simply tell us about a new message or mail that arrived. However, with the multitude of services any individual is usually subscribed to, more often than not the notifications we receive can be avoided or not paid any heed to.
Fortunately, Chrome provides more than one way to turn off notifications you might not need. Whatever be your need, Chrome definitely has an option to suit your needs.
If you have been finding a way to efficiently turn off notifications on Chrome whilst also making sure you do not miss out on important alerts, this guide will serve you well.
Thus, without any further ado, let’s get started and explore all the ways you can turn off notifications for Chrome.
Changing Chrome Notification Settings on Desktop
If you are easily bothered by notifications, you might be able to understand how Chrome notifications are exponentially distracting on your computer, especially when you need to be focused on your work.
Fortunately, Chrome offers you multiple options to lessen the distraction of notifications, you can either use the ‘Quieter messaging’ feature, or you could turn off notifications for specific websites, however, if nothing of these two options work for you, you can also completely disable notifications altogether.
Use Quieter Messaging Instead of Turning Off Notifications
You can also use the ‘Quieter Messaging’ feature on Chrome so all the websites you visit for the first time do not interrupt you when asking for enabling the notifications. This is a very helpful feature, as it allows you complete control over the notifications permission from the very beginning and as a result, you will only receive notifications from websites you had intentionally enabled.
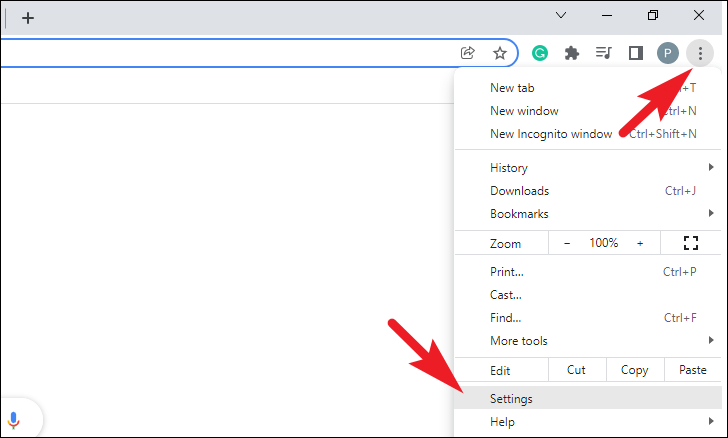
To turn on the feature on Chrome, from the home page, click on the kebab menu (three vertical dots) present at the top right corner of the window to reveal the context menu. Then, click to select the ‘Settings’ option from the list.
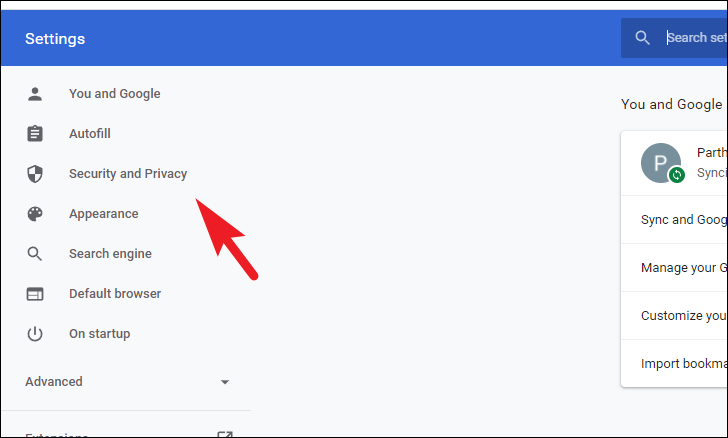
After that, from the left sidebar, click on the ‘Privacy & security’ tab to continue.

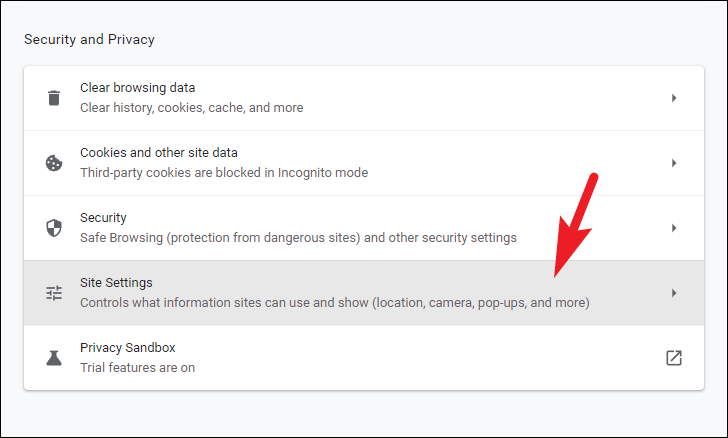
Now, click on the ‘Site settings’ tile from the list to proceed.
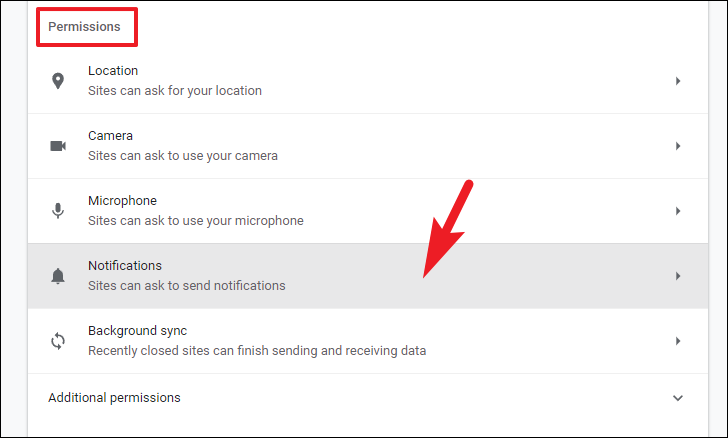
Then, click on the ‘Notifications’ tile present under the ‘Permissions’ tile.
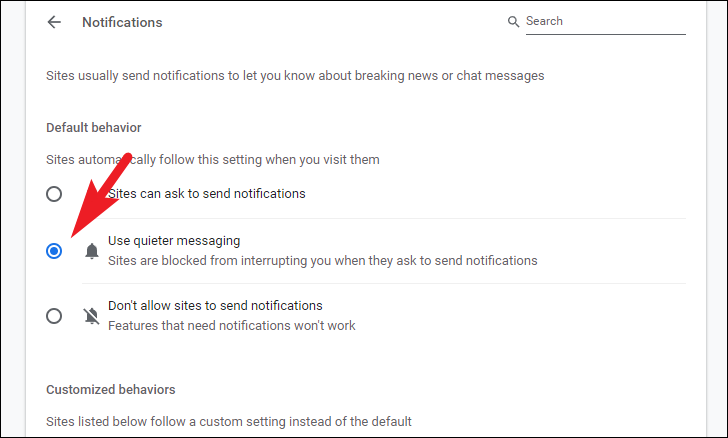
Next, under the ‘Default behavior’ section, click on the radio button preceding the ‘Use quieter messaging’ option to enable the feature.
You will be no longer interrupted to allow notifications when visiting websites for the first time and will be able to subscribe to notifications from websites you intend to.
Turn Off Notifications for Specific Websites
In a usual use case, you will be having certain websites that you do not wish to receive any notifications. Hence, turning off notifications specifically makes much more sense.
To do so, from the Chrome home screen, click on the kebab menu (three vertical dots) icon to reveal the overflow menu. Then, click to select the ‘Settings’ options from the list.

After that, from the left sidebar, click on the ‘Security & privacy’ tab to proceed.
Next, click on the ‘Site settings’ tile to continue.

Now, under the ‘Permissions’ section, click on the ‘Notifications’ tile to continue,

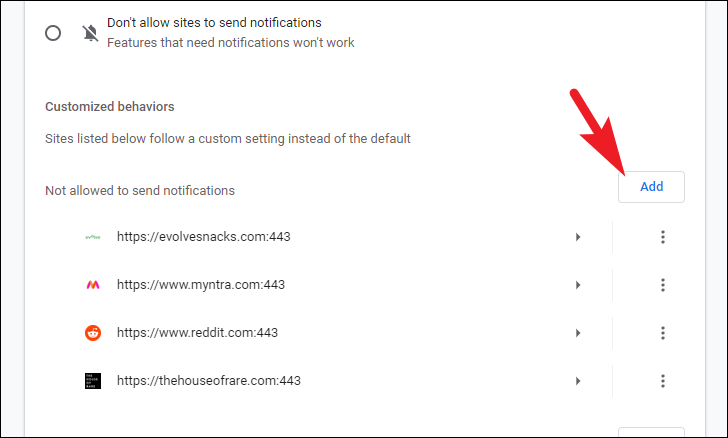
After that scroll down to the ‘Not allowed to send notifications’ section under the ‘Customized behaviors’ field. Then, click on the ‘Add’ button following the label to add a new entry to the list. This will bring up an overlay pane on your screen.
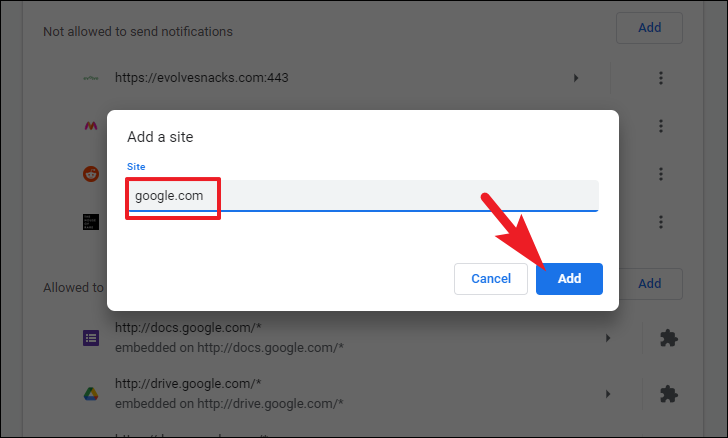
Now, from the overlay pane, enter the web address of the website you do not wish to receive notifications from, and then click on the ‘Add’ button present at the bottom right corner of the pane.
Once added, you will not receive any notifications from the website added to the list.
Turn of All Notifications from Chrome
If you are not a fan of notifications at all and do not wish to receive any kind of notifications from Chrome, you can also completely turn off all notifications altogether and be productive in peace.
To turn off notifications completely, from the Chrome home page, click on the kebab menu (three vertical dots) present at the top right corner of the screen to reveal the overflow menu. Then, click on the ‘Settings’ option to open the settings page in a new tab.

Next, from the left sidebar on the Settings page, click on the ‘Security & privacy’ option to continue.

After that, locate and click on the ‘Site settings’ tile to proceed,

Now, under the ‘Permissions’ section, click on the ‘Notifications’ tile.

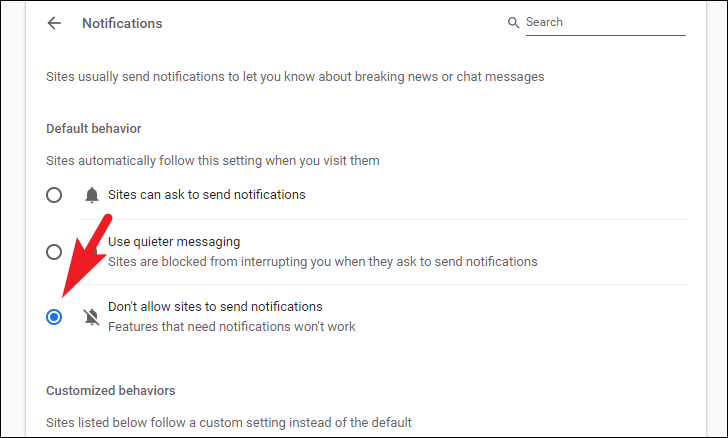
Then, under the ‘Default behavior’ section, click on the radio button preceding the ‘Don’t allow sites to send notifications’ option to enable the option.
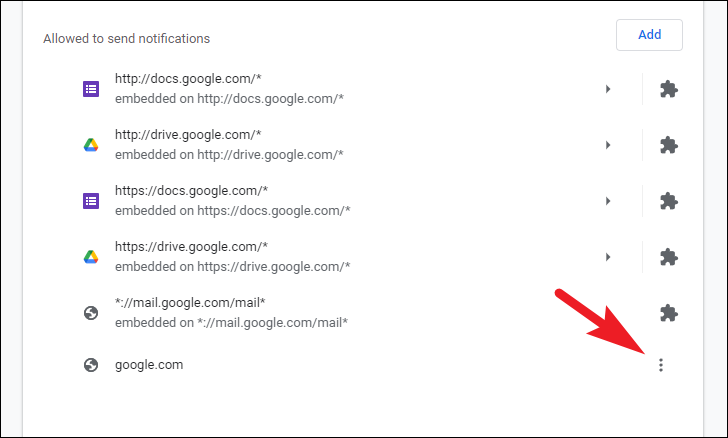
In case, you have websites present in the ‘Allowed to send notifications’ section, you will still be able to receive notifications from them.

To remove a website from the list, click on the kebab icon (three vertical dots) present at the far right corner of each website to reveal the context menu.
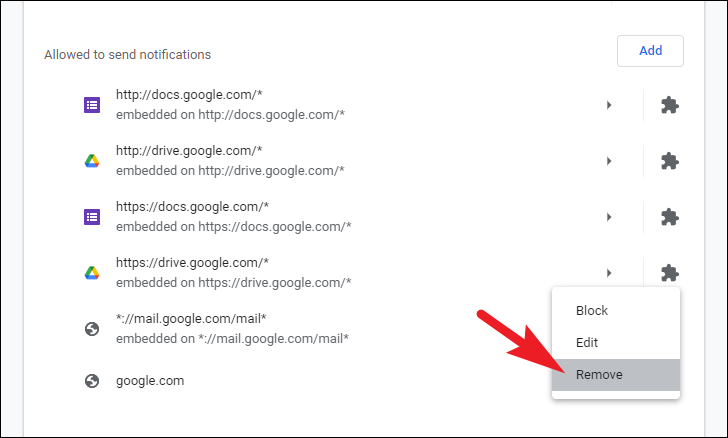
Now, click on the ‘Remove’ option from the list to remove the website from the list.
Changing Chrome Notifications Settings on Android
If you are harangued by the constant buzzing of notifications on your Android device, Chrome, similar to the desktop version allows you a couple of options to adjust the notification settings as per your requirement. Moreover, on an Android device, you can also disable the pop-ups redirects too.
Enable Quieter Messaging Instead Turning Off Notifications
The feature works similarly to the one available in the desktop version, websites on which you have denied a couple of notifications won’t be able to bug you more about the notifications and Chrome will automatically deny notifications requests from websites that have been marked by other users.
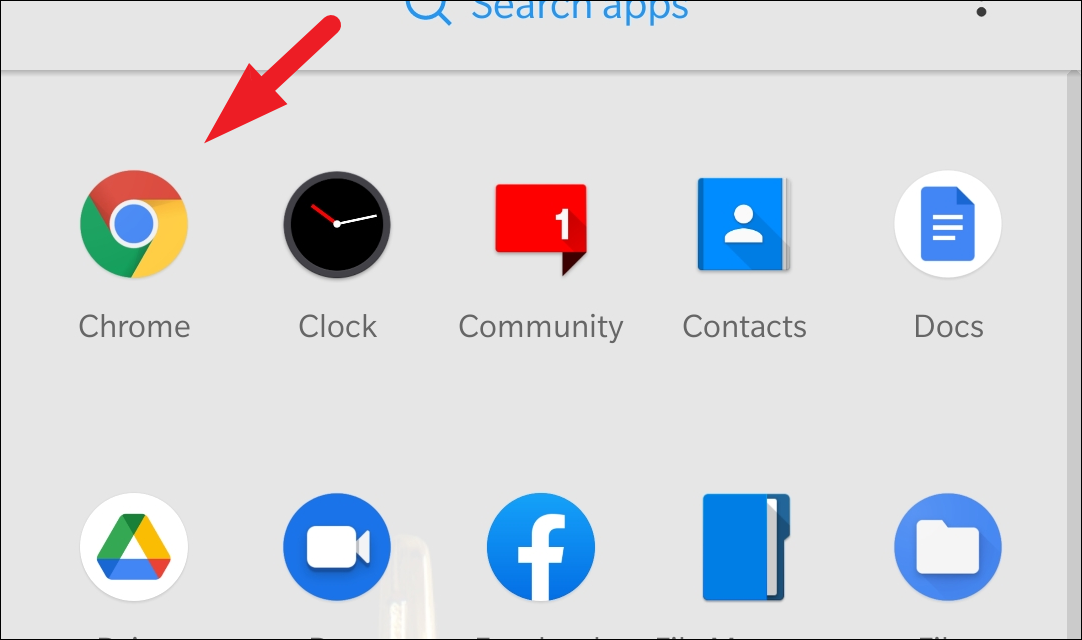
To enable the feature on your Android device, launch the Chrome browser either from the home screen or from the app drawer of your device.
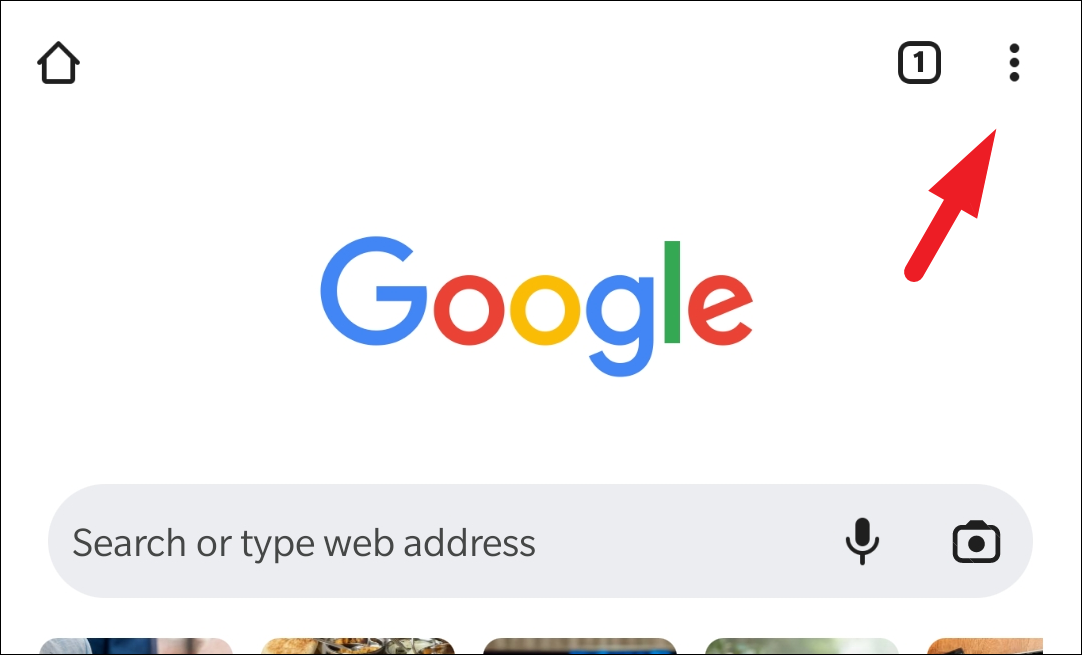
After that, tap on the kebab menu icon present on the top right corner of your screen to reveal the overflow menu.

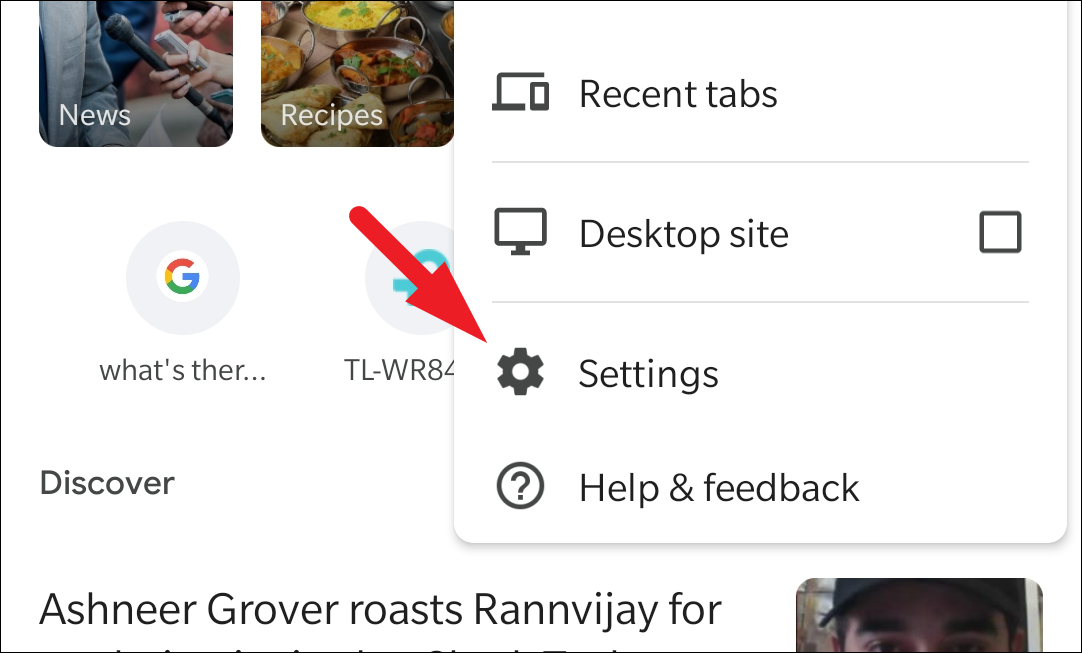
Next, locate and tap on the ‘Settings’ option to head to the settings page of the Chrome browser.

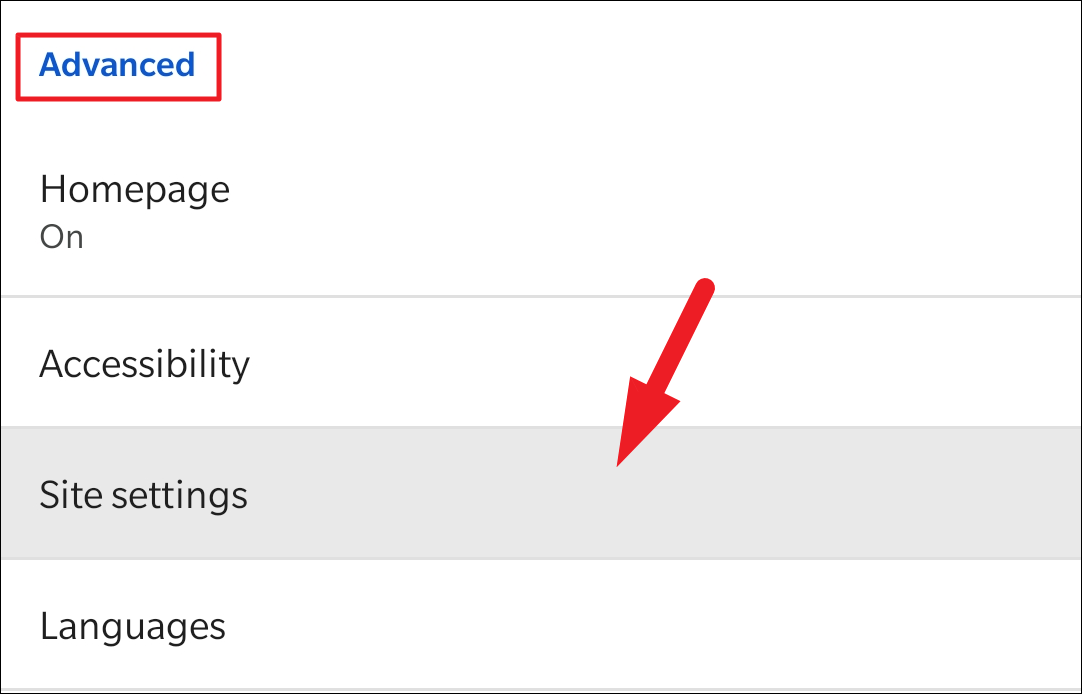
Then, scroll down till you locate the ‘Advanced’ section and then tap on the ‘Site settings’ tile present under it to continue.
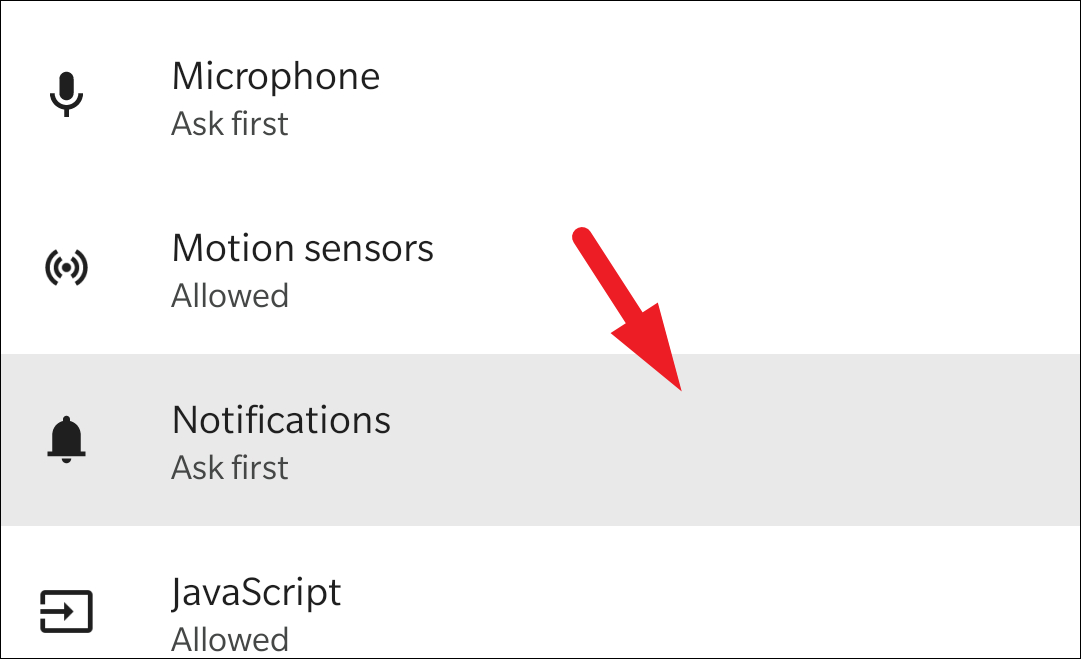
Now, from the ‘Site settings’ page, locate and tap on the ‘Notifications’ option to proceed.
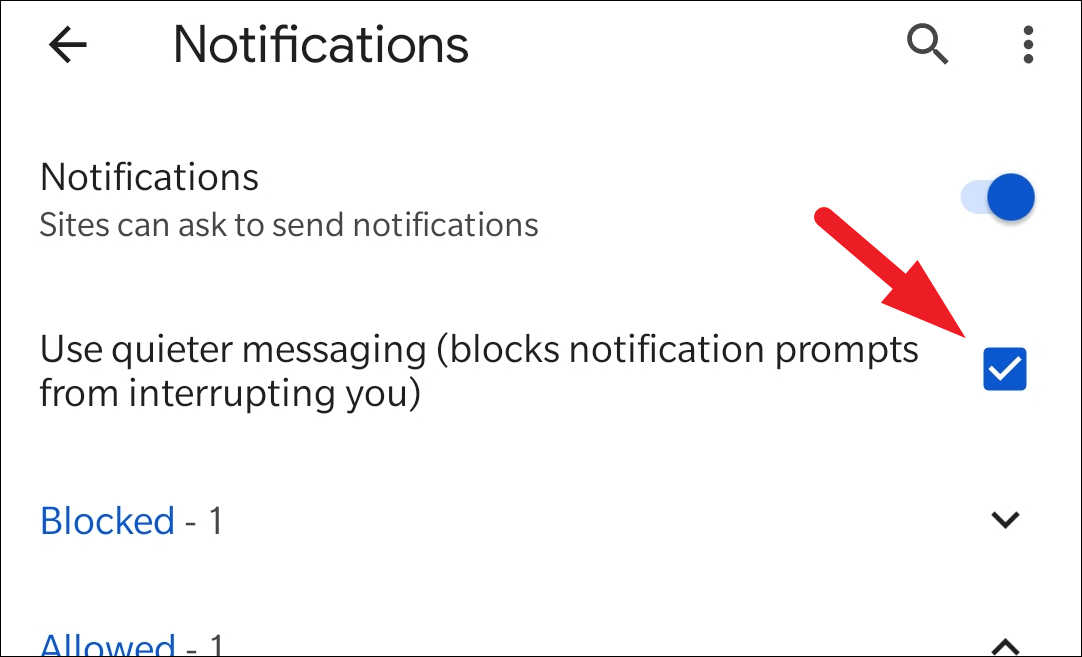
After that, click on the checkbox following the ‘Use quieter messaging’ option to enable the feature on your Android device.
Disable Websites from Asking you to Send Notifications
If you do not wish to turn off notifications, but also wish that no more websites interrupt you to ask for notifications at all, this option will suit you well.
To completely turn off all notifications, open the Chrome app either from the home screen or from the app drawer of your Android device.

Next, click on the kebab menu icon (three vertical dots) present in the top right corner of your screen to reveal the overflow menu.
After that, locate and tap on the ‘Settings’ option to open the Chrome settings page.
Now, scroll down and tap on the ‘Site settings’ option present under the ‘Advanced’ section.

Then, from the ‘Site settings’ page tap on the ‘Notifications’ tile to proceed.

After that, tap on the switch following the ‘Notifications’ option to bring it to the ‘Off’ position.
Now, no website will ask to send you notifications on your Android device.
Disable Specific Websites from Sending your Notifications
Similar to the desktop version of Chrome you can disable notifications for specific websites. Though in order to do so on your Android device, you will have to visit the website you wish to block notifications from.
First, launch the Chrome app either from the home screen or from the app drawer.

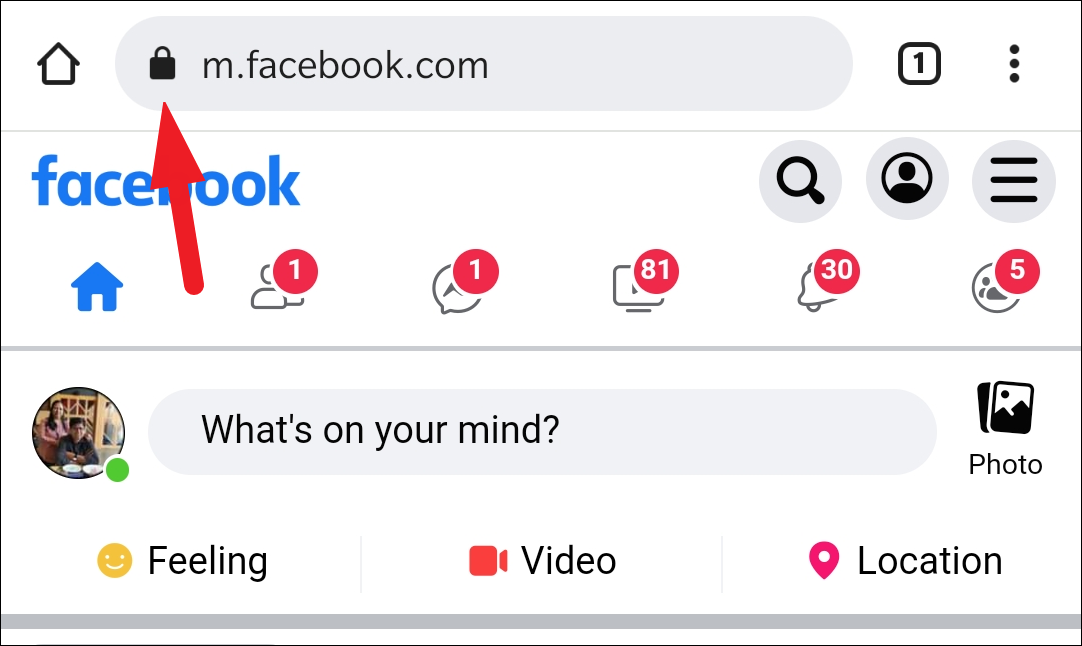
Next, head to the website you wish to block notifications from using the address bar present on the screen.

Once the website is loaded, tap on the little ‘lock’ icon present on the left edge of the address bar. This will bring up an overlay pane on your screen.
Then, from the overlay pane, tap on the ‘Permissions’ tile to continue.
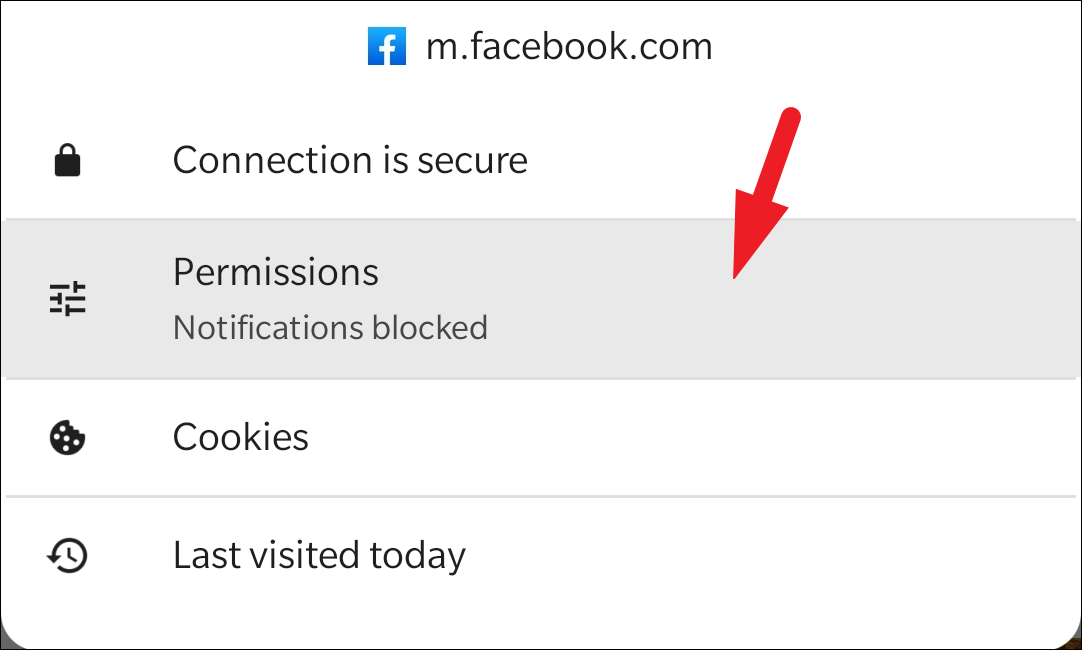
After that, tap on the ‘Notifications’ tile to reach the notifications settings page for the specific website.
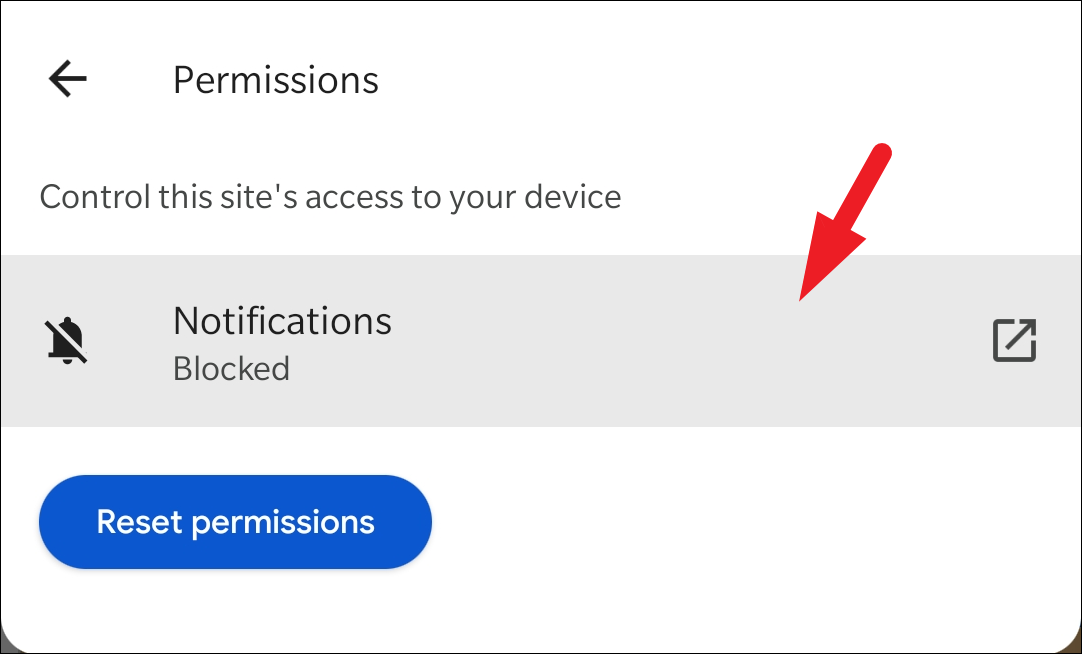
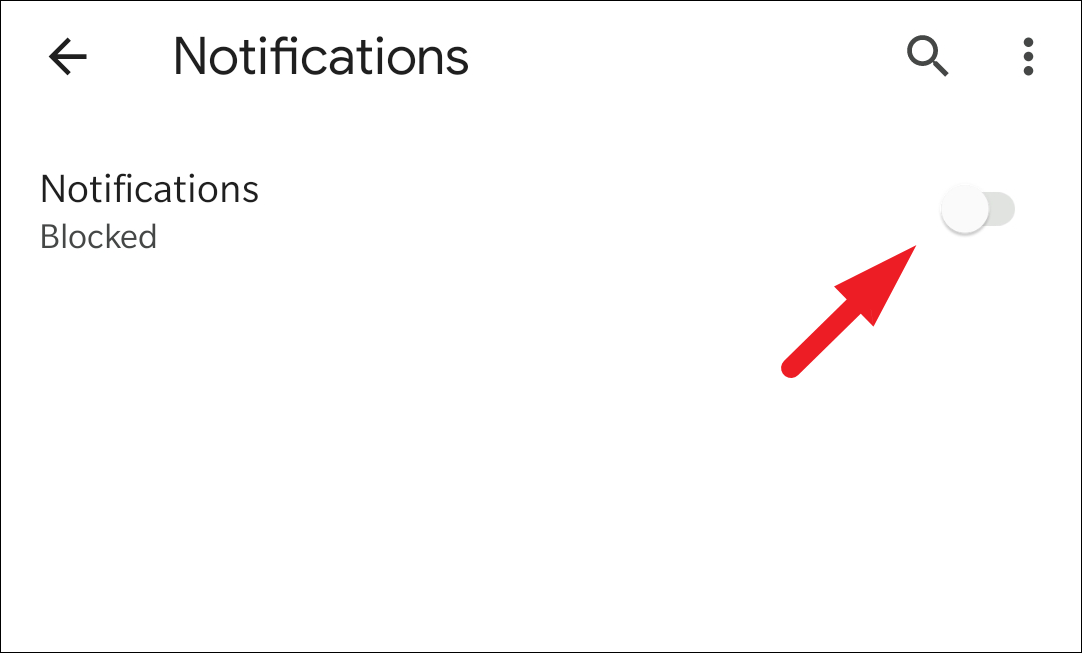
Now, locate the ‘Show notifications’ option on the Settings screen and tap on the following toggle switch to bring it to the ‘Off’ switch.
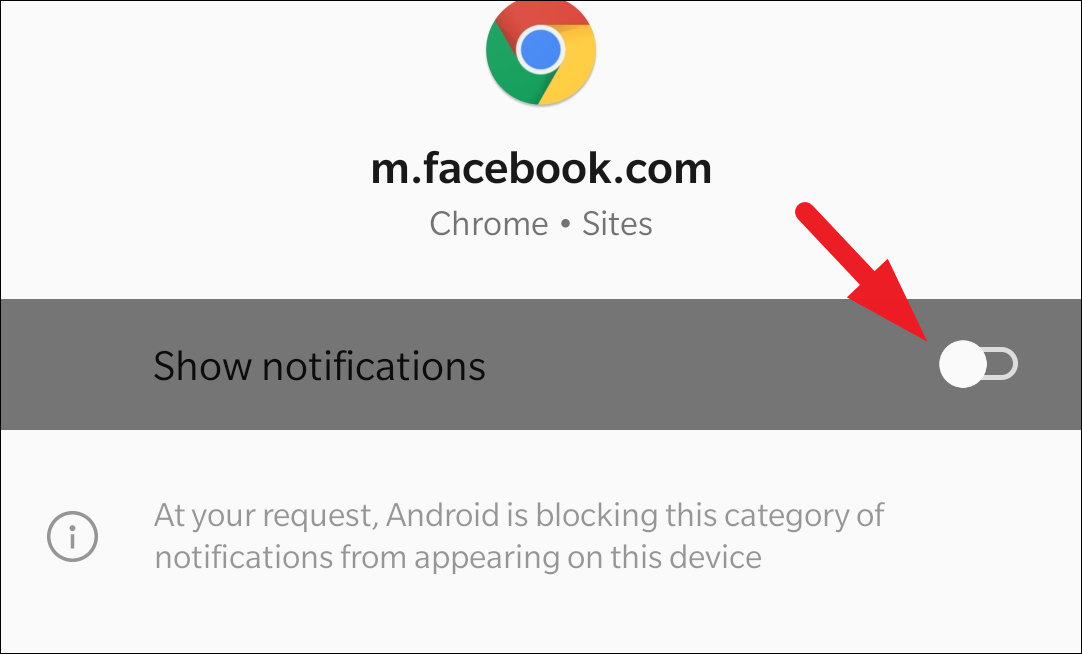
The notifications from the specific website are now blocked, to block notifications from other specific websites, visit the website on Chrome and repeat the process.
Completely Turn Off Website Notifications from Chrome
Well, if you do not wish to receive any notifications at all on your device. Turning them off will be a much more suitable option for you.
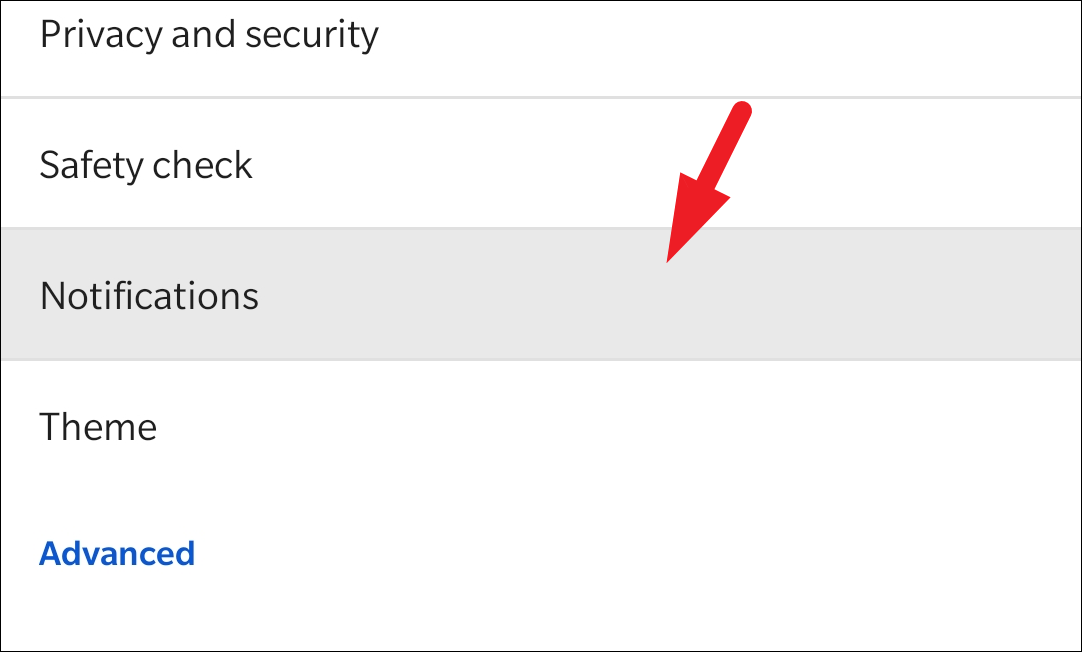
To completely turn off all website notifications, from the Chrome settings page, under the ‘Basics’ section, locate and click on the ‘Notifications’ option.
After that, scroll down to locate the ‘Show notifications’ option present under the ‘Sites’ section. Then, tap on the following toggle switch to bring it to the ‘Off’ position.
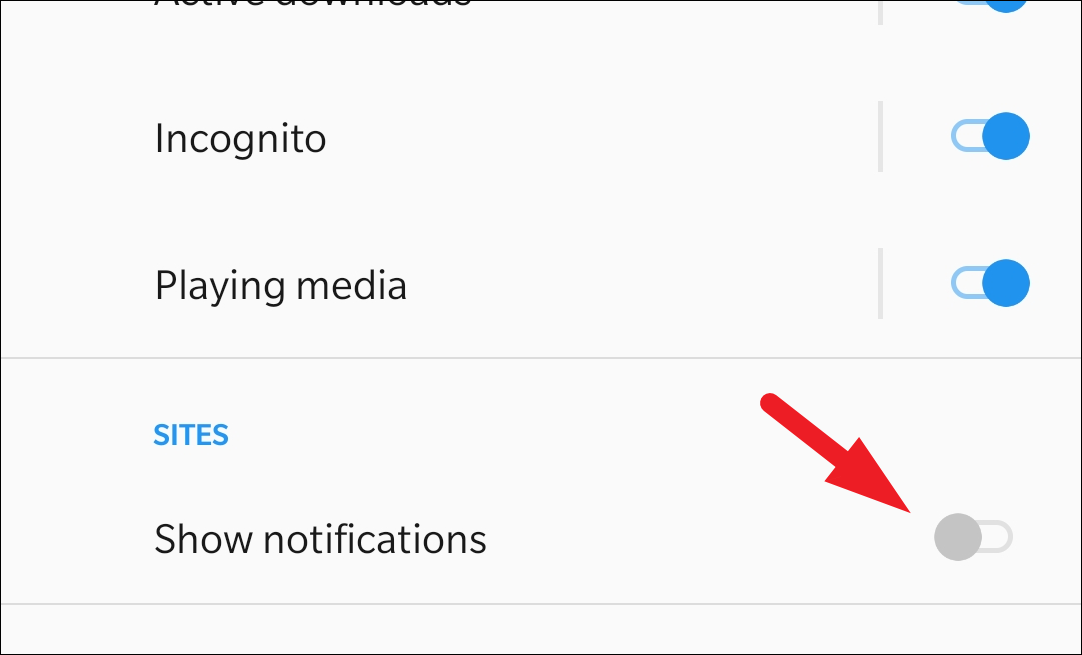
Though you will not receive any website notifications from Chrome, you will still receive notifications regarding the active and completed downloads along with any media playing currently on the browser.
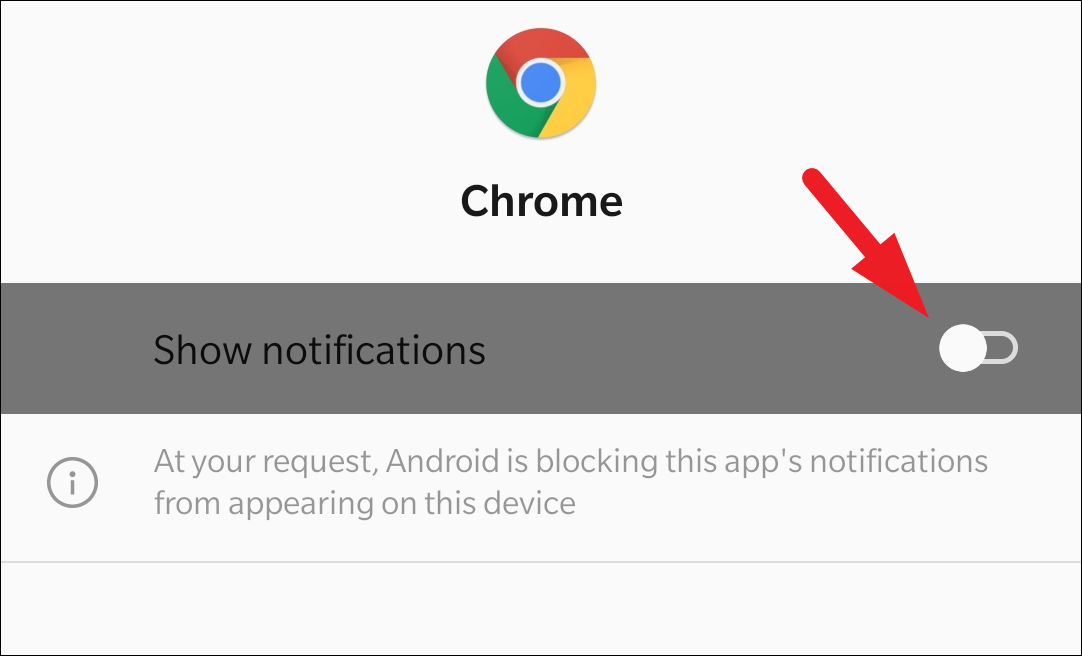
If you wish to disable all kinds of notifications from Chrome at the system level, including active/completed downloads, playing media, from the Chrome settings page, tap on the ‘Notifications’ tile present under the ‘Basic’ section.

After that, from the next screen, locate the ‘Show notifications’ option and tap on the following switch to bring it to the ‘Off’ position.
Disable Pop-ups, Redirects, and Ads
If you have been receiving a lot of pop-ups, redirects, or ads, that have been breaking your focus or eating up your screen real estate when web browsing, you can easily disable them from the Chrome settings.
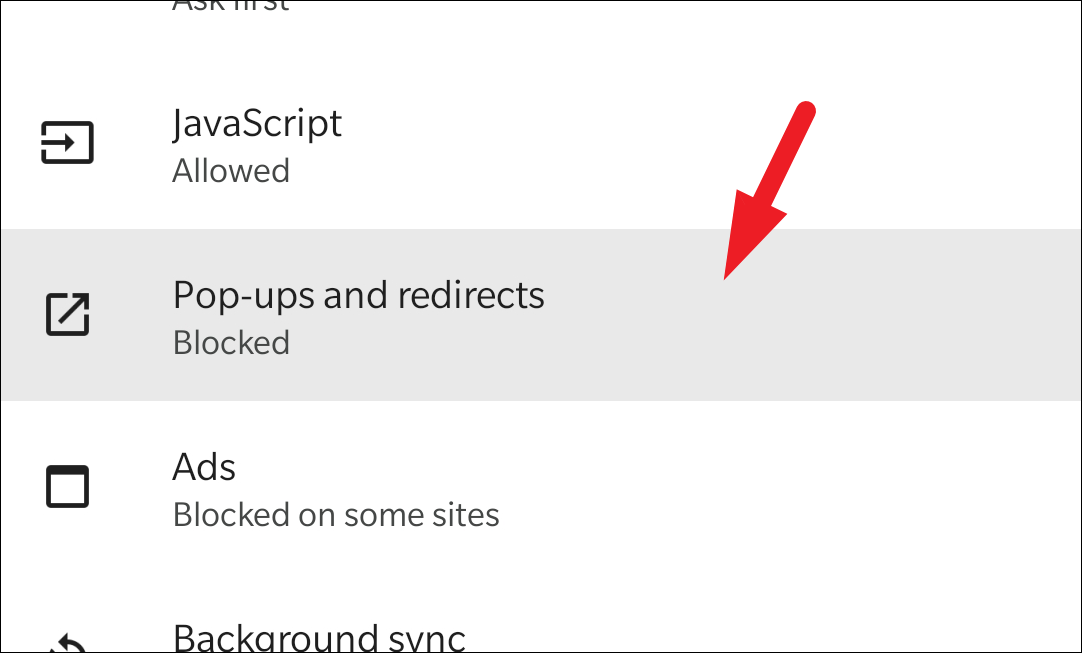
From the Chrome Settings page, head to the ‘Advanced’ section and tap on the ‘Site settings’ tile.

Then, scroll down to locate and tap on the ‘Pop-ups and redirects’ tile to continue.
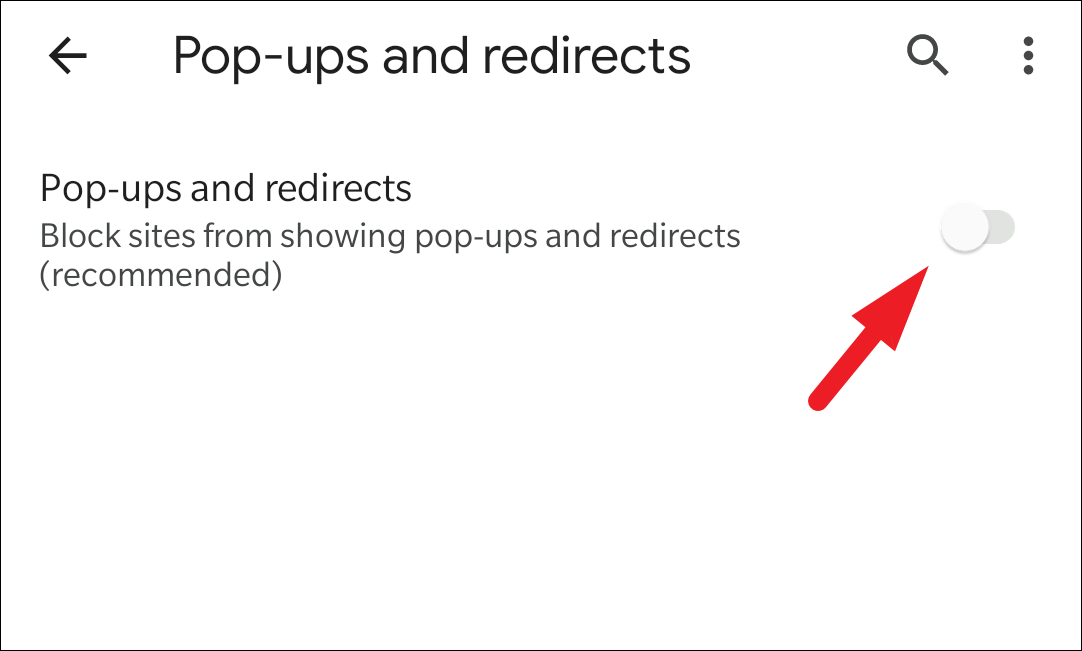
Now, locate the ‘Pop-ups and redirects’ option and tap on the following toggle switch to bring it to the ‘Off’ position.
Next, tap on the back button present on the top left corner of your screen to return to the previous menu.
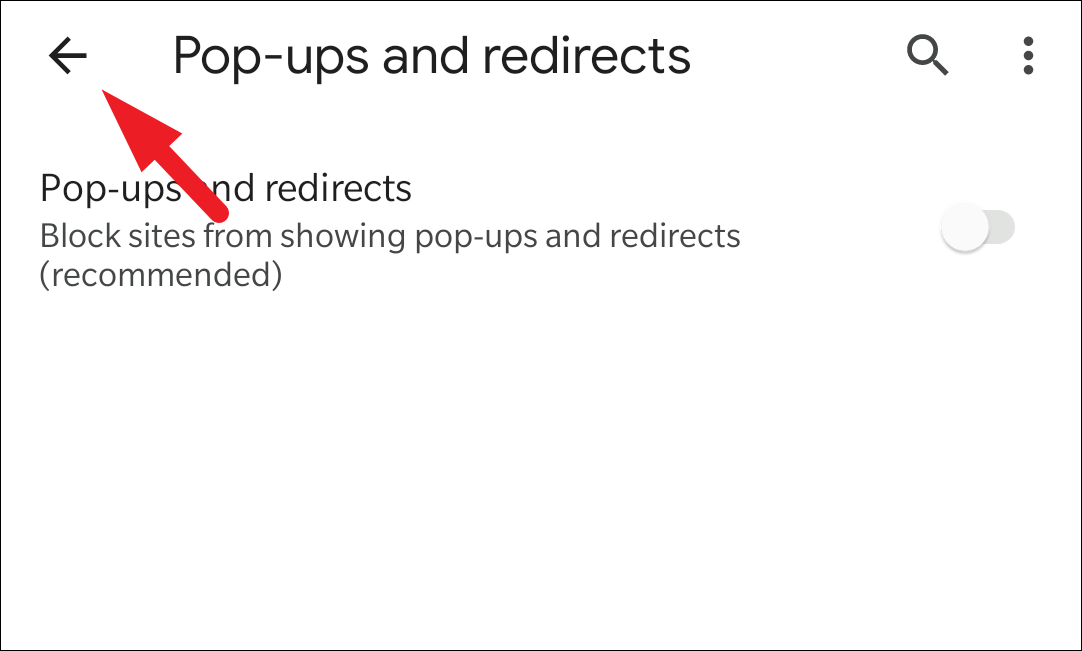
Now, tap on the ‘Ads’ tile present right beneath the ‘Pop-ups and redirects’ tile to proceed.

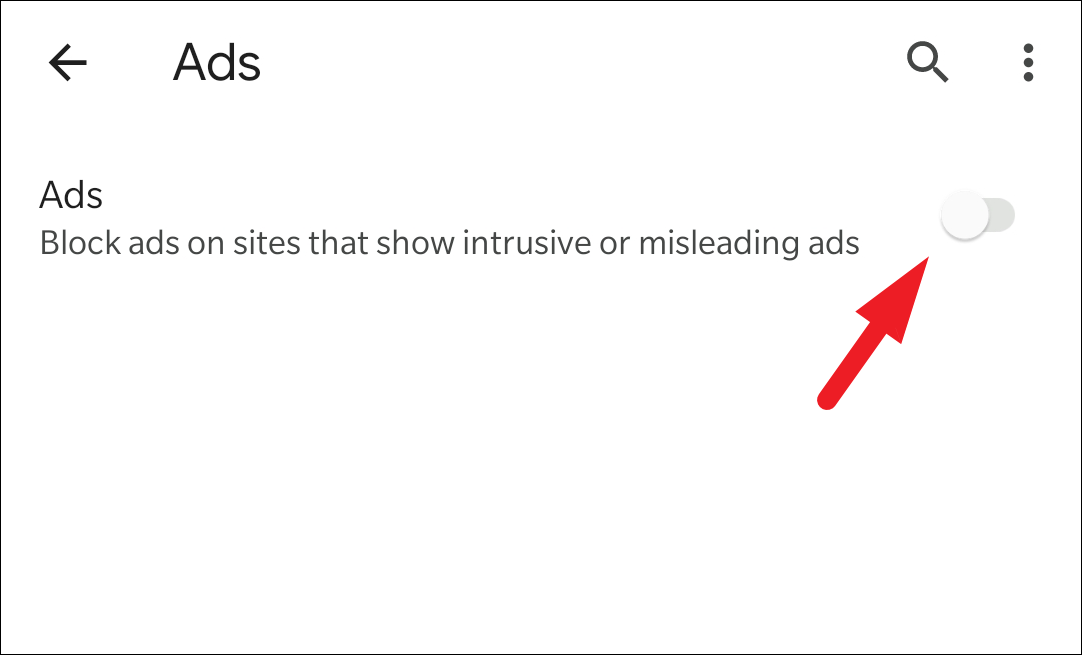
Finally, on the ‘Ads’ settings page, locate the ‘Ads’ option and tap on the following switch to bring it to the ‘Off’ position.
Disabling Chrome Pop-up Notifications on iOS Devices
iOS doesn’t allow websites to send you notifications, hence there are no notification settings for the browser in iOS. However, you can turn off pop-up notifications that you receive from websites within Chrome by blocking pop-ups.
To do so, launch the Chrome app either from the home screen or from the app library of your device.
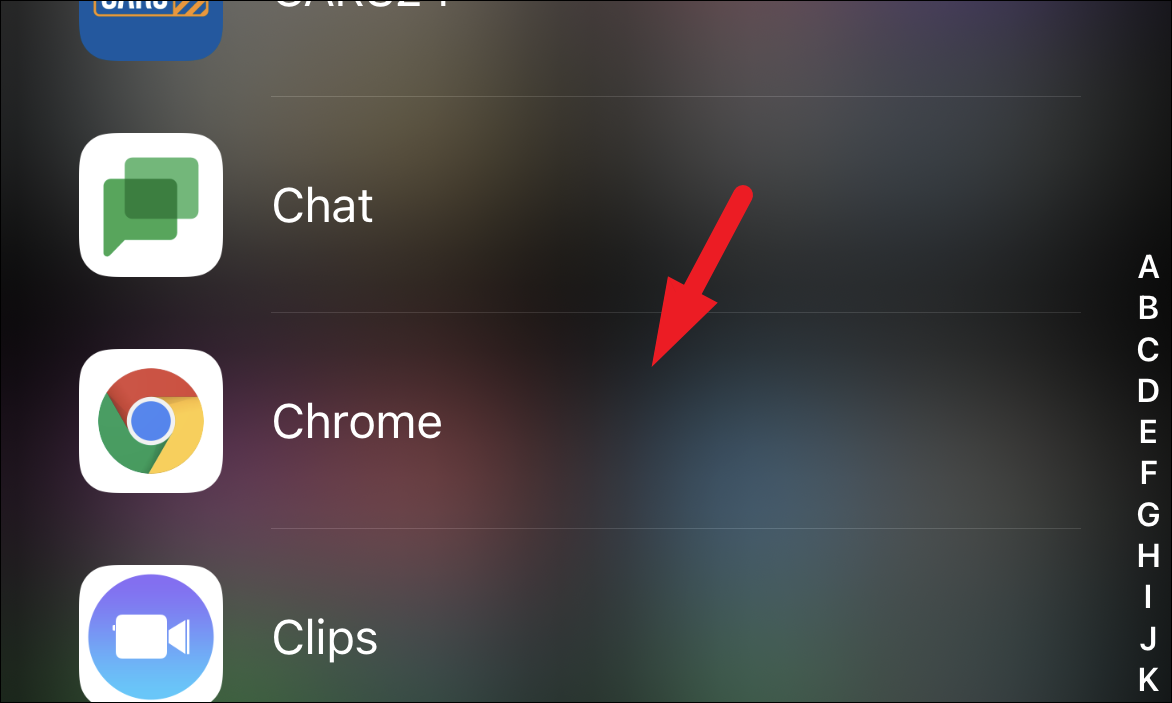
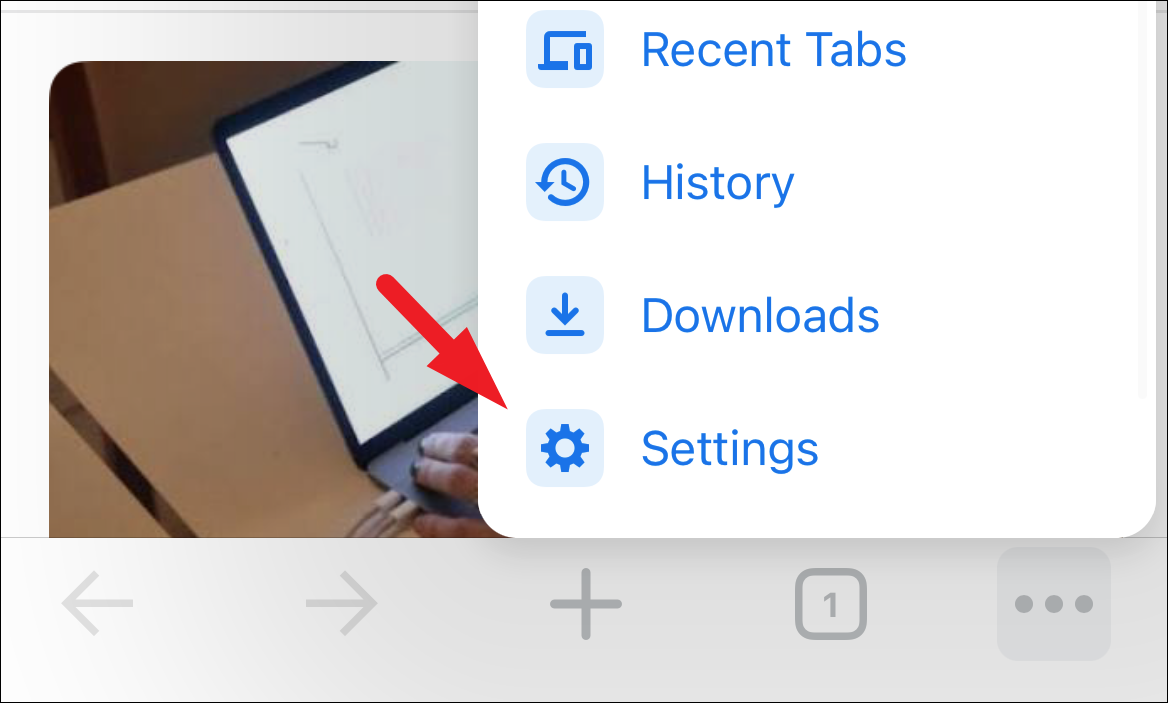
Next, tap on the ellipsis icon (three horizontal dots) present on the bottom right corner of the screen to reveal the overflow menu.

After that, tap on the ‘Settings’ option from the list to continue.
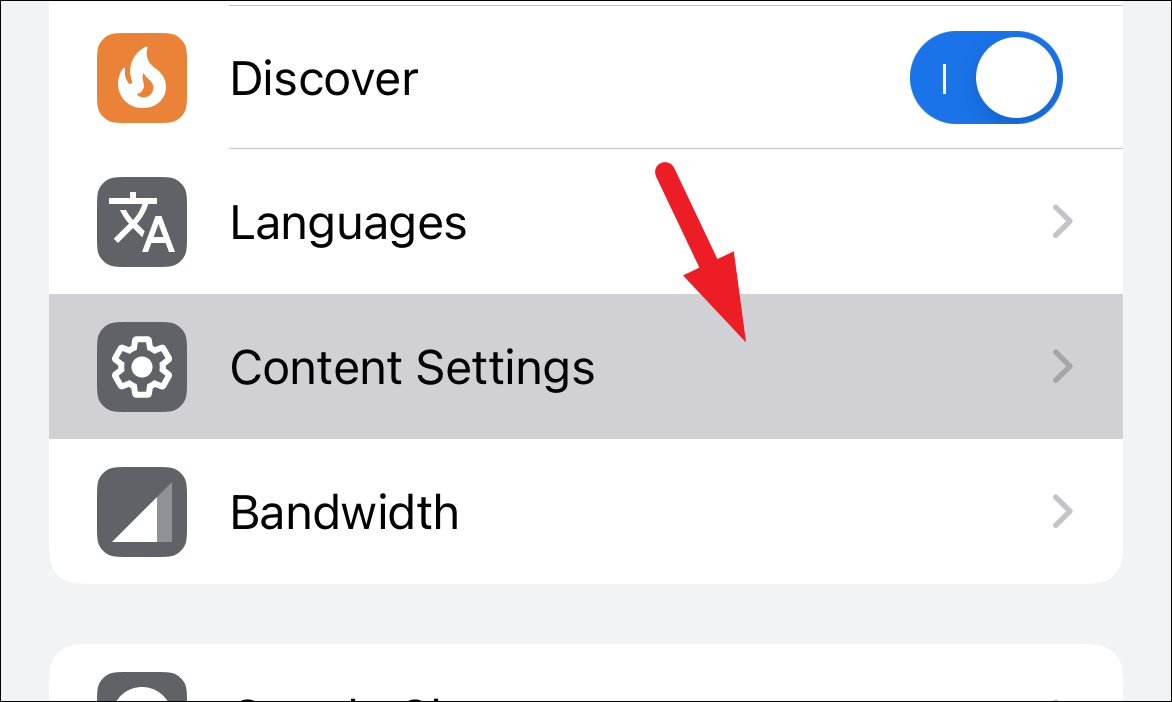
Then, scroll down to locate and tap on the ‘Content Settings’ option from the list.
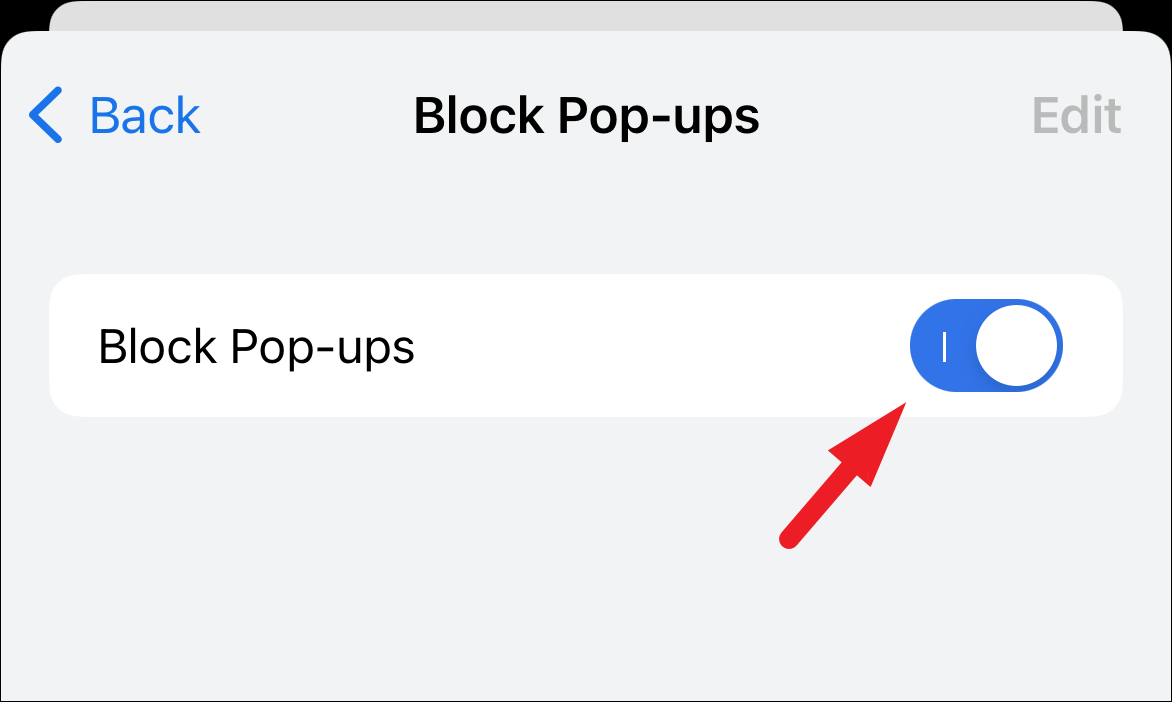
Now, from the next screen, tap on the ‘Block Pop-ups’ option to continue.
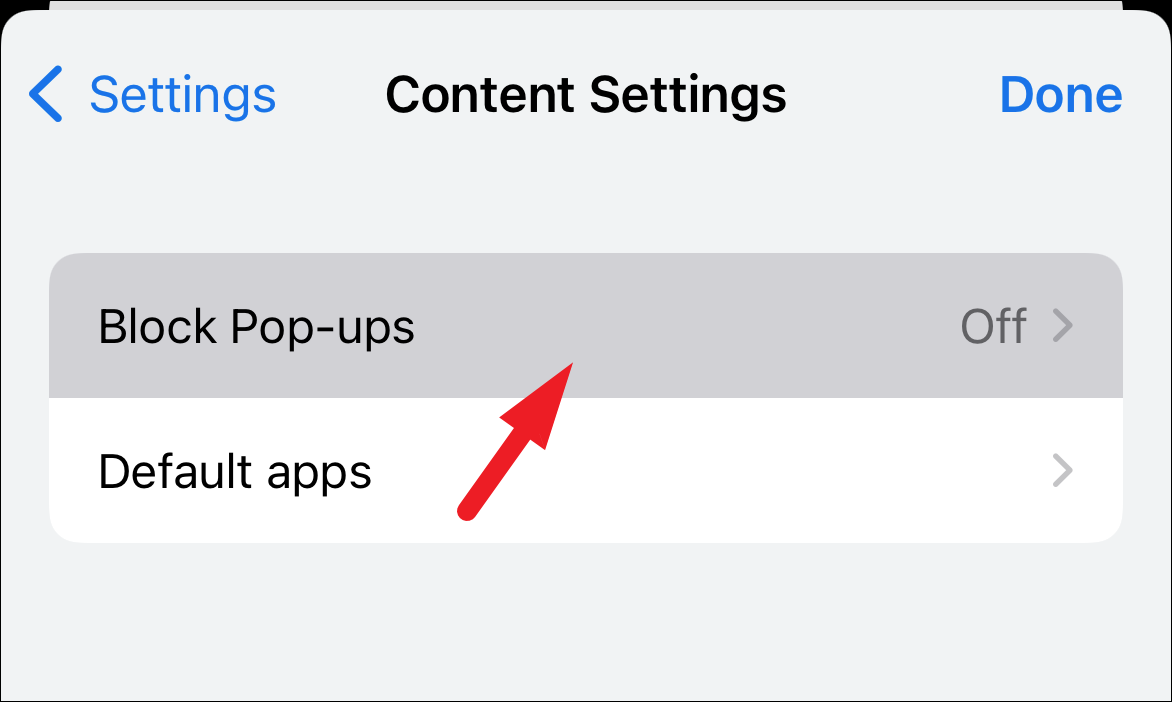
Next, tap on the toggle switch following the ‘Block Pop-ups’ option to bring it to the ‘On’ option.
You will not receive any alerts from Chrome on your iOS device now.
There you go folks, hopefully, this guide will help you adjust Chrome notifications as per your desire.


Member discussion