
If you’re a regular WhatsApp user and the ‘Desktop kind’, you may appreciate WhatsApp automatically launching on your computer each time you log in. It cuts the hassle of manually logging into the communications platform and helps save time.
Setting WhatsApp to auto-launch each time you log into your computer also keeps you up-to-date with your conversations, quickly and automatically. It can be a beneficial setting if you’re a daily WhatsApp desktop user. But if you’re an occasional user of the app on the desktop, it can get annoying for the app to start unprompted. No matter what your preferences are, you can configure the app to run that way.
There are two ways you can enable WhatsApp to run at Startup and four ways to disable it. We’ll cover enabling first.
Enabling WhatsApp to Run at Startup
You can set WhatsApp to launch at Startup from the app itself or the ‘Startup Folder’. These are the only methods through which you can enable the app to automatically launch at login.
Method 1: Enable ‘Start WhatsApp at Login’ in WhatsApp
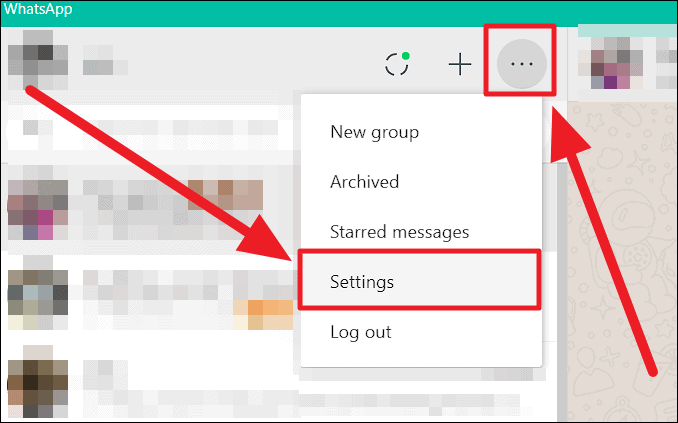
First, launch the WhatsApp application on your computer. Click the ellipsis icon (three horizontal dots) to the top left of the screen and select ‘Settings’ from the menu.
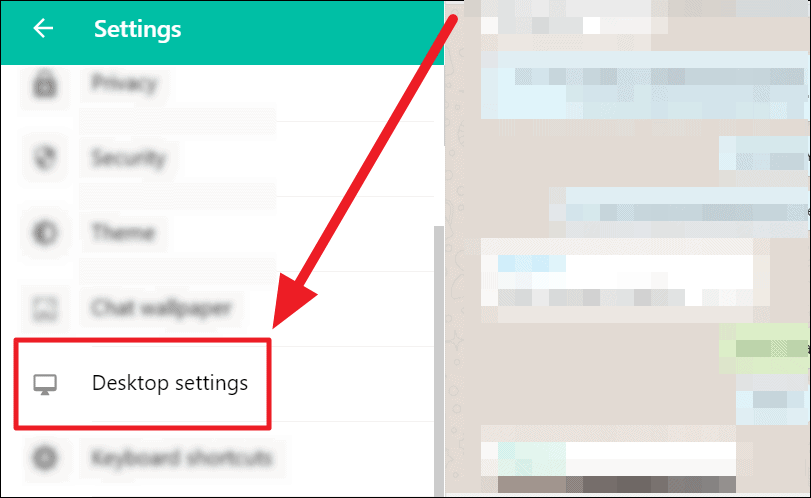
Navigate to the ‘Desktop Settings’ option from the ‘Settings’ menu and click it.
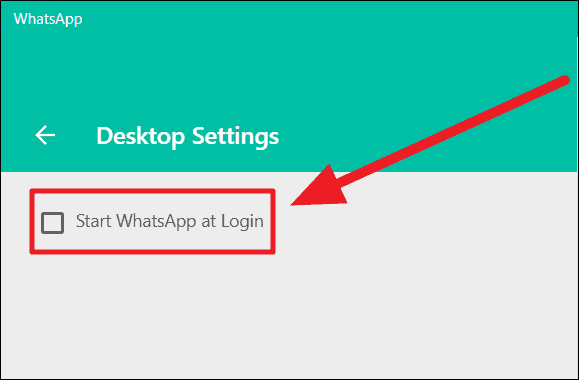
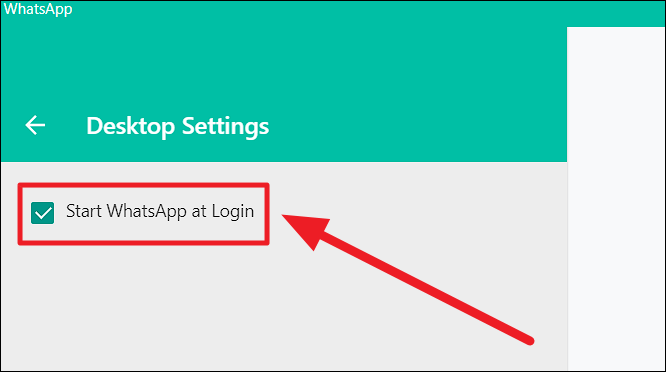
The only desktop setting available is to launch WhatsApp at login. Click the checkbox next to ‘Start WhatsApp at Login’ to select this option and enable automatic app launch.
Method 2: Enable WhatsApp to Start Automatically from the Startup Folder
The ‘Startup Folder’ contains the list of the apps that are set to launch at Startup. Generally, this folder is a resort to disable an app from running at login. But you can also enable an app to auto-launch through this folder. All you need to do is add the app’s shortcut here. In this case, a WhatsApp shortcut.
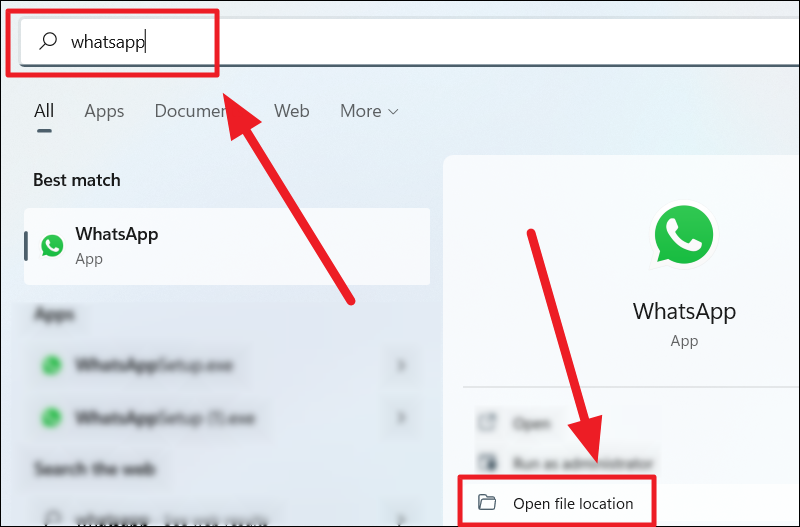
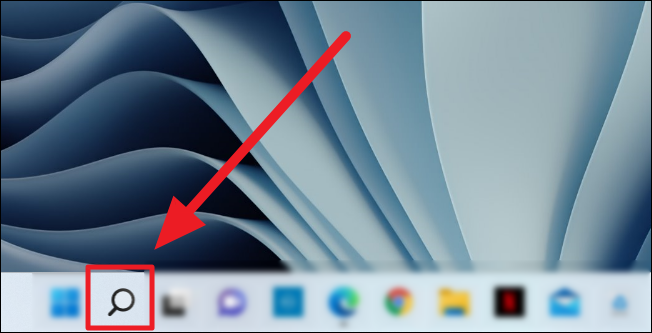
Click the ‘Search’ button (magnifying glass icon) on the taskbar.

Now, type ‘WhatsApp’ in the search field at the top of the ‘Search’ box. Select ‘Open file location’ from the app options on the right.
You will now reach WhatsApp’s file location. Click to highlight the WhatsApp file here and click the ‘Copy’ button on the folder’s ribbon. You can also simply select the file and press Ctrl + C on your keyboard.
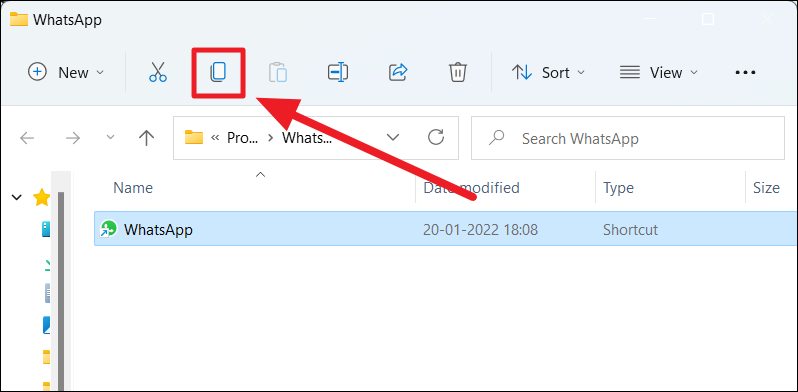
You have now copied WhatsApp’s shortcut.
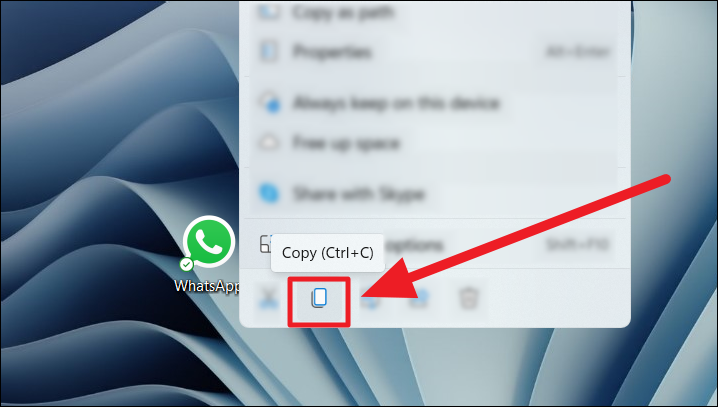
Alternatively, if you have a WhatsApp shortcut on your desktop, you can directly copy it from there. Simply double-finger tap or right-click on the shortcut icon and click the ‘Copy’ button. Or hold Ctrl + C on your keyboard to instantly copy the shortcut.
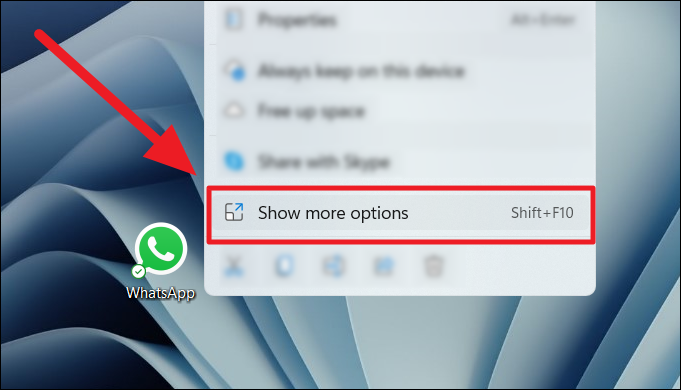
You can also double-finger tap/right-click on the shortcut icon and select ‘Show more options’ or hold Shift and F10 on your keyboard to open ‘More options’.
Now select ‘Copy’ from the following pop-up menu.

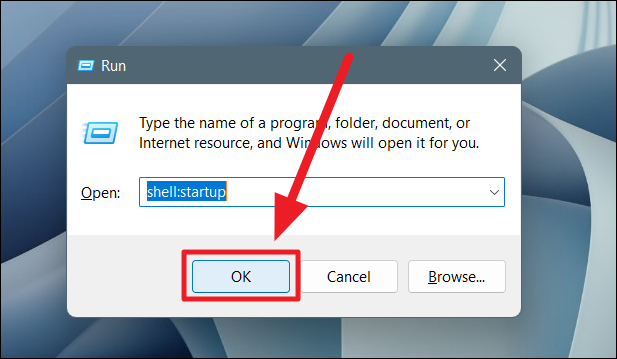
Once the shortcut for WhatsApp is copied, press Windows + R on your keyboard to launch ‘Run’. Type shell:startup in the ‘Open’ text box and hit Enter or click ‘OK’.
You will now land on the ‘Startup folder’. Click an empty space on the folder and use the ‘Paste’ command Ctrl + V to paste the copied shortcut.
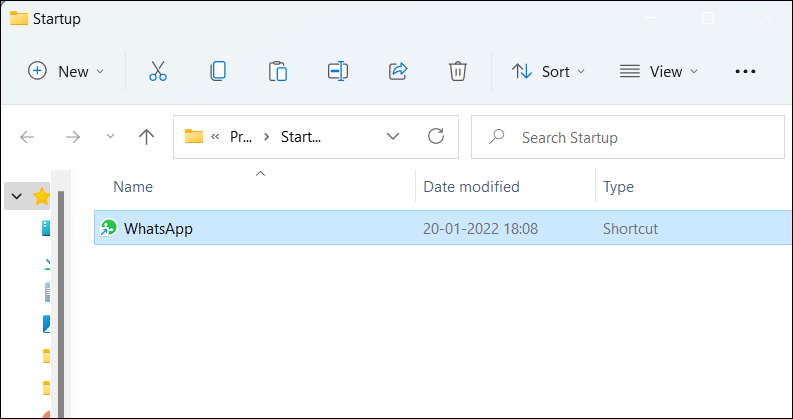
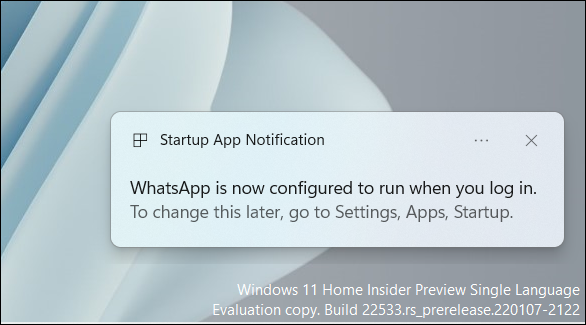
Your desktop will immediately notify you that WhatsApp is set to launch at Startup.
Disabling WhatsApp From Automatically Starting at Login
You can disable WhatsApp from launching at Startup in four ways — through the desktop app, the Startup Folder, via Task Manager, and through ‘Startup Apps’ on Windows Settings. We’ll cover all four methods here.
Method 1: Disable ‘Start WhatsApp at Login’ in WhatsApp
To disable WhatsApp from starting at login from the app, first, launch WhatsApp on your computer. Then, click the ellipsis icon (three horizontal dots) on the top left corner of the screen. Click the ‘Settings’ option in the drop-down menu.
On the ‘Settings’ menu, locate ‘Desktop Settings’ and click on it.
Now click the checkbox in front of ‘Startup WhatsApp at Login’ to uncheck it.
Method 2: Disable WhatsApp From Startup Apps in Windows Settings
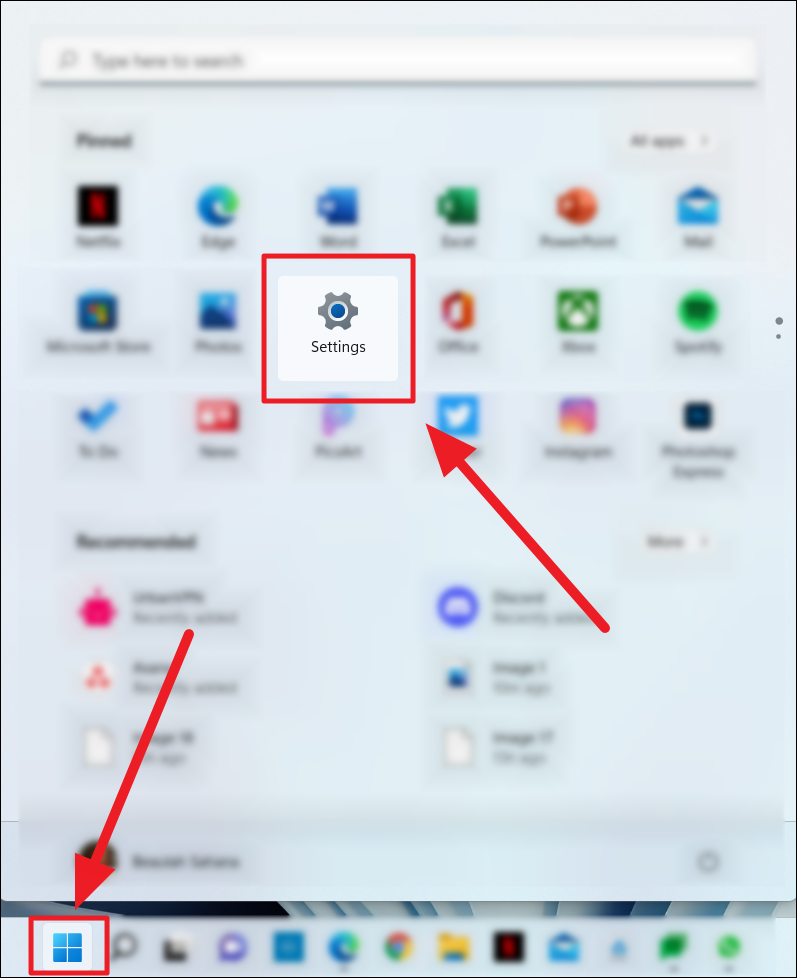
Another way to stop WhatsApp from starting at login is to disable it in ‘Startup Apps’ on your computer’s settings. For this, first, launch the ‘Settings’ app. Hold Windows + I together on your keyboard or click the ‘Start’ button (Windows icon) and select ‘Settings’ from the ‘Pinned’ list.
You can also search for it by clicking the ‘Search’ button (magnifying glass button) on the taskbar.
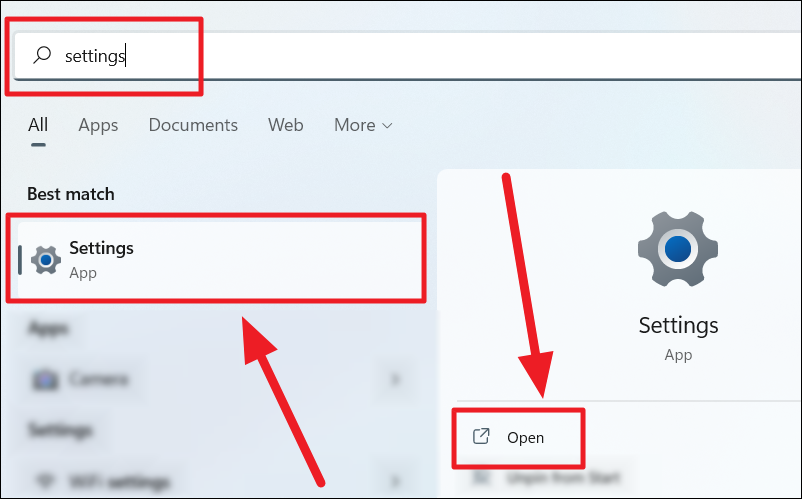
Then, type ‘Settings’ in the search field at the top of the search box. Click the appropriate search result on the left to open ‘Settings’ or hit the ‘Open’ button below the app options on the right.
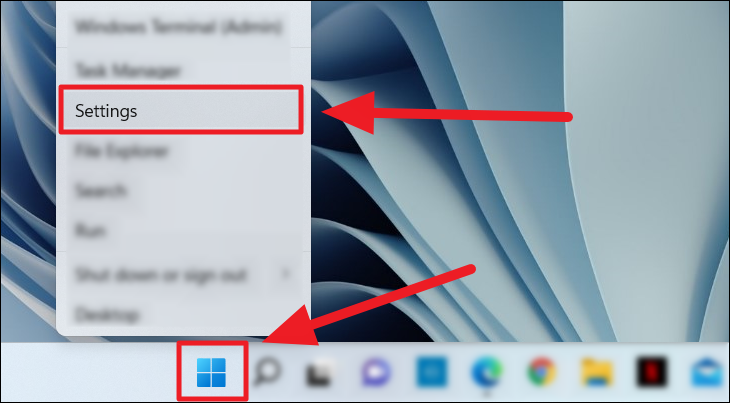
Or, double-finger tap/right-click on the ‘Start’ button (Windows icon) on the taskbar and select ‘Settings’ from the menu.
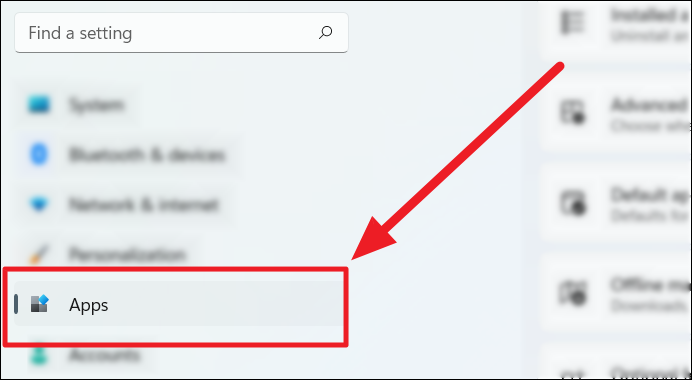
Once ‘Settings’ is open, select ‘Apps’ from the left sidebar.
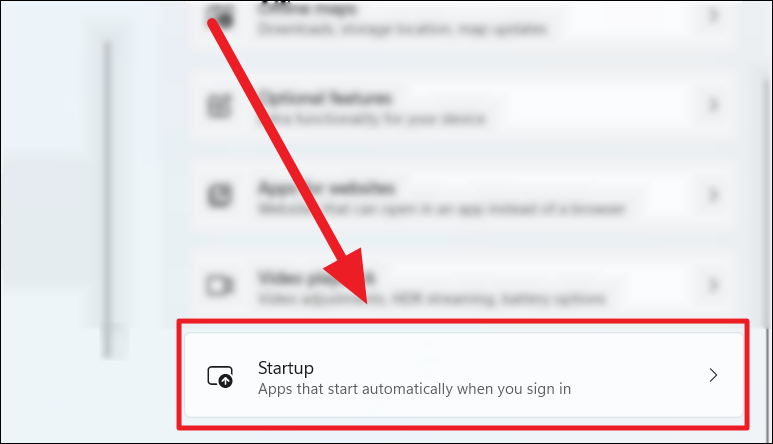
Locate and click the ‘Startup’ tile on the right.
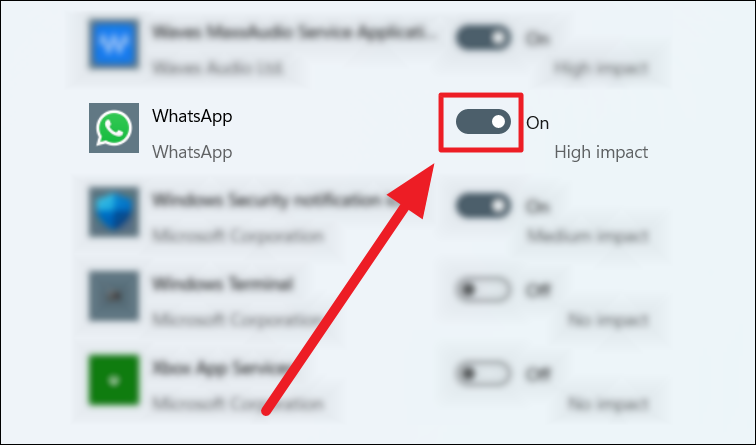
Now, scroll through the ‘Startup Apps’ list to find WhatsApp. Click the toggle next to ‘WhatsApp’ to turn it OFF. Remember, the toggle must be outlined and not filled. An outlined toggle suggests the app is disabled.
Method 3: Disabling WhatsApp From Startup Apps in Task Manager
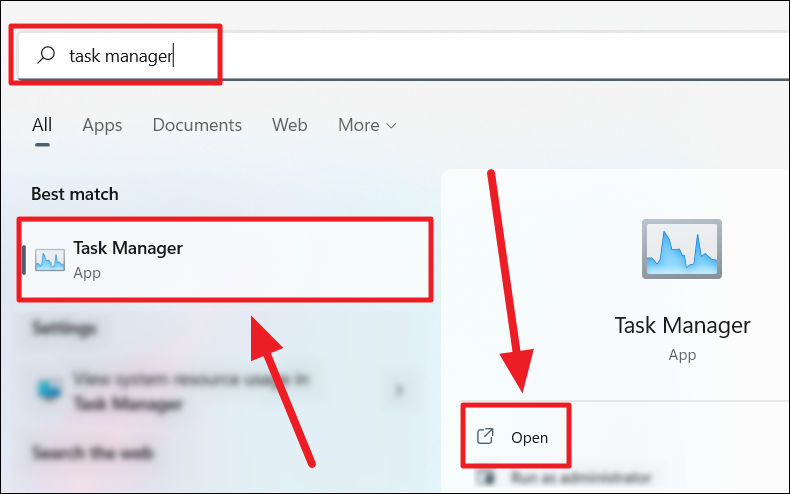
To disable WhatsApp from Task Manager’s list of startup apps, first, launch Task Manager on your desktop. You can do this in three ways. One is by using a shortcut – Ctrl + Esc + Shift. Another way is by searching for it. Click the ‘Search’ button (magnifying glass icon).
Enter ‘Task Manager’ in the search field. Click the correct search result to open the app or the ‘Open’ button in the app options on the right.
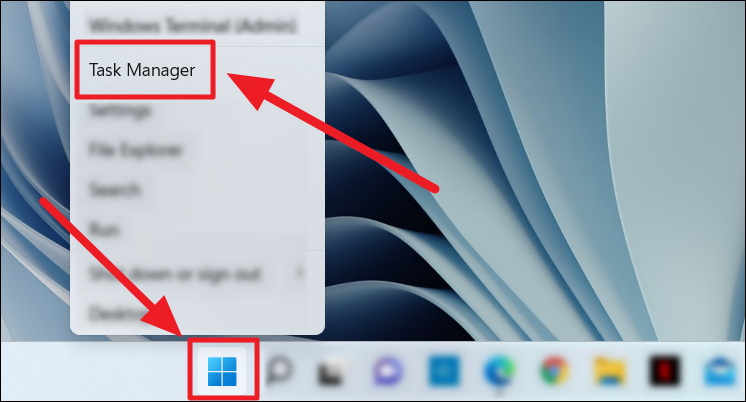
You can also right-click or double-finger tap on the Start button (Windows icon) and select ‘Task Manager’ from the pop-up menu.
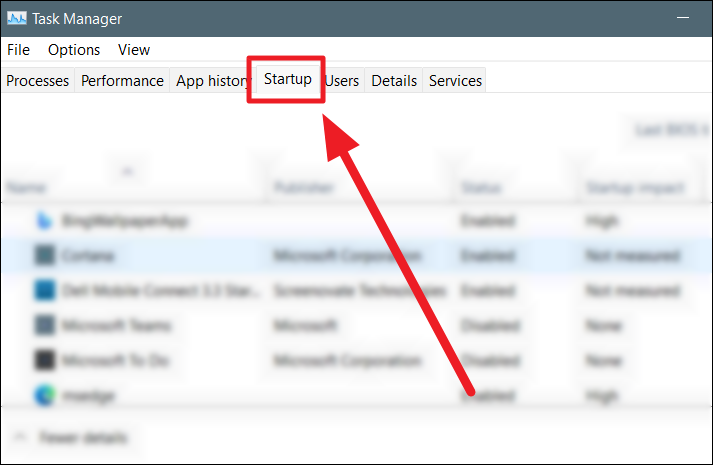
Once you’ve opened Task Manager, head onto the ‘Startup’ tab.
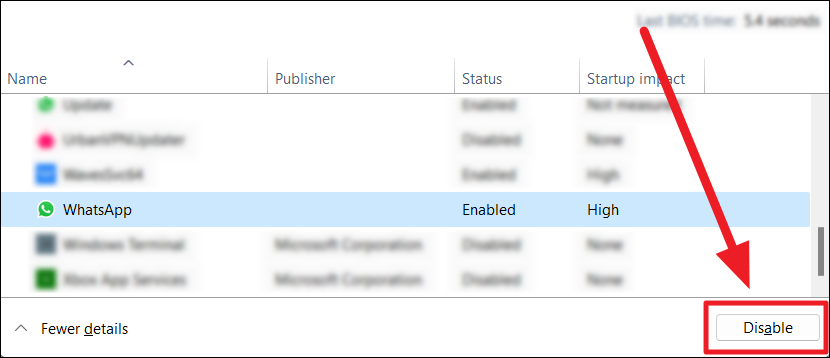
Scroll through the list of ‘Startup’ apps and tap on ‘WhatsApp’ to select it. Now, click the ‘Disable’ button to the far right end at the bottom of the screen.
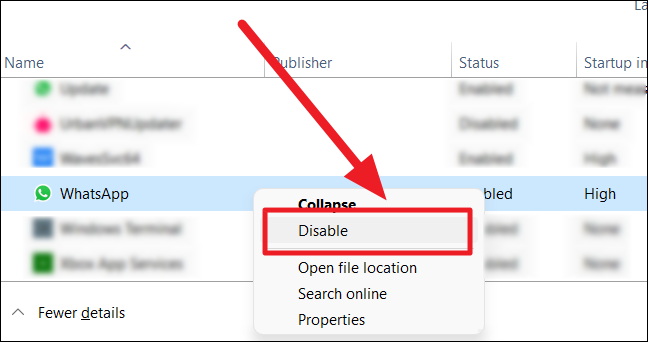
You can also double-finger tap or right-click on the selected app and select ‘Disable’ in the context menu.
Method 4: Removing the WhatsApp Shortcut From the Startup Folder
As we enabled WhatsApp to start at login by adding the app’s shortcut in the ‘Startup’ folder, you can disable it from automatically starting by deleting the same shortcut here.
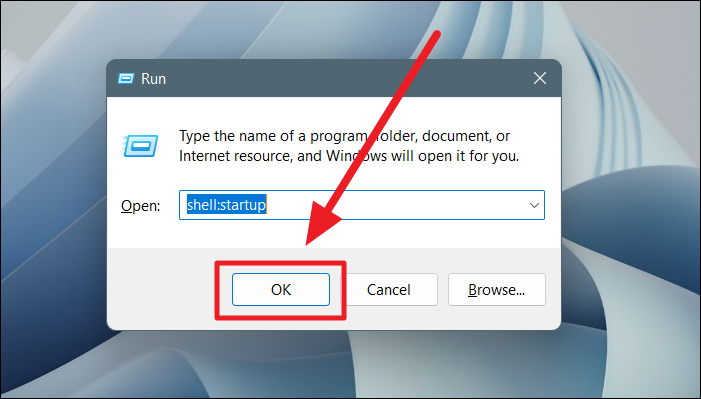
To open the Startup folder, first launch the ‘Run’ app. Hold Windows + R to launch Run. Now, type shell:startup in the ‘Open’ text field and hit Enter or click OK.
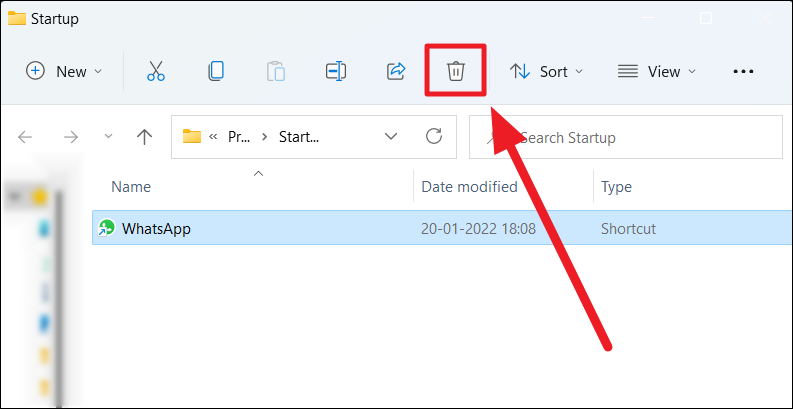
On the ‘Startup’ folder, click to highlight ‘WhatsApp’. Now, click the ‘Delete’ button (trashcan icon) on the folder’s ribbon.
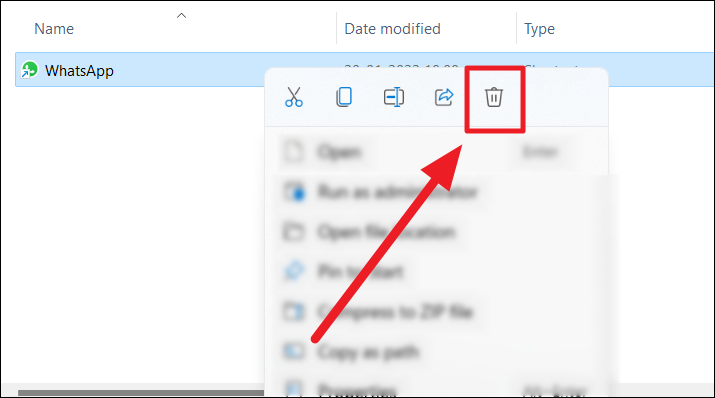
You can also double-finger tap/right-click on the WhatsApp shortcut and click the same trashcan icon (Delete button) in the menu.
Another simple alternative is to select the shortcut and hit the Delete button on your keyboard. WhatsApp will instantly be disabled from starting at system login.
And that’s it! You can either set WhatsApp to automatically launch each time you log in to your system or disable it from doing so. We hope you found our guide useful!


Member discussion