


The computer going to sleep when left unattended for some time can be really frustrating, especially if you have a long or complicated password that you need to enter every time you wake up the computer from sleep. Moreover, if you have a background task scheduled, like an antivirus scan or execution of a script, it will not run when the computer is in the 'Sleep' state.
Fortunately, you can easily configure the sleep settings on your computer to not let it go to Sleep mode when left unattended.
Use the Settings App
The easiest way to manage these settings in Windows 11 is from the Settings app.
- Open the Settings app on your PC.
- Ensure you have selected the 'System' option on the left sidebar.
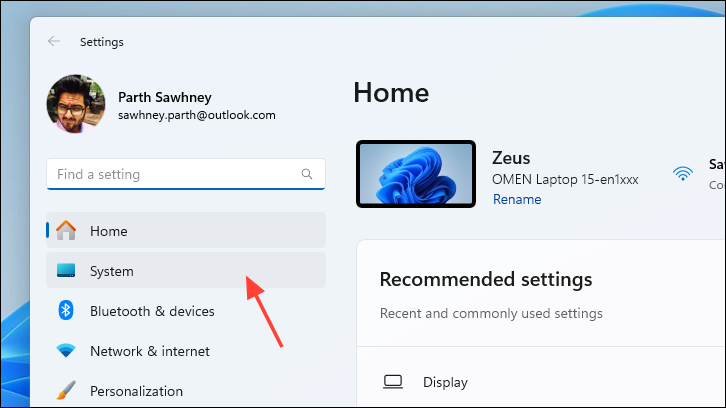
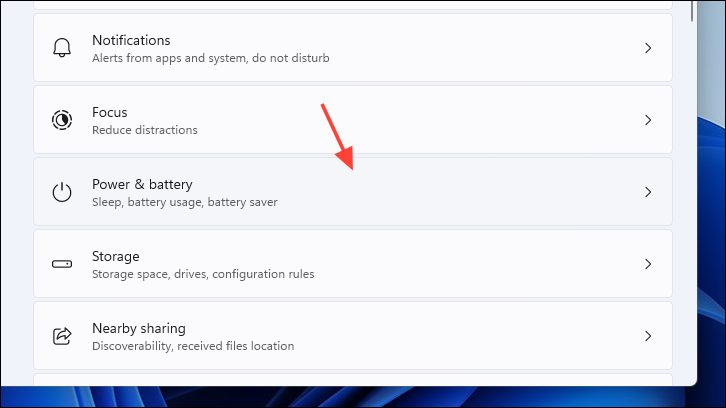
- From the right section of the window, click on the 'Power & battery' option.
- Click on the drop-down menu on the right of the 'Make my device sleep after' option and choose the 'Never' option from the list.
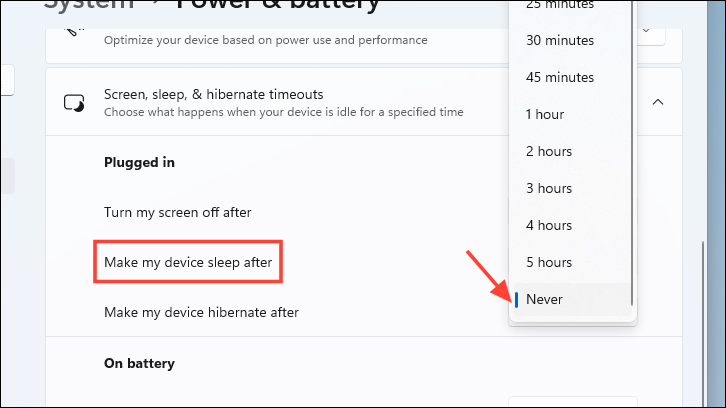
- If you have a laptop computer, repeat the step for the 'On Battery' section as well to ensure your computer does not go to sleep even when connected to a charger.
Use the Control Panel
If, for some reason, you do not want to use the Settings app or are unable to do so, you can also change the sleep settings for your computer from the Control Panel.
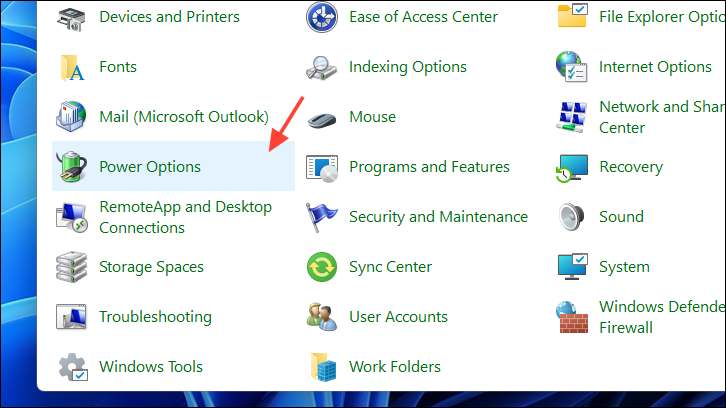
- Open the Control Panel on your PC.
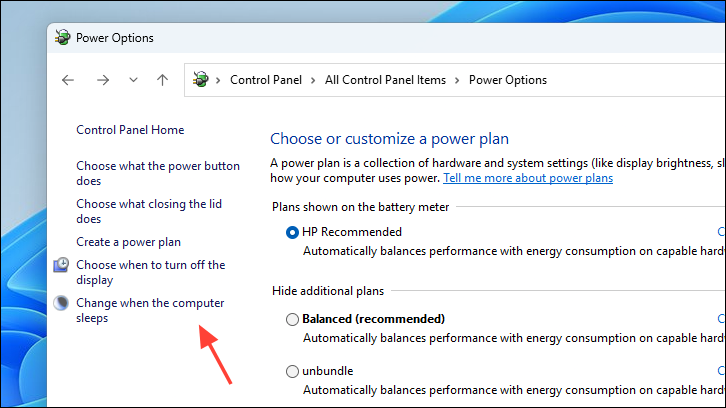
- From the Control Panel window, click on 'Power Options'.
- Click on the 'Change when the computer sleeps' option on the subsequent screen.
- Select the 'Never' option for the 'On battery' and 'Plugged in' option. Then, click on 'Save Changes'.

Use Microsoft PowerToys
If Sleep settings are not accessible through the Settings app and the Control Panel, you can install Microsoft PowerToys on your PC to tweak your computer's sleep settings.
- If you do not have Microsoft PowerToys installed on your PC, use the link below to install it from the Microsoft Store.

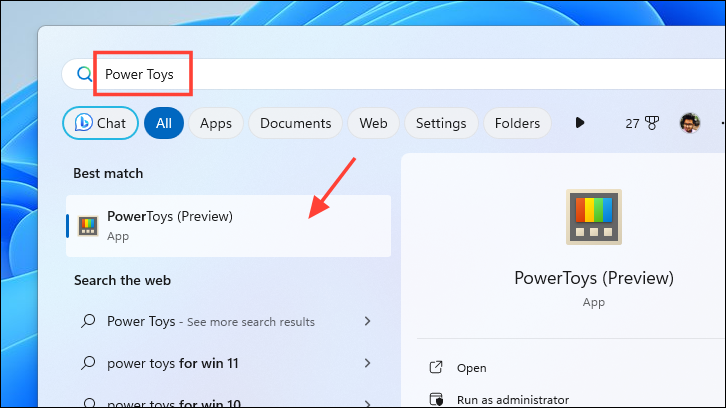
- Launch the PowerToys app by searching for it from the Start Menu.
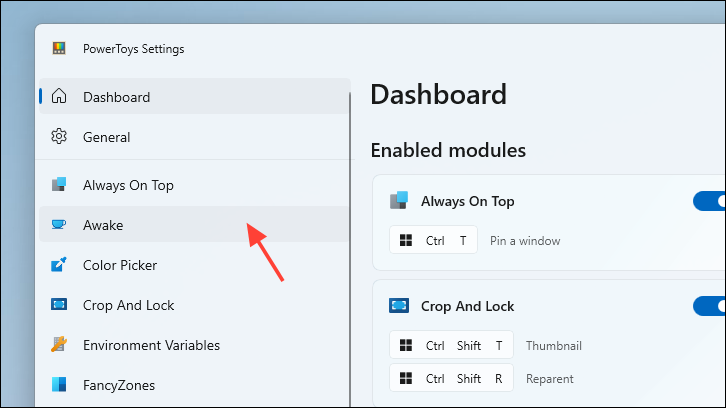
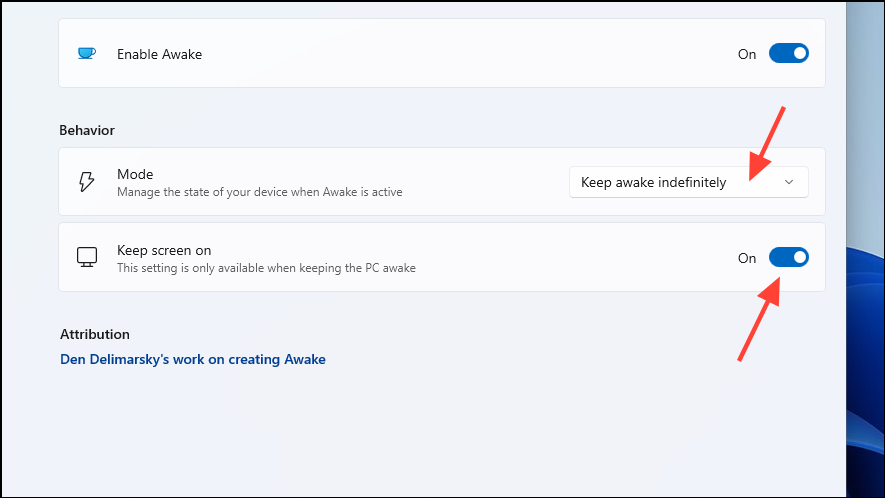
- On the PowerToys window, ensure you have selected the 'Awake' option from the left sidebar.
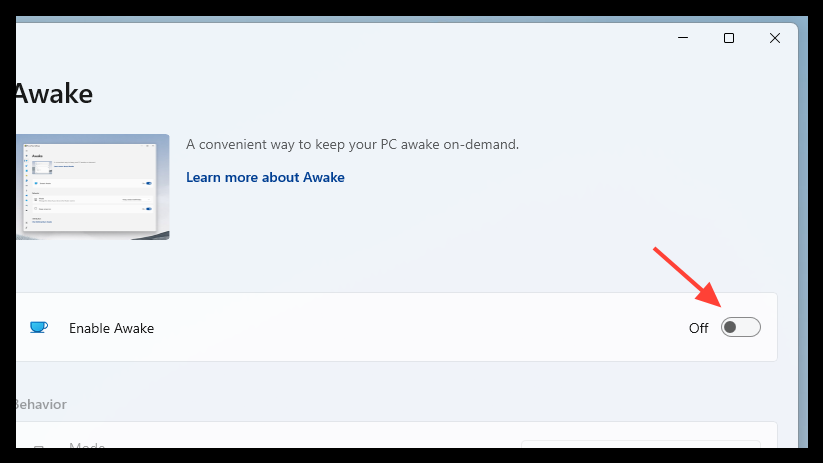
- Turn on the toggle for 'Enable Awake'. This will enable sub-settings to keep your PC awake.
- From the sub-settings, choose 'Keep awake indefinitely' using the drop-down menu. Also, turn on the toggle for 'Keep screen on'.
- Restart your PC to let the changes take effect. Once restarted, your PC will not go to sleep automatically.
Use Group Policy Editor
You can also use the Local Group Policy Editor on your Windows PC to change the sleep settings of your computer. The Local Group Policy Editor allows you to edit policy for all users, which means you have to be logged in with an admin user account to access it.
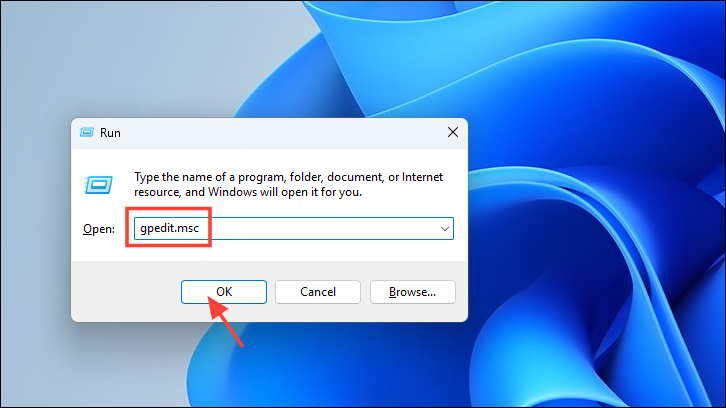
- Press
Windows+Rto bring up the 'Run Command' utility. Then, typegepedit.mscand click 'OK' to open the Local Group Policy Editor.
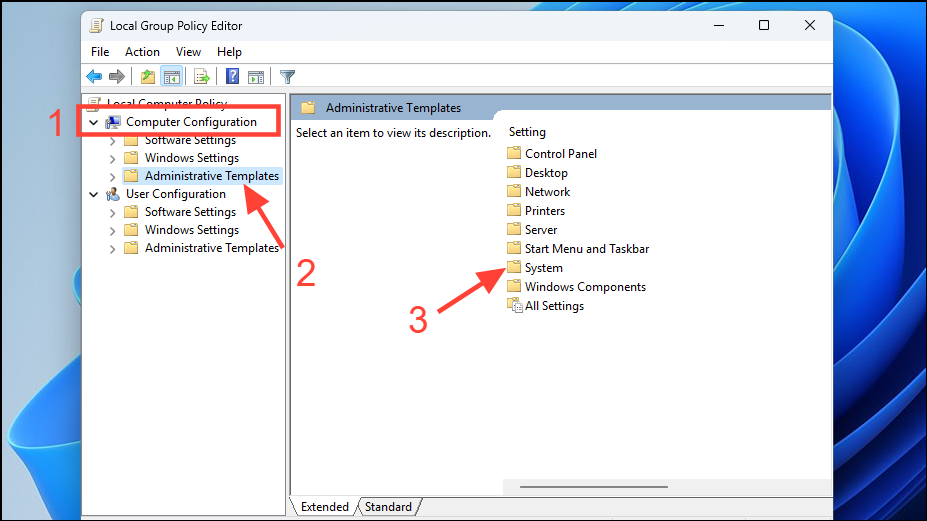
- On the Group Policy Editor window, select 'Computer Configuration' and then choose 'Administrative Templates'. From the right section of the screen, double-click on the 'System' option.
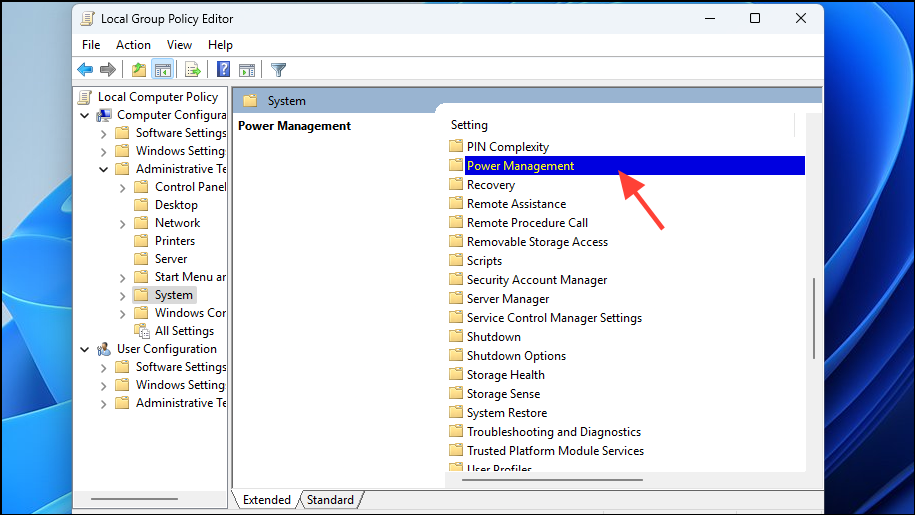
- Double-click on 'Power Management' on the next screen to proceed.
- On the subsequent screen, double-click on the 'Sleep settings' to continue.
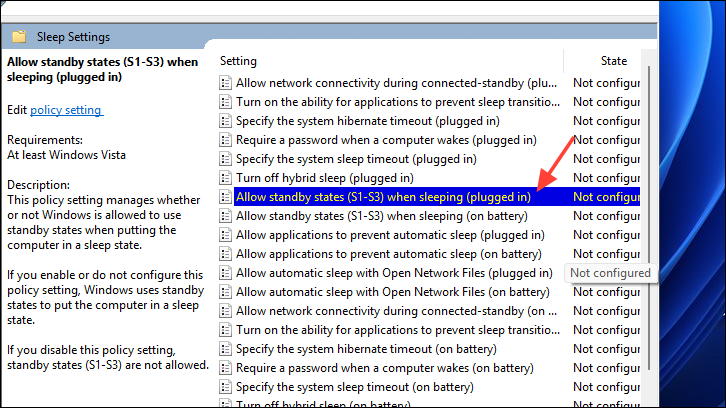
- Locate the 'Allow the stand states (S1-S3) when sleeping (plugged in)' setting. This will open its properties in a new window on your screen.
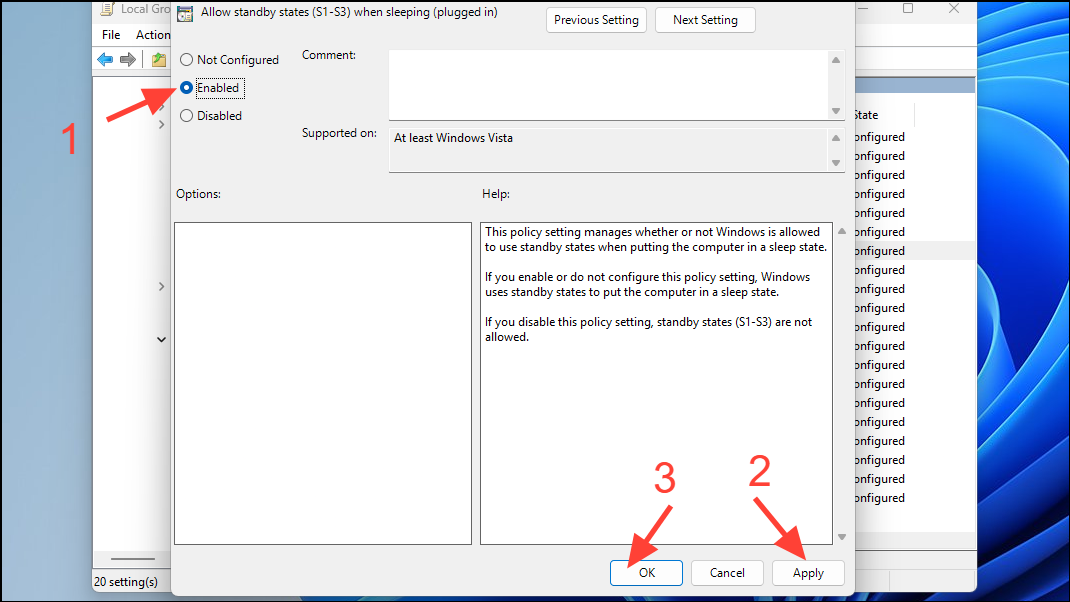
- Select the 'Enabled' option and click 'Apply' and 'OK' to save the changes.
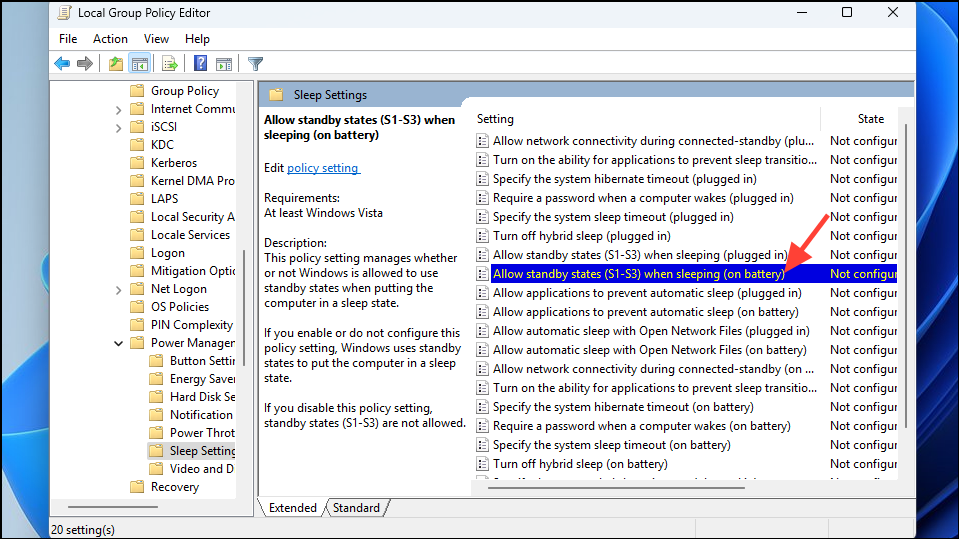
- Similarly, open properties for the 'Allow the stand states (S1-S3) when sleeping (On battery)' option and 'Enable' it.
- Finally, restart your PC from the Start Menu to let the changes take effect. Your PC will never go to sleep when left unattended.
A shorter duration to enter the Sleep mode can be useful when you are working in a shared space to protect your privacy. However, when working in a private setting, it could become an unnecessary feature providing no real benefit to you. Fortunately, it's entirely up to you whether you want your PC to go to sleep or not.


Member discussion