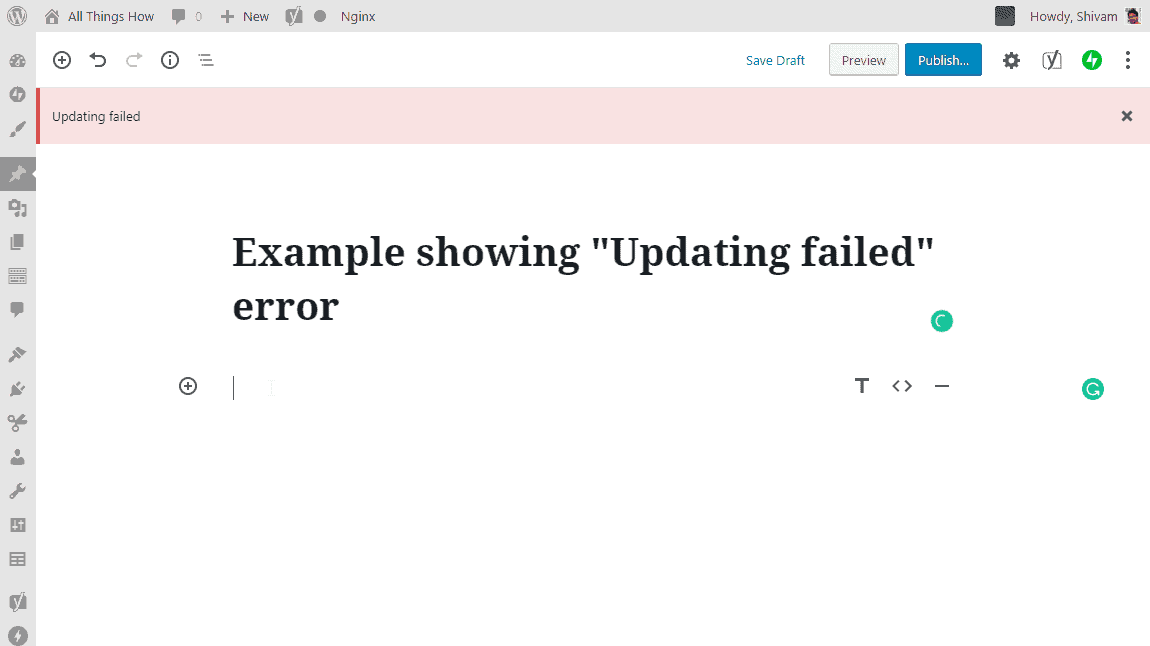
Getting a “Updating failed” or “Publishing failed” error in Gutenberg on your WordPress site running on a Nginx server? We have had this exact issue on our site as well, and it turns out nginx fastcgi cache folder was the culprit in our case.
Apparently, the fastcgi cache folder belonged to a different user group than the one Nginx used on the server. This made the folder unreachable for WordPress, resulting in a variety of issues in the backend.
💡 The solution to this problem is simple — you need to manually remove the fastcgi cache folder from your server, and then let the server create it automatically next it wants to cache something. No need to retstart Nginx, PHP, or any other service.
🔎 How to find the fastcgi cache folder on your Nginx server?
The fastcgi cache folder is defined with a fastcgi_cache_path operator in an Nginx config file. We can use the following grep command to find in where in your Nginx installation this operator is defined.
Log into your WordPress server with a root OR a sudo user and run the following command:
grep -rnw '/etc/' -e 'fastcgi_cache_path'You should get an output similar to this in the command window:
/etc/nginx/sites-available/allthings.conf:2:fastcgi_cache_path /var/www/cache/fastcgi levels=1:2 keys_zone=allthings:100m inactive=60m;
/etc/nginx/sites-available/allthings.conf:90:         # Define memory zone for caching. Should match key_zone in fastcgi_cache_path above.
/etc/nginx/sites-available/allthings.conf:208:                # Define memory zone for caching. Should match key_zone in fastcgi_cache_path above.
In the example above, you can see that fastcgi_cache_path operator is used in the Nginx configuration file allthings.conf, and it defines /var/www/cache/fastcgi as the fastcgi cache folder.
💡 The location of fastcgi cache folder on your server will be different than the one shown above. The folder location shown above is for illustration purposes only.
📛 Rename the Fastcgi cache folder manually
Once you have the location of the fastcgi cache folder on your Nginx server, run the following command to rename it so that Nginx will create the folder again automatically and set the correct permissions too.
sudo mv /path/to/cache/fastcgi /path/to/cache/fastcgi.oldIn the above code, replace /path/to/cache/fastcgi with the location of the fastcgi cache folder on your server that we discovered
💡 After running the above command, the fastcgi cache folder on your server will be renamed with a .old extension.
✅ Verify “Updating failed” or “Publishing failed” issue resolved
First, open your WordPress site in an incognito window and visit a couple of pages. This is to force Nginx to recreate the fastcgi cache folder that we removed in the above steps.
Log into your WordPress dashboard and try publishing a post. It should not throw “Publishing failed” error anymore.
🍻 Cheers!


Member discussion