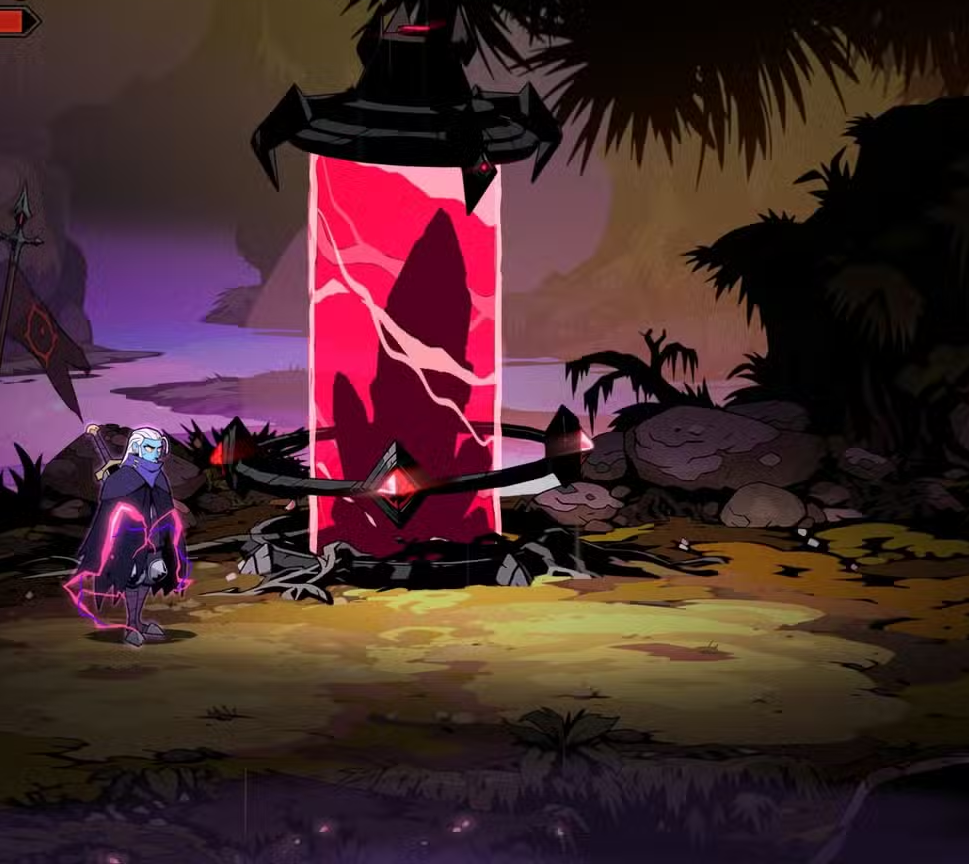
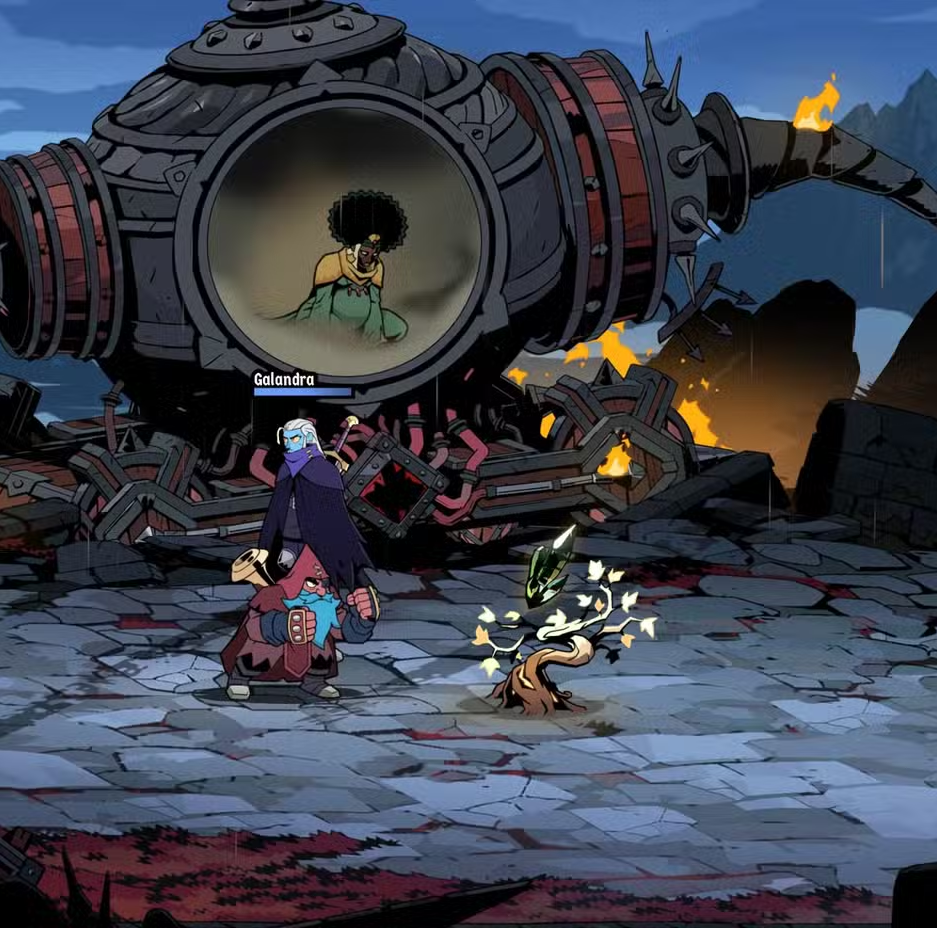
Rituals are Absolum’s mid‑run power spikes — elemental perks that change how you fight and build. You earn them during a run by breaking special crystals, but most elements first need to be unlocked in the world. Here’s how crystals work, how to upgrade your picks, and the exact routes to each element.
How Ritual crystals and upgrades work
Rituals drop from glowing crystals you break during a run. By default, each crystal offers a choice between two upgrades; once you recruit Vikhana in Jaroba, crystals present three options instead. Vikhana also lets you upgrade Rituals and unlock extra interactions between elements.

Upgrade currency is Imbued Fruits. You accumulate these as your Radiance level increases after completed runs and from some achievements. You can’t spend them until Vikhana is in your hub, so make recruiting her a priority when you first reach Jaroba.
Note: A Ritual’s upgrades only activate on runs where you actually find that element. Unlocking or upgrading outside a run doesn’t force it to appear.
Ritual unlocks at a glance
| Ritual | Region / path | How to unlock | Key notes |
|---|---|---|---|
| Fire | Prologue | Rescue Mother, then break the first crystal she points you to. | Introduced during the tutorial sequence. |
| Water | Grandery → Old Coast | From the start of a run, head up toward the coast; defeat Exiled guarding the crystal and break it. | If you grab Wind first, Mother marks Water’s location on your map later. |
| Wind | Grandery → Giggling Forest | From the start, take the forest route; push through to a bridge, the crystal sits just ahead. | One of the earliest you can reach, depending on your route. |
| Thunder | Grandery → Underking’s approach → Old Mines | Beat Grandery’s first miniboss and reach the Underking’s castle. Go down instead of entering; push through the Old Mines to a chained crystal and break it. | Offers strong, fight‑swinging skills early‑mid run. |
| Bramble | Jaroba (second region) | Advance through Jaroba until you encounter the large crystal; break it. | Hard to miss once you’re in Jaroba. |
| Necromancy | Yeldrim (secret region) | While sailing toward Jaroba, you can enter Yeldrim. Progress until you reach a chained crystal; clear the enemies and break it. | Yeldrim appears as a side region during the voyage. |
| Time | Asterios → Sun King Azra | Reach Azra at the end of Asterios. Defeat him, endure the rewind, and beat him again to claim Time for future runs. | End‑game unlock; upgrade it early once available. |
| Chaos | Yeldrim → Mansion route → hidden passage | From Yeldrim’s first safe zone, take the mansion path. Enter using the emote password (thumbs down, then thumbs up), fight to the next safe zone, then head right to a statue with stairs. Slip behind it to a secret area, clear through to The Interloper boss, defeat it, and take the crystal. | The most demanding route; expect a long, tough gauntlet. |
Ritual of Fire (prologue unlock)
- Play through the prologue until you rescue Mother.
- Break the first crystal she directs you to; Fire becomes available in runs.

Ritual of Water (Old Coast)
- From a fresh run, push upward toward the Old Coast.
- Defeat the Exiled guarding the crystal and smash it to unlock Water.
- Tip: If you happen to route into Wind first, the other spot is marked for later.
Ritual of Wind (Giggling Forest)
- From the start, take the forest path into the Giggling Forest.
- Fight through to a bridge; the Wind crystal waits beyond it.
Ritual of Thunder (Old Mines)
- Beat Grandery’s first miniboss to approach the Underking’s castle.
- Instead of entering, head down into the Old Mines.
- Advance until you find a chained Ritual; break it to unlock Thunder.
Ritual of Bramble (Jaroba)
- Enter Jaroba, the game’s second region.
- Continue forward until the large crystal appears; break it to add Bramble.
Ritual of Necromancy (Yeldrim)
- While sailing for Jaroba, detour into Yeldrim when it appears.
- Move forward until a chained Ritual spawns with a fight.
- Clear the encounter and break the structure to unlock Necromancy.
Ritual of Time (Asterios → Azra)
- Reach the end of Asterios and confront Sun King Azra.
- Defeat him; he rewinds time and reveals the Time element.
- Beat him again to claim Time for future runs.
Ritual of Chaos (Yeldrim’s mansion route → The Interloper)
- In Yeldrim’s first safe zone, choose the mansion path rather than going down.
- At the mansion door, input the emote password: thumbs down, then thumbs up.
- Fight through to the next safe zone with a Hearthroot.
- From that safe zone, head right to a statue with stairs, then slip behind it to a hidden passage.
- Push through one of the game’s toughest areas until you meet The Interloper. Defeat it to access and break the Chaos crystal.
Make Vikhana your early priority
Once you reach Jaroba, free the caged NPCs you encounter — Vikhana the Joyful will return to your hub and immediately expand your Ritual choices per crystal. From that point on, you can spend Imbued Fruits with her to upgrade elements and unlock combo effects (like one element leaving traces of another). Fruits are doled out steadily with Radiance level‑ups, so you’ll have a reliable upgrade cadence even across failed runs.
If you’re unsure where to invest first, focus on the element you find most often early (Water/Wind/Thunder) or the one that cleanly complements your favorite character. You’ll feel the impact sooner, and the rest of the elements will fall into place as you push deeper into Jaroba, Yeldrim, and Asterios.

