
The workshop is your progression engine in ARC Raiders. Beyond the free Basic Workbench you start with, there are six specialized stations you can construct and upgrade. Each station caps at Level 3, and every tier adds new blueprints or crafting options that directly affect your survival, carry capacity, and combat power. If you’re not sure where to spend scarce materials first, this build order delivers the fastest returns while keeping you alive long enough to extract.
Two ground rules shape all of this: failed extractions cost you what you were carrying, and stations reveal their best tools at Levels 2 and 3. Protect rare components and blueprints in safe pockets when you can, and focus on finishing upgrades rather than touching every station once.
Workshop priority at a glance (build costs and early payoff)
| Priority | Station | Why it’s early | Build cost |
|---|---|---|---|
| 1 | Gunsmith | Immediate access to craftable guns, attachments, weapon upgrades | Metal Parts ×20, Rubber Parts ×30 |
| 2 | Gear Bench | Augments, safe pocket slots, shields; no ARC parts needed to build | Plastic Parts ×25, Fabric ×30 |
| 3 | Medical Lab | Reliable healing and stamina support for early runs | Fabric ×50, ARC Alloy ×6 |
| 4 | Utility Station | Situational gadgets, Raider Hatch Keys for safer extractions | Plastic Parts ×50, ARC Alloy ×6 |
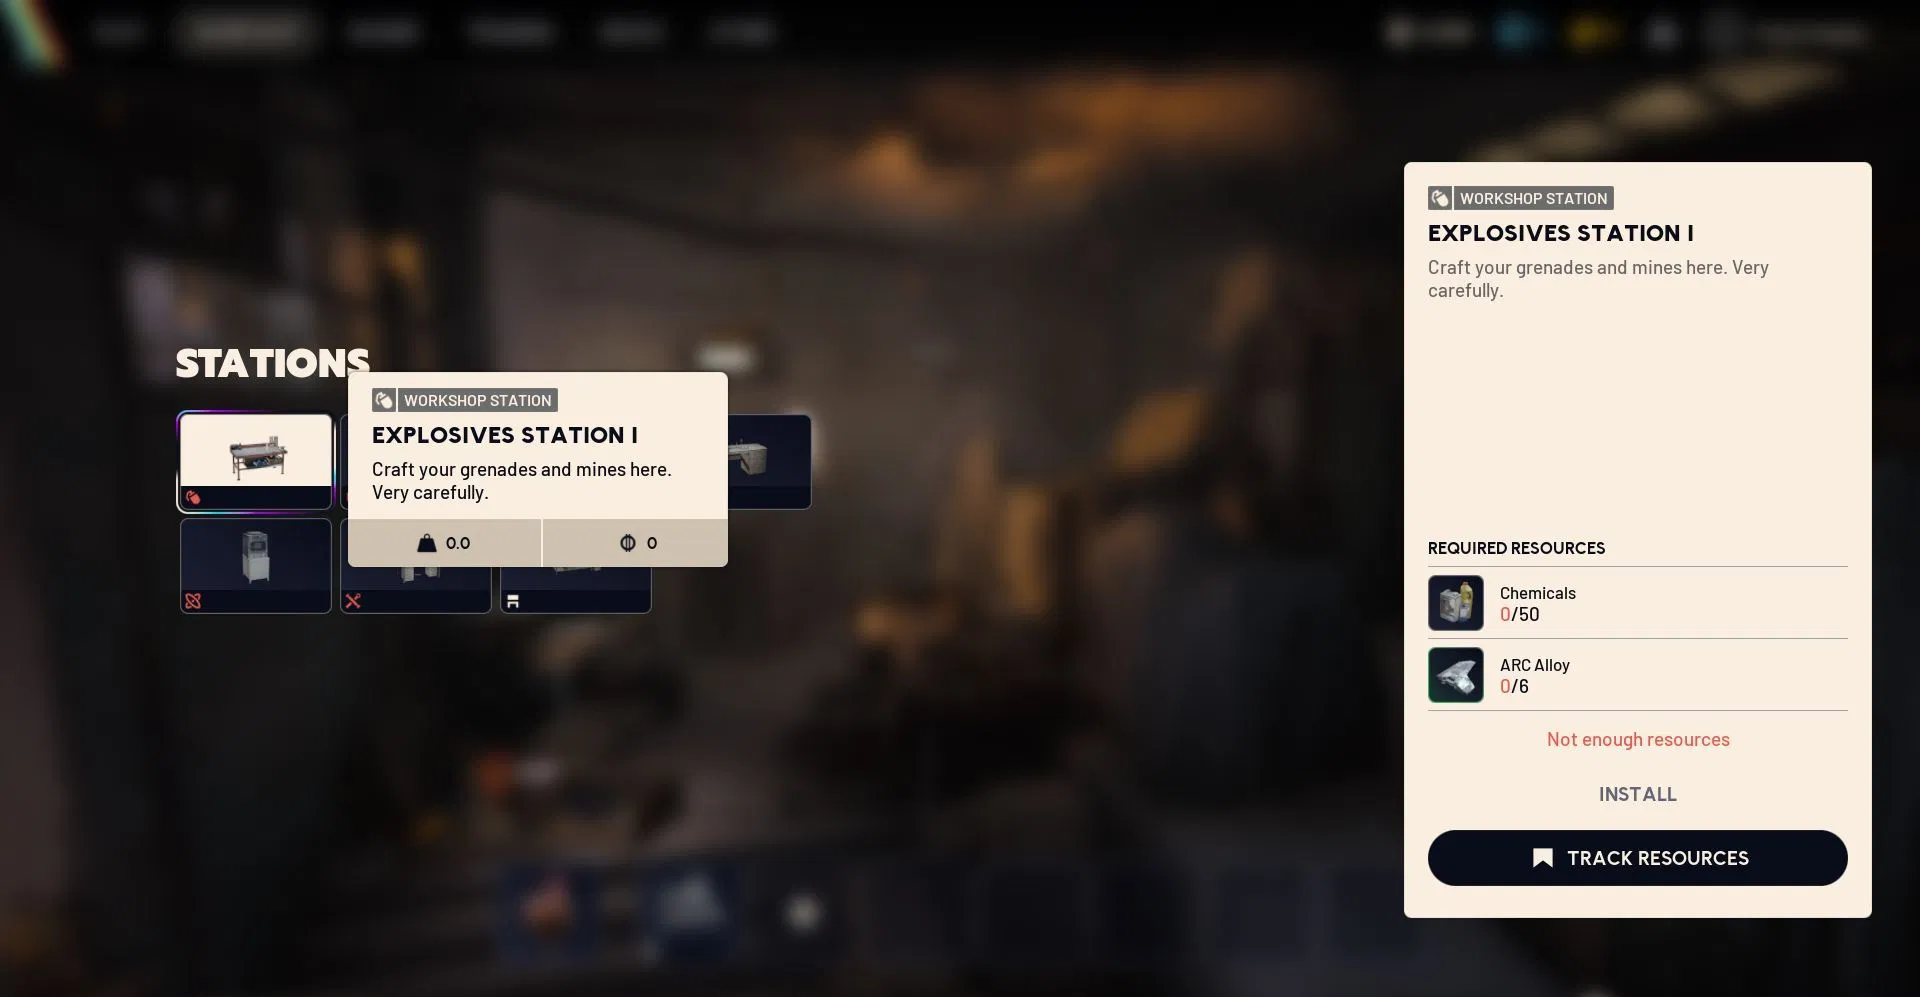
| 5 | Explosives Station | Strong but playstyle-dependent crowd control | Chemicals ×50, ARC Alloy ×6 |
| 6 | Refiner | Converts basics into advanced components; shines once others hit L2+ | Metal Parts ×60, ARC Powercell ×5 |
Note: The Basic Workbench stays at Level 1 and covers starter weapons, all ammo types, entry-level augments, and basic consumables. You’ll still rely on it for ammunition even late game.
Priority 1: Gunsmith (build first, then rush Level 2)
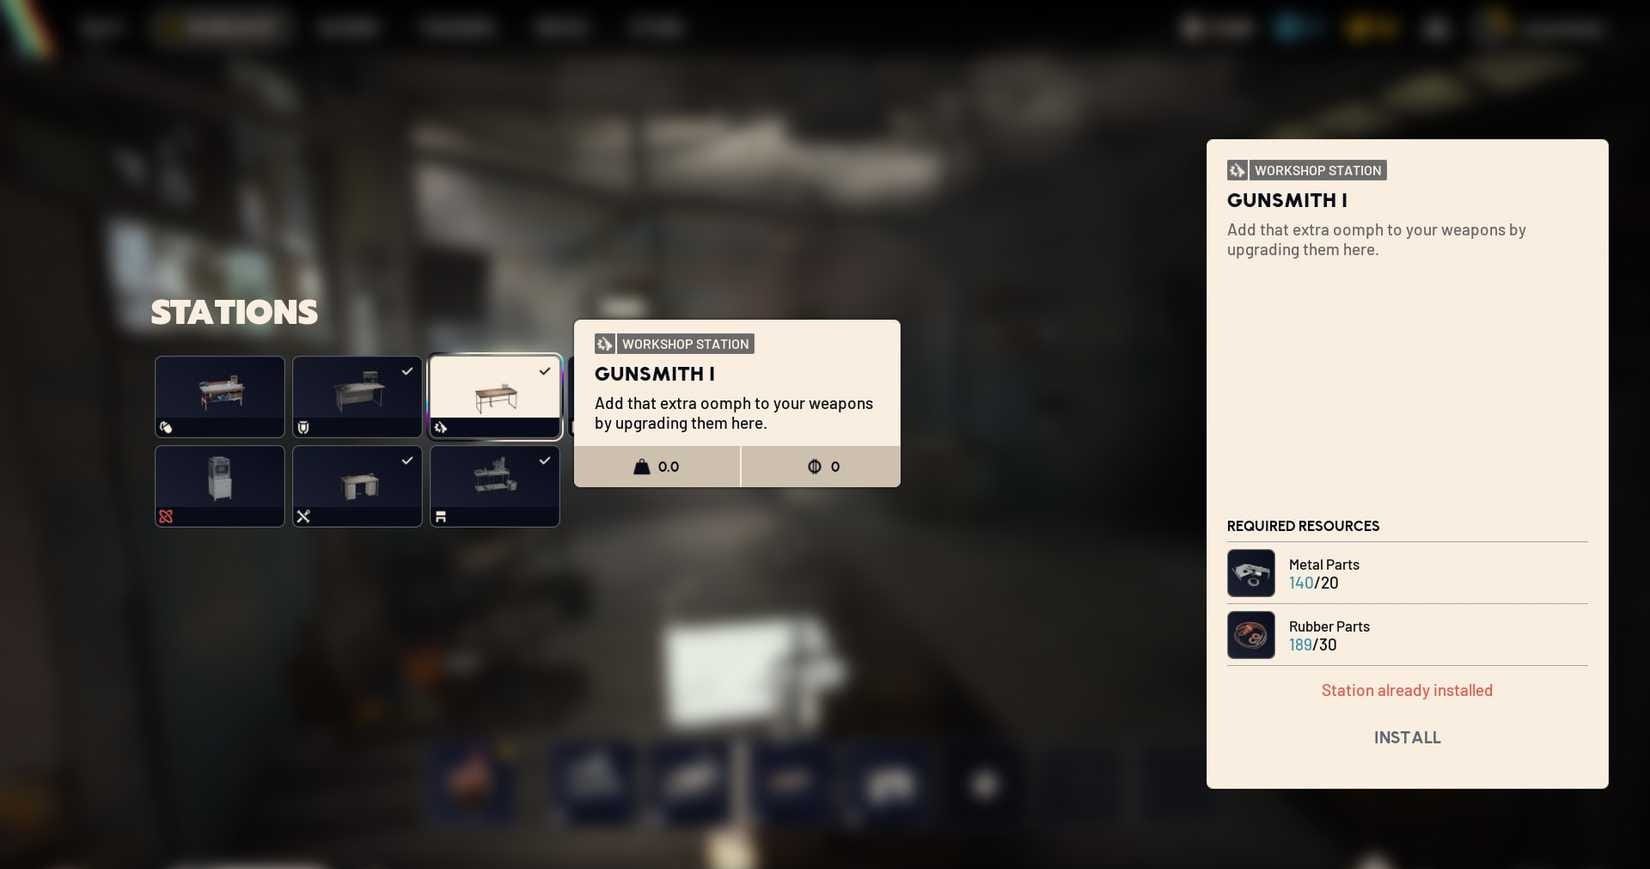
Better weapons stabilize everything else. Building the Gunsmith opens steady access to firearms, attachments, and weapon upgrades so you’re not hostage to loot luck. Pushing to Level 2 is where the value spikes; by Level 3 you unlock endgame options that change how you approach open fights.
| Build cost | Early payoff | Upgrade targets |
|---|---|---|
| Metal Parts ×20, Rubber Parts ×30 | Craft guns and attachments without risking your last good drop | Level 2 for reliable mid-game weapons; Level 3 for long-range power |
Examples that matter: the Arpeggio I burst rifle arrives at Level 2 for controlled mid-range fights; the Jupiter energy sniper appears at Level 3 for distance picks. Farm Wasp Drivers and Sentinel Firing Cores as you level the station; they gate some late blueprints and are predictable drops from those ARC units.
Priority 2: Gear Bench (augments and shields win runs)
Augments reshape your loadout grid, weight, and safe pocket slots. The Gear Bench also produces shields that directly raise your time-to-down and reduce encumbrance penalties with the right skills. It’s cheaper than most stations and doesn’t require ARC parts to build, so it’s a perfect second pick.
| Build cost | Early payoff | Upgrade targets |
|---|---|---|
| Plastic Parts ×25, Fabric ×30 | Augments for backpack space and extra safe pockets; heavier shields | Level 2 for stronger shields; Level 3 for Looting Mk.3 (Cautious) scavenger builds |
If you’re constantly over-encumbered or losing valuables on failed extracts, this station fixes both. Looting-focused augments at Level 3 add significant inventory space with modest tradeoffs—ideal for team roles dedicated to material hauling.
Priority 3: Medical Lab (make healing a certainty)
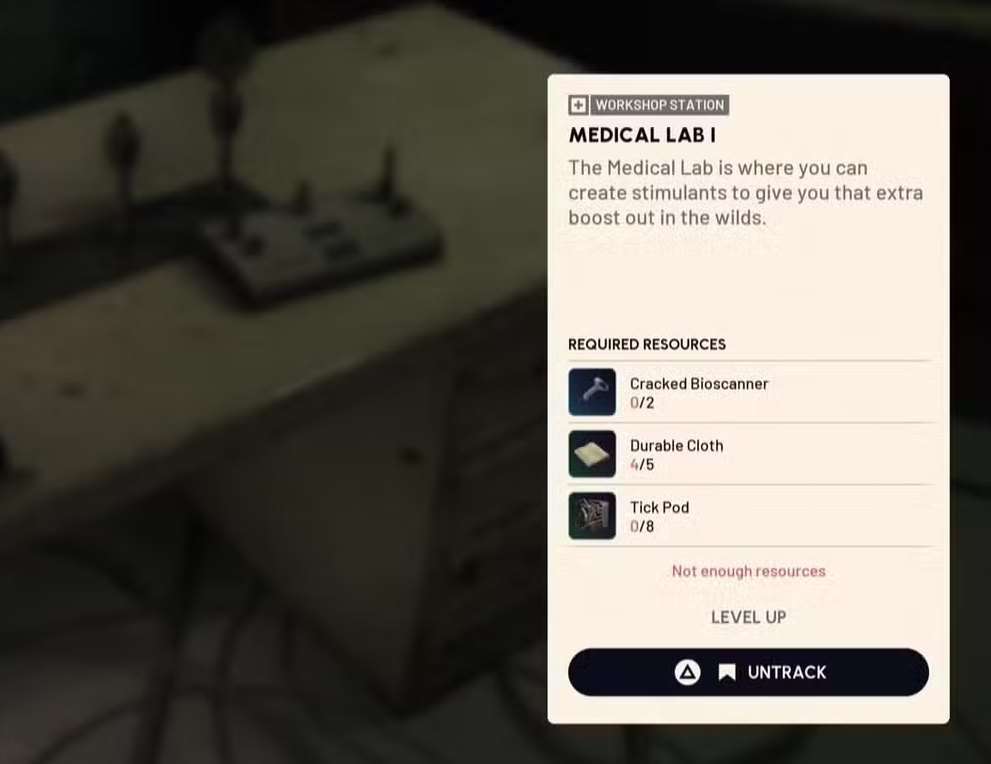
ARC Raiders punishes mistakes. The Medical Lab gives you a dependable way to restock bandages, stimulants, and syringes so every topside attempt starts with a margin for error. Later unlocks accelerate combat healing and let you stay committed to fights rather than disengaging.
| Build cost | Early payoff | Upgrade targets |
|---|---|---|
| Fabric ×50, ARC Alloy ×6 | Affordable, repeatable healing and stamina support between raids | Level 3 for instant-use options like Vita Spray |
Tick Pods are a key drop for later-level recipes; they’re common from the small spider-like ARC mobs that swarm around abandoned facilities. Stockpile them when you can do safe, low-threat sweeps.
Priority 4: Utility Station (mobility and exits on demand)
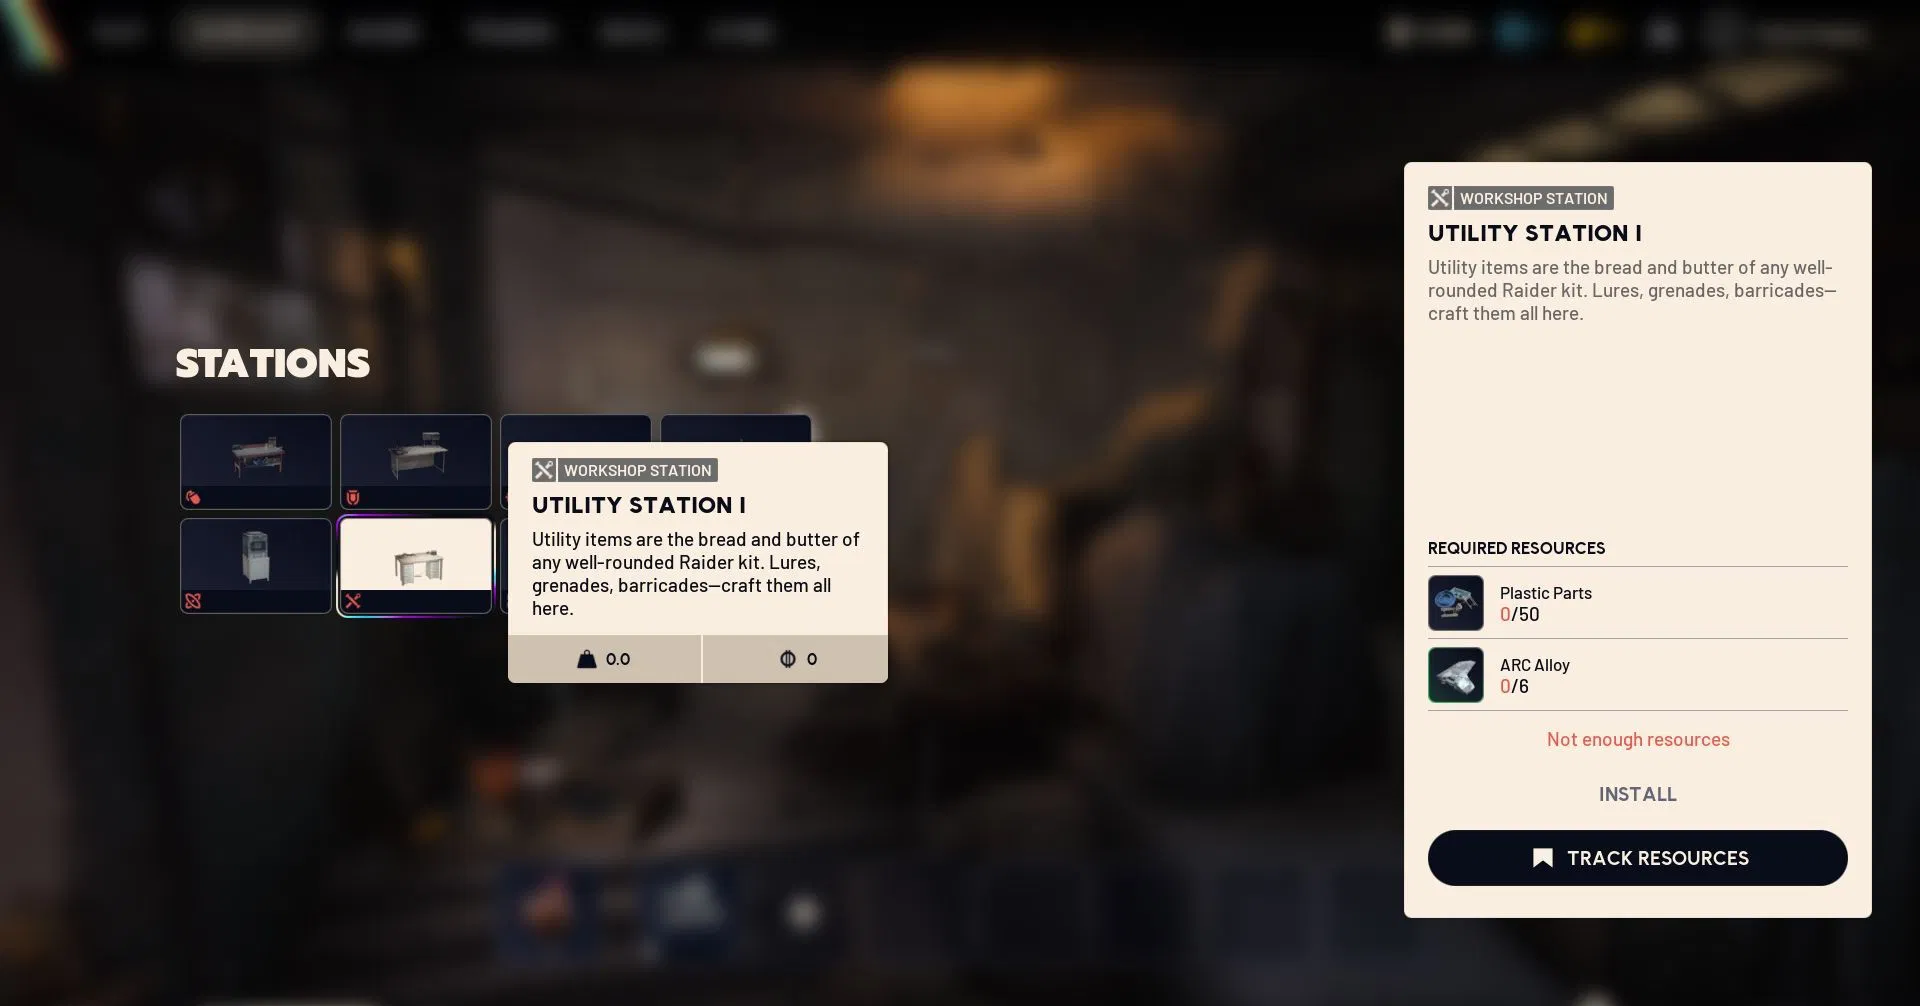
Gadgets here are situational but powerful when you plan around them. Raider Hatch Keys open faster, safer extraction points, barricades can stall chasers, and lures help misdirect ARC while you slip away. The spike in value comes as you push the station’s levels.
| Build cost | Early payoff | Upgrade targets |
|---|---|---|
| Plastic Parts ×50, ARC Alloy ×6 | Safer extractions via hatches; clutch barricades and distraction tools | Level 2 for Zipline routes; Level 3 for Photoelectric Cloak stealth plays |
Zipline placement creates semi-permanent routes between loot zones and exits. With Level 3, the Photoelectric Cloak adds a clean way to break contact or reposition for PvP without broadcasting your movement.
Priority 5: Explosives Station (crowd control when you need it)
If you lean on grenades and mines, this can climb your list; otherwise, it’s excellent but not essential before the first four. The station’s best tools control space, punish grouped enemies, and buy time during hot extractions—especially once you unlock specialized effects.
| Build cost | Early payoff | Upgrade targets |
|---|---|---|
| Chemicals ×50, ARC Alloy ×6 | Reliable grenades and mines to manage ARC swarms and doorways | Level 3 for Blaze Grenades and other area denial options |
Expect Rocketeer Drivers to gate some top-tier recipes. They come from flying bombardment drones that tend to spawn during higher-threat moments, so treat those farms as a mid-to-late game goal.
Priority 6: Refiner (the bottleneck breaker)
The Refiner is a station that compounds value rather than saving your life in the next raid. It converts common materials into advanced components, removing the late-game choke points you’ll hit when the other stations approach Level 3.
| Build cost | Early payoff | Upgrade targets |
|---|---|---|
| Metal Parts ×60, ARC Powercell ×5 | Limited early benefit; sets up smoother L2→L3 upgrades elsewhere | Level 2 for Advanced Electrical/Mechanical Components |
Hold this until your core combat kit is stable. Once you get here, it will quietly erase weeks of farm time by turning abundant basics into the rare pieces your Level 3 blueprints demand.
Blueprints, safe pockets, and upgrade flow
- Blueprints must be extracted to become permanent. If you die with one and it’s not in a safe pocket, it’s gone.
- Learning blueprints happens back at the workshop; check each station’s panel after a successful run.
- Don’t spread resources thin. Fully upgrading a few stations outperforms dabbling in all six.
Tip: stash rare materials and blueprints in safe pockets before you commit to risky routes or third-party fights. Protecting a single high-tier component can save multiple runs of farming.
Smart farming: where to find what you’ll actually need
| Need | Where to focus |
|---|---|
| Electrical components, tech parts, ARC circuitry | Spaceport |
| Mechanical components, industrial materials, metal parts | Dam Battlegrounds |
| Fabric, chemicals, fruit (for Scrappy upgrades) | Marano Park |
| Mixed materials, ARC unit drivers (Tick, Wasp, Rocketeer) | Abandoned facilities and high-threat patrols |
You don’t need to chase everything at once. Plan routes around your next station rank—if Gear Bench Level 2 is the goal, Fabric-heavy loops beat fighting for contested tech hubs.
Don’t forget Scrappy (passive materials between raids)
Scrappy sits in the workshop and periodically delivers materials. Upgrading him increases the cadence and quality of what shows up, which compounds over time and quietly funds the stations above. If you play in short sessions or hate grinding basics, push Scrappy early alongside your core stations.
Build Gunsmith and Gear Bench first to stabilize your loadouts, then add Medical Lab to keep those runs alive. Utility and Explosives are strong once you’re crafting to a plan, and the Refiner is your long-game accelerator when the other stations start asking for rarer parts. Keep blueprints in your safe pockets, extract consistently, and commit upgrades to Level 2 and Level 3 tiers where the real power lives.