
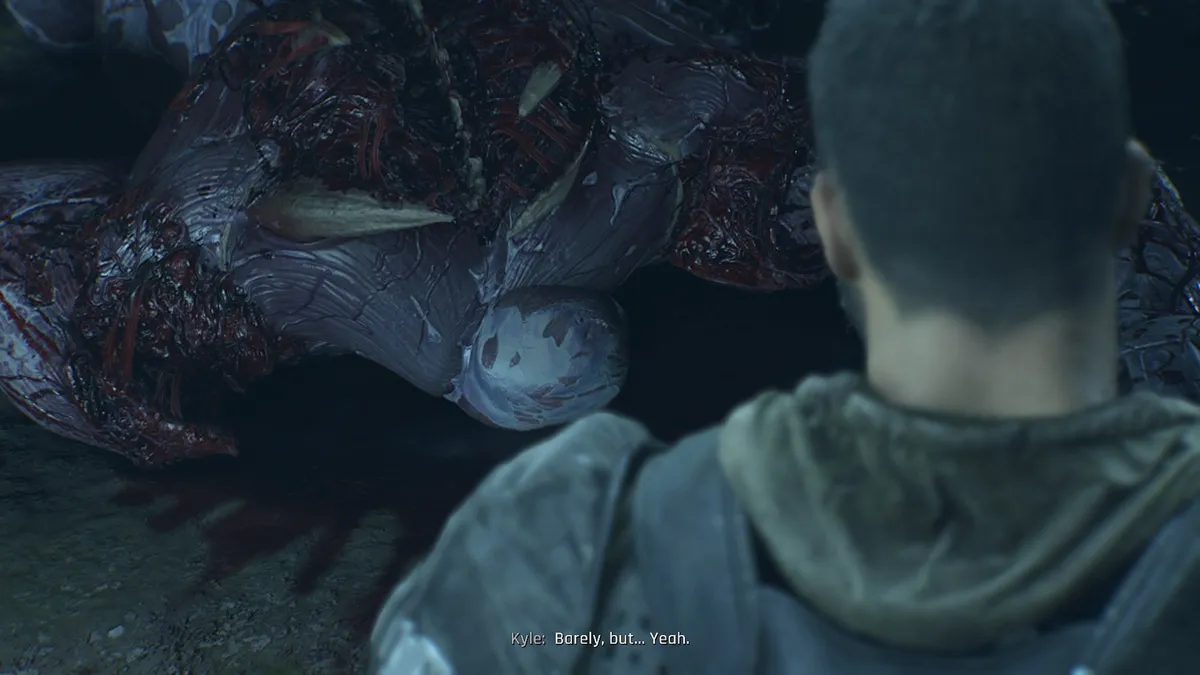
Chimera encounters gate story progression in Dying Light: The Beast. Every fight is tied to a main mission, so you won’t miss any, and each victory advances Kyle’s Beast abilities with new DNA. Use the sections below to see when each Chimera appears and follow reliable, low-risk tactics that fit the gear you’ll likely have at that stage.
Preparation and universal tactics
Before entering a boss arena, repair melee weapons, craft throwables, and restock quick-use heals. Chimeras frequently summon regular infected; those kills refill your Beast Mode meter, so managing add waves is part of every plan.
- Stay mobile and fight from angles that give long sightlines. This reduces surprise hits from adds and projectiles.
- Reserve Beast Mode for clear damage windows. Bursting a Chimera during recovery frames removes a large chunk of health safely.
- Carry at least one shotgun or high-damage firearm. Short, decisive bursts finish phases faster than sustained chip damage.
- Keep shock or fire mods on a fast melee option. Status damage continues to tick while you reposition.
- Favor quick heals like energy drinks when pressure is constant. Short use times get you back to movement sooner.
- Let Chimeras thin the herd if space is tight. Reclaim add kills later to top up your Beast meter when it’s safe.
Beast Skills and DNA Upgrades Gained from Beating Chimeras
| Beast Skill | Effect | Points Required |
|---|---|---|
| Charged Smash | Delivers a heavy ground smash that knocks enemies back. | 1 |
| Heavy Lift | Allows lifting huge objects and throwing them as weapons. | 1 |
| Furious Charge | Boosts sprint speed for faster movement or rush attacks. | 1 |
| Beast Controlled | Gives manual control over when Beast Mode activates. | 2 |
| Battering Ram | Turns Furious Charge into a tackle that knocks enemies aside. | 1 |
| Launch | Extends jump distance and height for greater mobility. | 1 |
| Beast Conquered | Activating Beast Mode now stuns nearby enemies. | 2 |
| Aerial Smash | Performs a midair smash that clears groups on landing. | 2 |
| Ferocious Swipe | Enhances Charged Smash with a spinning area attack. | 2 |
| Beast Unleashed | Restores extra health from attacks while in Beast Mode. | 2 |
| Hook Thrust | Enables Grappling Hook use during Beast Mode. | 2 |
| Agonizing Roar | Unleashes a roar that stuns enemies in the area. | 2 |
| Apex Predator | Lets you trigger Beast Mode before the bar is fully charged. | 3 |
Reaper (Safe Haven)
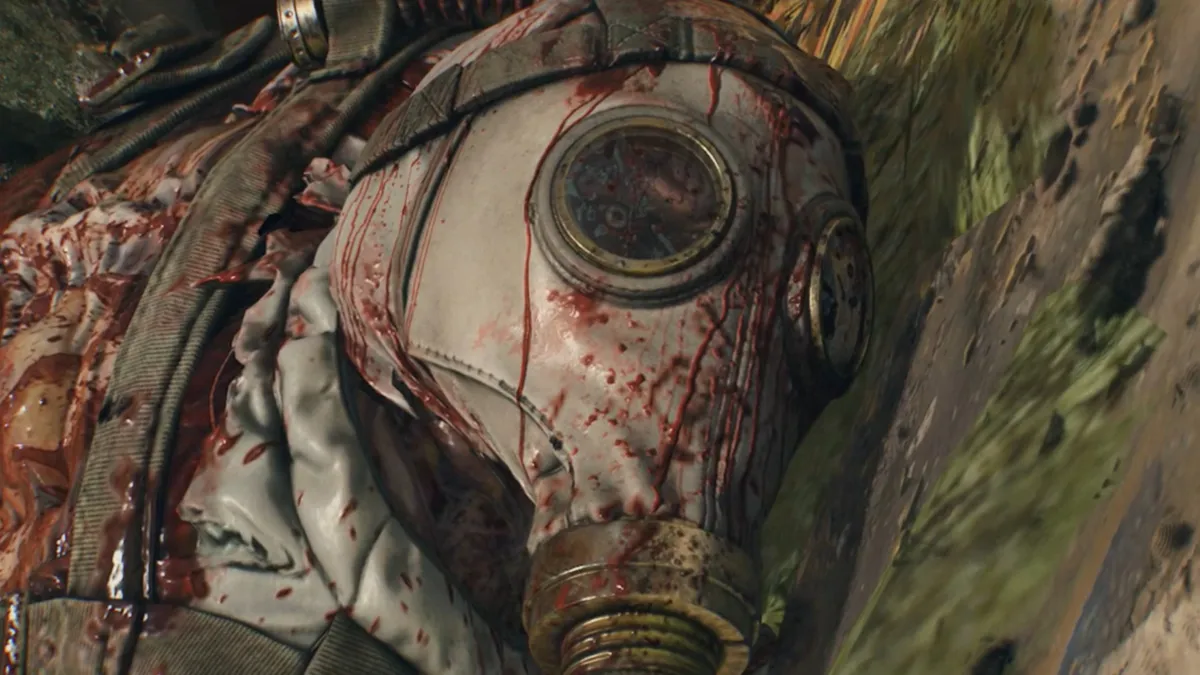
Reaper is the opener at the end of Safe Haven. Kyle’s kit is limited here, so focus on baiting predictable moves and exploiting wall impacts.
Step 1: Hold a medium distance to trigger straight-line rushes. This spacing produces clean, readable charges you can punish.
Step 2: Strafe late to make Reaper slam into walls or obstacles. The collision creates a brief stun that exposes the boss.
Step 3: Commit to heavy melee only during the stun window. Back out as soon as the recovery animation ends to avoid the counter.
Step 4: Clear summoned Biters immediately. These quick kills both open space and build your Beast Mode meter.
Step 5: Pop Beast Mode after a wall crash. The burst damage during a safe window shortens the fight without risk.
Defect (Life After Life)
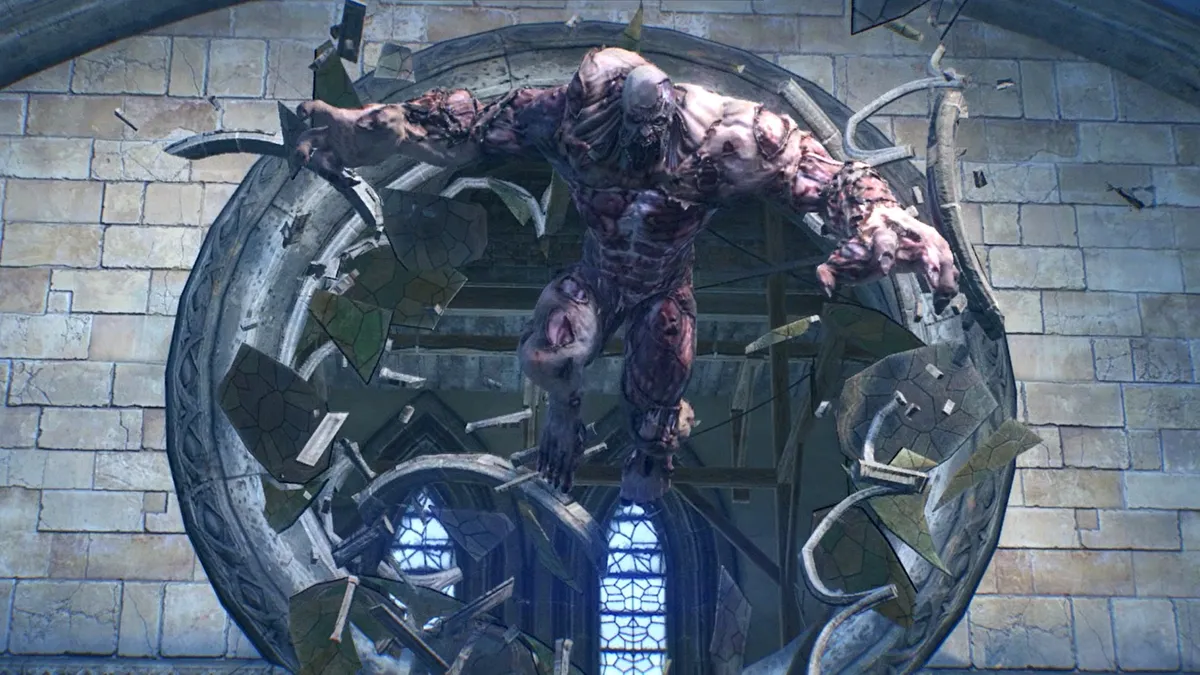
Defect hits hard and soaks damage. Expect ranged throws and ground shock from heavy swings inside the Town Hall sequence.
Step 1: Watch the torso wind-up and roll perpendicular to boulder throws. Side movement avoids both the arc and the impact splash.
Step 2: Use pillars and corners to break line of sight. Short peeks force Defect to reset aim, buying free reload and heal time.
Step 3: Cull adds to recharge Beast Mode. A steady feed of Biters turns the boss’s summons into your resource.
Step 4: Trigger Beast Mode only after a missed slam. The end of that animation gives the longest uninterrupted damage window.
Step 5: Finish with a shotgun at close range. Two to three clean blasts during recovery outperform light melee chip.
Mist (First Blood)
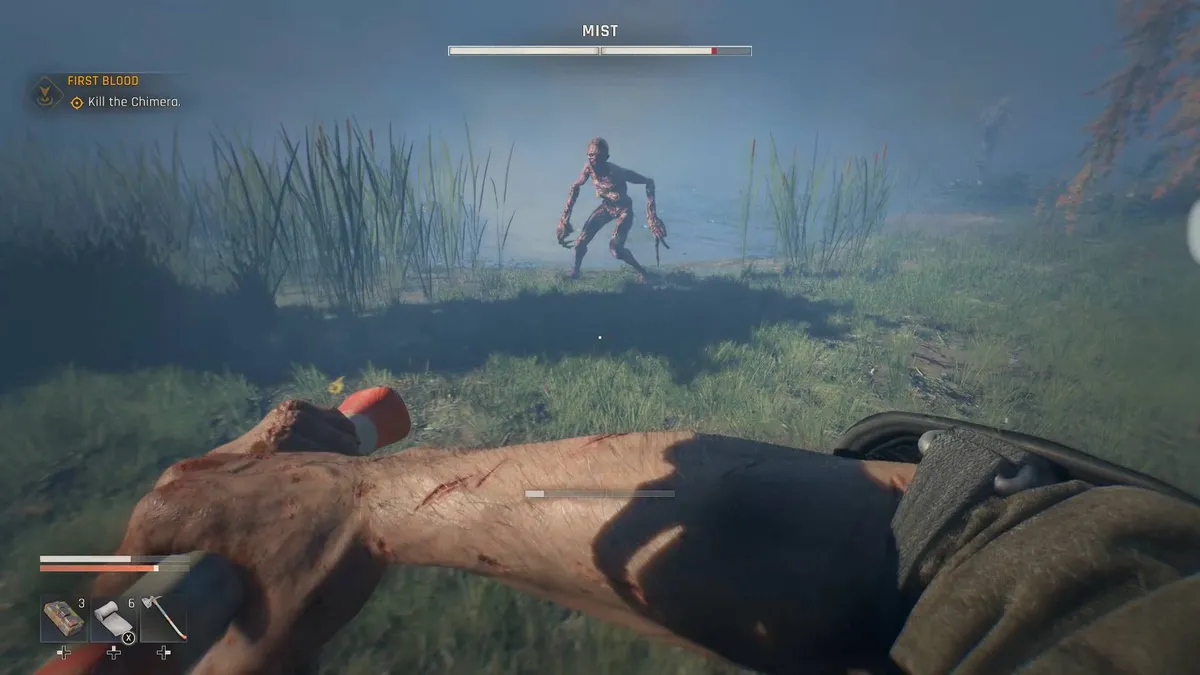
Mist uses corrosive vomit and disorienting smoke while hopping between targets. Movement discipline and ranged checks matter here.
Step 1: Strafe continuously to the side opposite her head turn. Lateral motion dodges the acid stream without requiring hard rolls.
Step 2: Avoid smoke clouds by rotating the arena clockwise or counterclockwise. Clear air gives you target visibility and safe footing.
Step 3: Tag Mist with a rifle or pistol during retreats. Brief shots prevent full resets and steadily chip health between bursts.
Step 4: Eliminate regular infected on sight to deny leapfrog attacks. Removing her springboards cuts off aerial pounces.
Step 5: Keep a heavy melee or shotgun ready for close engagements. A short, decisive burst when she stalls ends phases cleanly.
Behemoth (A New Strain)
Behemoth is a slow, punishing tank fought in a large arena after it is lured out with red smoke. The space favors measured ranged damage.
Step 1: Open at long range with a Marksman-style rifle. Head and shoulder hits at distance drain health while you stay outside sweep range.
Step 2: Kite along the arena’s perimeter to widen angles. Broad arcs force missed swings and keep adds grouped behind the boss.
Step 3: Swap to a fast melee only if you can hug the hitbox at the hip. Tight positioning causes wide arm swings to whiff over you.
Step 4: Spend Beast Mode after a two-hand slam. That recovery is long enough to land the full burst and step away safely.
Step 5: Reestablish distance immediately after your burst. Resetting range prevents accidental trades that waste heals.
Toxin (Toxic Relationships)

Toxin delivers fast movement and corrosive spit while rallying large add waves. Favor mobility and ranged punish over stationary trades.
Step 1: Keep a constant sidestep rhythm to dodge spit cones. Consistent lateral motion avoids damage without burning stamina on rolls.
Step 2: Prioritize guns, bows, and throwables for safe damage. Short bursts during pauses outperform chasing with heavy melee.
Step 3: Thin add packs whenever they reach striking distance. Controlled clear-outs prevent staggers that open you to spit.
Step 4: Use quick-use heals to top off after each spit graze. Fast recoveries keep your pace up and reduce time exposed.
Step 5: Deploy Beast Mode after a missed charge or stumble. Exploiting that gap avoids trading into lingering poison puddles.
Matriarch (Requiem For A Scream)
Matriarch fights in a dark, cluttered cement plant. She screeches to call reinforcements and darts behind cover; tracking and target priority are key.
Step 1: Close distance as soon as you hear the screech. Aggression prevents long summon phases that flood the arena.
Step 2: Track by sound and silhouette rather than chasing adds. Staying boss-focused shortens the fight and limits spawns overall.
Step 3: Use a shotgun at face range when she peeks from cover. High pellet density at point-blank quickly ends a health chunk.
Step 4: Activate Beast Mode only when standing shoulder-to-shoulder. The proximity ensures full uptime before her next leap.
Step 5: Reset line of sight behind a pillar after each burst. Brief breaks force her to re-engage on your terms.
Wraith (One Flew Over the Volatile’s Nest)
Wraith intermittently turns invisible in a Volatile nest. You can still force reveals and land safe damage with the right tools.
Step 1: Equip a shock- or fire-modded melee before entering. Damage-over-time helps track position even when visibility drops.
Step 2: Wait for the shimmer to approach and block or sidestep the opening swipe. The counter window appears immediately after the miss.
Step 3: Throw a grenade at your feet when Wraith vanishes nearby. The blast forces a reveal and buys a guaranteed punish.
Step 4: Favor melee combos over precision gunfire. Close-range swings land reliably while the target blinks in and out.
Step 5: Swap to a shotgun when the reveal is obvious. A single close blast during a reveal removes significant health safely.
Colossus (Buried Truths)

Colossus is the capstone: heavy slams, charge patterns, and corrosive spit combined. You’ll need the full arena and your full kit.
Step 1: Begin at range to map out its move set. Observing slam timing and charge angles reduces early, unnecessary heals.
Step 2: Bait a charge and sidestep to force a long recovery. This move creates the most dependable punish window.
Step 3: Break line of sight after spit wind-up by cutting a corner. Terrain cancels corrosive arcs and prevents chip damage.
Step 4: Use Beast Mode only after a wall impact or missed dash. Spending meter in those windows guarantees full value without trades.
Step 5: Clear a small pocket of adds when your space gets cramped. Securing a safe cone behind you prevents stuns during boss swings.
Step 6: Rotate weapons as phases change, finishing with shotgun bursts at close range. Short, decisive damage closes the fight without risky over-extensions.
All eight Chimeras are story-locked, so pacing is set; what you control is your damage windows and crowd management. Refill ammo between missions and pre-mod a fast melee option so every arena opens on your terms.