
Melee weapons wear down with every hit in Dying Light: The Beast, while guns and bows don’t need maintenance. Use the steps below to repair your favorite melee tools, understand the repair limits, and keep a steady supply of Scrap to cover the cost.
Method 1: Repair from the Inventory (safest)
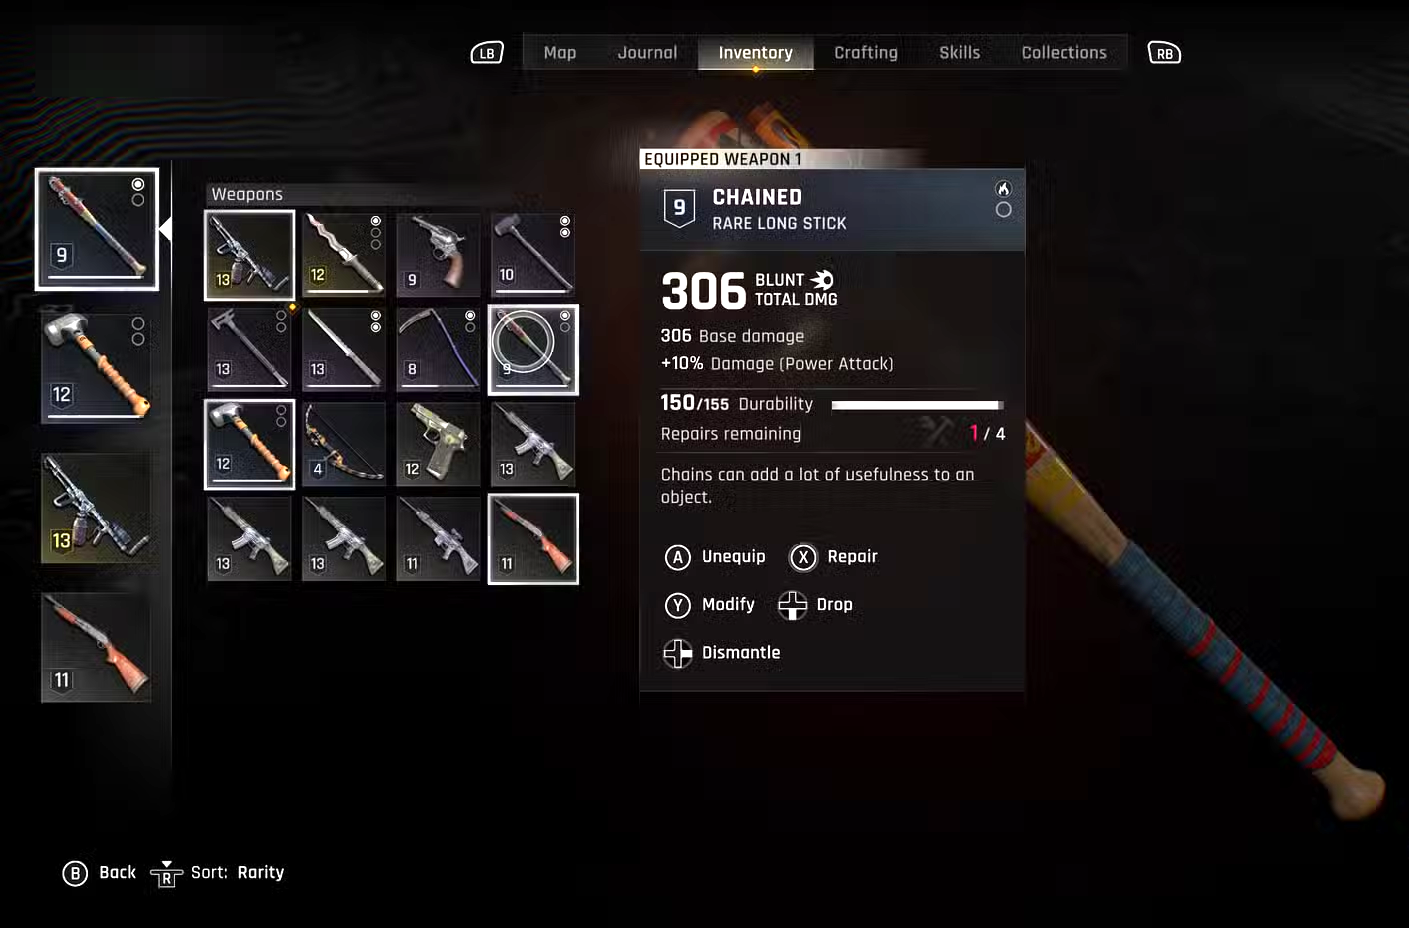
Step 1: Open your inventory when you have a moment to breathe. Managing repairs here is calmer than doing it mid-fight and reduces the chance of getting hit while you fumble with menus.
Step 2: Highlight the worn weapon. Check its Durability bar and look for “Repairs” remaining just below it so you know how many more times it can be fixed.
Step 3: Hold R to repair. This spends Scrap and restores the weapon to full durability without changing the number of repair uses left.
Method 2: Quick Repair from the Weapon Wheel (during combat)
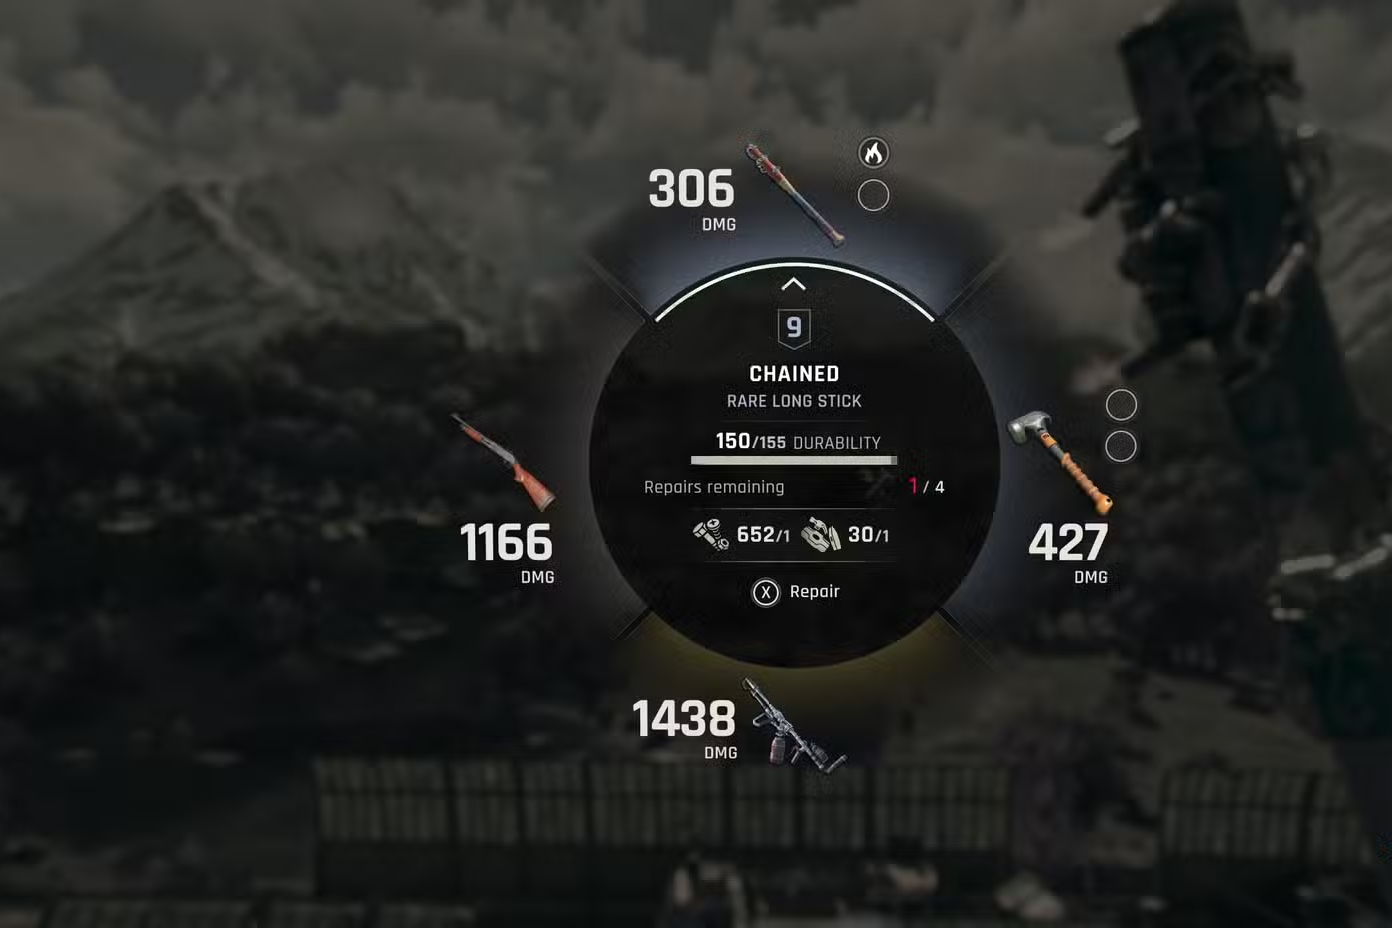
Step 1: Open the weapon wheel while you’re in a fight or on the move. This method lets you repair without leaving the action.
Step 2: Hover over the weapon that’s about to break. Keep an eye on nearby enemies so you don’t get grabbed.
Step 3: Hold the on-screen repair button prompt—X on Xbox or Square on PlayStation. Time only slows here; it does not fully pause, so create a little space before you commit.
Method 3: Refill Durability at a Workbench (does not add repair uses)
Step 1: Go to a workbench in a safe area. This is useful when a weapon you like is low on durability and you want to keep using it.
Step 2: Choose the weapon and apply an “Enhance” upgrade. This upgrade can improve stats and will refill the durability bar to full.
Step 3: Confirm the upgrade and check the “Repairs” line. The refill does not restore or increase your remaining repair count, and each weapon can only be upgraded a limited number of times.
Repair Limits and Costs Explained
Before you sink resources into a weapon, keep these rules in mind:
- Most melee weapons can be repaired about three times; rarer or higher-tier pieces often allow roughly four repairs.
- Repairs cost Scrap. Costs are usually modest, but higher-tier weapons consume more Scrap per fix.
- Scrap is common, so routine repairs are sustainable if you keep looting.
- You can repair a weapon at 0 durability as long as it still has at least one repair use remaining.
- Upgrading or “Enhancing” at a workbench refills the durability bar but does not add more repair uses.
- Ranged weapons (guns, bows, crossbows) do not lose durability and never need repairs.
How to Get Scrap Quickly
Scrap fuels every repair. Build a steady surplus with these reliable sources:
- Search containers like trash cans, toolboxes, and lockers across Castor Woods.
- Loot enemy bodies whenever it’s safe to do so.
- Dismantle unwanted weapons in your inventory to convert them into Scrap.
- Buy small amounts from vendors if you’re short; prices are usually low.
Keep an eye on the Durability and “Repairs” lines, top up with Scrap often, and rotate between common and rare weapons as fights demand. You’ll keep your favorites swinging far longer without running dry mid-mission.