
Lockpicking gates off high‑value loot and some story progress in Dying Light: The Beast. The minigame rewards calm, precise input; with a few repeatable techniques and a steady supply of lockpicks, you’ll open even tough locks without burning through your resources.
How the lockpicking minigame works
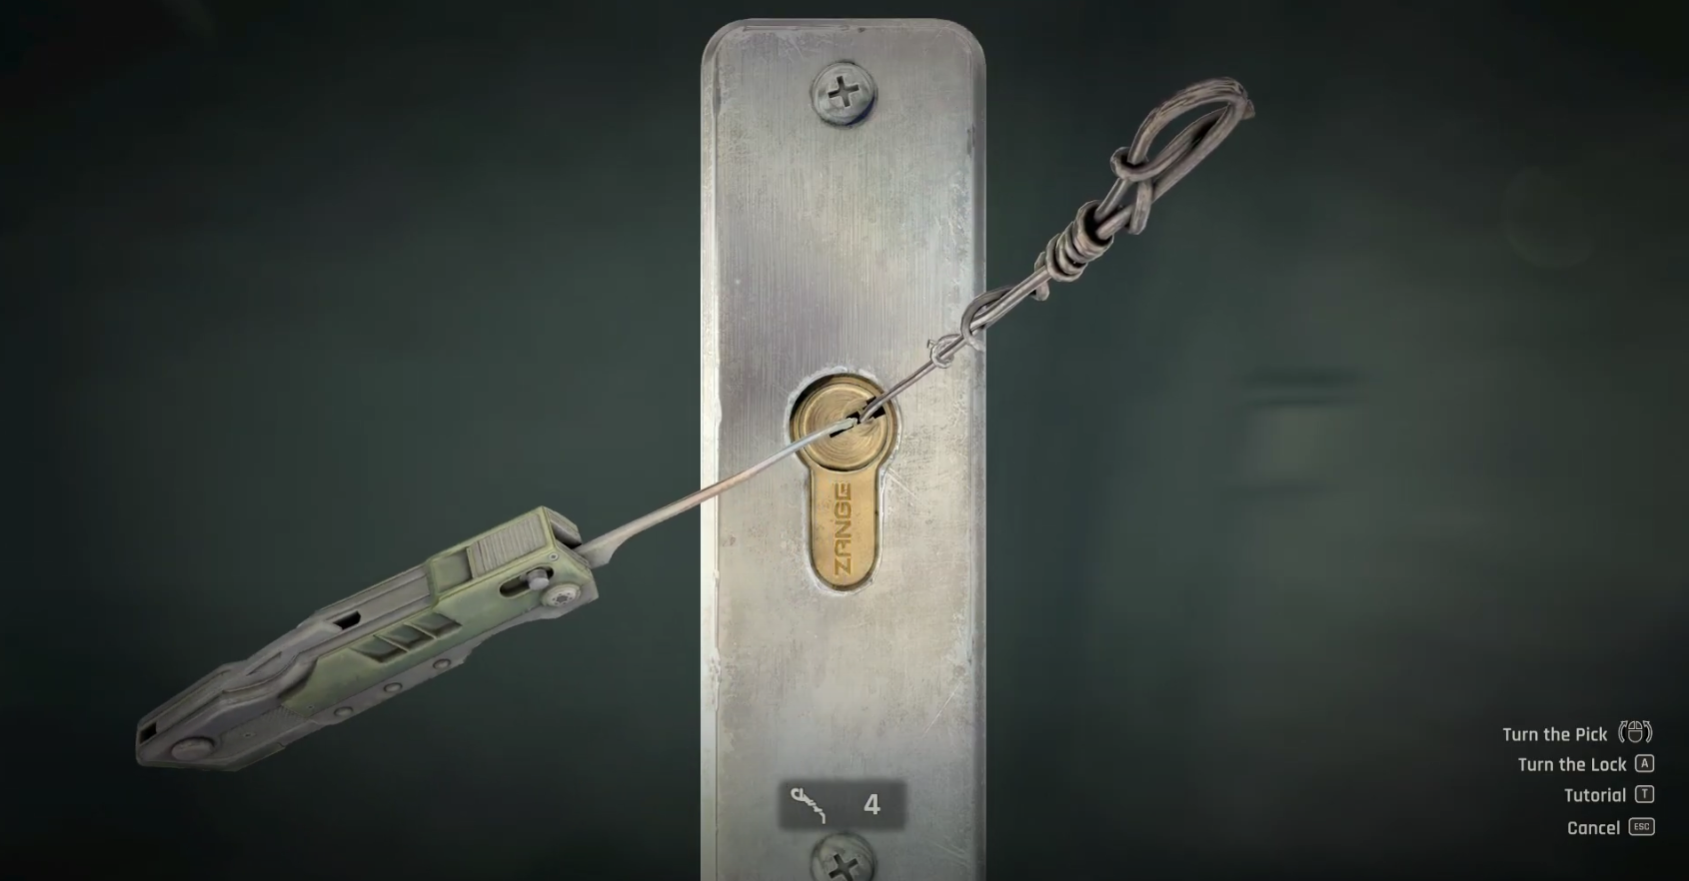
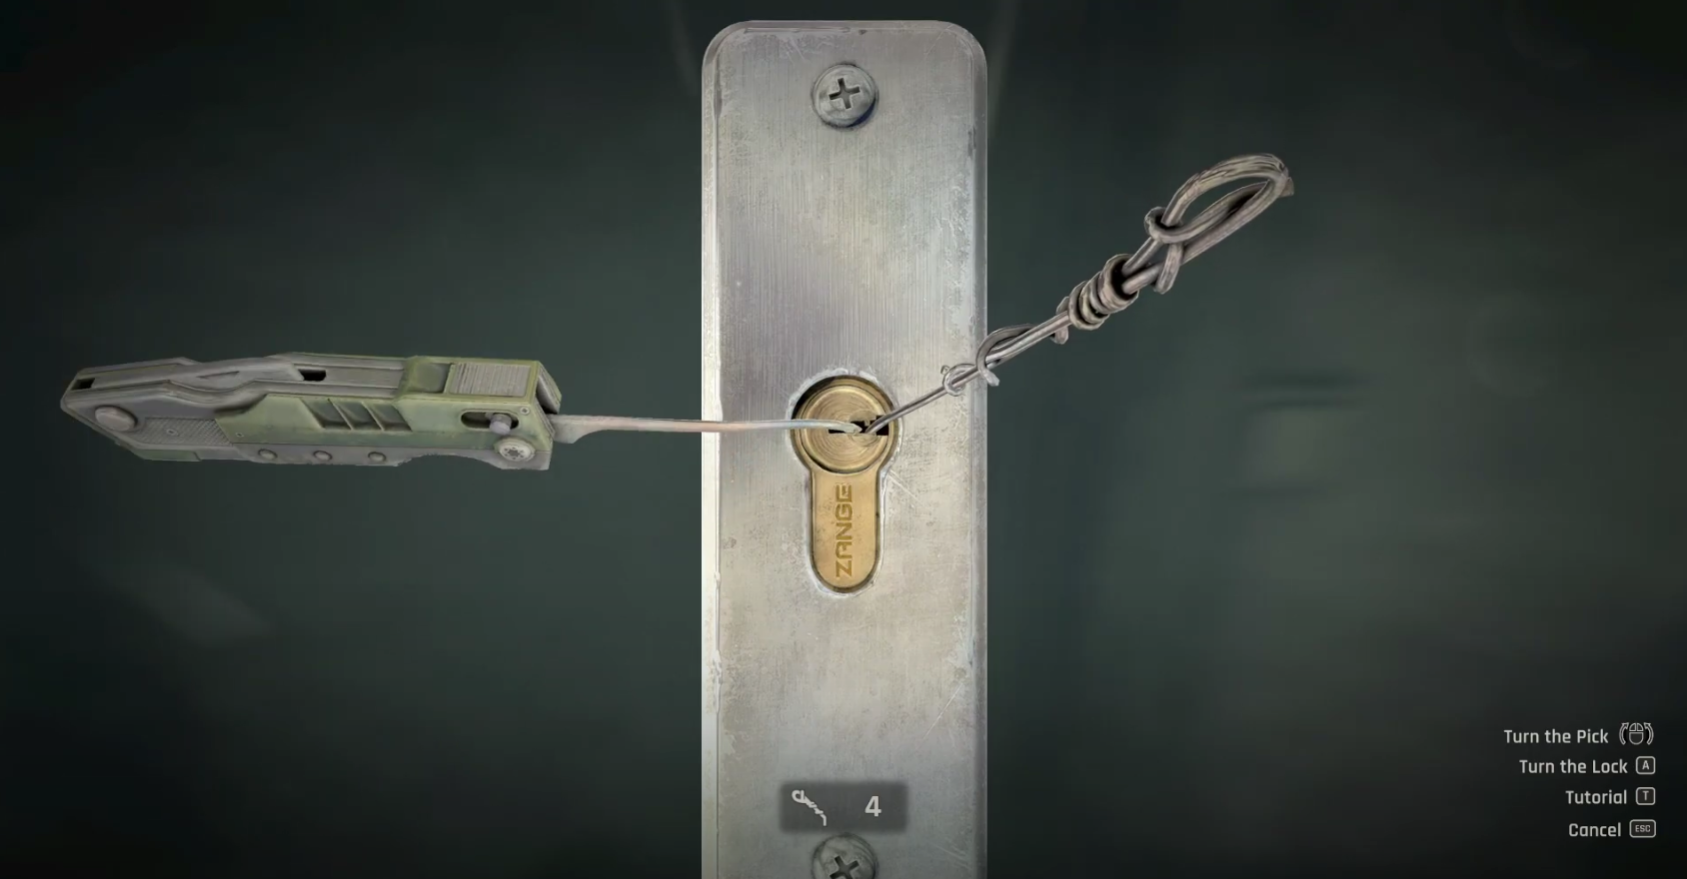
The goal is to set the pick to the lock’s “sweet spot” angle, then rotate the lock without meeting hard resistance. Easier locks tolerate a wider angle; harder locks require fine adjustments and patience. For most players, broken picks happen when forcing the lock while the pick is misaligned—so read the feedback carefully and stop the moment resistance ramps up.
Step 1: Interact with a locked container or door to start the minigame. Position yourself so you won’t be bumped by enemies mid‑attempt; interruptions reset your progress and waste time.
Step 2: Set your pick angle. On keyboard, use WASD to move the pick. On controller, use the left thumbstick. Start at an extreme (far left or far right) or the center so you can methodically test positions.
Inputs (default)
Pick angle: WASD / Left stick
Rotate lock: Mouse / Right stick
Step 3: Test the lock. On mouse, rotate with small, slow movements; on controller, nudge the right stick. If you feel immediate resistance or the cursor shudders, stop—this is the game telling you the angle is wrong.
Step 4: Make micro‑adjustments. Move the pick a few degrees, then retest. The closer you get to the sweet spot, the farther the lock will rotate before pushing back. Use this “distance before resistance” to converge on the correct angle.
Step 5: Finish the rotation only when resistance is minimal. Forcing past heavy resistance breaks the pick quickly, especially on higher difficulties where tolerances are tight.
- If your controller’s haptics feel stronger on one side, move the pick toward the quieter side. Some players find this provides a directional hint on tougher locks.
- Lowering mouse sensitivity can make fine adjustments easier on PC.
Crafting lockpicks anywhere
You never need to run dry. Lockpicks are quick to craft from commonly found materials, and you can do it from the field to keep opening containers without backtracking.
Step 1: Open the crafting menu. Find the Lockpick under the Gadgets category. You can also use a workbench if you’re already at one, but it isn’t required.
Step 2: Craft lockpicks using Scrap. Each lockpick costs 3x Scrap. This low cost means you can replenish mid‑mission with minimal downtime.
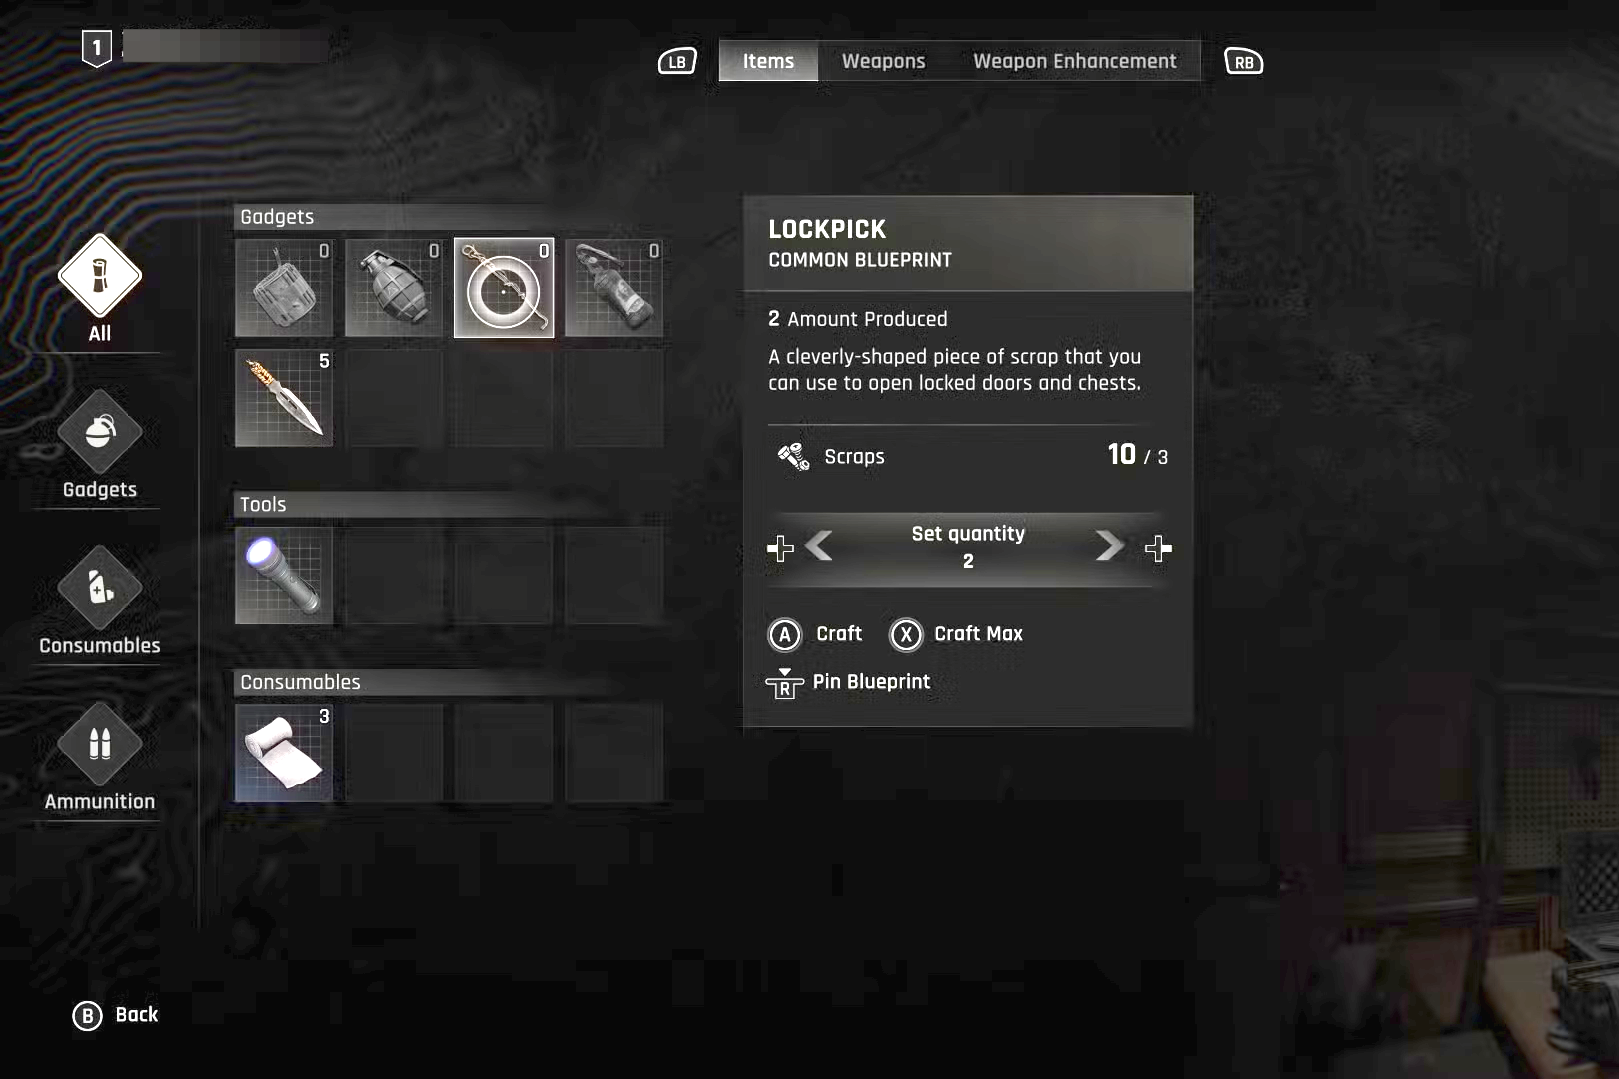
Step 3: Build a buffer before long runs. Queue‑craft 10–20 picks so you can focus on exploration rather than pausing to craft after every few locks.
Step 4: Keep your Scrap flowing. Dismantle worn melee weapons you don’t plan to repair to recover Scrap, and loot thoroughly—Scrap appears frequently in containers and on shelves. This keeps crafting costs negligible over time.
Open more locks with fewer broken picks
These habits reduce failures and speed up each attempt, particularly on hard and very hard locks.
Step 1: Control the environment. Clear nearby enemies and pick during daylight when possible; tougher infected roam at night and interruptions are common. Rest at a safe area to switch back to day if needed.
Step 2: Use Survivor Sense to scan first. Mark loot, hazards, and enemies so you aren’t surprised mid‑minigame. This is especially helpful in Dark Zones and busy interiors.
Step 3: Use the “three anchors” method. Test far left, center, and far right angles. Whichever anchor lets you rotate furthest without pushback is your starting lane; refine within that lane with tiny moves.
Step 4: Back out before a break. If you meet heavy resistance and your pick has already taken some strain, cancel the minigame, re‑enter, and resume testing from a fresh angle. It preserves picks and often shortens the path to the correct position.
Step 5: Slow is fast on higher difficulties. Rushing the rotation is the most common cause of breaks. Micro‑movements and immediate release at the first sign of pushback cut failures dramatically.
Field checklist
- Carry a baseline of 10–20 lockpicks before night runs or Dark Zones.
- Convert spare weapons to Scrap instead of hoarding low‑durability items.
- Scan with Survivor Sense, then start picking from a safe posture (back to a wall or corner).
- Use deliberate testing and stop rotating at the first strong resistance.
Mastering the feedback loop—angle, test, adjust—turns even very hard locks into a short, repeatable routine. Keep Scrap on hand, craft on the fly, and you’ll rarely walk past a locked cache again.