
Upgrading your base in Escape Tsunami for Brainrots is what turns a handful of decent brainrots into a compounding money engine. Done badly, it just drains cash you should have put into speed or a top-tier item. Done correctly, it quietly multiplies everything else you do.
How base upgrades work in Escape Tsunami for Brainrots
Your base is where brainrots sit and generate money-per-second. Each slot holds one brainrot, and each floor adds a new set of slots. More slots let you park more earners, but every upgrade competes with three other sinks: brainrot upgrades, speed, and rebirth requirements.
Base upgrades happen in-world, not through a menu. Outside your base there is a signboard that controls expansion.
Step 1: Walk up to the signboard that sits just outside your base entrance. Get close enough for the interaction prompt to appear.
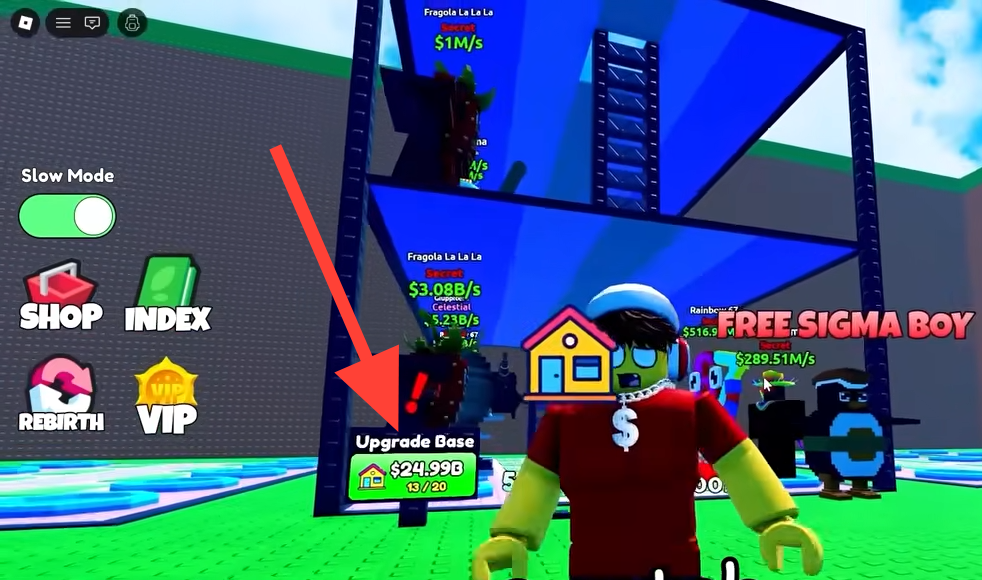
Step 2: When the prompt is active, click on the board. This opens the upgrade interface for your current floor and any new floors that are unlocked by money.
Step 3: Confirm the purchase if you have enough money. The game will add new slots or unlock the next floor layout, and you can immediately place more brainrots.
Each subsequent upgrade costs more than the last. That rising cost is why timing matters more than simply “buy every slot as soon as you can.”
When to upgrade base slots versus upgrading brainrots
Every dollar you put into a base slot is a dollar you are not putting into higher money-per-second on an existing brainrot. To keep progress smooth, treat each purchase in terms of how quickly it pays itself back.
Early on, a single strong brainrot upgrade usually gives a much faster return than a fresh slot plus a mediocre new item. The goal is to avoid having many weak earners taking space and cash away from one or two that could be hyper-upgraded.
A simple rule works well:
- Prioritize individual brainrot upgrades when your best items are still cheap to level and you have at least a few empty base slots.
- Shift money into new slots or floors once your top earners become expensive to upgrade and you regularly hit a full base with better brainrots still in your inventory.
Tip: If buying an extra slot means you cannot afford a meaningful upgrade on your best brainrot, delay that base upgrade. The top earner’s scaling matters more than parking another low-tier item.
Recommended spending split for base slots and floors
The easiest way to avoid a dead economy is to keep a rough spending split across three buckets: upgrading your best brainrots, expanding the base, and buying utility (speed, carry capacity, rebirths).
| Stage | Best brainrot upgrades | Slots & floors | Speed / carry / rebirth |
|---|---|---|---|
| Early game | 65–80% | 10–20% | 10–20% |
| Midgame | 55–70% | 15–30% | 10–25% |
| Endgame | 65–85% | 10–25% | 5–15% |
These ranges keep your money-per-second climbing while still making room for new slots. If you feel stuck with a full base and lots of unplaced brainrots, slide temporarily toward the higher end of the slot/floor range for your stage.
How to decide you actually need more slots
Buying slots too early is a common stall. The game punishes that by leaving you with a wide but shallow base of weak earners and no cash to power up the good ones.
You usually want to increase slots when at least one of these is true:
- You finish several runs in a row with strong brainrots in your backpack and zero free base slots.
- Your best 3–5 brainrots are already at upgrade levels where each new rank is very expensive compared to a floor or slot unlock.
- Your income graph feels flat even though your routing and survival have improved.
On the other hand, hold off on base expansion when:
- You still have empty slots but rarely fill them with anything valuable.
- Your best brainrot is cheap to upgrade relative to a slot or floor cost.
- Most of your deaths come from bad wave timing rather than lack of income.
Think of slots as multipliers on work you are already doing. If you are not yet consistently finding strong items to put into them, you are multiplying almost nothing.
Carry capacity, risk, and how fast you can actually fill new slots
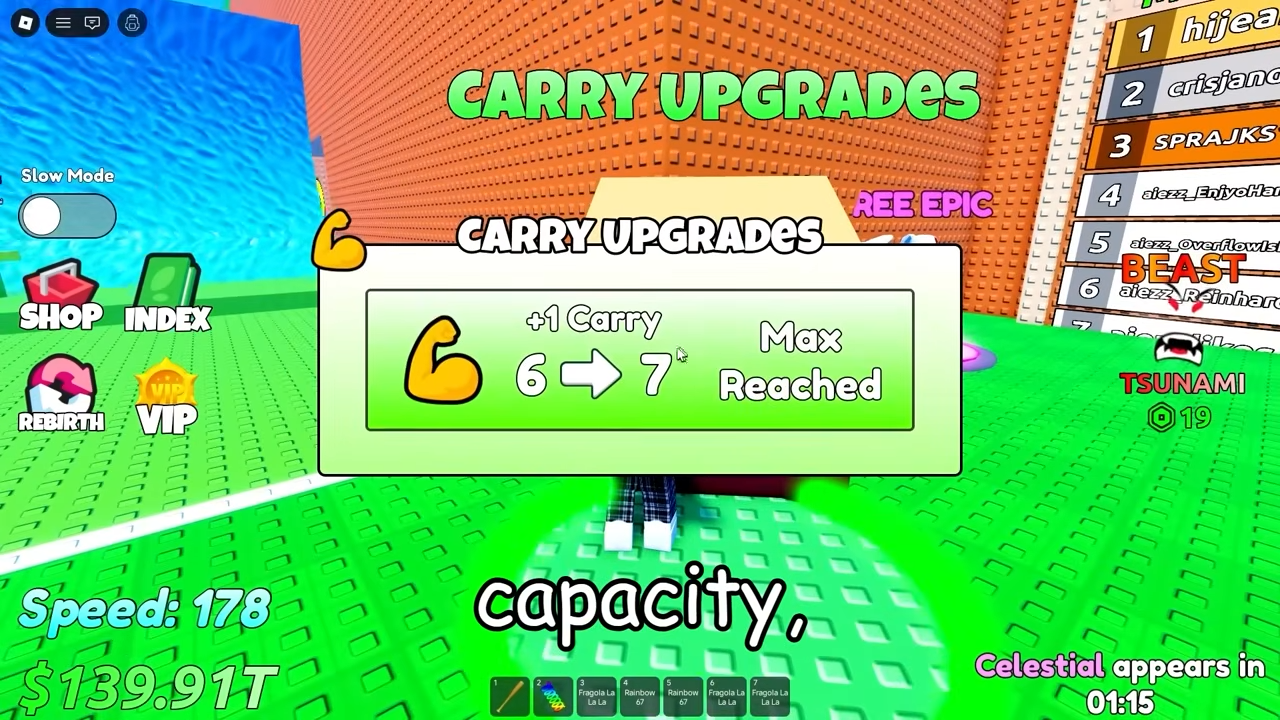
More slots are only useful if you can bring brainrots home consistently. Carry capacity looks like a natural complement to base upgrades, but it also multiplies your mistakes. You need a stable survival rate before you plan for a high throughput base.
| Situation | Recommended carry | Comment |
|---|---|---|
| Learning and dying often | 1 item | Reduces wipe risk and helps you respect despawn timers. |
| Stable survival | 2 items | Best profit-to-risk ratio for most players. |
| Confident wave reading | 3 items | Strong income spike but punishes any mistake. |
| Safe cycles or VIP side paths | Max capacity | Use only when routes are clearly safe and waves are slow. |
If you often die holding several rare brainrots, you are not ready to scale your base around high carry usage. Drop back to 1–2 items per run, tighten your route, and only then worry about how many slots your base has.
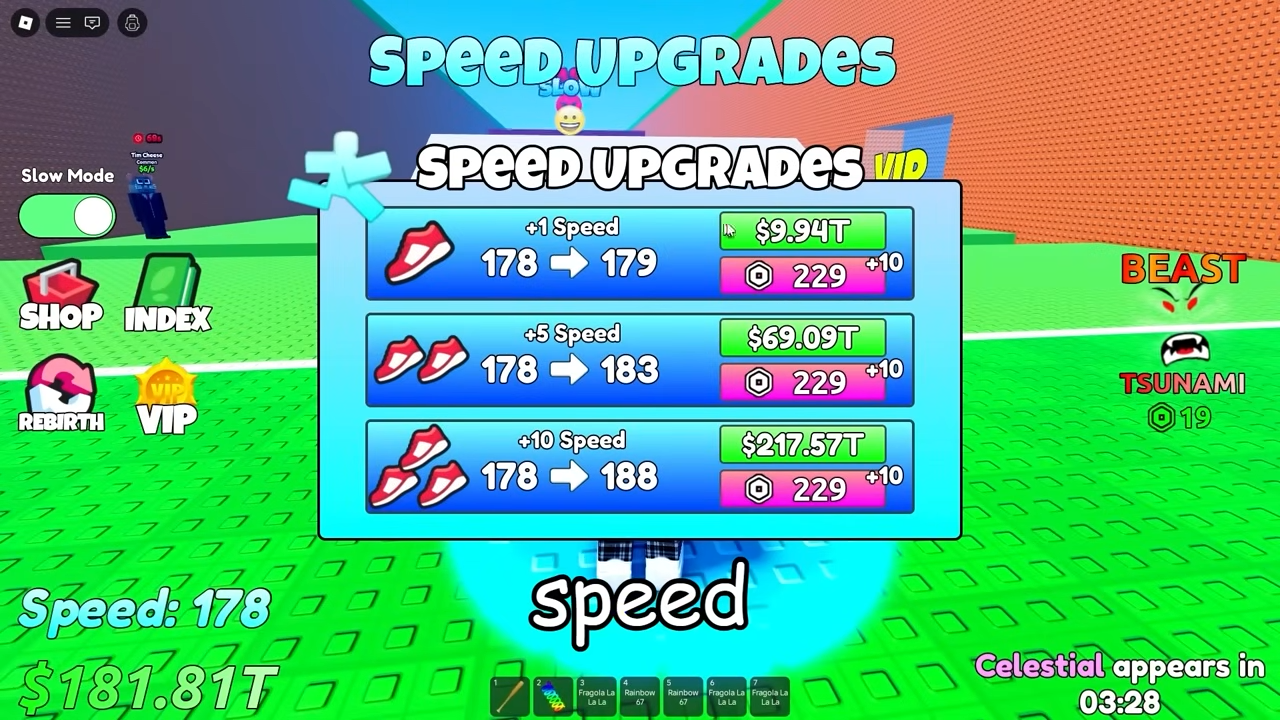
Speed, wave timing, and why they matter for base progression
Speed upgrades and base upgrades share the same currency, but their relationship is indirect. Speed controls how far down the track you can safely go and how many high-value brainrots you can realistically bring back before despawn timers expire.
There is a trap here. Higher speed lets you reach better zones, but it also makes it easier to run straight into slow waves that you would once have naturally avoided. When that happens, you lose time, and the brainrots lying in the track expire while you are respawning.
A practical pattern is to buy speed in chunks, then pause and test:
- If your death rate jumps after a speed bump, stop buying speed and rework your route until survival is stable again.
- If survival remains high and you consistently hit the back of the track with time to spare, consider the next speed tier.
Base upgrades work best once you have enough speed to hit your preferred farming zone without flirting with despawn timers on every run. Otherwise, you pay for floors that you cannot realistically fill with high-quality items.
How rebirth interacts with your base and slots
Rebirth sits on top of everything: money, base layout, slots, and placed brainrots. In Escape Tsunami for Brainrots, rebirth is triggered through the dedicated button on the left side of the screen once you meet a speed threshold, not a money threshold.
Step 1: Upgrade your speed until the Rebirth button shows you have reached the required level for the next rebirth tier (for example, Speed 40 for Rebirth 1, Speed 50 for Rebirth 2, and so on in steps of 10).
Step 2: Click the Rebirth button to bring up the rebirth panel. This panel lists your current speed requirement, the money multiplier you will receive, and the large purple confirm button.
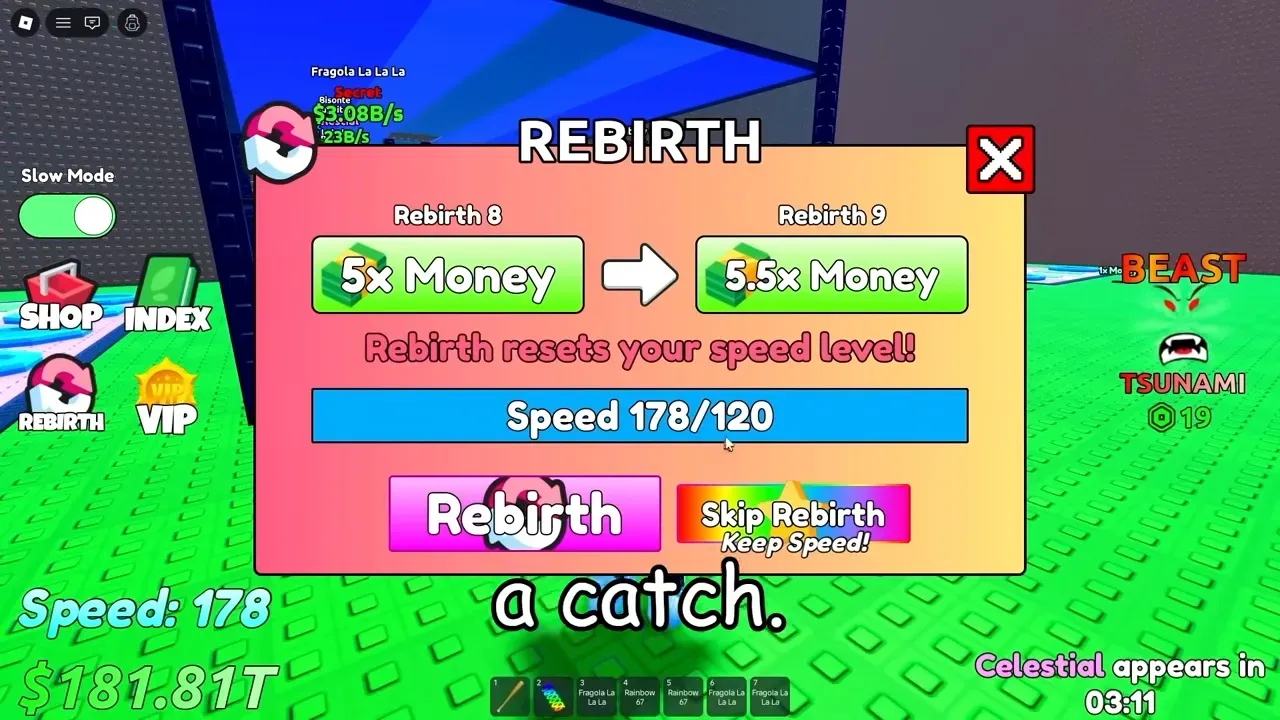
Step 3: Confirm the rebirth. Your speed upgrades reset to zero, but your base, money, brainrots, and carry upgrades stay intact. The new money multiplier then applies to your existing base setup.
| Rebirth | Speed required | Money multiplier |
|---|---|---|
| 1 | 40 | 1.5x |
| 2 | 50 | 2x |
| 3 | 60 | 2.5x |
| 4 | 70 | 3x |
| 5 | 80 | 3.5x |
| 6 | 90 | 4x |
| 7 | 100 | 4.5x |
| 8 | 110 | 5x |
| 9 | 120 | 5.5x |
| 10 | 130 | 6x |
| 11 | 140 | 6.5x |
Because rebirth only strips speed, it pairs naturally with a strong base and expanded slots. The more high-value brainrots you have down when you trigger a rebirth, the faster you can re-buy the lost speed upgrades under the new multiplier.
The key decision is timing. If the cost of a rebirth would delay crucial upgrades on your best brainrot or a needed floor, hold off. Rebirth is a force multiplier, not a replacement for a solid base.
Putting it all together for late-game scaling
Once you are farming deeper zones and flirting with elite spawns, the way you use your base shifts. You are no longer trying to fill every slot with anything you can grab. Instead, you cherry-pick high money-per-second brainrots and get them down in the base as fast as possible.
Runs become tighter: you scan for nearby elite items, grab the best one or two, and immediately turn back. That keeps despawn timers from burning your profit and keeps your inventory cycling into base slots instead of sitting half-full and at risk.
At this stage, two habits matter more than anything else:
- Keep pouring the majority of spending into your best earners so each new rebirth multiplier hits a high baseline.
- Add floors and slots only when you have a clear plan to fill them with strong brainrots rather than padding with weak ones.
If you treat every base upgrade as an investment that needs a real payback window, the game stops feeling like a slow grind and starts to look like a series of deliberate jumps in income. Your base, not your sprint speed, becomes the thing that quietly wins the arms race.