
Switch Airplane Mode on for at least 15 seconds, then turn it off to force the modem to re-register. If your iPhone still shows No Service after updating to iOS 26, use the methods below to systematically reattach to your carrier network and correct settings that commonly break during updates.
You might see No Service, SOS, or Searching in the status bar, calls that fail immediately, or data icons (4G/5G) that never appear even with signal bars. Early iOS 26 beta builds have shown intermittent cellular failures after restart, especially on some iPhone 13 models, but the steps here apply to stable builds as well.
Before you start
- Confirm coverage and outages with your carrier’s status page or support line.
- Make sure Airplane Mode is off and your cellular line is turned on in
Settings > Cellular. - If you see SOS, emergency calls may still work in supported regions.
Method 1: Enable Airplane Mode and restart
Step 1: Turn on Airplane Mode for no less than 15 seconds. This forces the baseband to drop its registration and request a fresh attachment when you turn it off.
Step 2: Restart your iPhone once. A clean boot clears transient modem and radio stack glitches that sometimes follow major updates.
Step 3: Toggle your line off and on. Go to Settings > Cellular > your line and turn it off, wait 10 seconds, then turn it back on to trigger a new network session.
Method 2: Install pending carrier settings
Step 1: Connect to Wi‑Fi. Carrier settings prompts typically require a data connection to download and apply updated configuration.
Step 2: Open Settings > General > About. If an update alert appears, install it to update your carrier bundle and roaming tables.
Step 3: Verify the carrier version. Still in About, check the Carrier field to confirm it refreshed; then wait 1–2 minutes for service to return.
Method 3: Refresh your SIM or eSIM registration
Step 1: For a physical SIM, eject the tray, inspect the SIM for damage, and reinsert it carefully. A reseat forces the device to reinitialize SIM authentication.
Step 2: For eSIM or Dual SIM, open Settings > Cellular, tap the affected line, and turn the line off, then back on after 10 seconds. This re-requests network credentials for that profile.
Step 3: If the line still won’t register, contact your carrier to re-provision the eSIM or issue a new SIM. Ask them to check for blocks, IMEI restrictions, or plan issues that would prevent attachment.
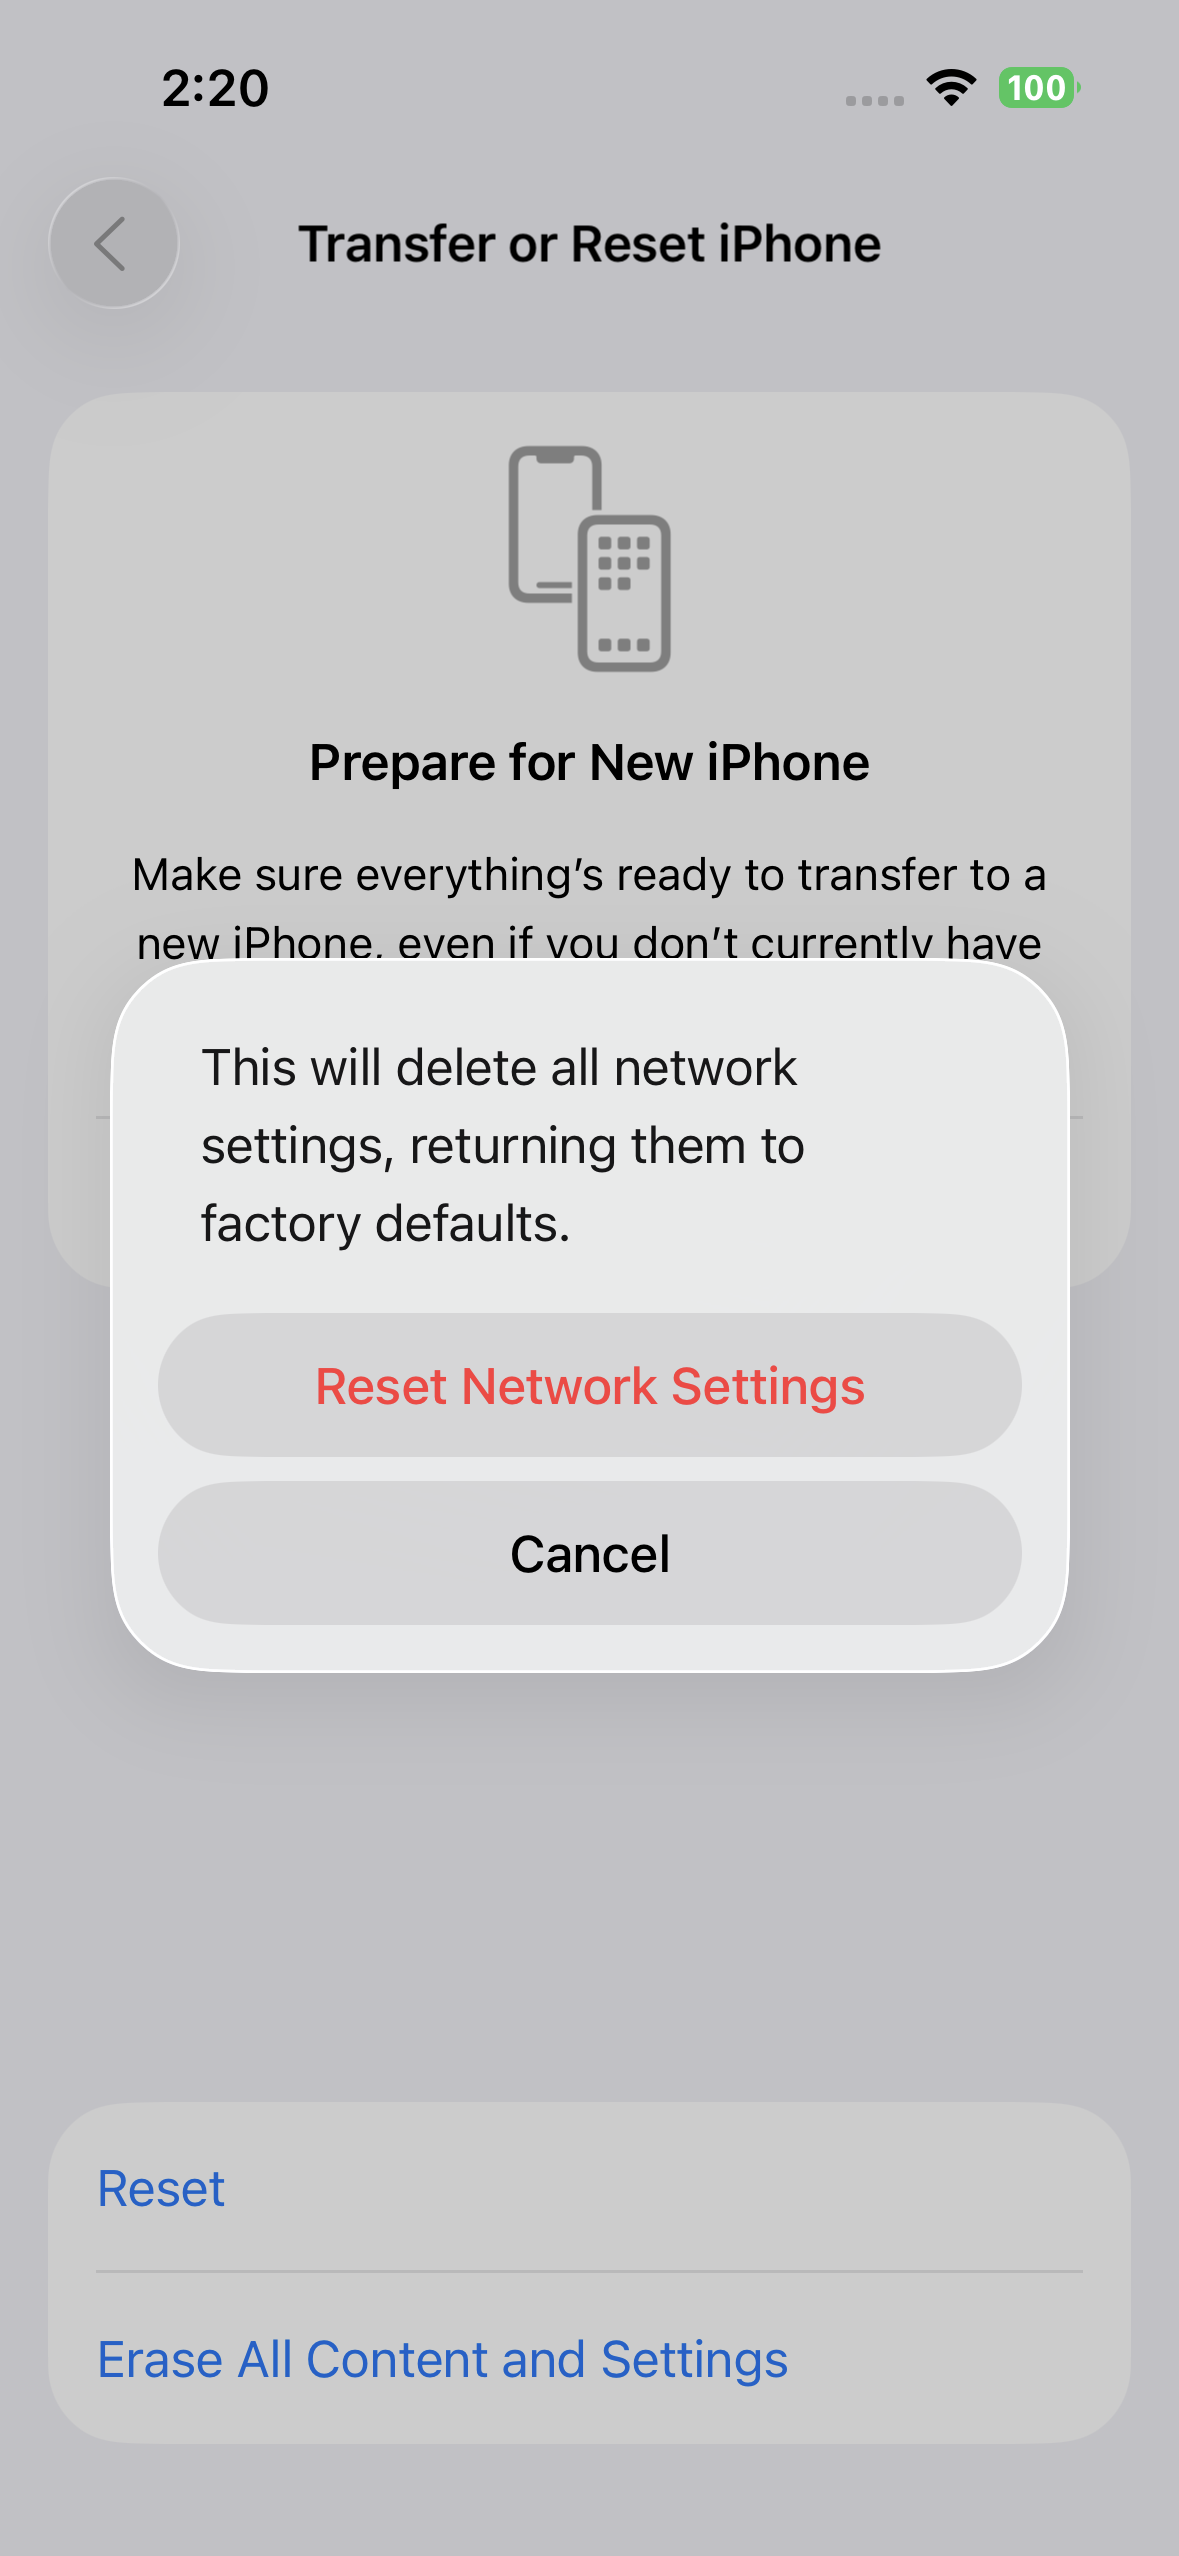
Method 4: Reset network settings (common fix)
This reset clears saved Wi‑Fi networks, VPN/APN entries, and paired Bluetooth devices but keeps your apps and data.
Step 1: Go to Settings > General > Transfer or Reset iPhone > Reset > Reset Network Settings. Confirm the reset to reload radio configuration files.
Step 2: After the automatic reboot, wait up to 30 minutes for the modem to fully re-register. During this period, avoid toggling settings so the device can complete all network handshakes.
Method 5: Update iOS to the newest build
Step 1: Check for a software update under Settings > General > Software Update. Vendors frequently ship follow-up builds that correct modem and carrier bundle regressions seen right after a major release.
Step 2: Install any available update and test cellular service immediately after the reboot. Newer builds often address specific “No Service” and data drop bugs reported post-release.
Method 6: Reinstall the iOS firmware (keeps your data)
Step 1: Connect your iPhone to a Mac or Windows PC with Finder or Apple Devices installed. A wired reinstall replaces potentially corrupted system components without erasing content.
Step 2: Put the device into Recovery Mode, then choose Update (not Restore) when prompted. The Update action downloads and reinstalls iOS while preserving your data and settings.
Step 3: After the reinstall, give the phone a few minutes on a known-good coverage area. Verify calls, SMS, and cellular data before reconnecting VPN or custom profiles.
Method 7: iOS 26 beta workaround — might still be useful
Step 1: Open Settings > Cellular > Network Selection and turn off Automatic. This exposes the manual carrier list.
Step 2: Back out one level to Cellular and wait 20–30 seconds. This pause prompts a fresh scan for available networks.
Step 3: Reopen Network Selection, choose your carrier if it appears, and then re-enable Automatic. Users on early iOS 26 dev betas report this restores service until the next build.
Method 8: Set up as new (narrow down profile conflicts)
Step 1: Create a backup with iCloud or your computer. This gives you a safety net in case you need to restore later.
Step 2: Go to Settings > General > Transfer or Reset iPhone > Erase All Content and Settings. Erase the device and complete setup without restoring a backup.
Step 3: Test cellular service on the fresh setup. If service works only when set up as new, the issue likely stems from a configuration in your backup; add apps and settings gradually to identify the trigger.
Method 9: Carrier and region checks
Step 1: Call your carrier to confirm the account is active, the IMEI isn’t blocked, and the plan includes voice and data. Account holds or provisioning errors can present as No Service after updates.
Step 2: Ask about local outages and tower maintenance. A temporary outage can coincide with an update, making the problem appear software-related.
Step 3: If you purchased the phone in a different country, verify whether IMEI registration is required locally. Missing registration can prevent network attachment until the carrier updates records.
Method 10: Hardware checks and Apple diagnostics
Step 1: Install and open the Apple Support app (iOS 18+) and run the cellular diagnostics. The tool can flag suspected hardware issues in the modem or SIM reader.
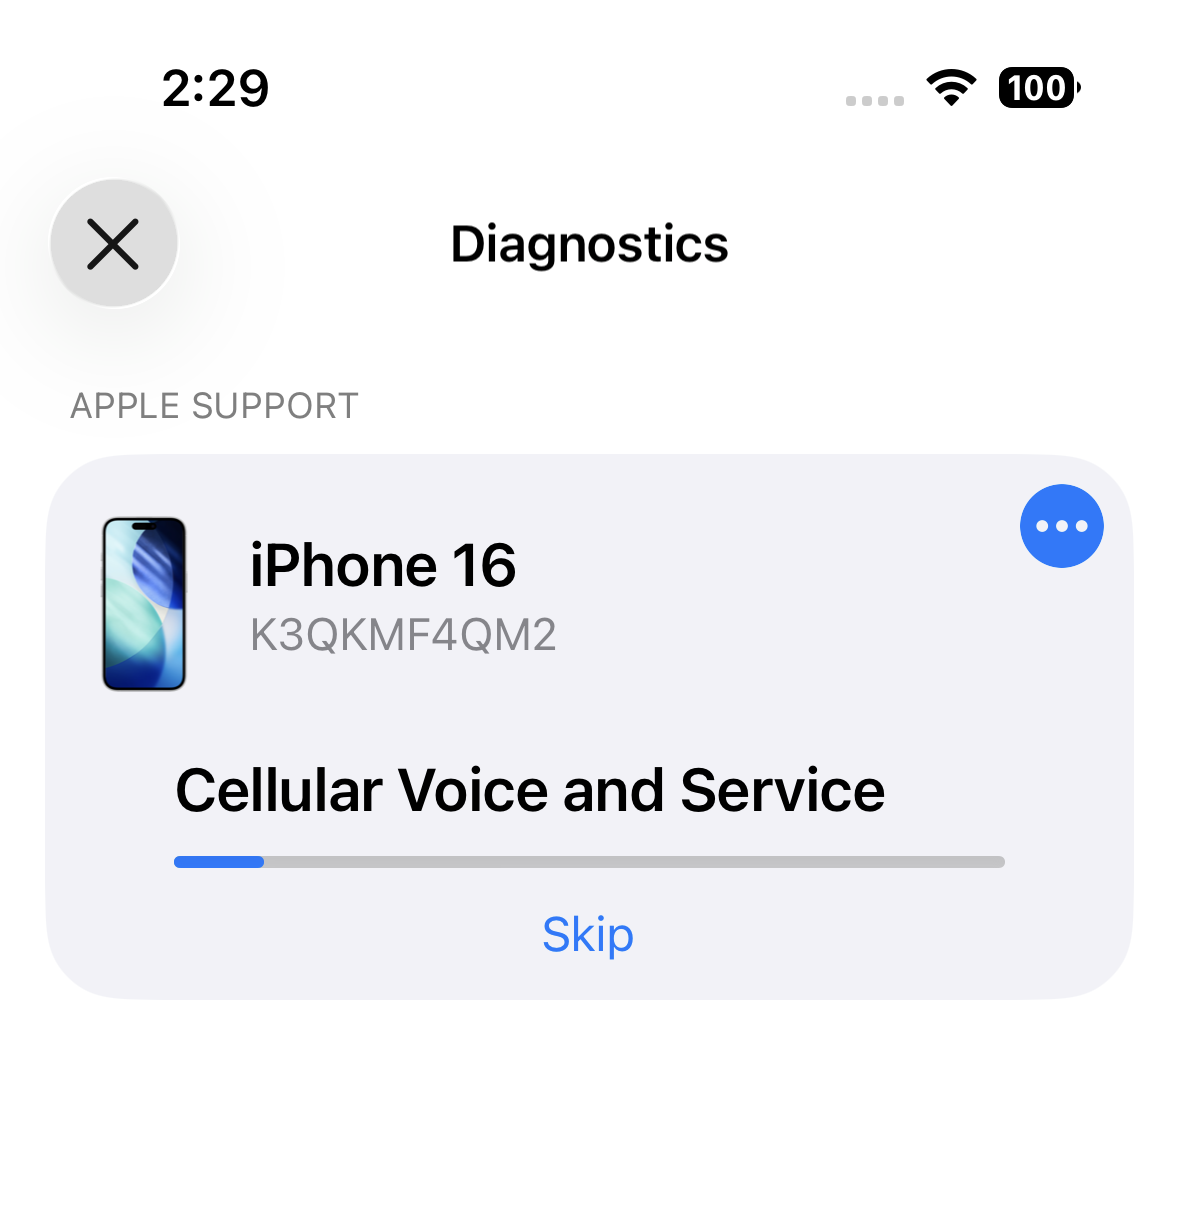
Step 2: If diagnostics or your carrier suspect hardware, schedule service with Apple. Hardware faults require repair or device replacement to restore network connectivity.
Tip: After a network settings reset, leave the phone idle in good coverage for up to 30 minutes. Many devices regain service during this window as the modem completes re-registration and background updates.
If service returns, keep your iPhone updated and avoid installing beta builds on a primary device during critical periods. If the issue persists across these steps, your carrier or Apple Support can check provisioning and hardware in more detail.