
Self-revive changes the stakes in Fortnite Chapter Seven. Instead of relying entirely on teammates or a Reboot Van, you can now bring yourself back from Down But Not Out (DBNO) with a dedicated item: the Self-Revive Device.
The feature is part of the broader “Stay in the Game” push in the Chapter Seven: Pacific Break v39.00 update, which also adds drivable Reboot Vans and more movement options while knocked.
How self-revive works in Fortnite Chapter 7
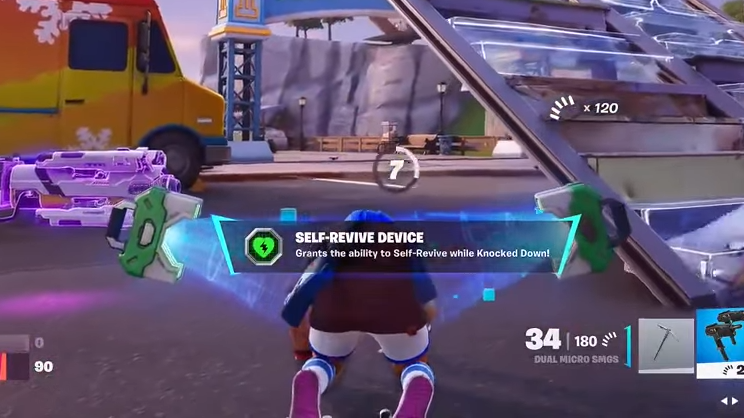
The Self-Revive Device is a legendary item that automatically gives you a second chance if you’re carrying it when you go down.
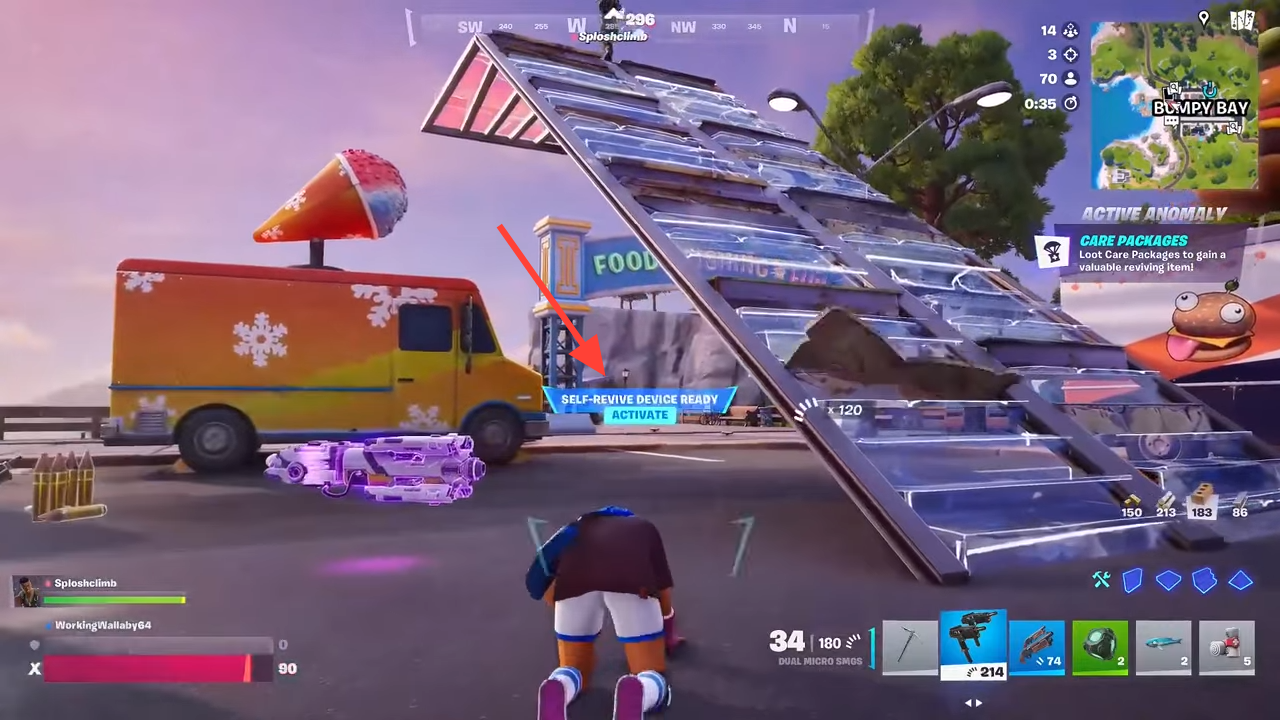
- When you are knocked (DBNO) with a Self-Revive Device in your inventory, a “self-revive device ready” prompt appears.
- Press your primary fire/confirm button while that prompt is visible to start the revive.
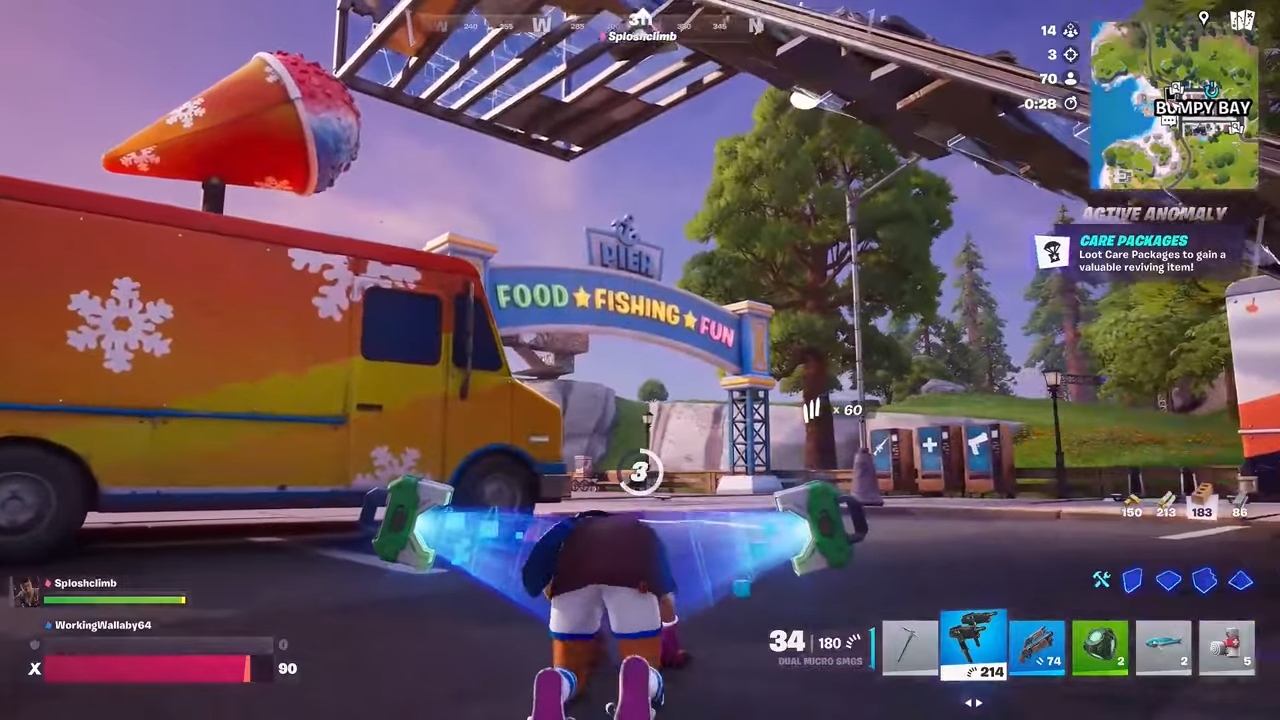
- A short revive sequence runs (about 10 seconds).
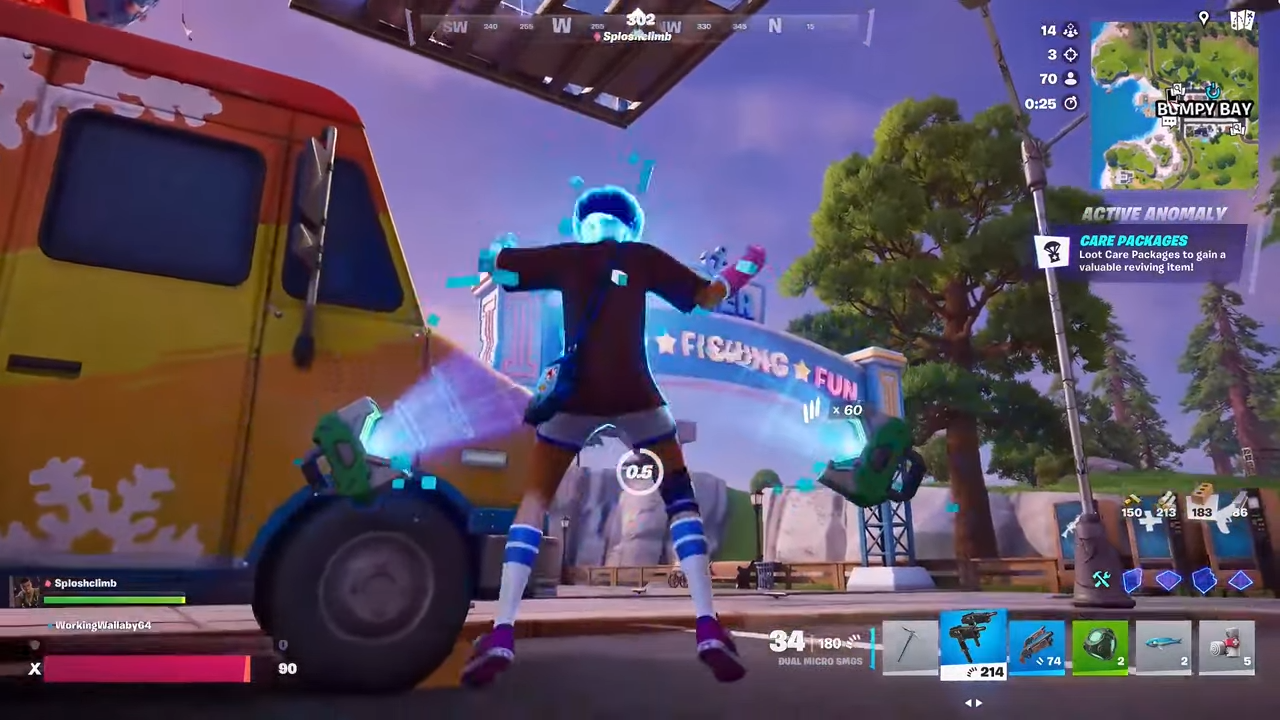
- You stand back up with 30 HP once the timer finishes.
- The device breaks after use; each self-revive consumes one item.
Self-revive sits alongside the other DBNO updates in Chapter Seven. You can now roll, sprint while downed, use ziplines and ascenders, and even get thrown into a drivable Reboot Van to be revived there. The Self-Revive Device is the only option that lets you handle the revive yourself.
Self-revive works in standard battle royale modes while the feature is active. It also functions in solos: if you’re carrying the device and get knocked via the new behavior, you can still trigger the revive even without teammates.
How to trigger self-revive
Step 1: Make sure you have at least one Self-Revive Device in your inventory before you get downed. If you don’t have it on you when you’re knocked, you won’t get the self-revive prompt at all.
Step 2: When an opponent knocks you, watch the bottom of the screen for the “self-revive device ready” message and input hint. This appears while you’re DBNO.
Step 3: Press the listed button (usually your primary fire key, such as R2 on PlayStation) once to activate the device. Avoid pressing any other actions that might cancel or distract you from triggering it in time.
Step 4: Stay alive while the short revive timer runs. You can still be fully eliminated if enemies finish you before the timer completes, so any cover, slope rolling, or DBNO sprinting you can do to stay out of sight helps.
Step 5: When the timer finishes, you stand up with 30 HP and the device is consumed. You’ll need a new device in your inventory for any future self-revive in the same match.
Tip: In team modes, coordinate with your squad so they know you are self-reviving. They can focus on covering or pushing enemies while you bring yourself back, instead of risking a risky revive animation.
Where to find the Self-Revive Device
The Self-Revive Device sits in the higher end of the loot pool. You have several ways to get it, some more consistent than others.
Buy a Self-Revive Device from a Mending Machine
Mending Machines now stock Self-Revive Devices as a legendary purchase.
Step 1: Gather gold bars during the match. You need 2500 gold bars for one Self-Revive Device.
Step 2: Locate a Mending Machine on the Golden Coast map and interact with it. These are the same vending-style machines that usually sell heals.
Step 3: Select the Self-Revive Device in the machine’s menu and confirm the purchase. The device will be dropped for you to pick up.
Since Bars no longer carry over between matches in Chapter Seven, you have to earn the 2500 gold during the current game. Mending Machines are the most reliable way to get the device, but they are expensive, so plan your spending around it.
Get a Self-Revive Device from supply drops
Standard supply drops on the island can contain Self-Revive Devices alongside other high-tier loot.
Step 1: Watch the sky and the minimap for incoming supply drop icons as the match progresses.
Step 2: Rotate early to the drop’s landing zone to secure height and cover. Expect other players to contest these drops.
Step 3: Break open the supply drop and check the loot pile for a Self-Revive Device. If one appears, grab it immediately before looting anything else.
This method is less consistent than using a Mending Machine but doesn’t cost gold bars. It rewards teams that can control mid-game zones and win contested fights.
Find a Self-Revive Device in rare chests
The Self-Revive Device can also appear in rare chests.
- These chests have a distinct glow and audio cue compared to normal chests.
- The drop chance for the device is low, so this method is more about opportunistic finds than a guaranteed strategy.
Landing at POIs with lots of chest spawns can increase your odds over time, but you should not rely solely on rare chests if you absolutely need a self-revive for your game plan.
Get self-revive via Rift anomalies and care packages
Rift anomalies are a new Storm mechanic in Chapter Seven. Each phase of the Storm can trigger a different anomaly with its own effect; one of those variants spawns a cluster of care packages that can include Self-Revive Devices.
Step 1: Play into at least the second or third zone. Rift anomalies begin appearing as the match goes on, marked on the map.
Step 2: Look for the anomaly type that drops care packages onto the island. Other anomalies might spawn rifts or global effects, which will not give you the device.
Step 3: Move toward a care package marker from that anomaly and wait for it to land. Secure the area before it hits the ground if possible.
Step 4: Open the care package and check for a Self-Revive Device. As with supply drops, pick it up immediately if it appears.
Unlike the vending machine version, the anomaly care-package device does not occupy a weapon slot in your visible loadout; it functions as a behind-the-scenes revive charge once you’ve picked it up.
Modes, limits, and what self-revive doesn’t do
Self-revive has some clear boundaries so it doesn’t completely erase risk:
- It only works while you’re DBNO. If you are fully eliminated in one shot (for example, finished while already down), the device cannot bring you back.
- Each device is single-use. Multiple revives in a single match require multiple devices.
- You stand up with 30 HP and no shield, so you are vulnerable immediately after reviving.
- Standard battle royale modes support the device while the update is active; if the item rotates out of the loot pool later in the Chapter, self-revive disappears with it.
Self-revive also doesn’t replace drivable Reboot Vans or traditional teammate revives. It sits alongside those systems: a personal safety net if you can afford or find it.
Strategy tips for using self-revive
Self-revive is strongest when you treat it as a way to keep pressure on your opponents, not as a license to play recklessly.
- Use cover before you trigger it. If you’re knocked in the open, roll or crawl behind any obstacle before starting the timer.
- Pair it with heals or mobility. Having a Med Kit, Chug Jug, or Wingsuit ready means you can recover or reposition immediately after reviving.
- In squads, spread devices out. One player holding multiple Self-Revive Devices is less useful than several teammates each having one.
- Respect the 30 HP. After reviving, prioritize survival—rebuild, disengage, or third-party carefully instead of taking a raw 1v2 at low health.
Used well, the Self-Revive Device makes endgames more volatile: a downed player is no longer a guaranteed elimination. Expect longer fights, more clutch comebacks, and more reason to fully confirm your eliminations before turning your back.