
Crests are Silksong’s build-defining equipment: each one swaps Hornet’s core moveset and determines your Tool slot layout. Below you’ll find every confirmed Crest, where to get it, and the practical effects once equipped.
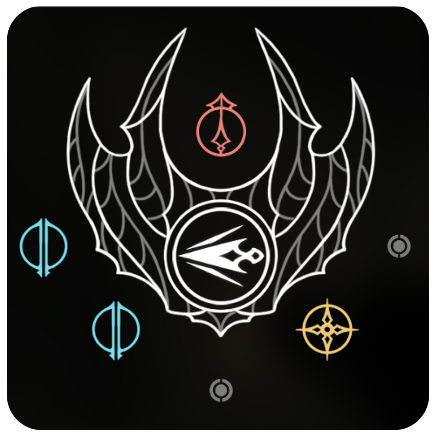
1. Hunter Crest
The starting Crest and the baseline moveset most players will learn first. It offers balanced coverage, a pogo-capable down-thrust, and a dash-lunge that rebounds off targets. Early on, its even Tool slot spread makes it a safe default for exploration and boss learning.
- Pros: Balanced reach and speed; intuitive aerial control; even Tool slot spread.
- Cons: Shorter reach than Reaper; fewer power spikes than Beast.
| Hunter Crest | Details |
|---|---|
| Where to find | Available from the start of the game. |
| Starting slots | 3 Tool slots (one of each color category). |
| Upgrade capacity | 3 upgrade slots on the Crest. |
| Moveset summary |
Forward: quick light slash. Upward: arcing overhead slash. Dash: lunge that rebounds off enemies. Downward: shallow diagonal down-stab (pogo-capable). |
| Bind effect | Heals 3 Masks. |
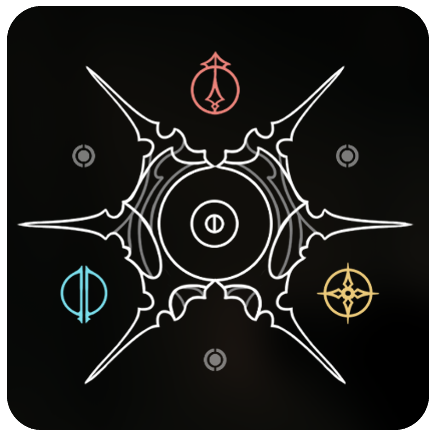
2. Reaper Crest
A heavier, sweeping style with wider arcs and excellent downward coverage for pogo setups. It’s typically the second Crest players obtain and is a strong pick once you’re comfortable trading speed for range. Bind briefly boosts silk gain on hit after healing, enabling frequent Skill usage.
- Pros: Wide hitboxes; reliable anti-air and pogo angles; short window of bonus silk generation after Bind.
- Cons: Slower startup than Hunter; precision punishes can feel laggy in tight spaces.
| Reaper Crest | Details |
|---|---|
| Where to find | Chapel of the Reaper in Greymoor (far western side, west of the Halfway Home hub). |
| Starting slots | 3 Tool slots (balanced spread). |
| Upgrade capacity | 3 upgrade slots on the Crest. |
| Moveset summary |
|
| Bind effect | Heals, then temporarily grants extra silk on successful hits. |
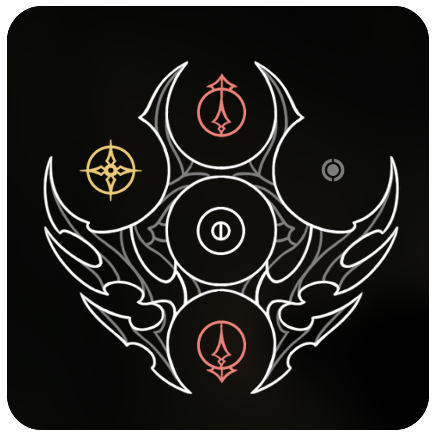
3. Beast Crest
An aggressive kit with lunging and spinning slashes that reward close-quarters pressure. Bind triggers a brief berserk state with larger, harder-hitting attacks and life-steal, making it potent for boss burn phases. Slot layout skews offensive early and expands with upgrades.
- Pros: High burst windows via Bind; strong gap-closing and multi-hit potential.
- Cons: Early slot layout favors offense over utility; gated by a boss encounter.
| Beast Crest | Details |
|---|---|
| Where to find | Chapel of the Beast at the end of Hunter’s March (claim it after defeating the Savage Beastfly boss). |
| Starting slots | 2 Red Tool slots (offense-oriented start). |
| Upgradeable slots | Can unlock 2 Yellow Tool slots using Memory Lockets. |
| Moveset summary |
|
| Bind effect | Heals and enters a short berserk state: higher damage, larger hitboxes, and steals life on hit. |
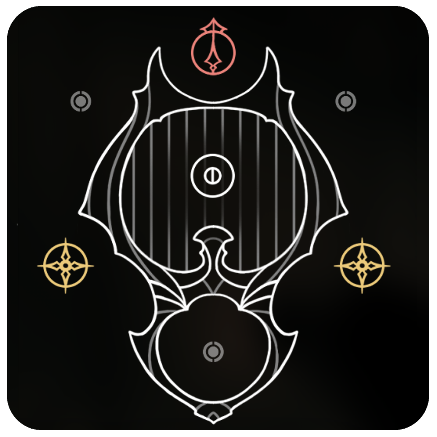
4. Wanderer Crest
A nimble style with short, precise strikes and a downward move that’s especially pogo-friendly. It’s an excellent alternative early on if you prefer tighter hitboxes and movement patterns resembling the original Hollow Knight’s feel. The route to reach it is longer but doable soon after you unlock core mobility.
- Pros: Tight, responsive strikes; downward attack favors safe pogo setups; great for platform-heavy paths.
- Cons: Shorter reach; acquisition path has multiple hazards and a combat gauntlet.
| Wanderer Crest | Details |
|---|---|
| Where to find | Bonegrave, west of Moss Grotto (locked route that culminates in a candlelit chamber where you Bind to claim the Crest). |
| Prerequisites |
|
| Route overview |
|
| Moveset notes | Short, precise strikes; downward move is particularly pogo-friendly for chaining bounces. |
| Bind effect | Unconfirmed (standard heal expected; no additional effect widely verified at time of writing). |
How upgrades and slots work
- Crests determine your Tool slots and moveset. To equip or swap a Crest, rest at a bench and open the equipment menu.
- Memory Lockets unlock additional slots on a specific Crest. Interact with the small dots next to a Crest’s main circles at a bench to spend a Locket.
- Slots are color-coded by Tool category (e.g., offense, defense, exploration). Some Crests start skewed toward one category and can be broadened with upgrades.
- Upgrades are Crest-specific and do not carry over. If you’re unsure which Crest you’ll main, consider saving Lockets until a preferred style emerges.
- Memory Lockets can be found as distinct pickups in the world and sometimes from merchants. They’re limited, so plan your build path.
How to choose.
- Start on Hunter to learn boss patterns and traversal, then transition to Reaper if you want wider arcs and more silk generation after healing.
- If you favor aggressive burst windows and can handle the boss gate, Beast is powerful once its berserk Bind comes online.
- Prefer tighter hitboxes and pogo precision during early routing? Make the trek for Wanderer and build around mobility and safe downward pressure.