
The Double Jump in Hollow Knight: Silksong is granted by the Faydown Cloak, found late in the game at the top of Mount Fay. Getting there requires reaching The Slab first, then tackling a demanding ascent through freezing terrain that steadily chips away at your health. Expect to use nearly all of Hornet’s traversal tools during the climb.
Requirements before the climb
Have these mobility abilities unlocked; without them the ascent is effectively blocked by level geometry and hazards:
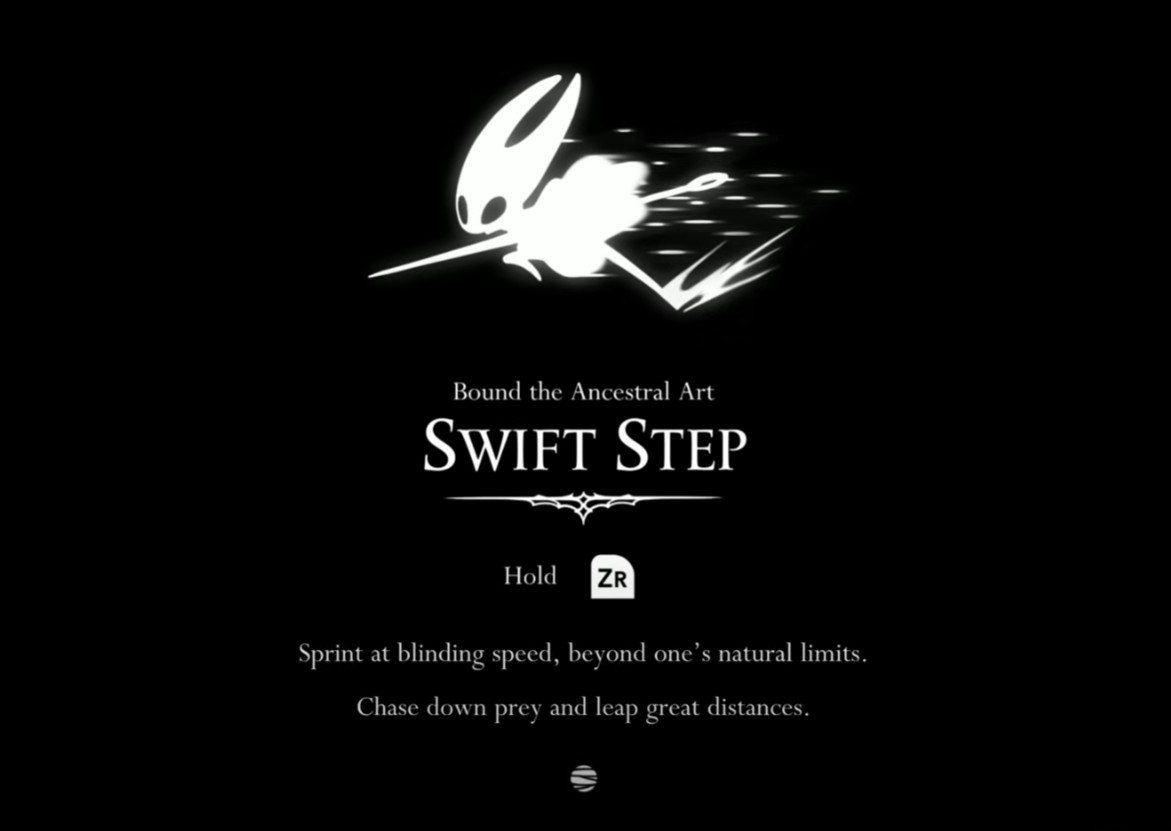
- Swift Step (air dash) for midair correction and closing gaps.
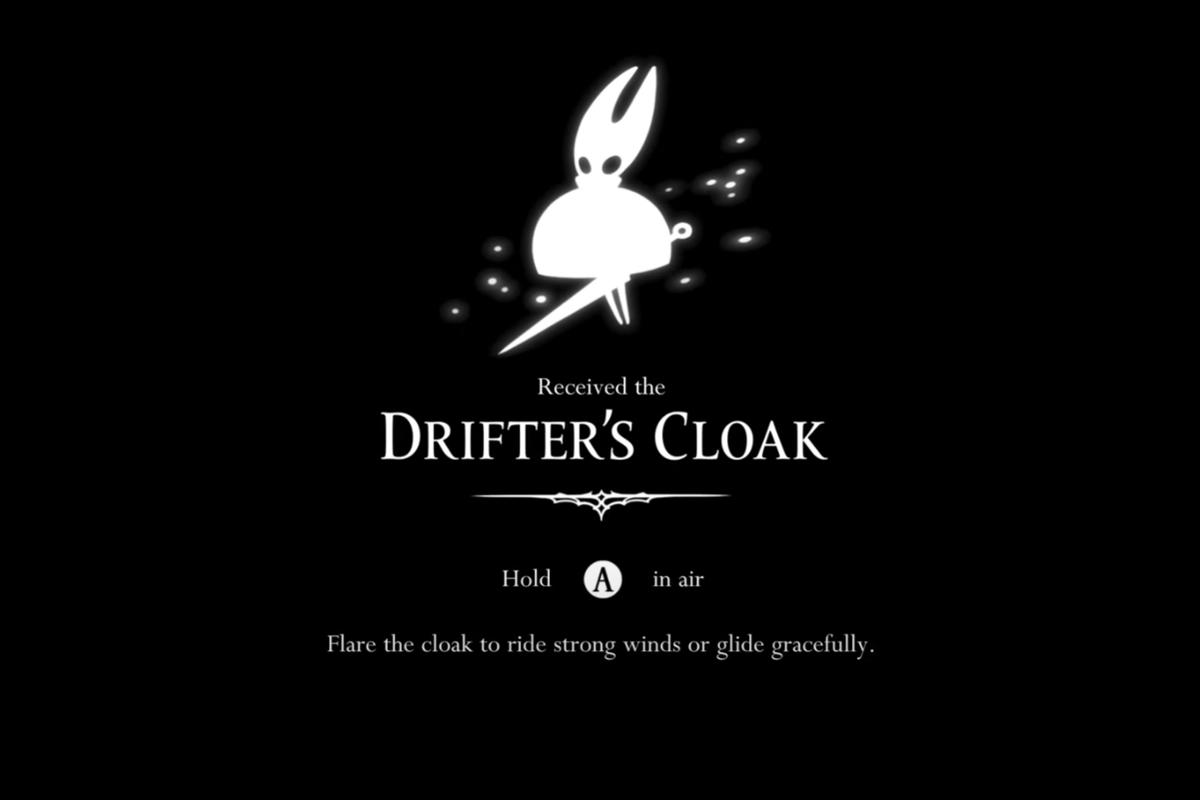
- Drifter’s Cloak (glide/float) for long crossings and safe lining up of landings.
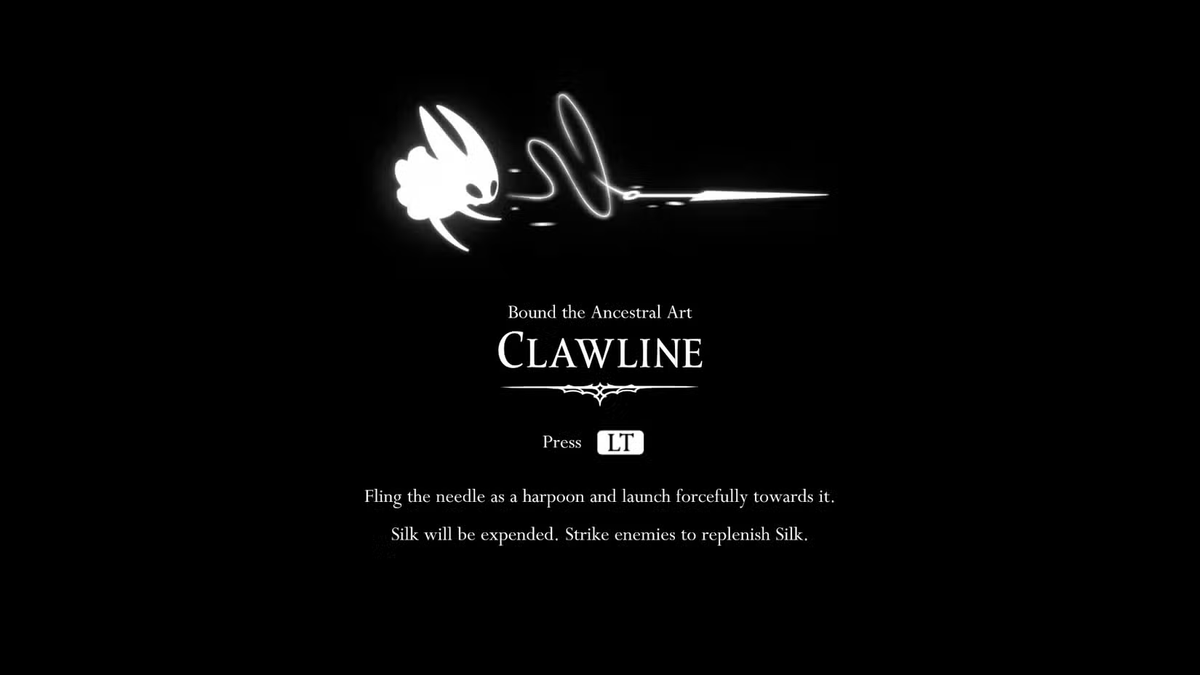
- Clawline (grappling hook) to latch to rings, enemies, and grapple points.
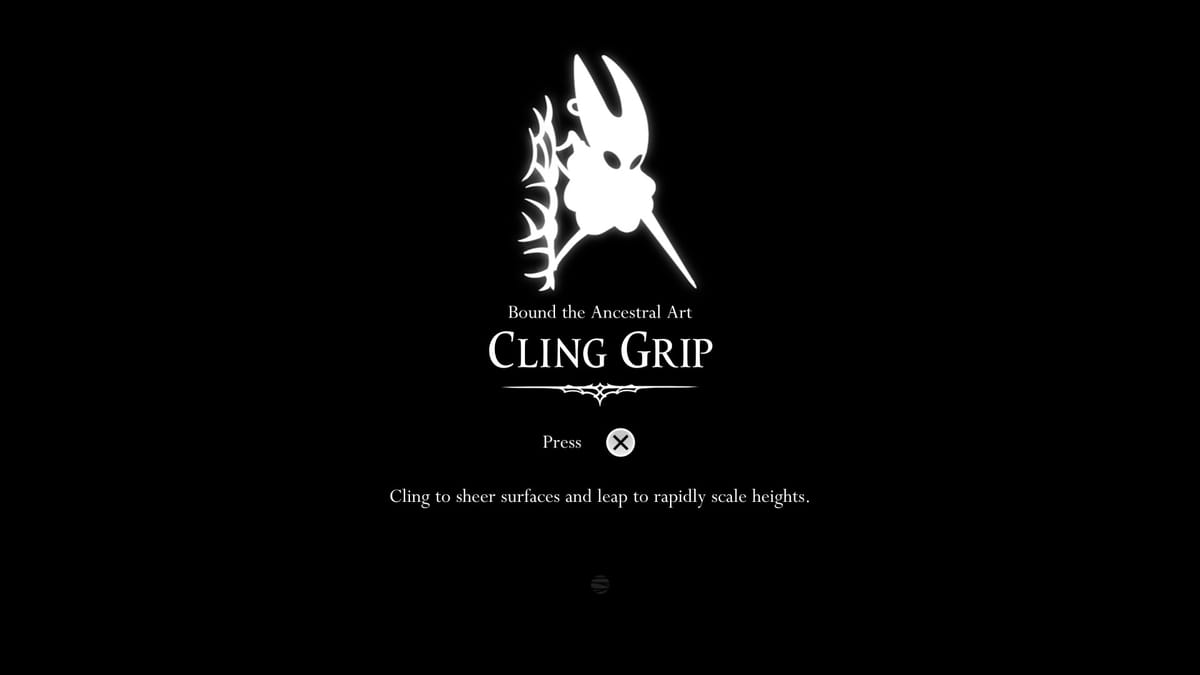
- Cling Grip (wall jump/climb) for vertical shafts and recovery after slips.
Helpful but optional prep:
- Collect Mask Shards to boost your health for the cold damage over time.
- Bring Rosaries for map and bench costs you may encounter in the region.
Route to the Faydown Cloak (fastest method)
Step 1: Progress the main path until you reach The Slab. This is a distinct prison zone you will visit as part of the story.
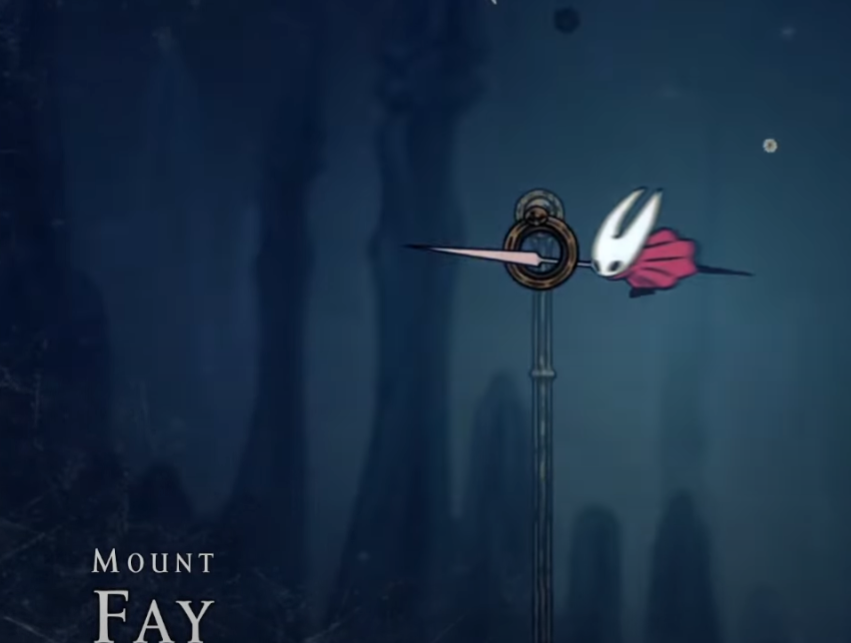
Step 2: From The Slab, take the west/left exit to enter Mount Fay. The area opens into a long, vertical climb with environmental cold damage.
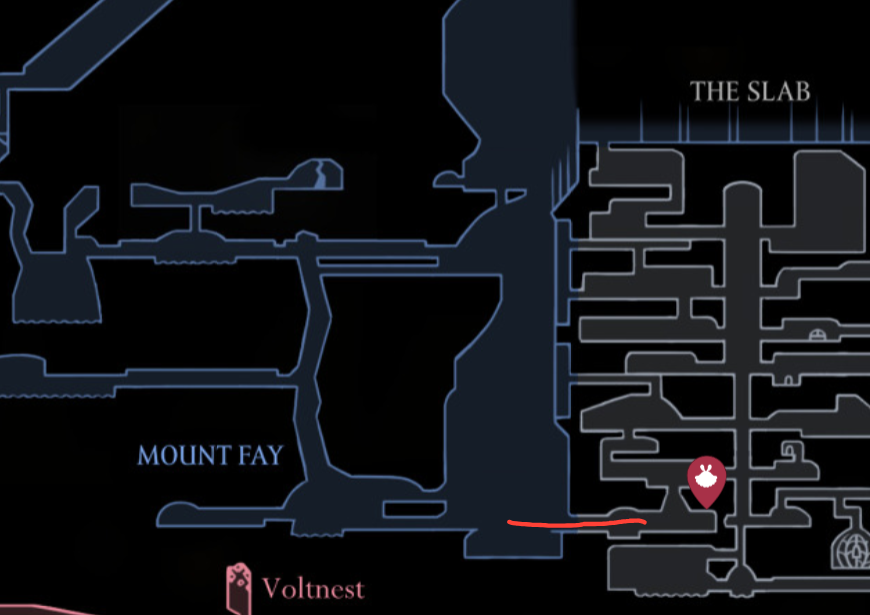
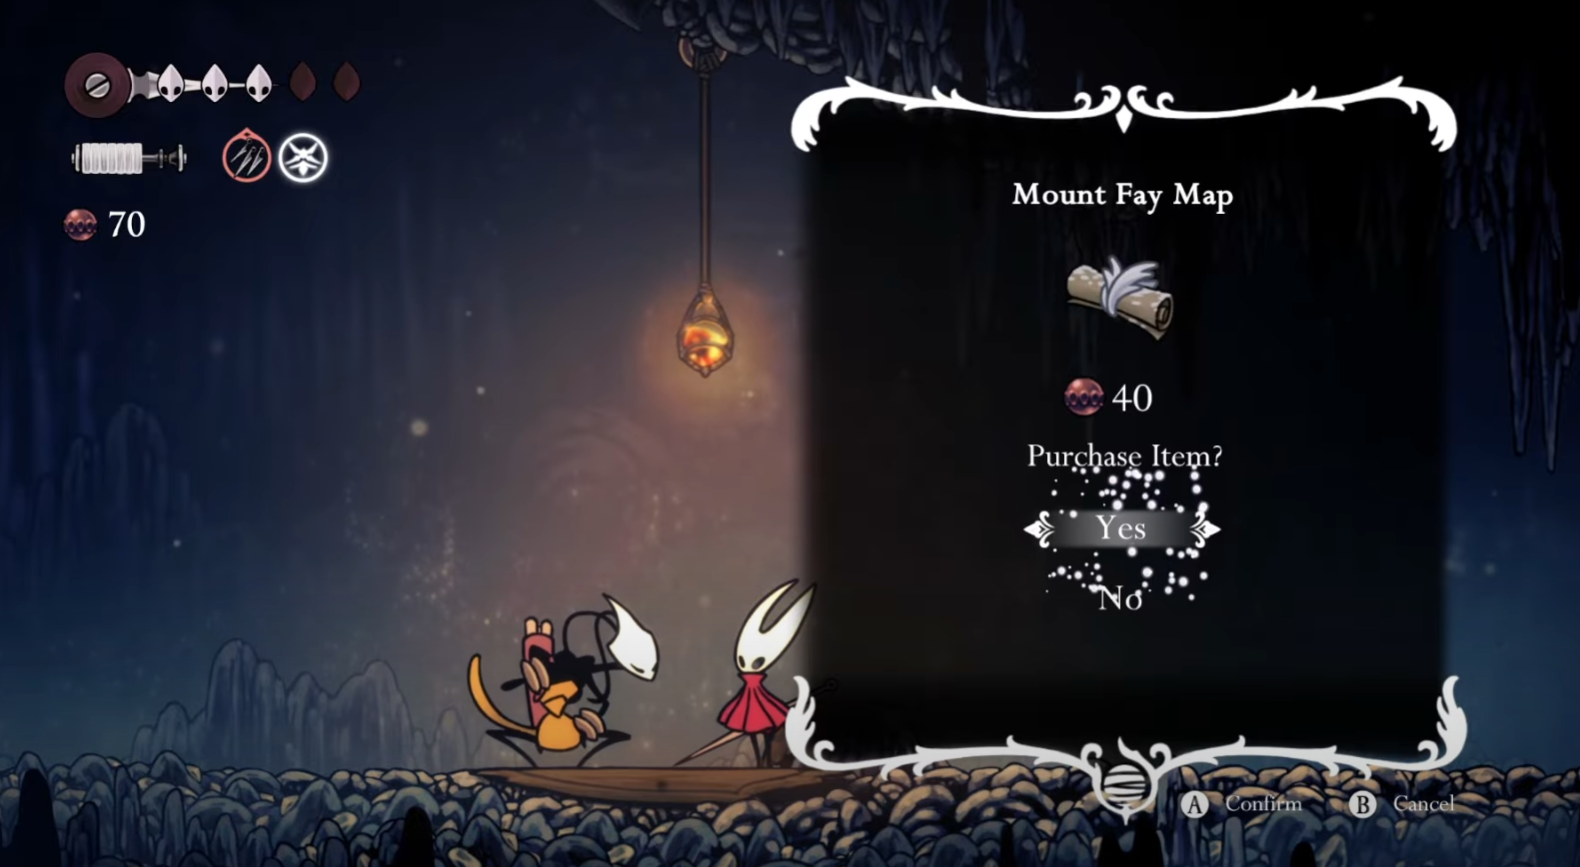
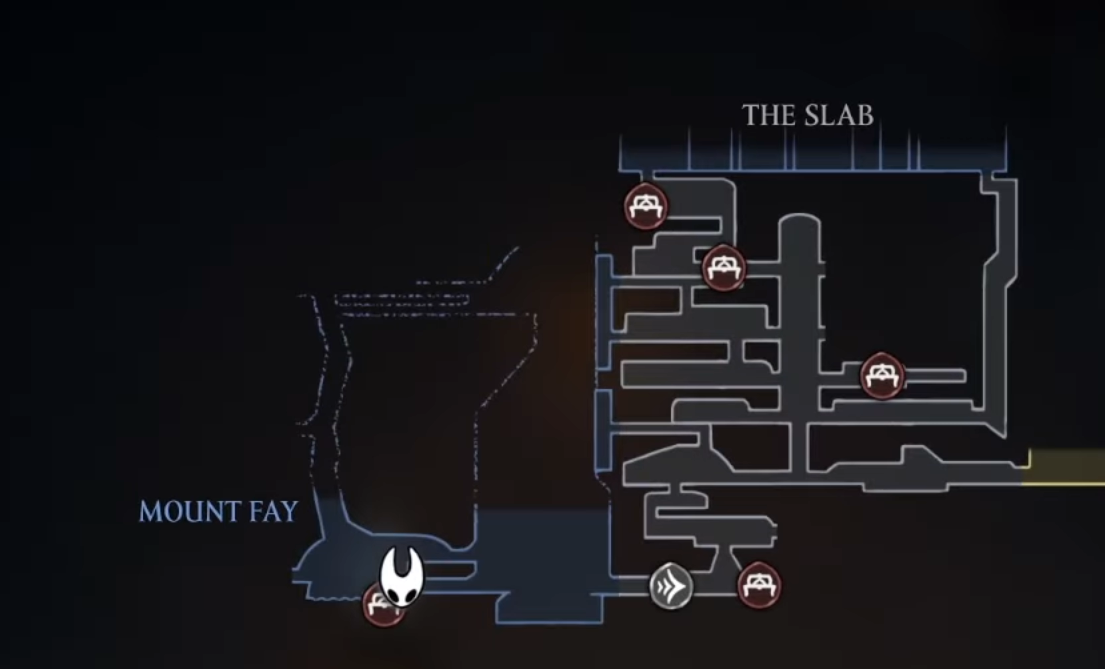
Step 3: Purchase the Mount Fay map from Shakra at the base camp. This gives you clear bearings to benches and key routes through the mountain.
Step 4: Activate any benches you find to set your respawn and reduce backtracking. Benches are scarce here, so prioritize them when you spot one.
Step 5: Move quickly between heat sources such as lanterns and fireplaces. The cold drains health while you are away from warmth, so plan sprints between “safe” spots.
Step 6: Use Clawline to grapple onto rings and enemies in midair. This creates new vertical routes and lets you bypass spike-filled sections.
Step 7: Use Cling Grip to wall jump up narrow shafts. Climb patiently and reset on ledges to avoid falling all the way down.
Step 8: Use Swift Step to correct your trajectory after jumps. A quick dash stabilizes landings and shortens time spent in the cold.
Step 9: Use Drifter’s Cloak to glide across long gaps. Glide lets you spend less time lining up jumps while keeping control in windy stretches.
Step 10: At the summit, interact with the altar/monument to receive the Faydown Cloak. The Double Jump ability is now available for the rest of your run.
Surviving Mount Fay’s cold
- Route in segments between visible heat sources, not just upward at all costs.
- Minimize water exposure; frigid pools accelerate health loss significantly.
- Use enemies as grapple anchors to “skip” long, exposed stretches.
- Consider a quick detour for nearby benches; one death without a recent bench can cost several minutes of progress.
- Extra Mask Shards provide more mistakes before a reset, which is valuable on the mountain’s longer legs.
If you have not reached The Slab yet
Step 1: Make sure you already have the Clawline and core traversal abilities listed above. The Slab and Mount Fay both expect these tools.
Step 2: In Deep Docks, locate a Wardenfly encounter that can imprison Hornet. Allow the capture to be transported into The Slab.
Step 3: Inside The Slab, recover your gear when you reach the guards’ area. Regaining your loadout restores your full movement kit.
Step 4: Use the west/left exit of The Slab to access Mount Fay. You can now follow the climb to the summit for the cloak.
How to use Double Jump (Faydown Cloak)
Step 1: Press the jump button again in midair to perform a second jump. The input is simply a second tap of Jump after leaving the ground.
Step 2: Chain Double Jump with glide, dash, grapple, or pogo. The extra height and horizontal control turn many borderline gaps into consistent clears.
Step 3: Treat Double Jump as a safety net when you undershoot a platform. Save it until after you see your landing is off to salvage the attempt.
Once you secure the Faydown Cloak, traversal across Pharloom speeds up dramatically and previously marginal jumps become reliable, opening new routes and secrets on your map.