
Swift Step is Silksong’s combined dash and sprint, and it dramatically speeds up exploration and early boss learning. Below is a precise route to the shrine in Deep Docks, how the ability works on controller and keyboard, and tested fixes if sprint keeps triggering by itself.
Find Swift Step in Deep Docks: a precise route
The shrine that grants Swift Step sits in the northern section of Deep Docks. These steps keep the runbacks short and use clear landmarks you’ll see in-game.
Step 1: From the Deep Docks entrance, move right until you reach the first elevator shaft. This confirms you’re on the main approach path to the region’s hub rooms.
Step 2: Take the elevator up and unlock the nearby bench for 30 Rosaries. Creating this rest point sharply reduces travel time if you need multiple attempts to navigate the next rooms.
Step 3: Return to the base of the elevator shaft. Staying oriented to this hub makes the next steps easier to follow.
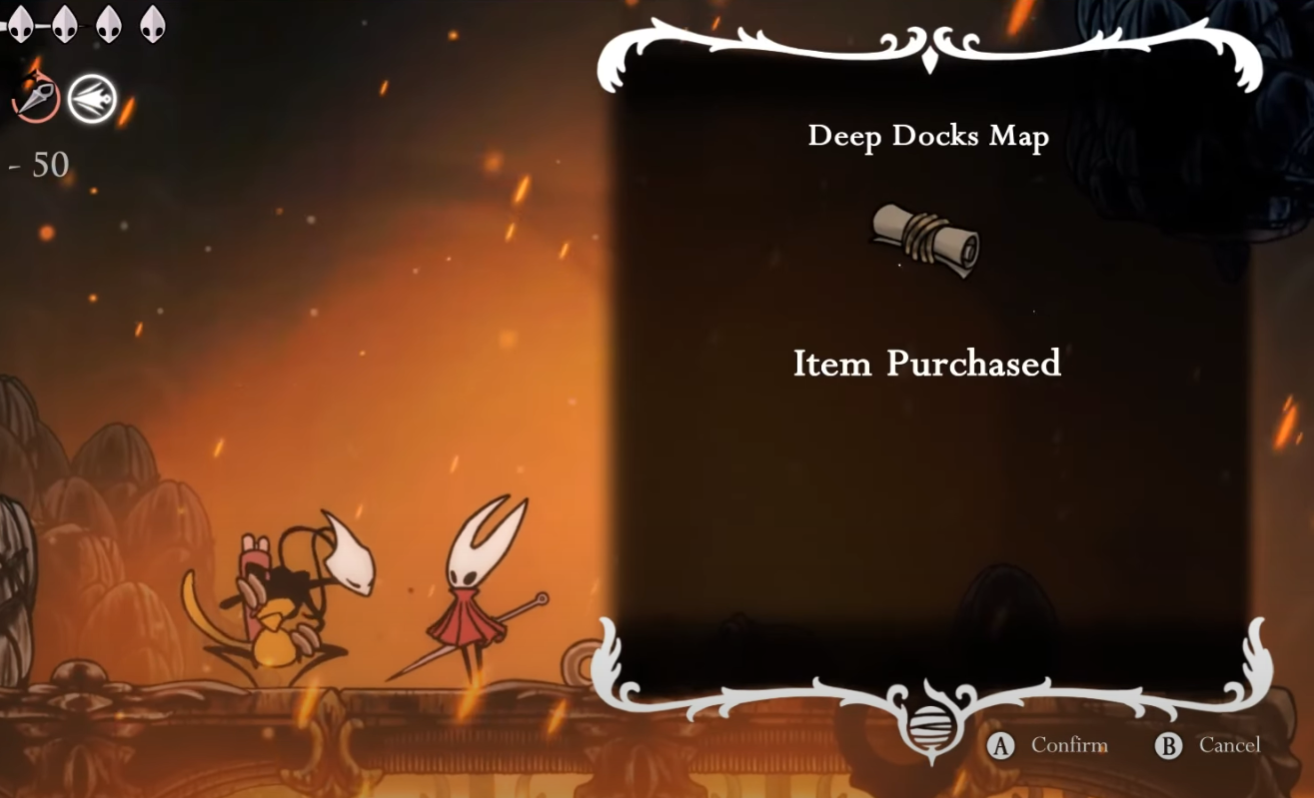
Step 4: Head right into the next room and drop to the singing cartographer below; buy the Deep Docks map if you have 50 Rosaries. A map speeds up routing and helps you spot the vertical climb you’ll use shortly.
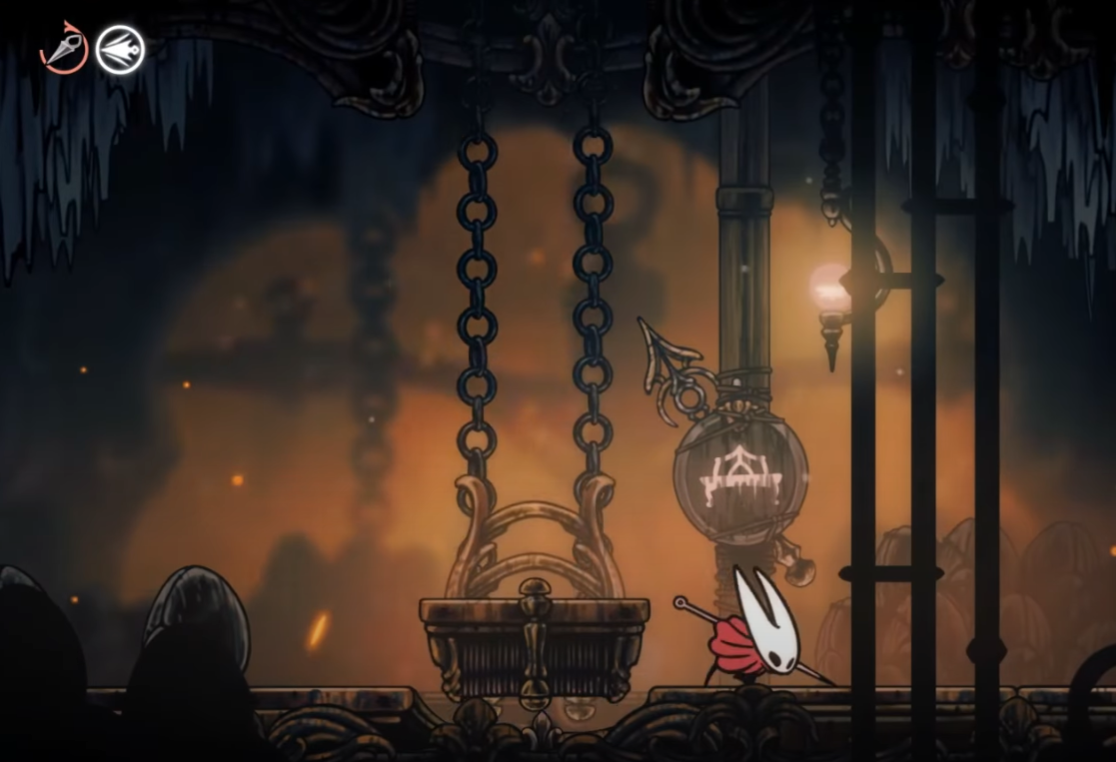
Step 5: In the tall chamber above the cartographer, climb using the platforms on both sides. Expect simple levers and moving platforms that create new footholds.
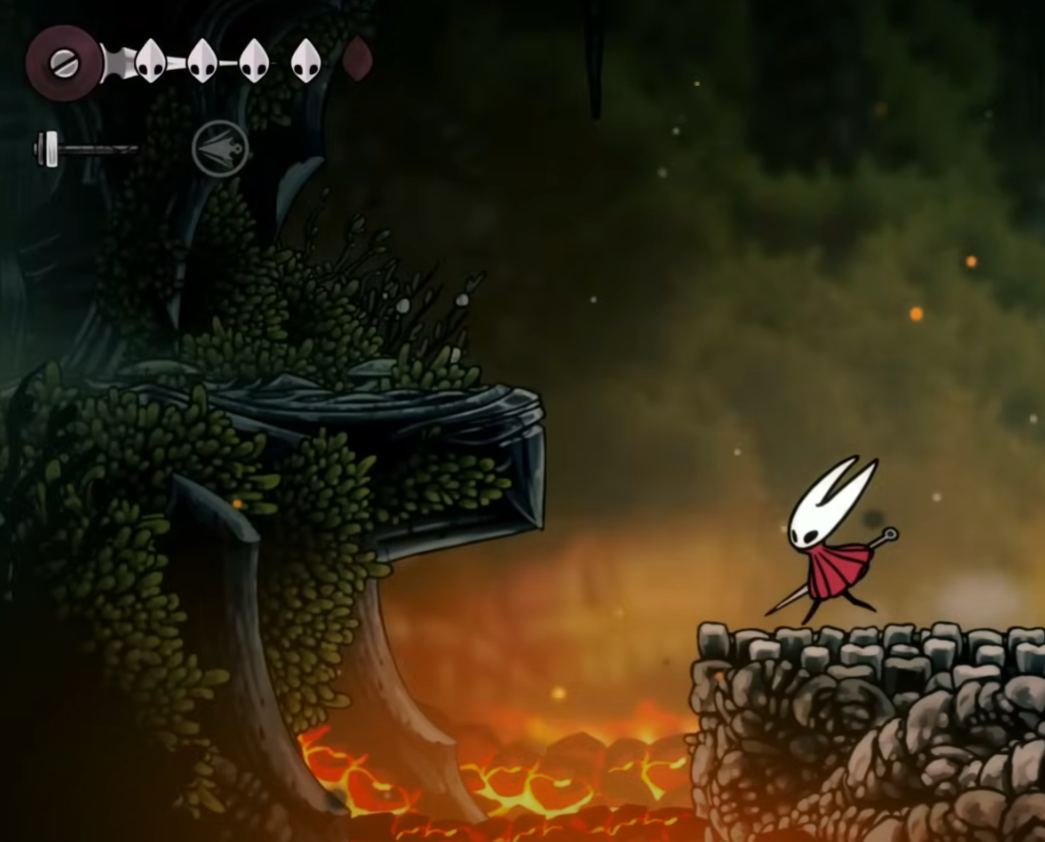
Step 6: Exit through the top-right doorway of this tall chamber. This places you in a hazardous room with lava and multiple enemy patrols.
Step 7: Work your way to the far top-right of this lava room via the safe platforms. Advance carefully; it’s easy to take chip damage if you rush jumps.
Step 8: Strike the orange explosive node embedded in the ceiling above the highest platform to open a hidden passage. The explosion clears the way upward.
Step 9: Go through the new opening and continue left along the upper route. This corridor leads directly to the Swift Step shrine/Idol.
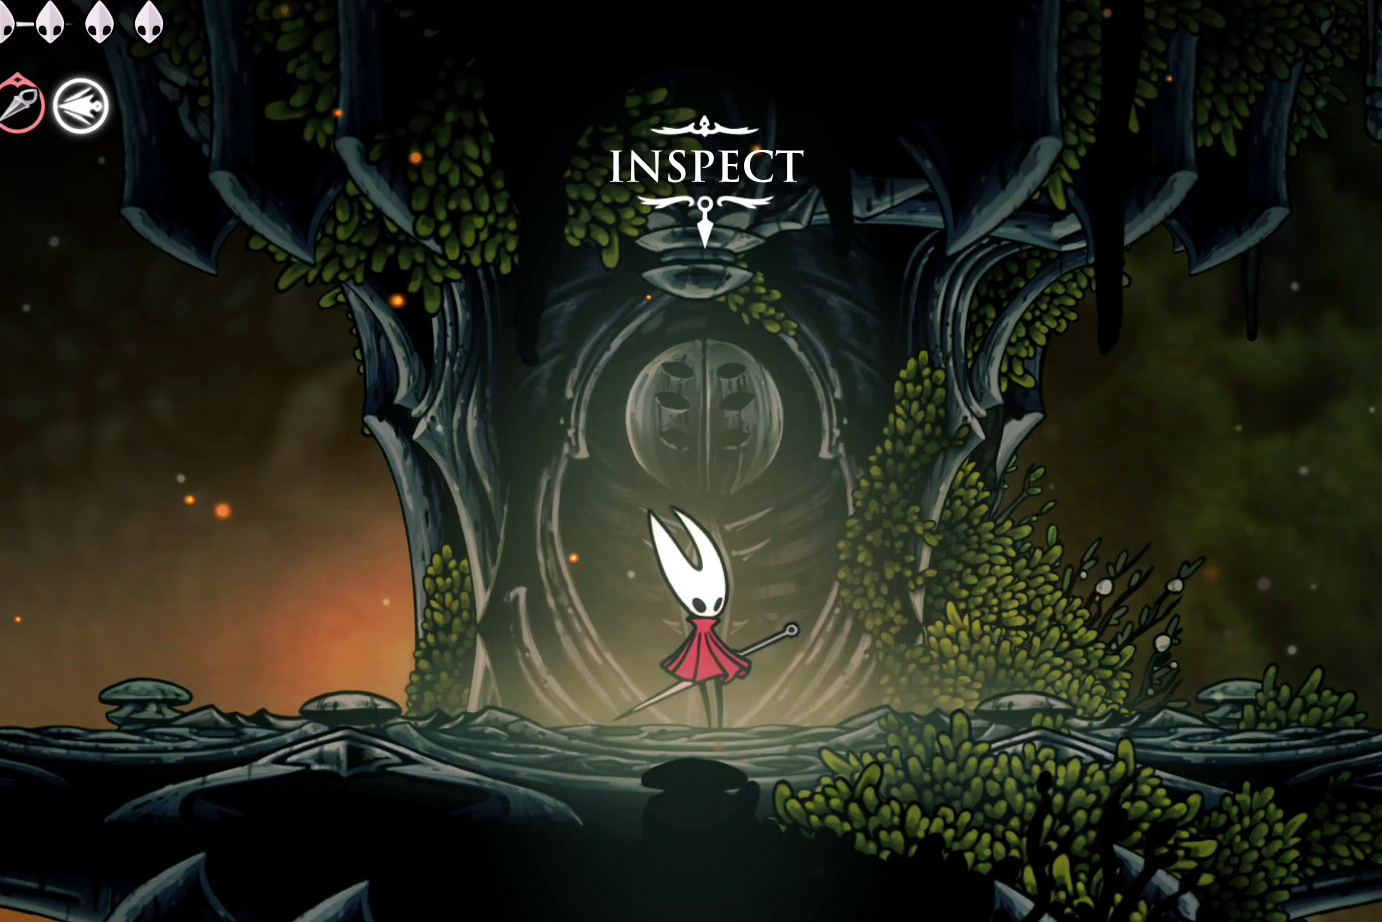
Step 10: Interact with the shrine to receive Swift Step. You’ll also open a nearby shortcut back toward your earlier bench, and you can unlock a Rosary Bench close to this area for a safer forward base.
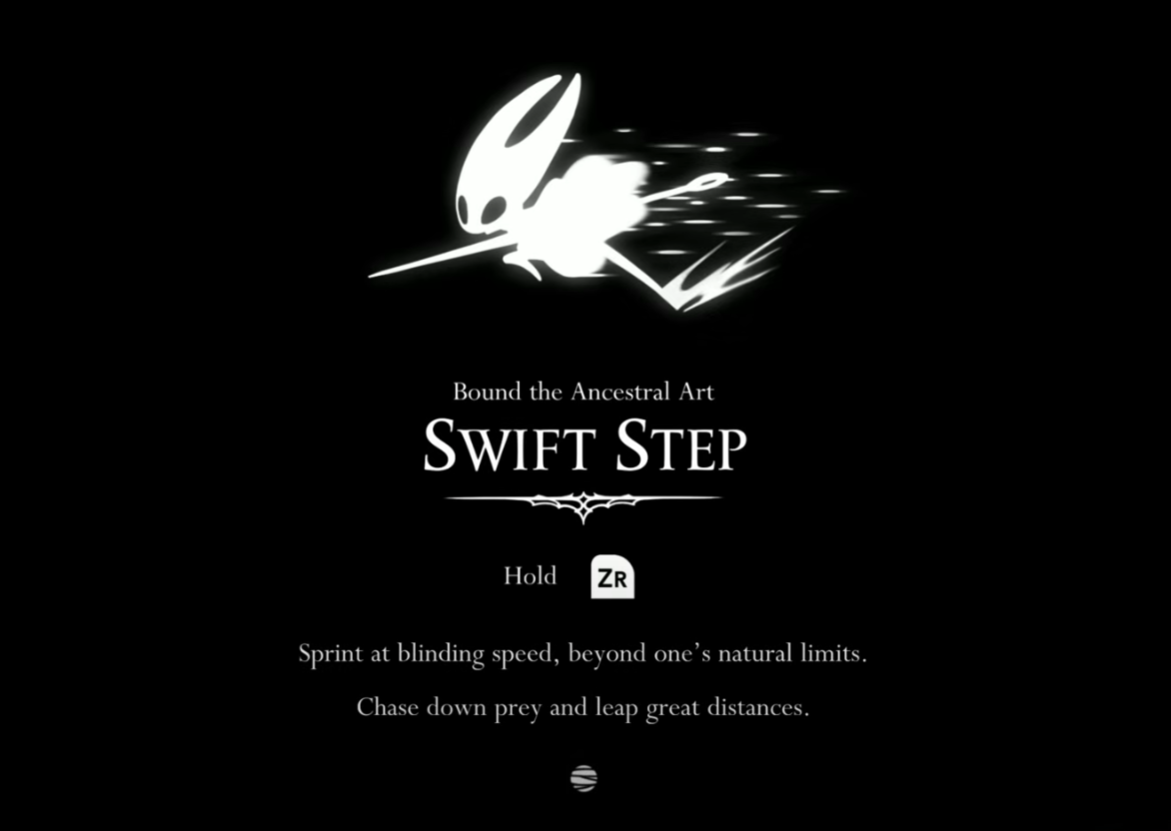
Controls and what Swift Step changes
Swift Step adds a quick directional burst and a sustained run in one ability. Controls below reflect default bindings and can be remapped in settings.
- Dash: tap
R2/RT/ZRon controllers, or tapCon keyboard. This is your short, evasive burst. - Sprint: hold the same input (
R2/RT/ZRorC) to run. Holding the button accelerates traversal and reduces downtime between attempts. - Reach more jumps: dashing right as you leave a ledge increases horizontal distance, opening routes that were just out of reach before.
- Combat mobility: use Dash to reposition through wide swings or close gaps safely. The extra movement window reduces the number of trades you’re forced to take.
- Dash + Attack: chaining an attack during Dash produces a forward-carrying strike that slightly extends your reach. It’s useful for finishing enemies at the edge of melee range.
Tip: if you overshoot ledges while sprinting, a short hop or briefly neutralizing your movement input helps you stop precisely.
Issues: Swift Step auto‑activates or “sticky run” (Linux/SteamOS)
Solution preview: switching the game to Proton 9.0‑4 resolves auto‑running for many Linux/SteamOS users, especially with 8BitDo controllers. A few Steam Deck users reported cutscenes failing under 9.0‑4, so keep the next methods handy if that happens.
Method 1 — Force Proton 9.0‑4 for this game
Step 1: In Steam, right‑click Hollow Knight: Silksong, select Properties → Compatibility, and check “Force the use of a specific Steam Play compatibility tool.” Choosing a known-good Proton version isolates controller quirks from the default runtime.
Step 2: Select Proton 9.0‑4 from the dropdown and restart the game. Community testing shows this version stops Swift Step from triggering automatically after vaulting or landing on ledges.
Step 3: If cutscenes fail to play on Steam Deck under 9.0‑4, revert to your prior Proton version and try Method 2. This preserves story playback while you address inputs another way.
Method 2 — Try a different controller or connection
Step 1: Test with an Xbox, DualShock/DualSense, or Steam Deck controls if available. Using a different HID profile rules out device‑specific trigger noise.
Step 2: If you must stay on the same pad, switch connection: use USB‑C (wired) instead of Bluetooth or vice versa. Changing transport reduces latency and can stop micro‑inputs that the game reads as a held sprint.
Step 3: Update your controller’s firmware (e.g., 8BitDo Ultimate/Pro2 via the manufacturer tool). Newer firmware often refines trigger thresholds that affect sprint detection.
Method 3 — Adjust Steam Input and trigger thresholds
Step 1: Open Steam’s Controller Layout for the game and temporarily disable Steam Input (or enable it if it’s off). Toggling Steam Input moves processing between Steam and the OS driver, which can resolve noisy triggers.
Step 2: In the layout, calibrate triggers and add a small deadzone to the sprint/Swift Step input. A deadzone prevents very light, unintended trigger pressure from counting as “held.”
Step 3: Test in a safe area in-game by walking up a ledge; verify Hornet stops sprinting on landing. Re‑tune the deadzone if sprint still engages unexpectedly.
Method 4 — Temporary remap or keyboard fallback
Step 1: Remap Dash/Sprint to a face button or shoulder that isn’t analog (e.g., RB/R1) in the in‑game settings or Steam’s layout. Digital buttons remove trigger sensitivity from the equation.
Step 2: Alternatively, use the keyboard binding C for tricky platforming sections. This keeps progression moving while you sort out controller behavior.
What Swift Step unlocks next
Right after acquiring Swift Step, you can open a nearby shortcut and a Rosary Bench, creating a safe loop through northern Deep Docks. Expect new traversal lines that require a dash‑then‑jump timing, and use sprint to cut boss runbacks significantly.
Once Swift Step is unlocked and stable on your input setup, practice dash timing in a safe room, then return to any “just‑out‑of‑reach” paths you marked earlier—many are now accessible with a dash‑into‑jump chain.