
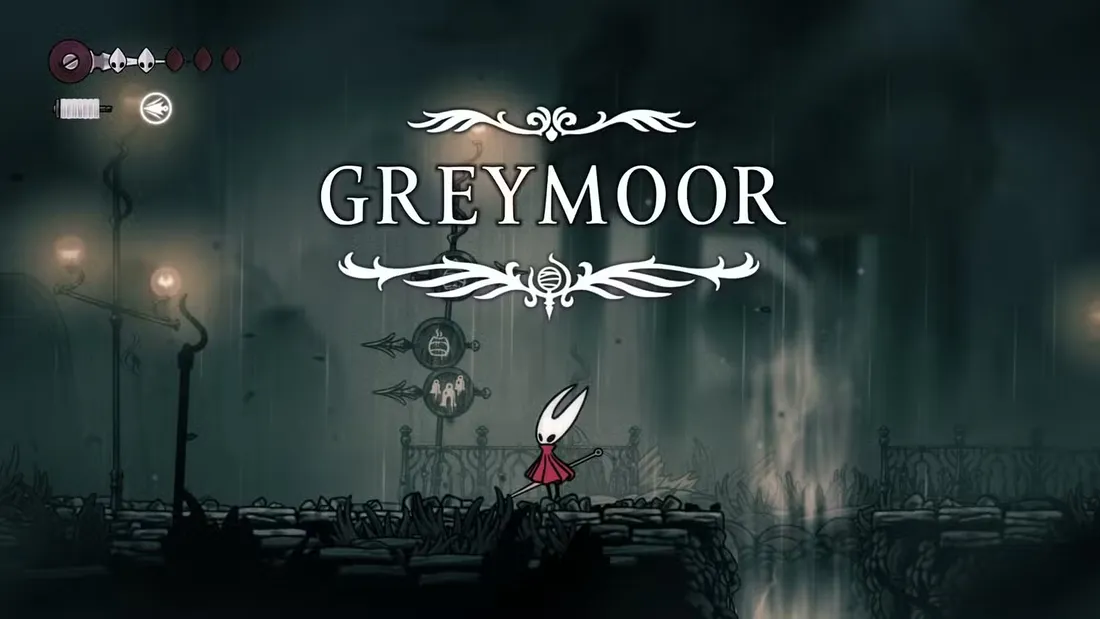
Greymoor is a sprawling Act 1 hub in Hollow Knight: Silksong, reached after Fourth Chorus. This guide gives a clean route through its wind lifts, central chain complex, the Chapel of the Reaper, and the Moorwing fight—highlighting benches, switches, shortcuts, and materials so you spend more time progressing and less time rerouting.
Prerequisites and ascent from Far Fields
From Fourth Chorus’ exit, you’ll ride wind currents and detonate brittle rocks to open vertical paths. Expect several small navigation gates that only budge once a nearby explosive rock is struck from a safe position.
Step 1: Ride the first wind lift and strike the glowing brittle rock. Immediately float back to avoid the blast, then climb the new air stream it unlocks.
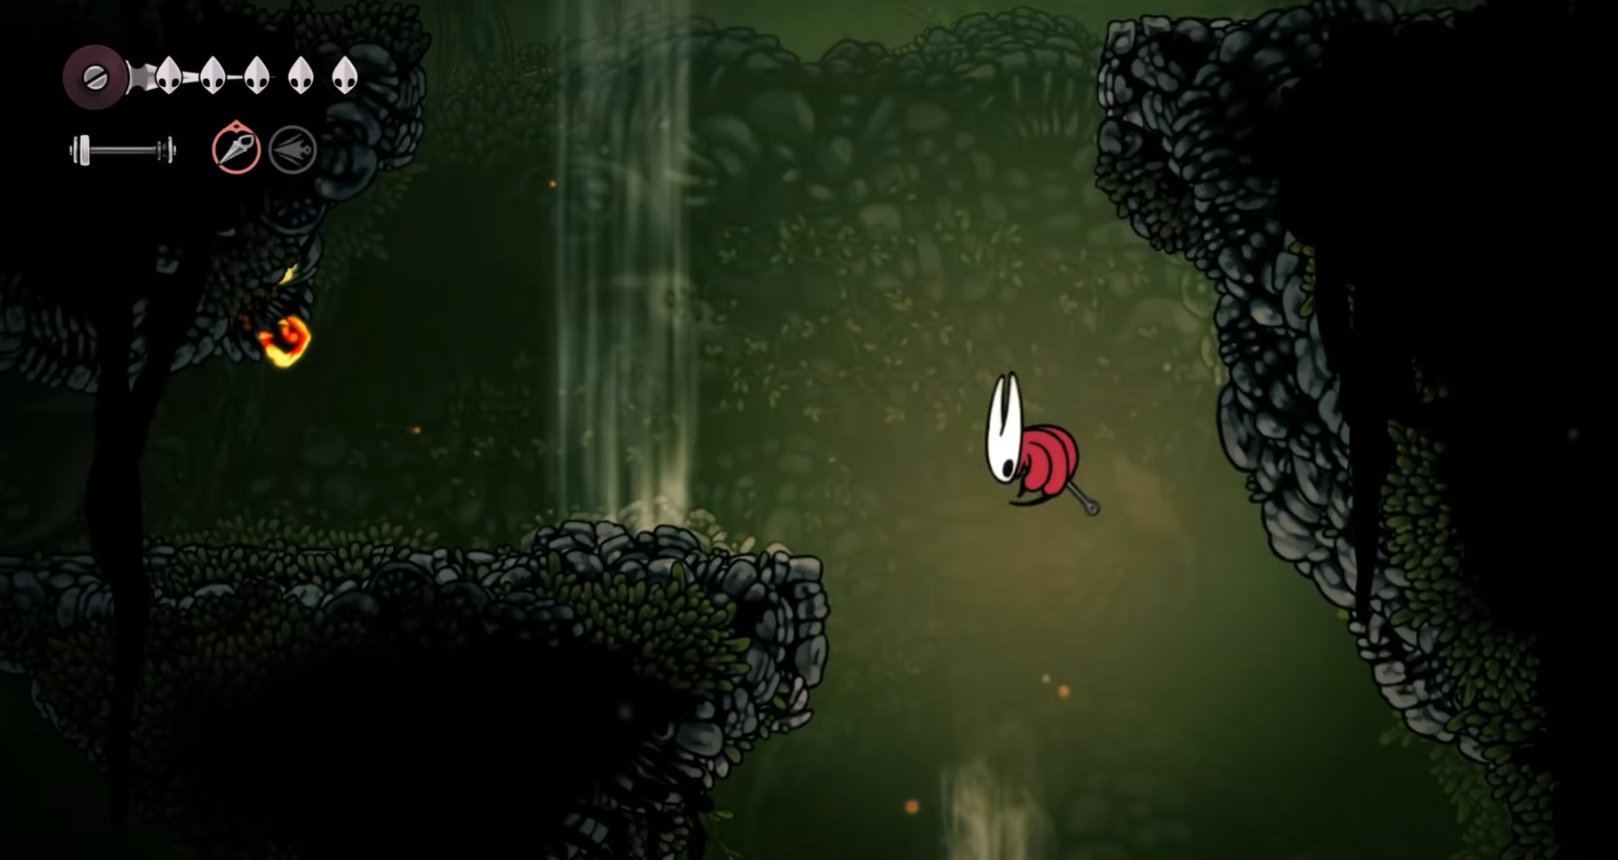
Step 2: At the top signposted junction, float left to find another rock blocking progress. Detonate the bottom rock to open an upward current.
Step 3: Use that current to reach and clear additional brittle rocks higher up. Each creates new updrafts that chain together into a vertical route.
Step 4: Continue alternating between lifts and small ledges until the final stream deposits you in Greymoor proper.
First errands in Greymoor (map, bench, fast travel, journal)
Securing navigation aids early cuts backtracking. You’ll unlock a fast-travel node, meet the innkeeper and quest-giver, and buy the area map.
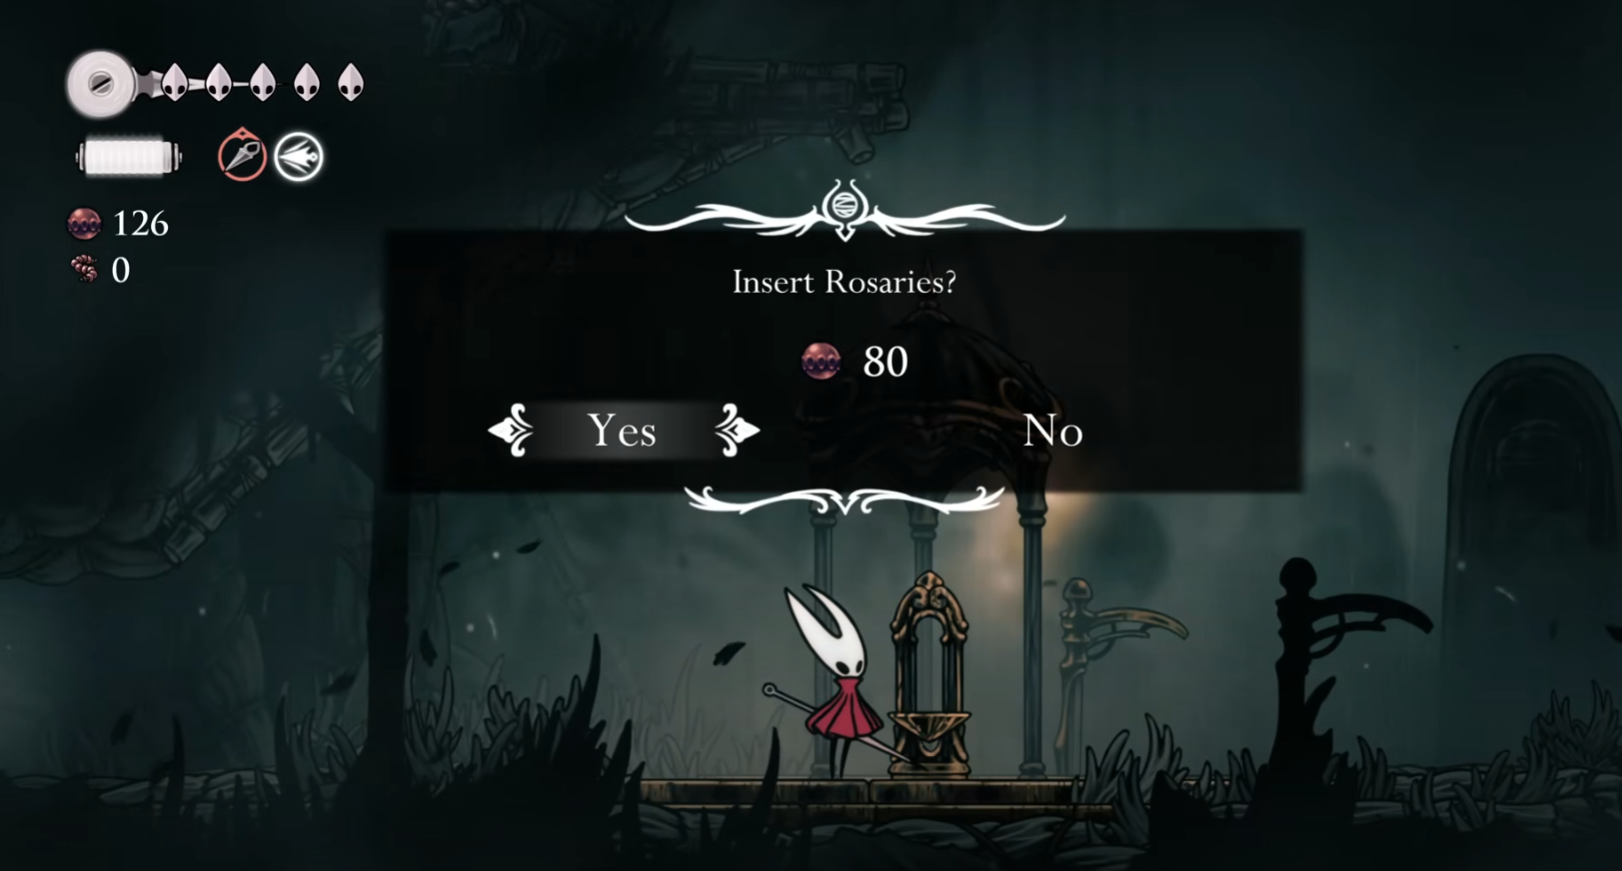
Step 1: At the entrance, interact with the string-maker device to donate 80 Rosaries if you want (optional). This purchase is not required to progress but can be helpful later.
Step 2: Push left to find a gauntlet of spear pilgrims. Clear three waves to open the exit. This short challenge teaches the area’s enemy spacing and buys you room to move.
Step 3: From the next screen’s bottom-left exit, head up through the inner platforms to reach a nearby room with a fast-travel station. Pay 80 Rosaries to activate it.
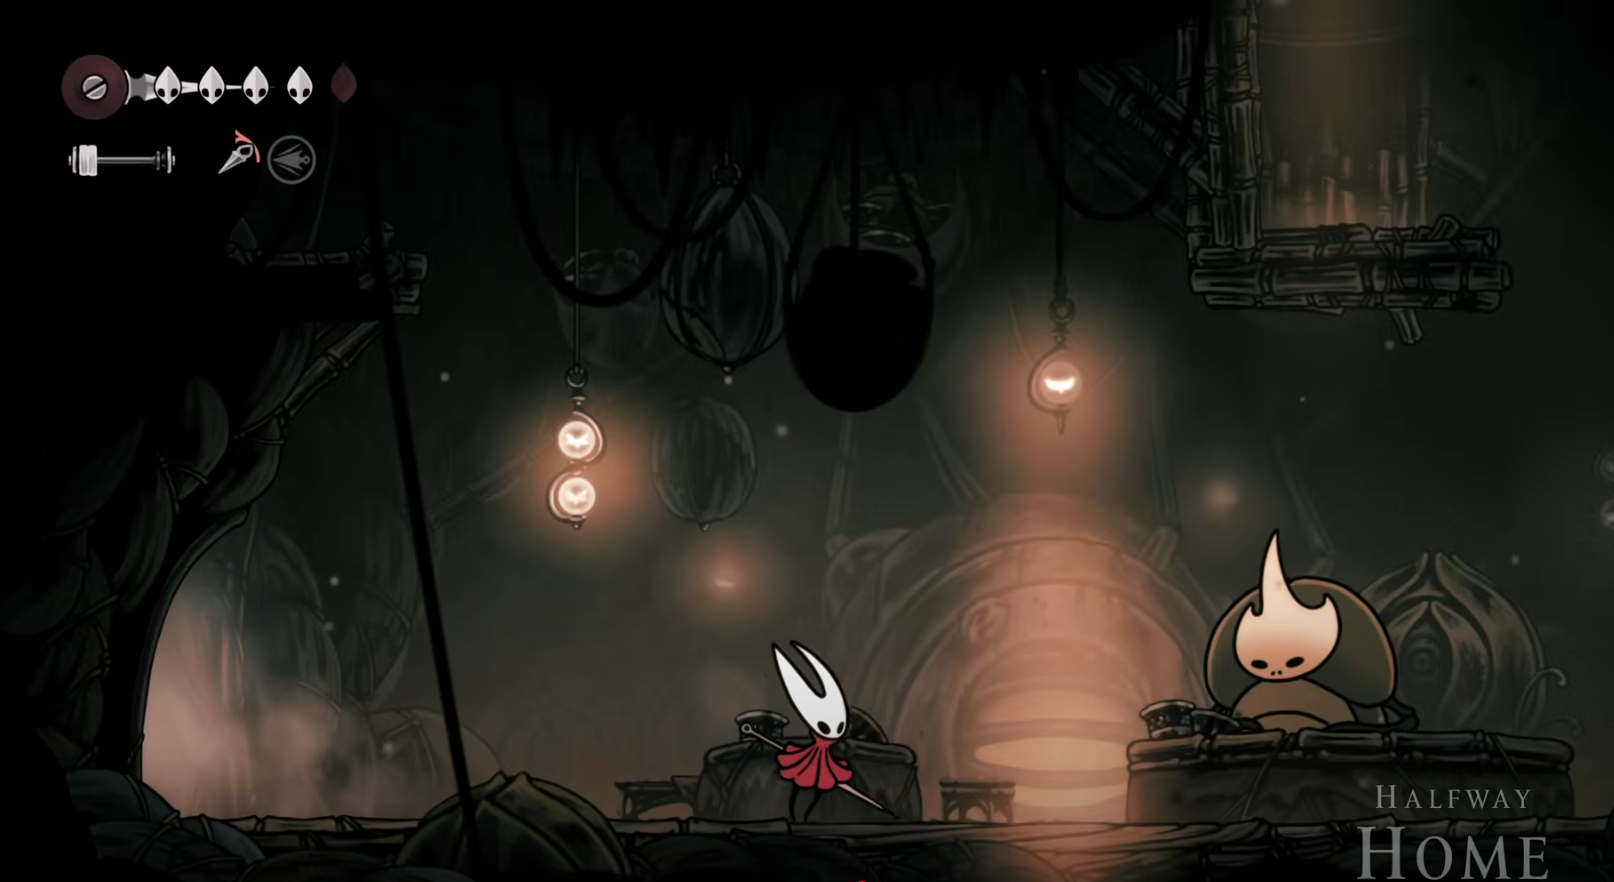
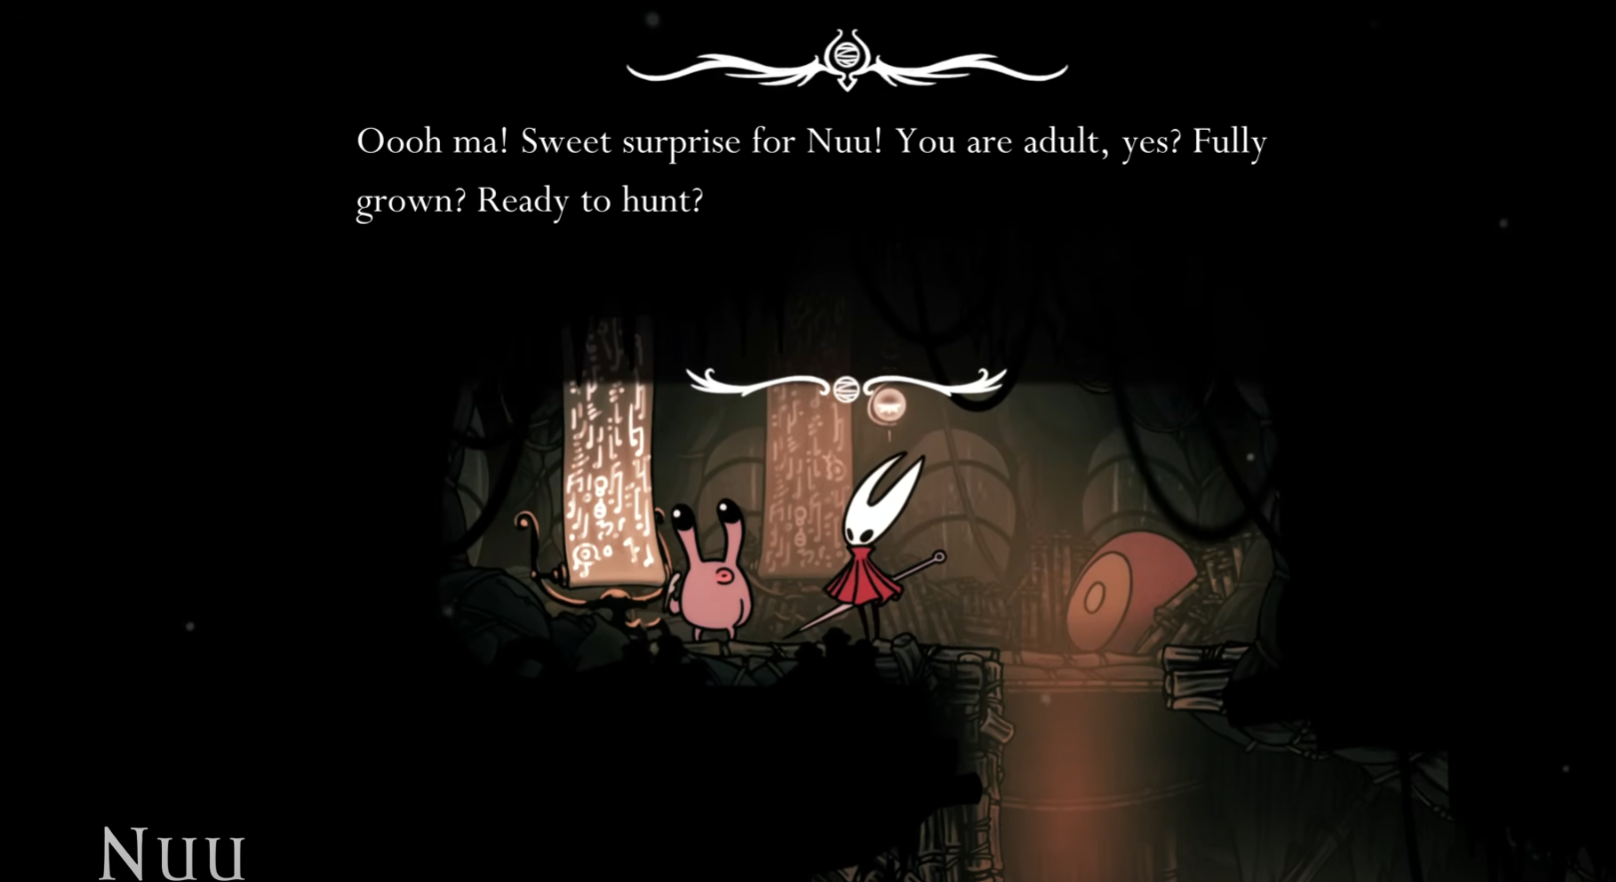
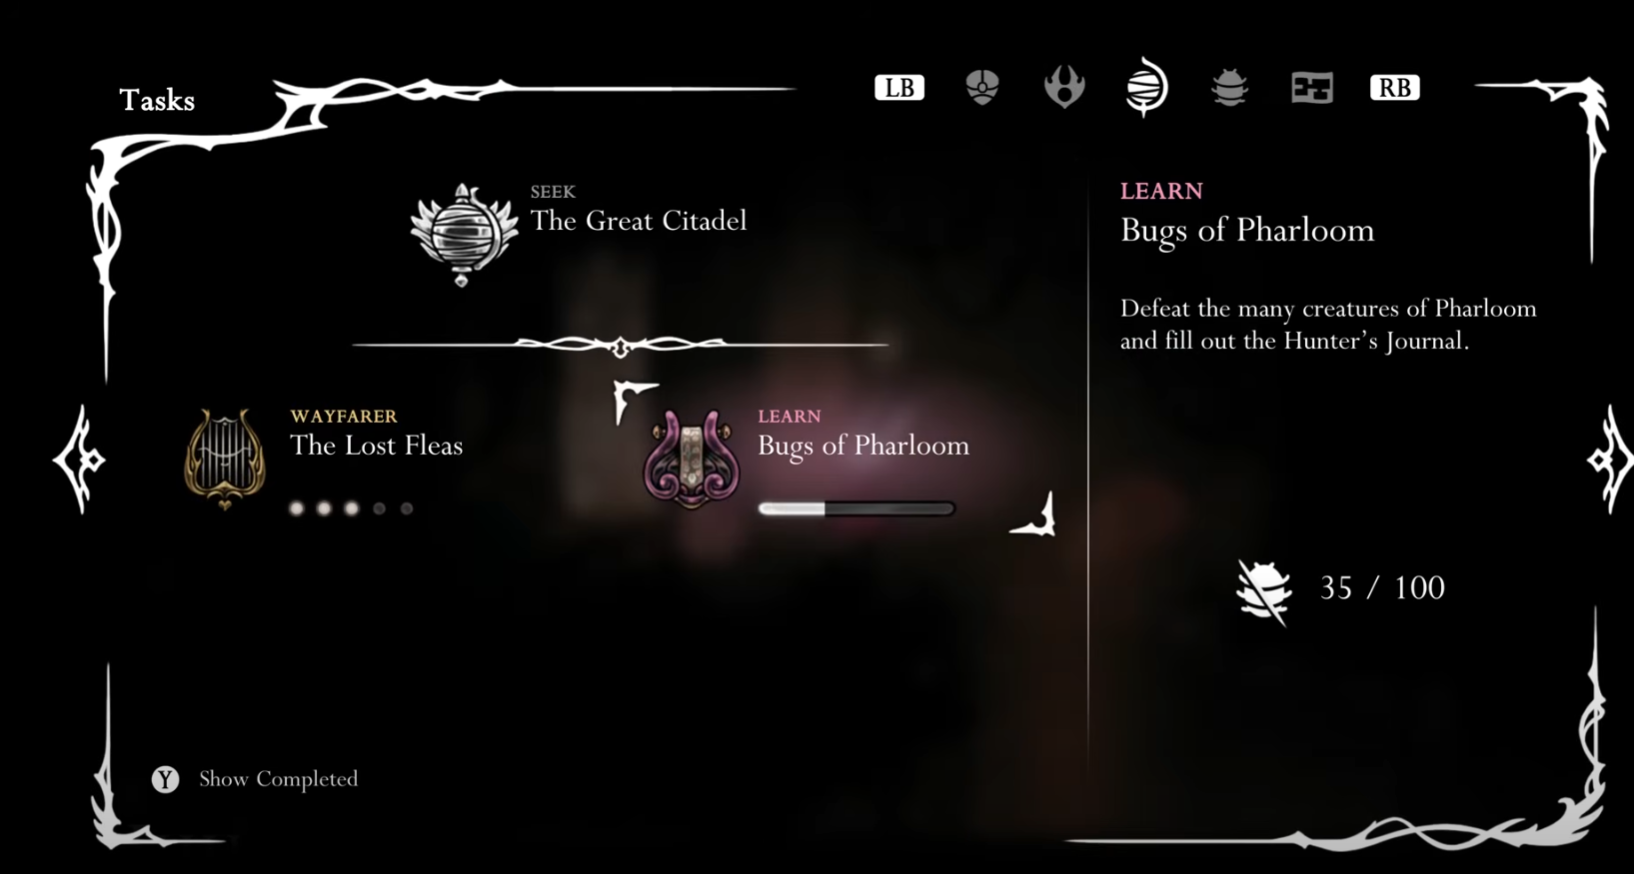
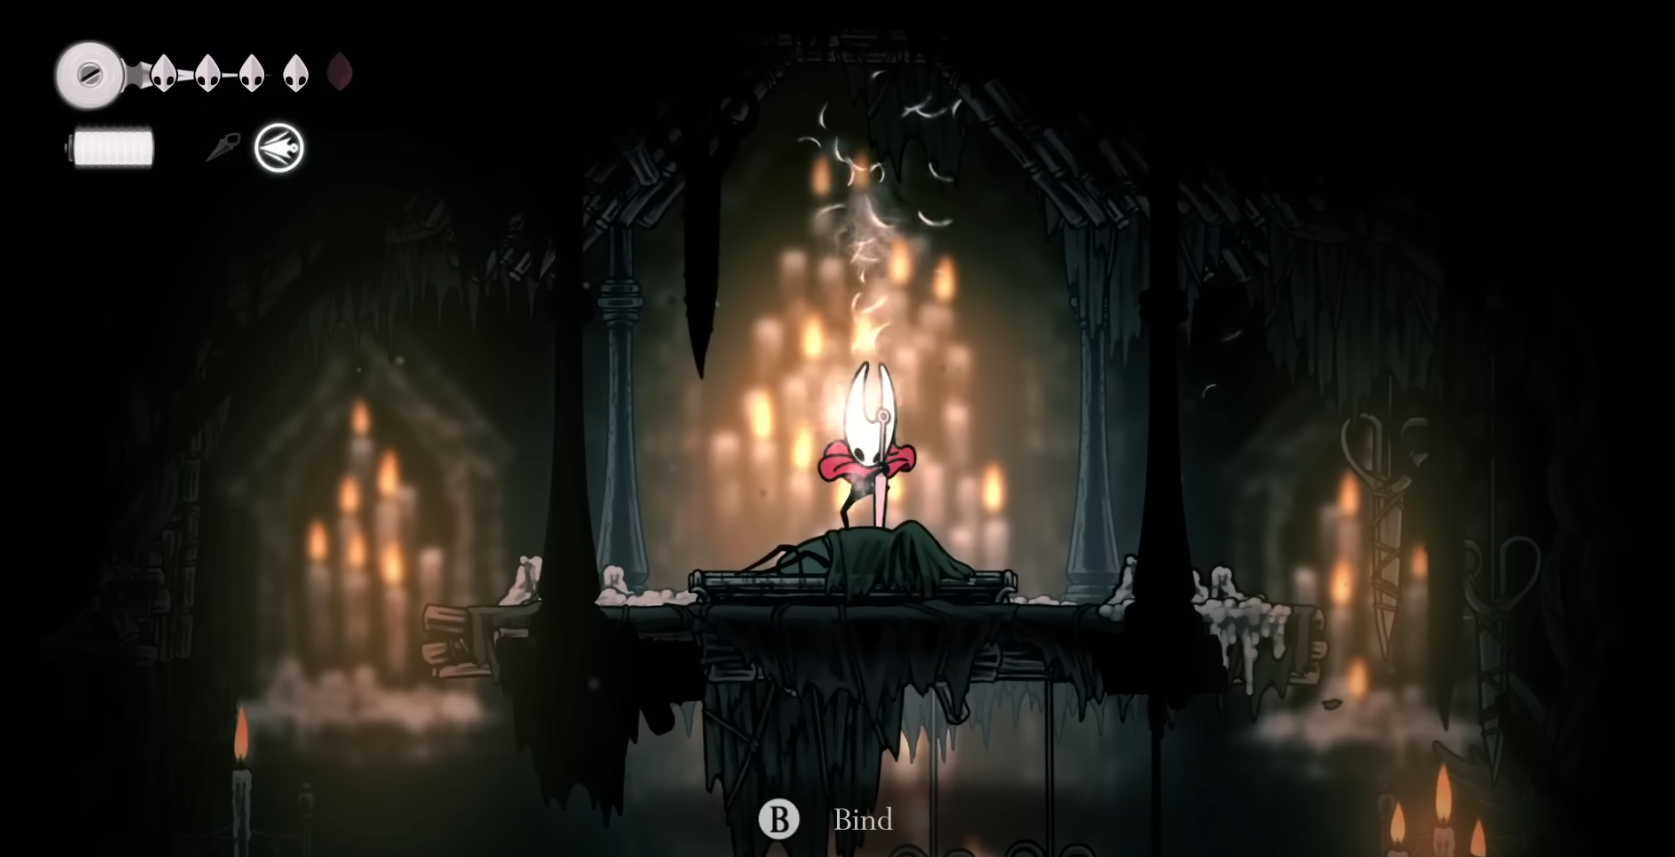
Step 4: Return to the main thoroughfare and continue to “Halfway Home” (the lodgings). Rest at the bench on the right, speak with Creige, then climb to the roof to meet Nuu and accept the Wish “Bugs of Pharloom.” This grants the Hunter’s Journal.

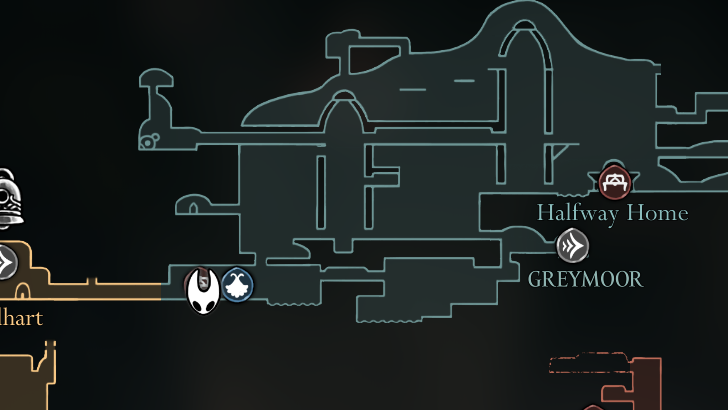
Step 5: Backtrack to the right of your original Greymoor entry hole to find Shakra, the cartographer. Purchase the Greymoor map so your pathing becomes straightforward.

Open the central chain-and-balloons complex
This multi-room center is the backbone of Greymoor. You’ll unlock a gate, spawn balloons (red bounce targets), free a Flea, and open a reliable bench shortcut.
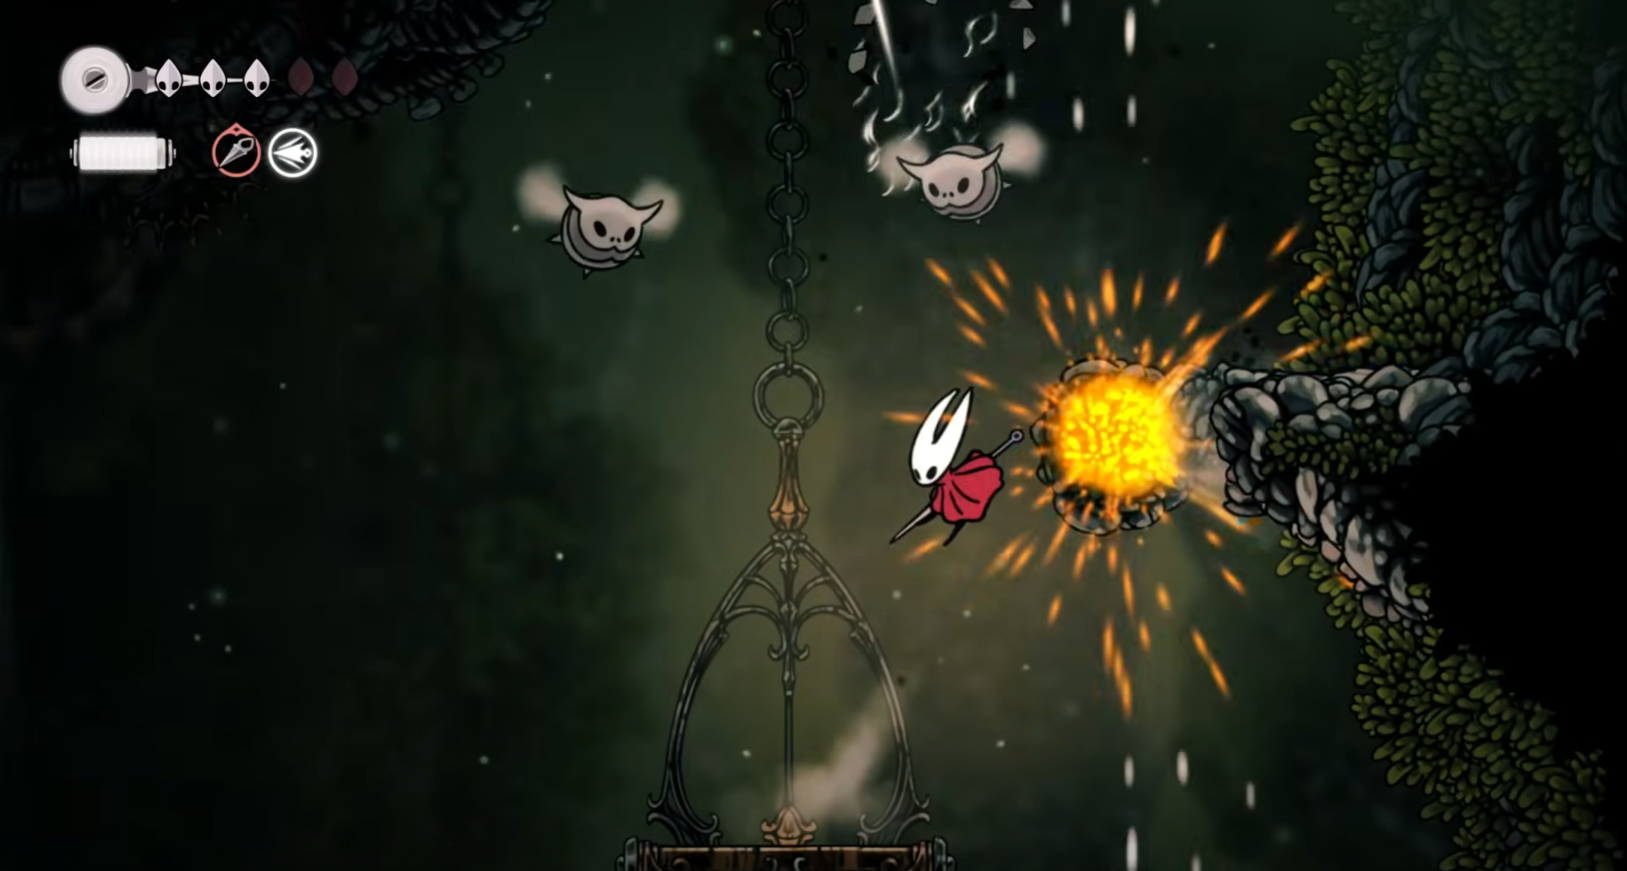
Step 1: Travel right from Shakra through two screens to a locked gate. Loop above via platforms, eliminate the needled crow enemies, and hit the switch to open the gate. Go inside the now-accessible door behind it.
Step 2: In the ceiling-filled Rosary chamber, collect what you can. Move to the top-right channel for a combat trial; clear it, then strike the upper switch to spawn extra balloons on the floor (and outside). These let you reach previously out-of-reach Rosaries.
Step 3: Exit left and pogo on the new balloons to climb. Clear the crow at the top, then continue pogoing up the opposite side. Float to the right shelf for additional Rosaries if needed.
Step 4: Navigate to the top-right ledge to free the imprisoned Flea and flip the nearby switch. Drop down and continue climbing the balloon paths to the bell sign.
Step 5: Use the switch to open the gate by the bell. Cross to ring the bell and summon a bench. This creates a dependable rest point for later runs.
Step 6: Proceed into the next room and hit its switch to drop a platform, creating a fast return path into the complex. Then, from the central floating platform, climb to the top-left switch to finish this side’s setup.
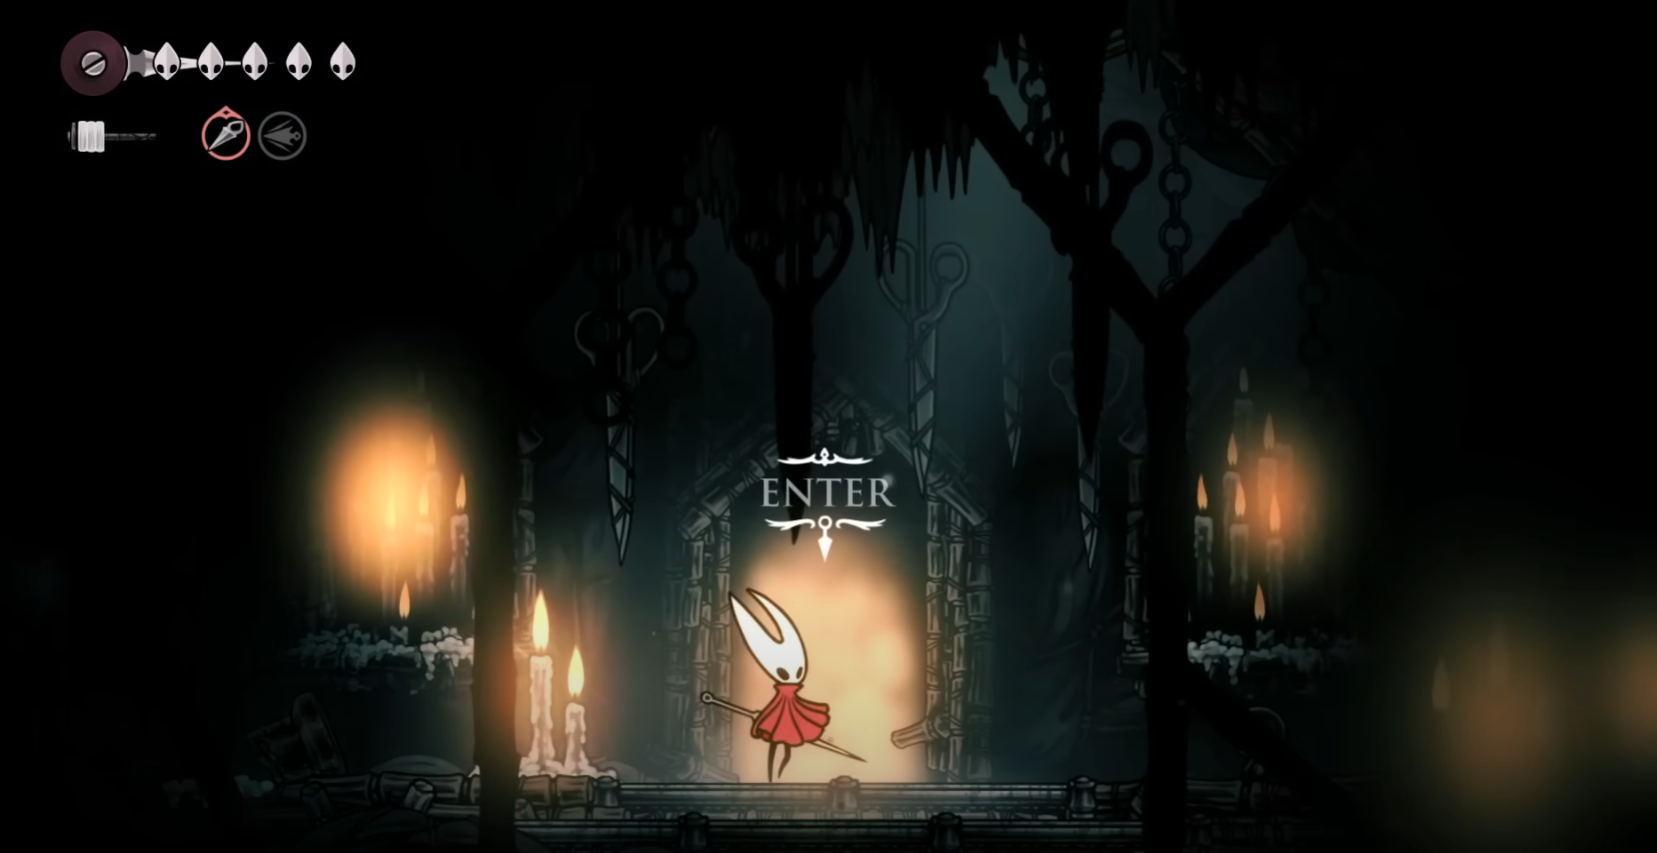
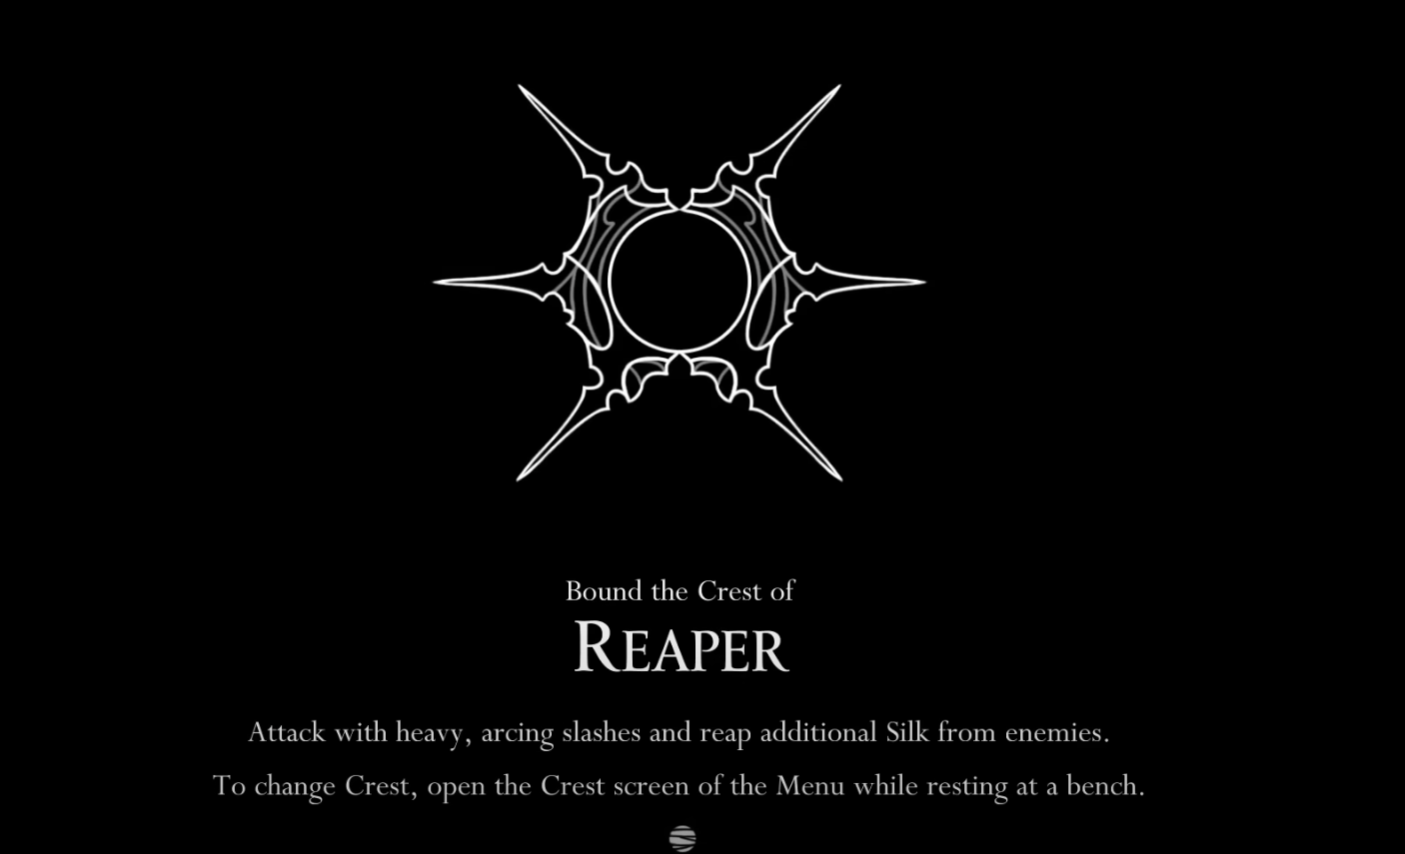
Chapel of the Reaper — obtain the Reaper Crest
Clearing the chapel unlocks a powerful crest and a superior respawn point for the upcoming boss.
Step 1: From the central complex, navigate to the opposite marked area and ascend a spear-wheel obstacle. Avoid the spear tips and take the first left exit.
Step 2: Clear enemies en route and follow the bottom-left exit to reach the Chapel of the Reaper.
Step 3: Complete the spike-wheel platform puzzle and strike the upper switch to open a trapdoor leading into a combat gauntlet.

Step 4: Survive the gauntlet; when the platform above opens, climb and continue up to claim the Reaper Crest. This modifies Hornet’s basic slash into a wider arc, improving grounded coverage.
Step 5: Break the left platform to drop toward the exit. After this, deaths near the boss route will respawn you closer to the fight.
Craw Lake room exit (bird arena door won’t open)
This room locks after a difficult flying-foe sequence and only opens once you use the new balloon correctly.
Step 1: After the arena ends, locate the single balloon that spawns in the room. Stand directly beneath it to line up a clean bounce.
Step 2: Perform a down-strike on the balloon to gain extra height: press Down + Attack in mid-air. Aim to reach the locking mechanism above the door.
Step 3: Strike the mechanism to release the door. Exit the room; additional balloons will now appear outside, giving you new vertical routes.
Route to Moorwing and pre-fight setup
Moorwing sits in Greymoor’s bottom-right on the path toward Bellhart. If you complete the Lost Fleas wishline before visiting, the caravan occupies this space and you’ll miss the fight for that save file.
Step 1: From the central intersection, drop into the lower sections following signs with three bells. Keep clearing enemies for Rosaries; pick up ceiling clusters when safe.
Step 2: Find the rope-tethered platform and cut the rope to generate a wind current. This updraft is your return path if you need to regroup.
Step 3: Bench and tool check: ensure your fast-travel node and chain-bench are open, and equip Reaper Crest if you prefer broader melee coverage.
Moorwing boss — patterns, openings, and recovery windows
Moorwing is an early spike in difficulty due to two-mask contact hits and mixed-range pressure. Play patient and favor long lanes to read blade arcs.
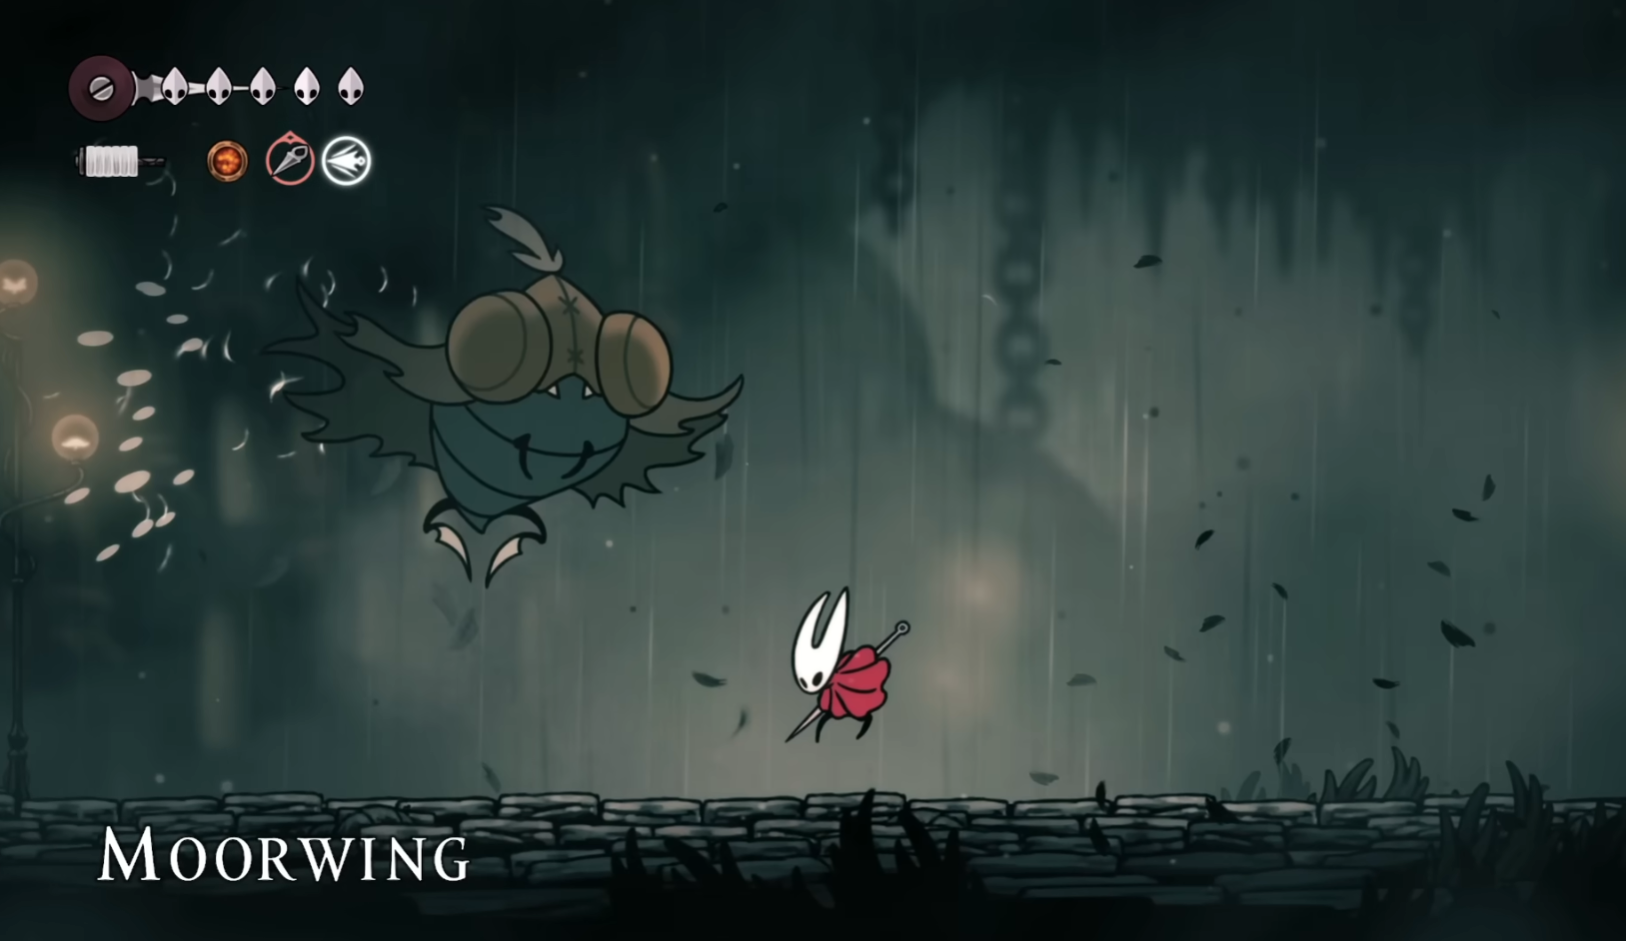
Step 1: Learn the four key actions. Moorwing charges (ground dash), performs a diagonal flurry, throws a homing circular blade that skims the floor then rises, and—when staggered—escalates to throwing two homing blades. Keep mid-range to see the attack telegraph.
Step 2: Punish the charge. When he commits to a straight-line rush, short-hop over and perform a down-strike for safe damage. Do not overextend; reset spacing immediately.

Step 3: Respect the diagonal flurry. Backstep or dash out on the wind-up. There’s a brief window right after the flurry ends; fit a single slash or a quick down-strike if you are already airborne.
Step 4: Manage homing blades by using the full arena width. Let ground-level blades pass under you, then jump as they arc upward, keeping your landing zone clear. With two blades active, prioritize survival over damage and let them desync before re-engaging.
Step 5: Heal only on clean staggers or high-altitude floats. When Moorwing is floored, get one mid-air heal while drifting; otherwise bank Silk for emergencies instead of aggressive tool usage.

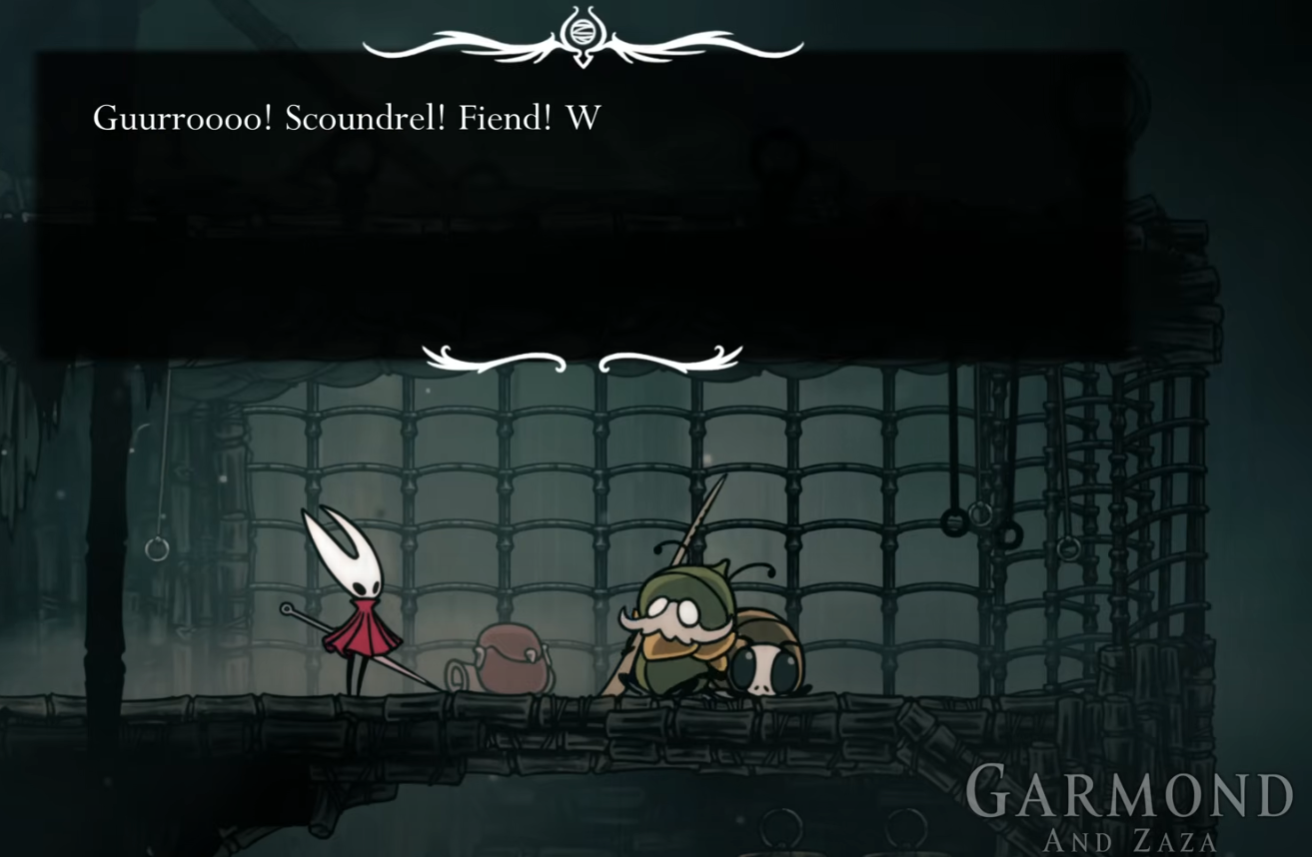
Optional: recruit allies for Moorwing
If you lose once, you can recruit Garmond and Zaza from the wind lift to the right of the arena. They’ll enter mid-fight, draw aggro briefly, and get knocked down without dying—creating safe pockets for heals or resets.
Step 1: After a defeat, ride the right-hand updraft to reach Garmond and Zaza and accept their help.
Step 2: Re-enter the arena and begin non-committal pokes until allies arrive, then use their distraction to take your best punish (typically post-charge).
Optional: safe-platform method with Reaper Crest
This method uses the arena’s upper ledges and Reaper Crest’s arc to reduce risk. Note it may change in future updates.
Step 1: Start the fight, then immediately take the right updraft back to the elevated platform above the arena.
Step 2: Lure Moorwing to the far side below you. From the extreme ledge, use short hops and down-strikes or arc slashes to tag him when he drifts close, retreating after each hit to avoid counterblades.
Step 3: Repeat patiently. This is slower than standard play but trades time for consistency.
After Moorwing — onward to Bellhart and Shellwood
When Moorwing falls, head left through the newly opened door, inspect the sign, and proceed to the transition. This route takes you toward the haunted Bellhart and further Act 1 objectives.
Step 1: Cross the left door, interact with the sign, and continue to the next area. Watch the cutscene and verify your nearest bench and fast-travel link before exploring deeper.
Optional: early Rosary farming (quick loop)
Greymoor’s pilgrims near Halfway Home offer a fast, low-risk loop early on if you’re short on beads for benches, maps, or fast travel.
Step 1: From Halfway Home’s bench, exit and move right to the pilgrim cluster near the building.
Step 2: Clear the three enemies, collect ~30 Rosaries per sweep, return to the bench to respawn them, and repeat until you meet your immediate costs.
Greymoor rewards deliberate routing: open the central complex, grab the Reaper Crest, and tackle Moorwing with clear punish rules. With those pieces in place, the region stops being a roadblock and becomes a reliable transit to Bellhart.