
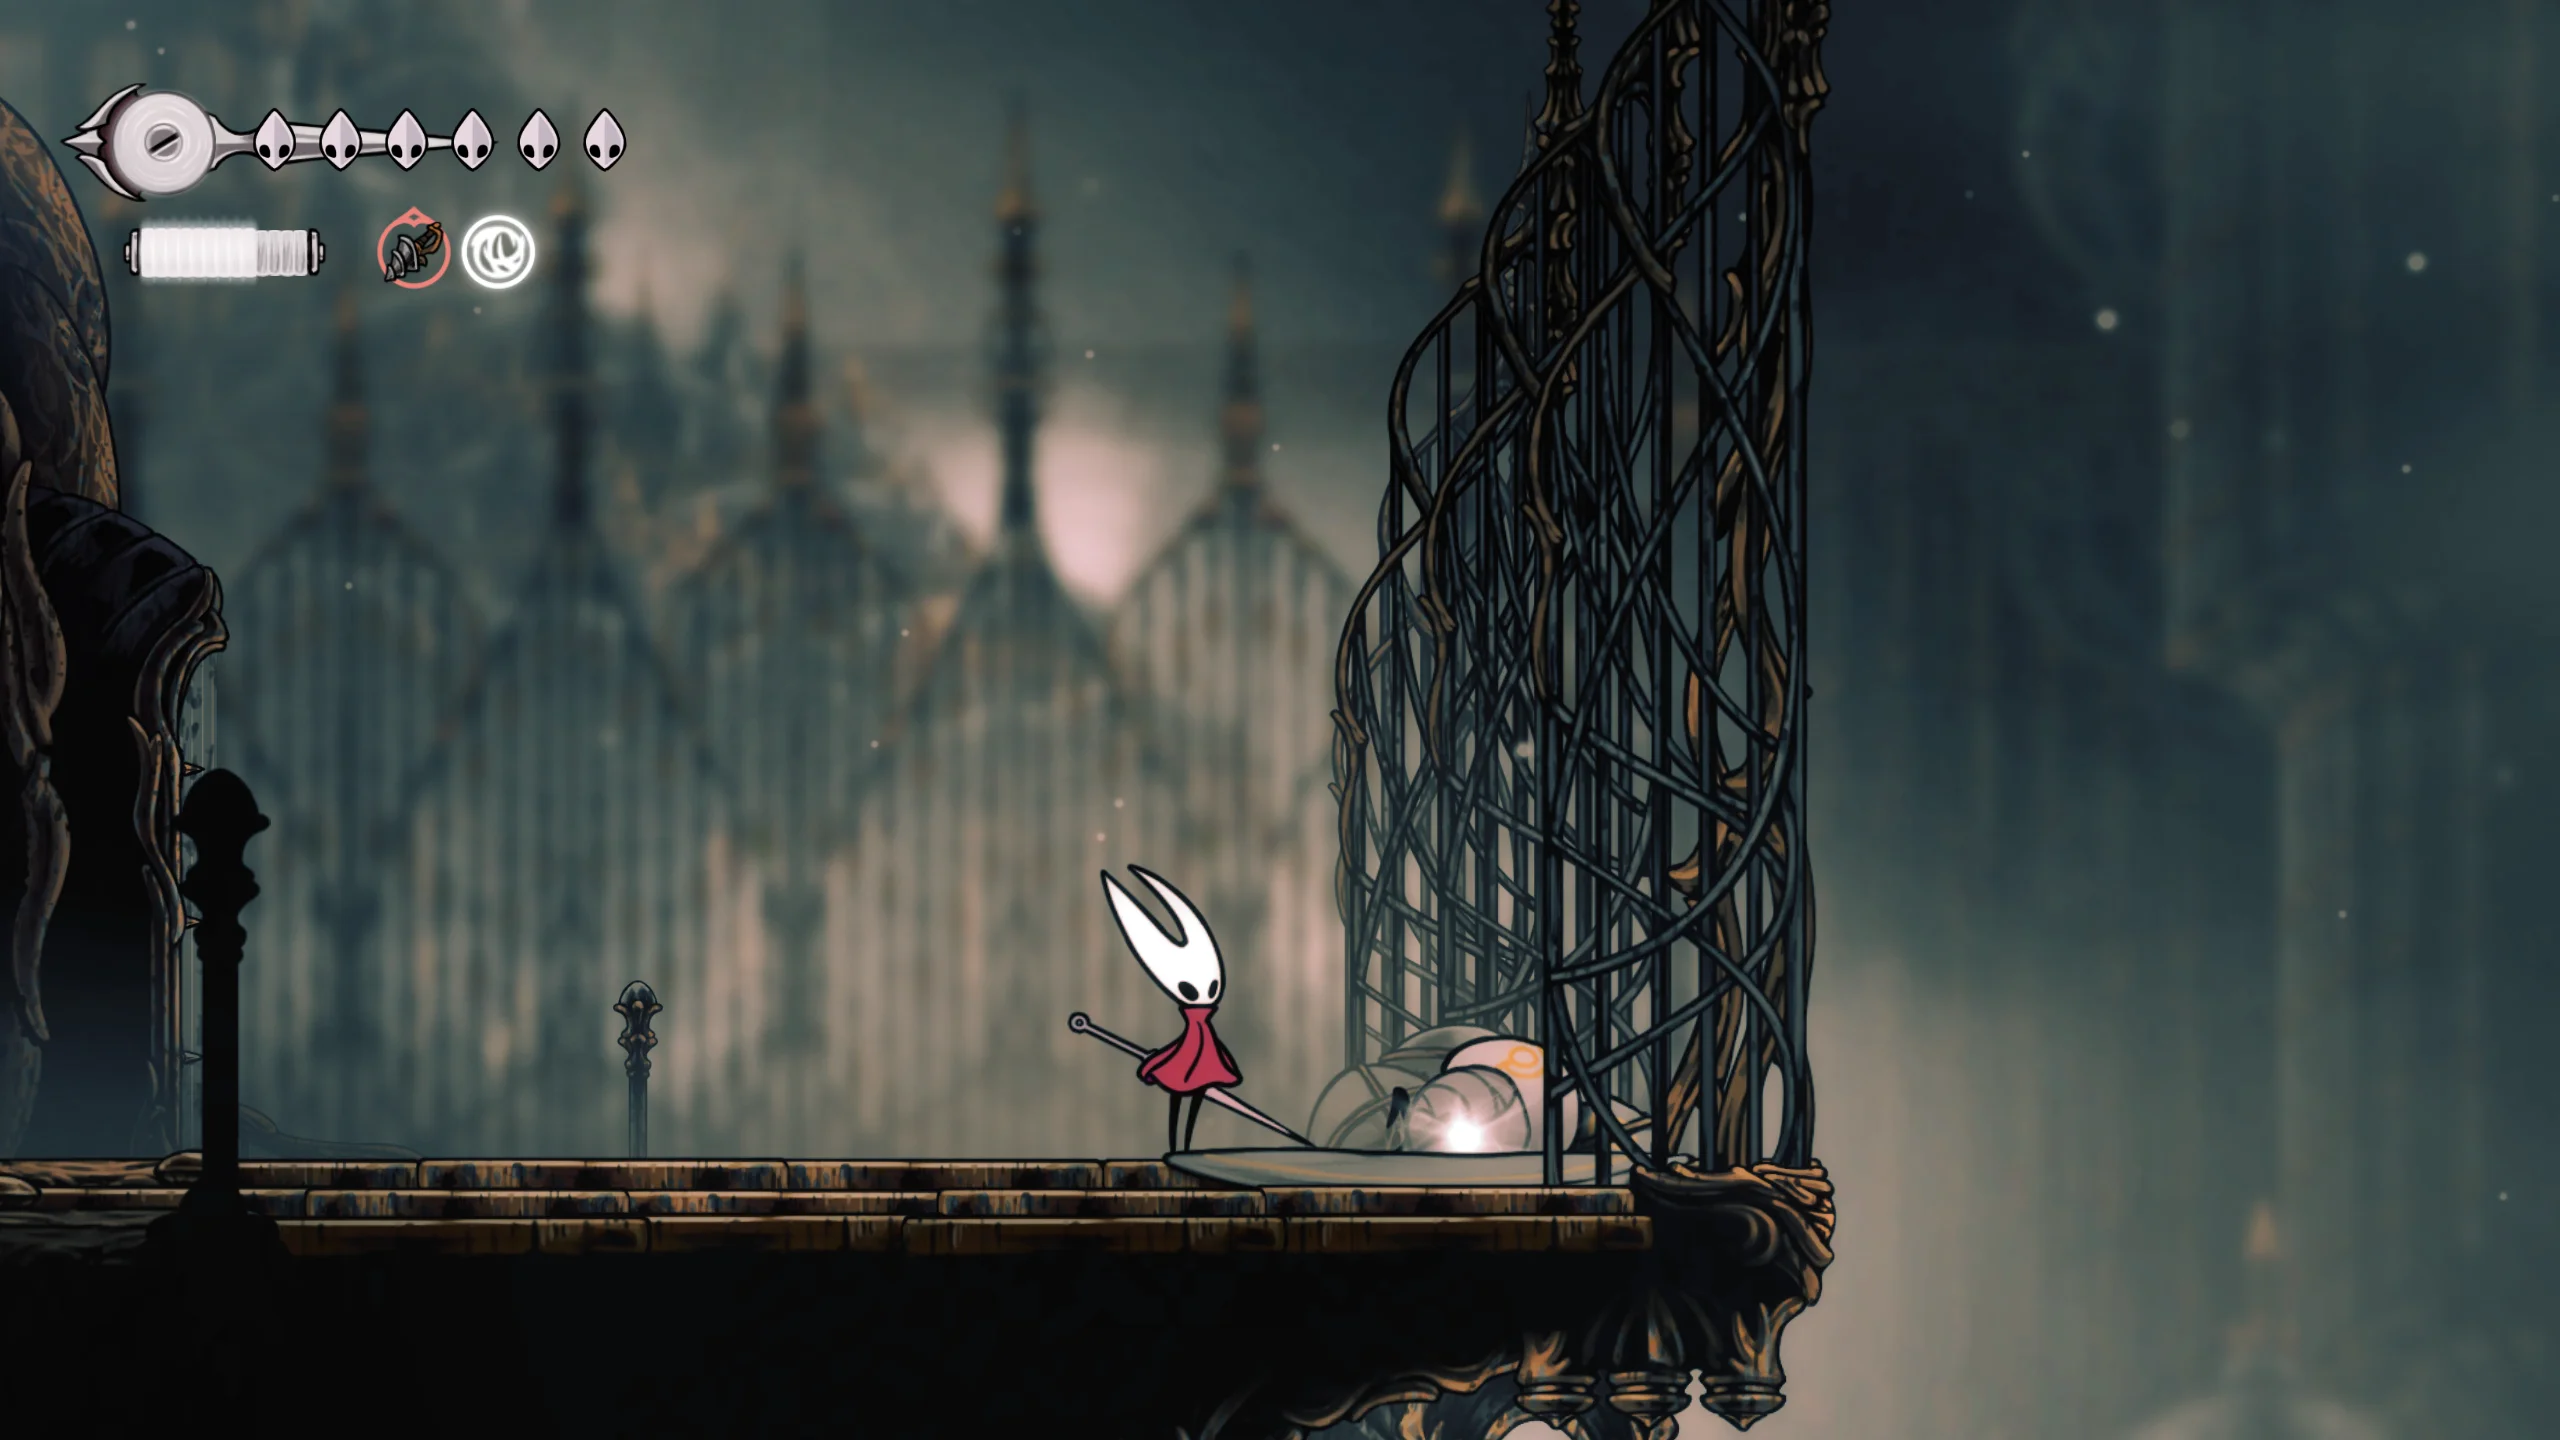
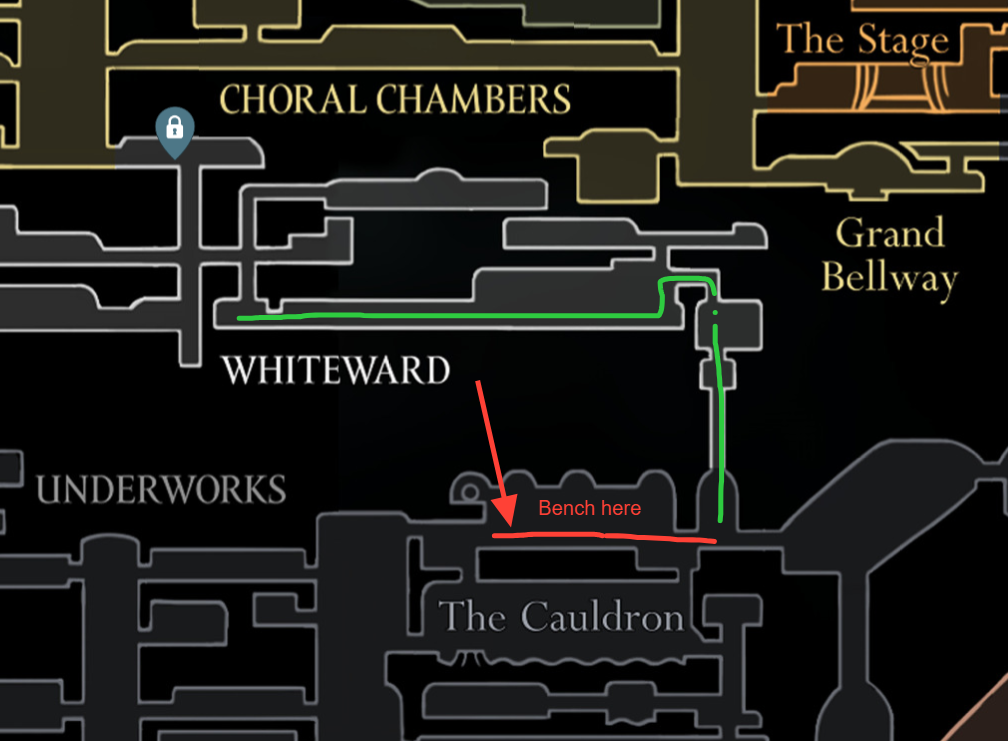
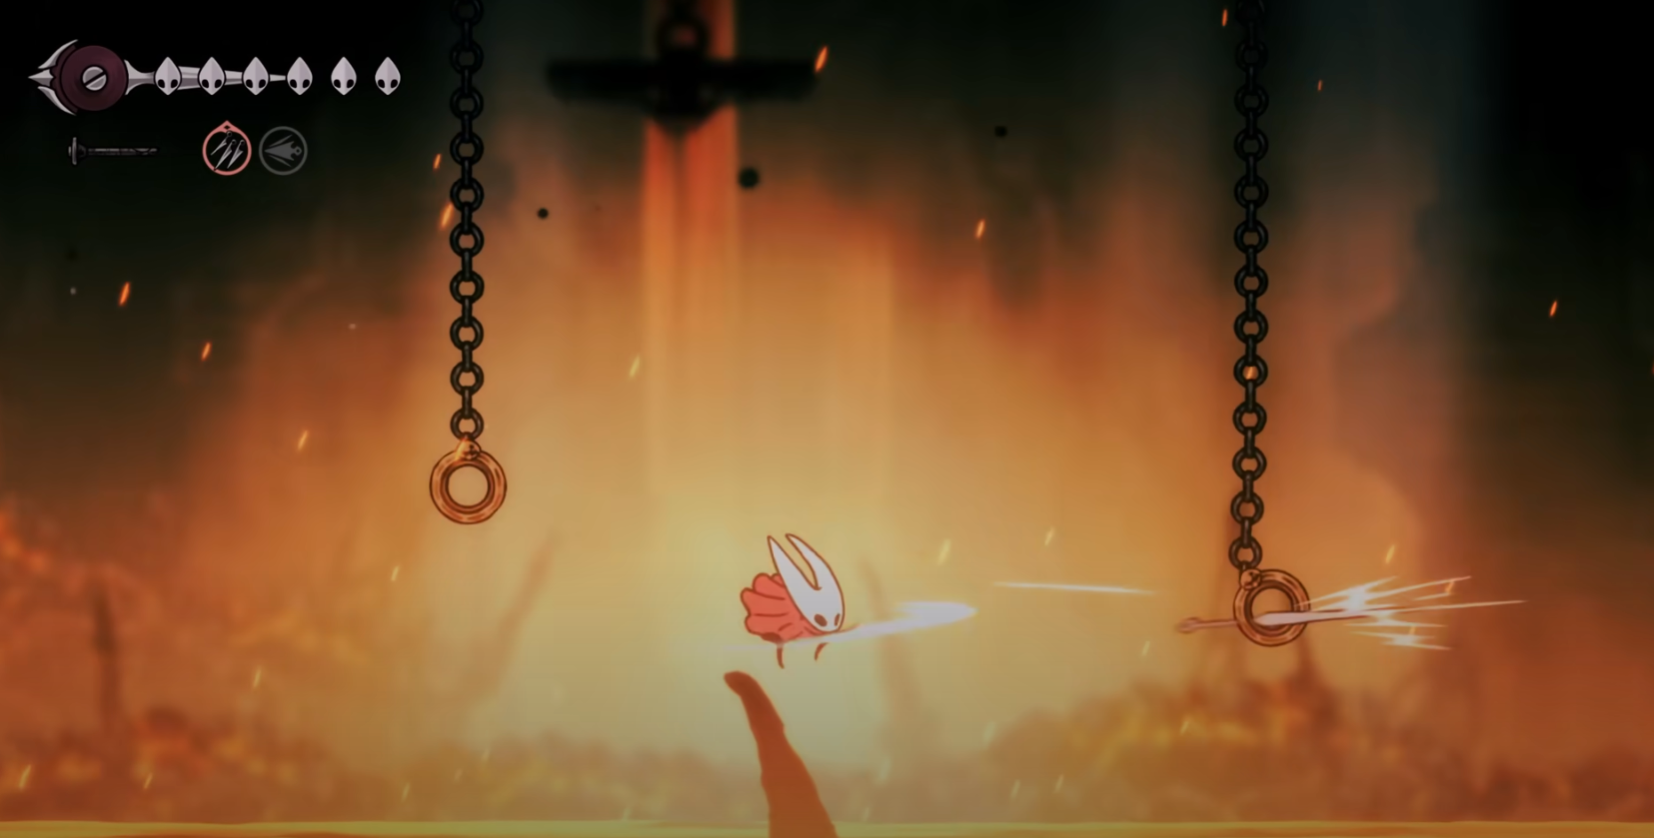
The Clawline is Hornet’s grappling hook Ancestral Art. It lets you drive the needle into rings, valid surfaces, or enemies and sling yourself forward, turning long gaps and vertical shafts into workable routes. You obtain it by binding at a Weaver statue in The Cauldron, a lava-filled chamber in the Underworks.
Reaching The Cauldron reliably requires a White Key in the Citadel and a short run through Whiteward. The instructions below outline the most consistent route reported by multiple guides, followed by an alternate path that begins directly in the Underworks.
What the Clawline does
Clawline pulls Hornet to a targeted ring, enemy, or specific surface, enabling fast repositioning and extended traversal chains. It consumes Silk when cast, but connecting with an enemy restores Silk, allowing aggressive movement in combat.
Controls are mapped to the Harpoon action. By default this is S on PC, LT on Xbox, L2 on PlayStation, and ZL on Switch. Some prompts may show a hold input (e.g., R2); check your settings if your bindings differ.
Preparation and useful pickups
- Drifter’s Cloak (glide). Needed to ride updrafts and stabilize long jumps in the Underworks.
- Cling Grip (wall jump). Required for narrow shafts and to reach a hatch lever before The Cauldron.
- Bench and Bellway in southeast Choral Chambers. Optional but speeds up backtracking significantly.
- Maps (Choral Chambers, Whiteward, Underworks). Optional but helps with route-finding under pressure.
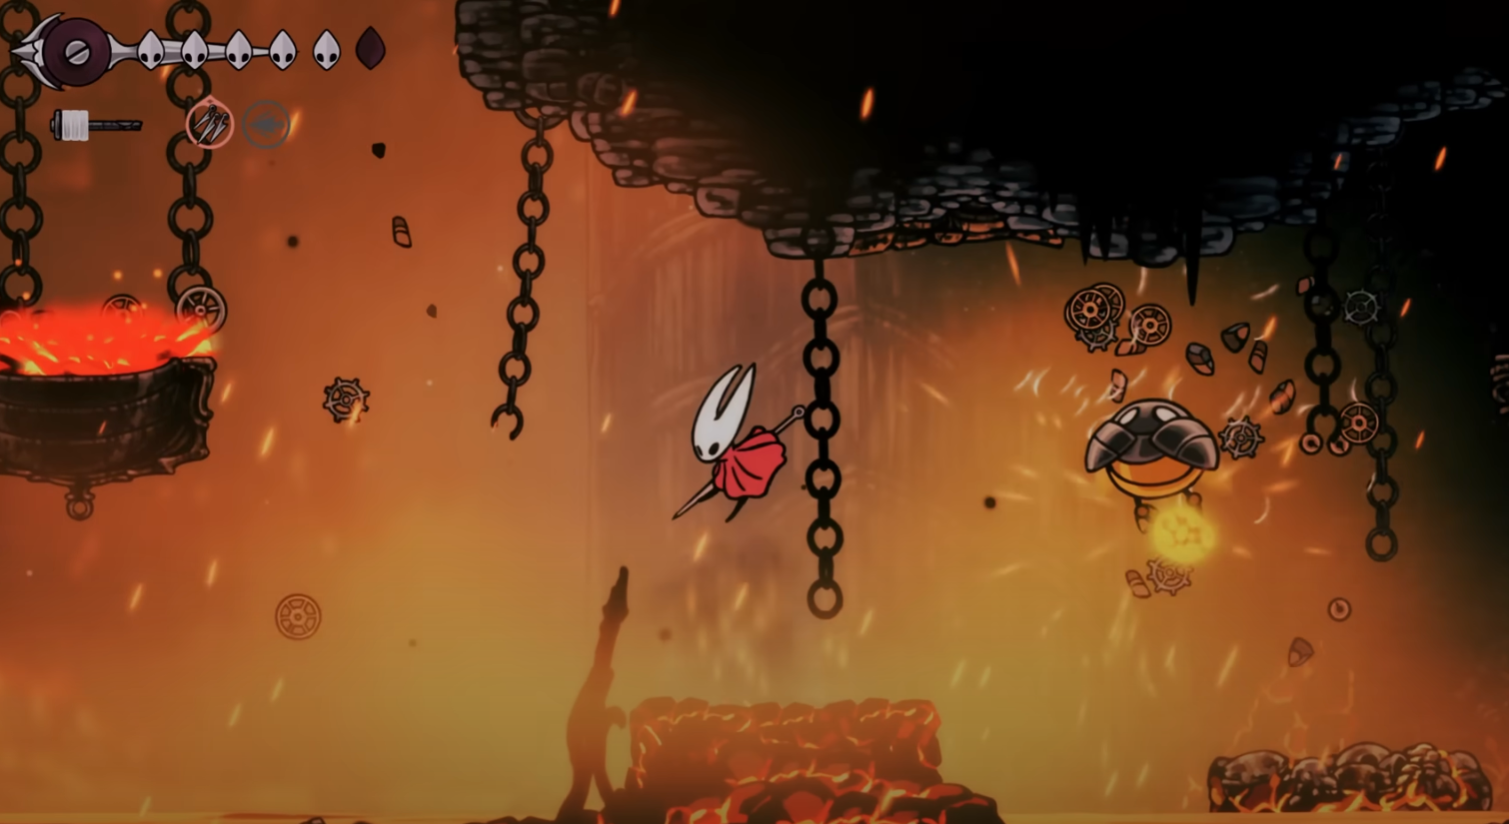
Hazard note: Underworks and The Cauldron include heated floors and falling lava. Keep moving on hot surfaces to reduce damage ticks, watch for lava streams from ceilings, and clear explosive enemies from a safe distance.
1. Standrd route — White Key elevator to Whiteward
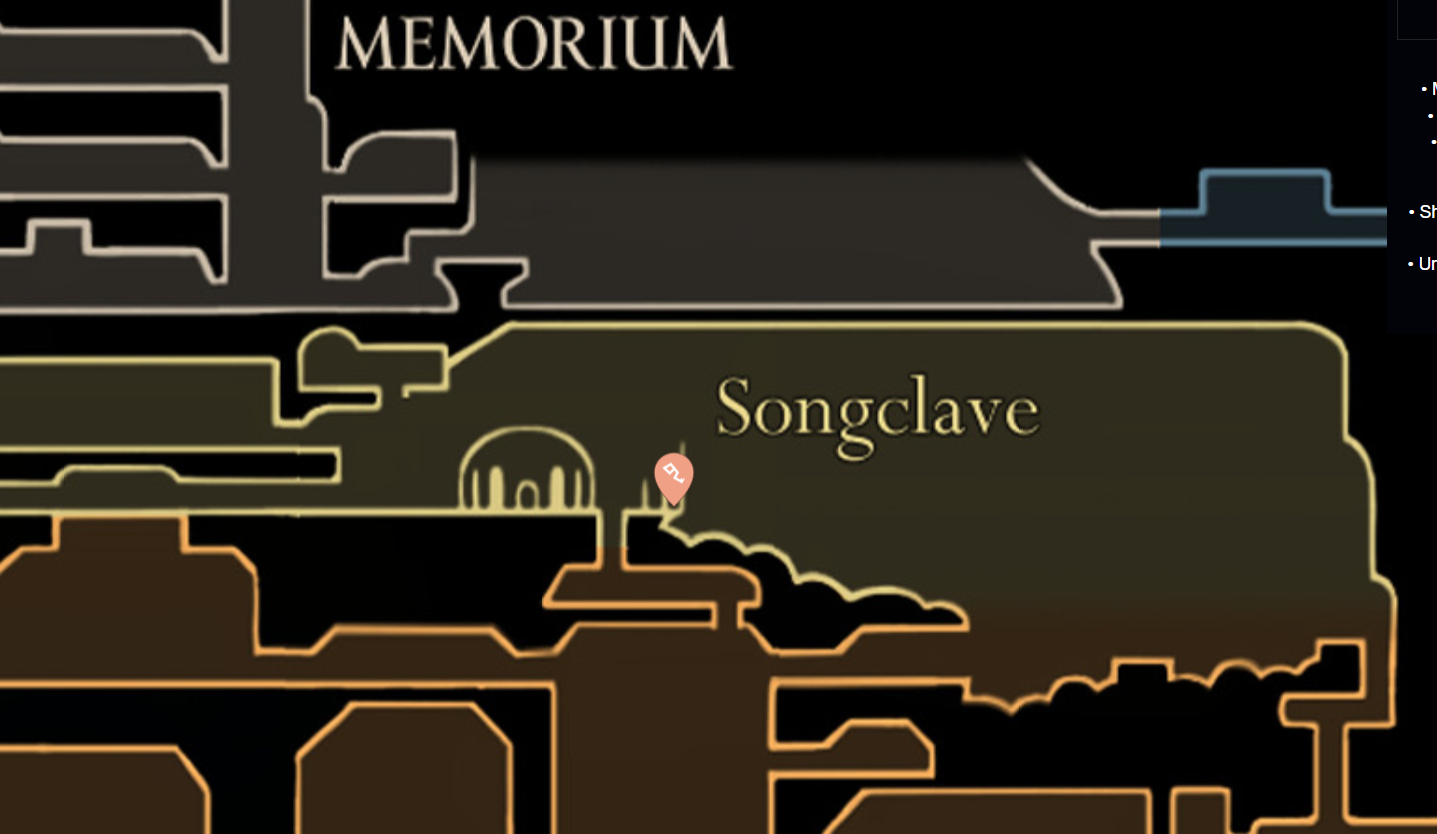
Step 1: Reach Choral Chambers in the Citadel and push into the Songclave subzone near the top-right of the region. Your goal here is the White Key.
Step 2: Pick up the White Key outside the shrine area on the far-right edge of the Songclave section. The lock icon matches a white, medical-like symbol seen on the elevator panel later.
Step 3: Detour to the southeast of Choral Chambers and activate the Bellway and nearby bench. This gives you a quick return point once the route connects later.
Step 4: Move to the lower-left tall shaft in Choral Chambers. Look for the white-marked elevator door at the bottom of this vertical.
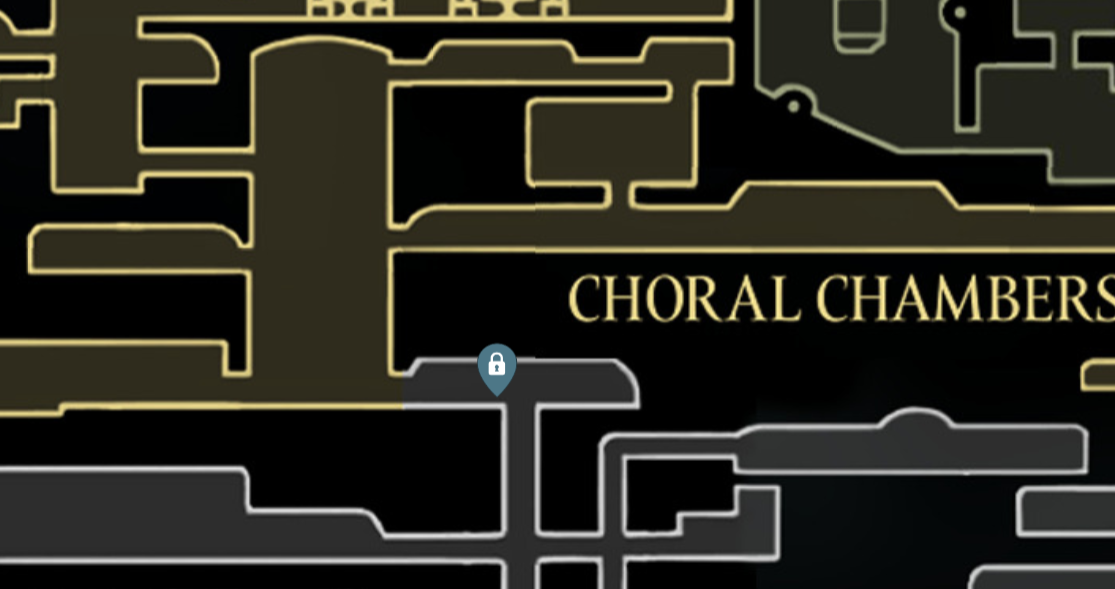
Step 5: Use the White Key on the elevator panel to power the lift. The gate unlocks and the platform becomes active.
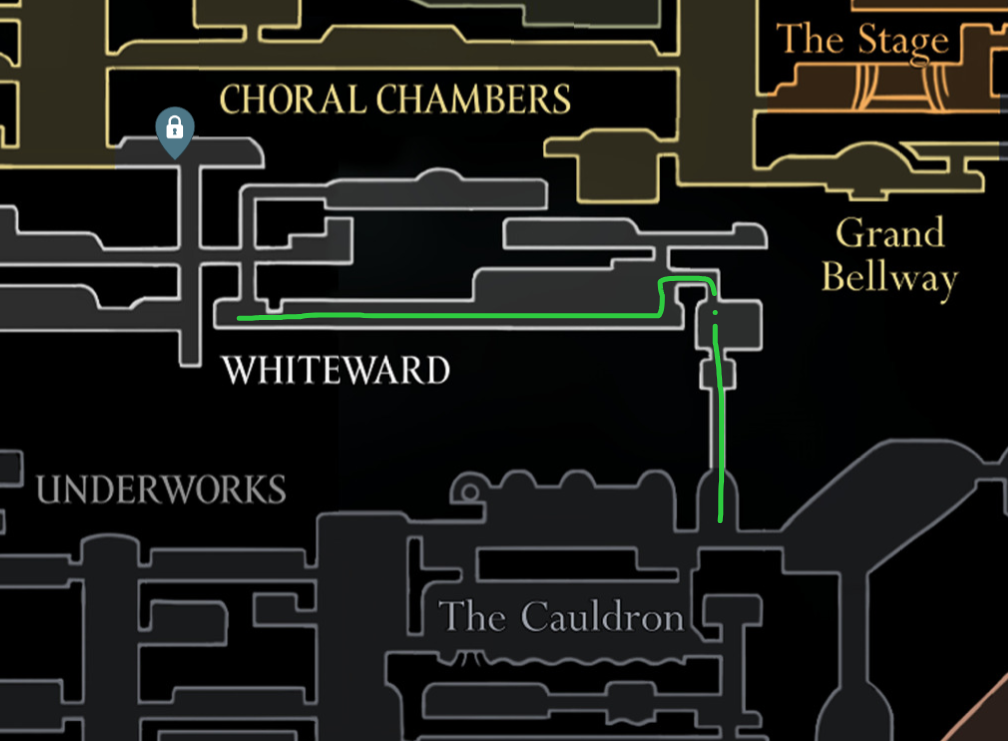
Step 6: Ride the elevator down to Whiteward. When you arrive, stay focused on progressing to the right-hand drop that leads toward the Underworks.
Step 7: Follow the lower loop through Whiteward until you reach a large vertical shaft on the right side of the zone. This is the descent back toward the Underworks.
Step 8: Drop into the shaft to re-enter the Underworks. Avoid reactivating the elevator while you are by this pit so you can take the right-hand passage just below.
Step 9: On landing in the eastern Underworks, head left to the bench and rest. This gives you a nearby recovery point for the upcoming lava sections.
Step 10: Continue left to a rotating wheel-like switch. Strike it repeatedly until it breaks, opening a wind tunnel.
Step 11: Ride the updraft using Drifter’s Cloak to reach the upper platform. The vent takes you back into the main route forward.
Step 12: Proceed left, then drop into a corridor with heated floors. Keep your movement steady to limit contact damage.
Step 13: At the far right of this corridor, climb to a hatch with a lever and hit it. This opens the door into the next lava room.
Step 14: Enter the chamber known as The Cauldron. Cross the lava hazards with careful jump–dash–glide timing to reach the large stone platform on the left.
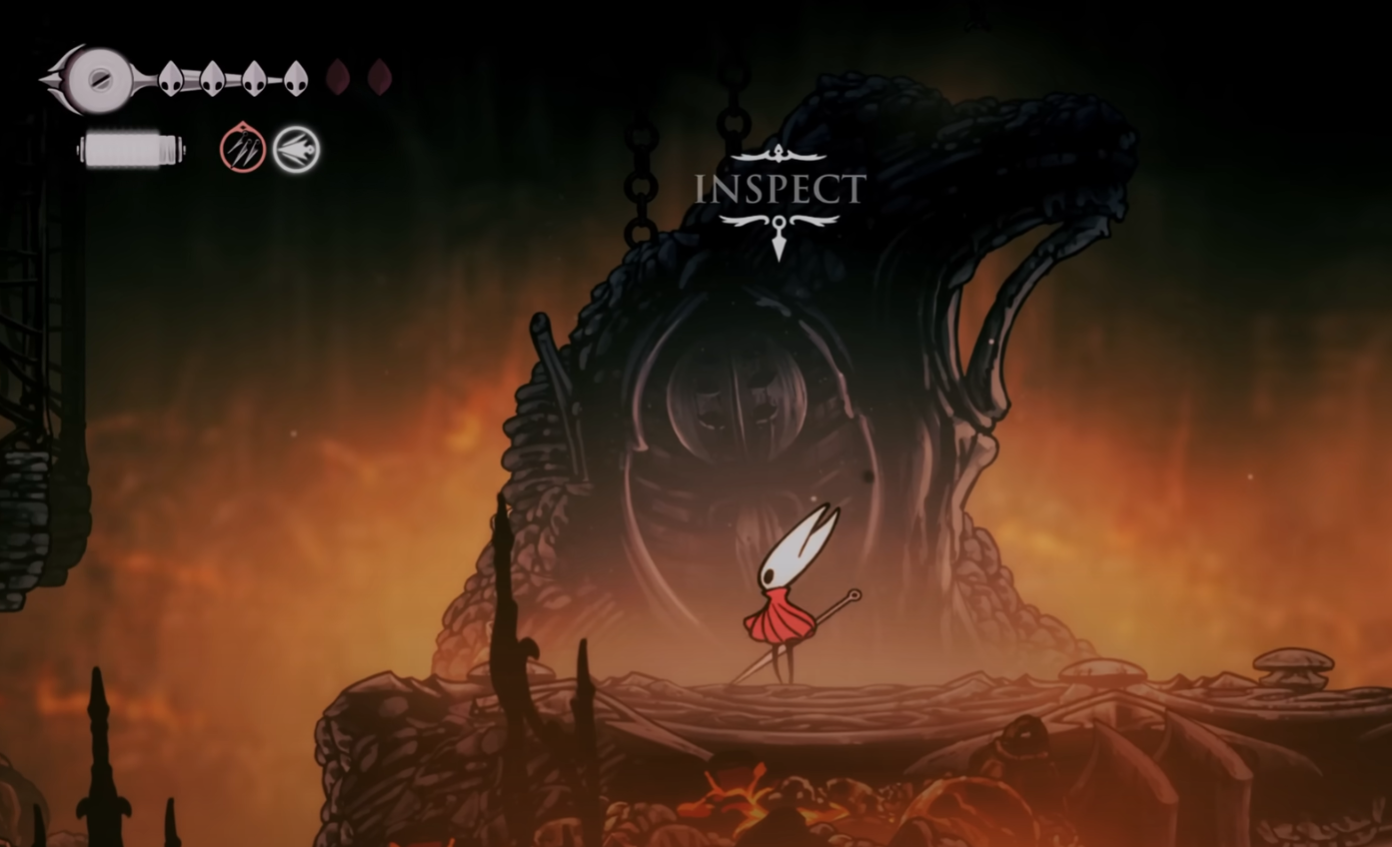
Step 15: Interact with the Weaver statue on the platform to bind and learn the Clawline Ancestral Art. This unlocks the grappling hook permanently.

Method 2: Alternate entry — Underworks via Ventrica
Step 1: Enter the Underworks through the Ventrica connection if you already have that route open. This path starts you within the Underworks without using Whiteward.
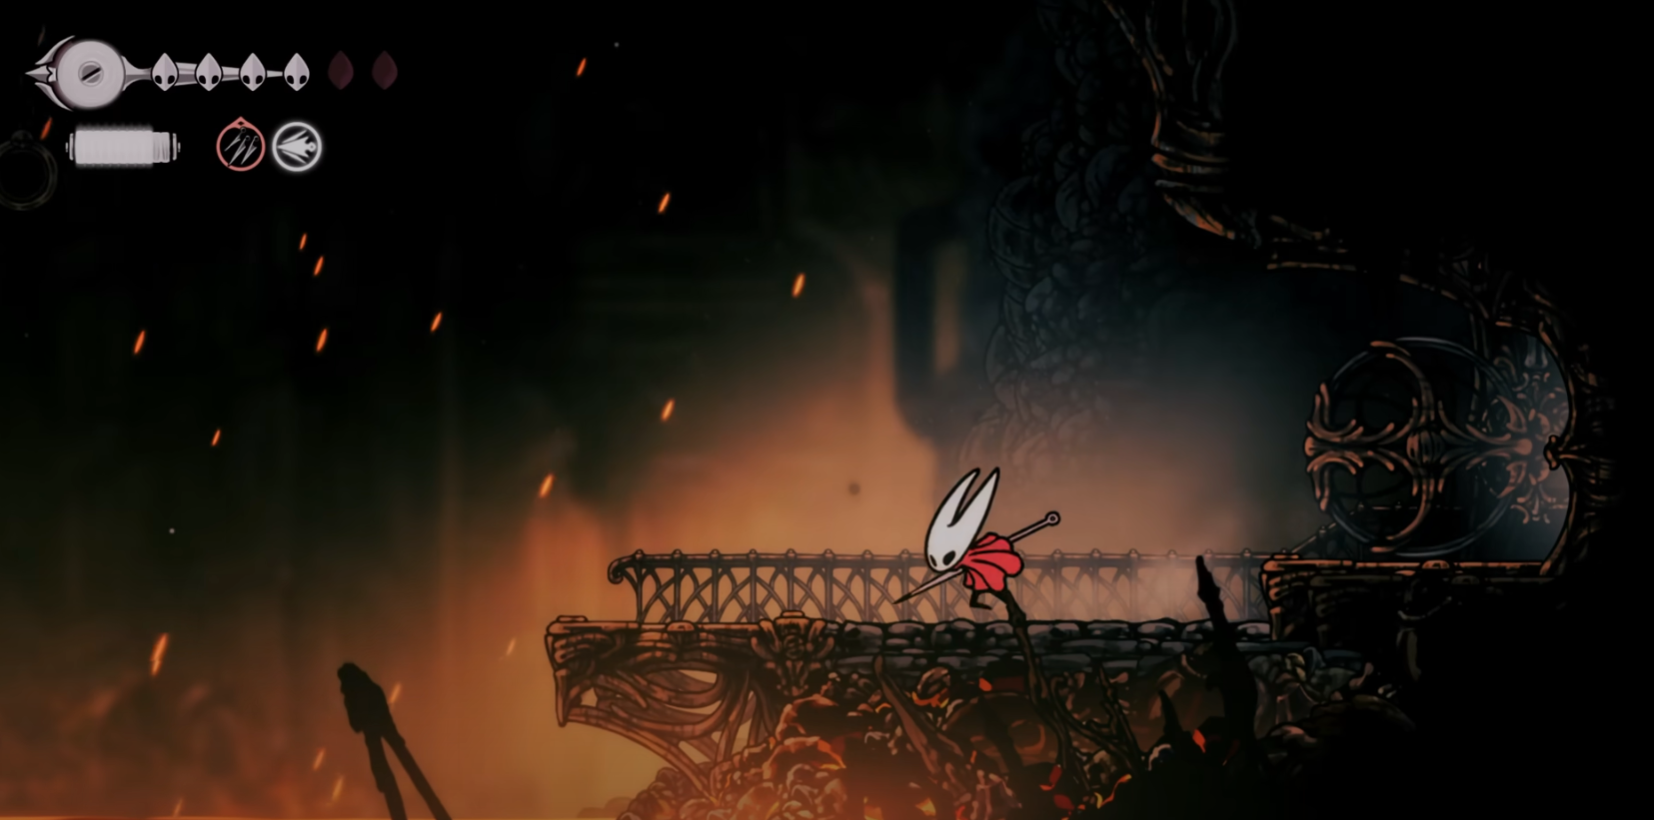
Step 2: Go right to find a switch that lowers a bridge. Activate it to open the way ahead.
Step 3: Jump to the platform above the entrance and move under the newly opened bridge. This positions you for the descent path.
Step 4: Use Drifter’s Cloak to glide through the vertical drop, landing on the lower tiers safely. Take your time to avoid falling into hazards.
Step 5: Work your way to the lowest platform on the right side of the area. This lines you up for the narrow corridor.
Step 6: Enter the tight passage and use Cling Grip to bounce between the walls. It’s a short but precise climb.
Step 7: Strike the switch at the top to open the door ahead. This connects you to the lava approach to The Cauldron.
Step 8: Glide and hop across the magma platforms to The Cauldron’s main arena. Watch for lava streams and explosive enemies as you cross.
Step 9: Bind at the Weaver statue to acquire the Clawline. You can now use the grappling hook anywhere valid anchors exist.
How to use Clawline effectively
Step 1: Activate Clawline with the Harpoon button: S (PC), LT (Xbox), L2 (PlayStation), or ZL (Switch). Rebind if needed in Controls.
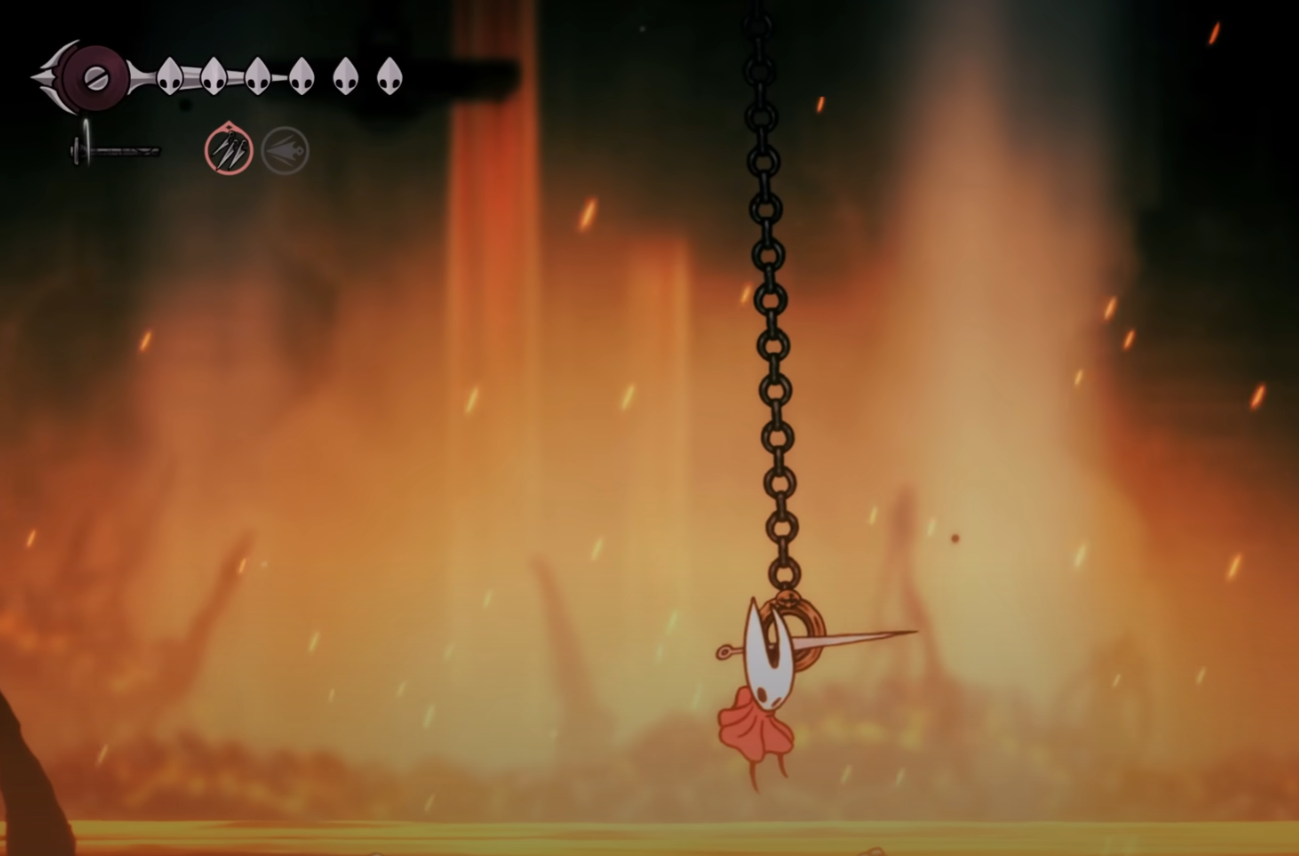
Step 2: Aim at rings or eligible surfaces to zip to them. Hornet will cling on arrival, letting you chain wall jumps or set up a new grapple.
Step 3: Target enemies to surge into them mid-air. This doubles as a gap-closer and a way to reset your position above hazards.
Step 4: Manage Silk economy. Each cast spends Silk, but hitting an enemy returns Silk, enabling longer movement or offensive strings.
Step 5: Expect a brief recovery window between casts. You can still link grapples with jump, dash, and glide to keep momentum.
Step 6: Practice “ring ladders” in The Cauldron to climb quickly. Alternate Clawline pulls with short wall grips to scale verticals safely.
Leaving The Cauldron and reconnecting paths
Step 1: From the Clawline altar platform, look to the upper-right and grapple between rings to exit the arena. This is the intended way out after binding.
Step 2: If you rested at the eastern Underworks bench and feel boxed in, go left to the cracked wheel switch and break it again. Ride the updraft to regain height.
Step 3: After the updraft, continue left and drop into the heated-floor corridor. Move right to the levered hatch and open it to create a loop back.
Step 4: In the Whiteward descent shaft, avoid re-enabling the elevator when you need the right-hand passage. Keeping the lift inactive preserves that side route.
Step 5: Use enemies near ceilings as emergency anchors if a climb feels just out of reach. A single grapple to a flying target often provides the height you need.
With Clawline unlocked, you’ll cross wide gaps faster, add mid-air corrections in fights, and open progress toward later mobility upgrades. If the route feels punishing at first, set the nearby benches and Bellway—shorter retries make the hazards manageable.