
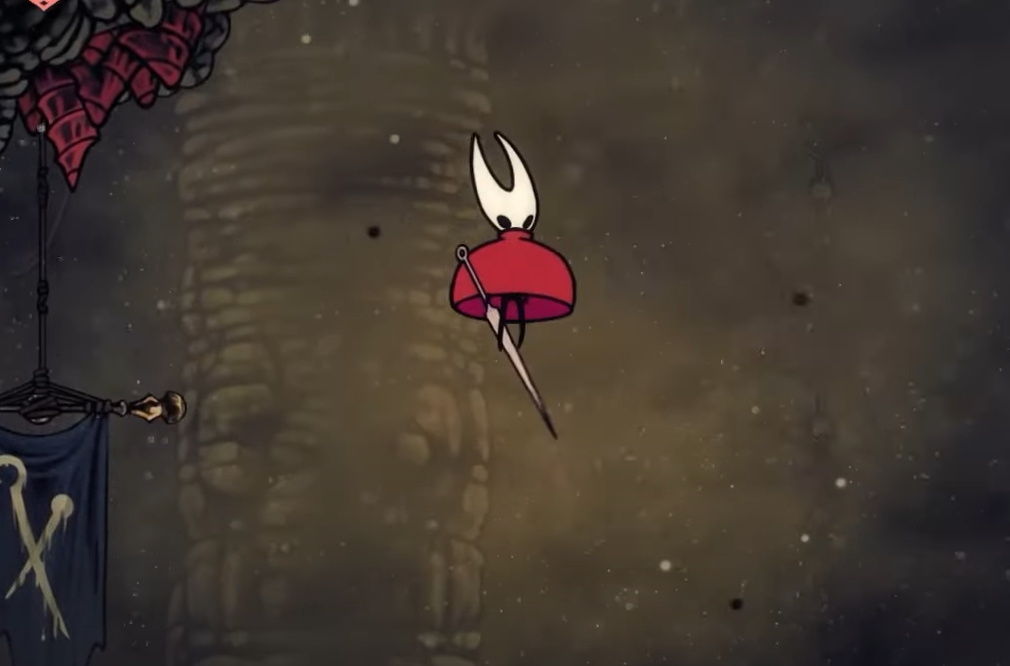
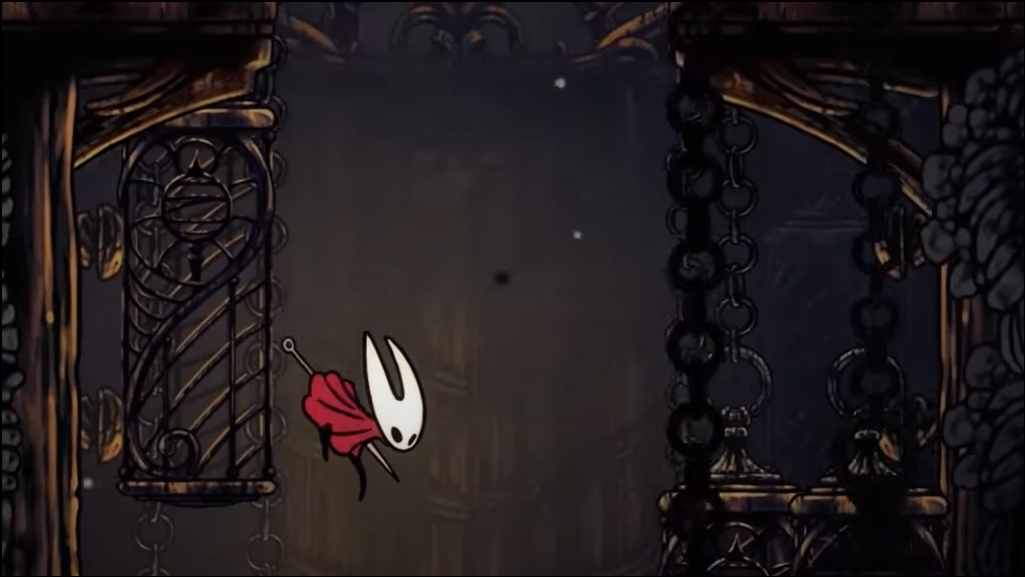
Sands of Karak is a demanding, optional desert zone in Hollow Knight: Silksong. Expect time‑limited platforms, dense spike corridors, and long gaps between benches. This walkthrough prioritizes a clean route in, the core traversal mechanic, every major pickup, and two boss encounters.
Prerequisites and recommended loadout
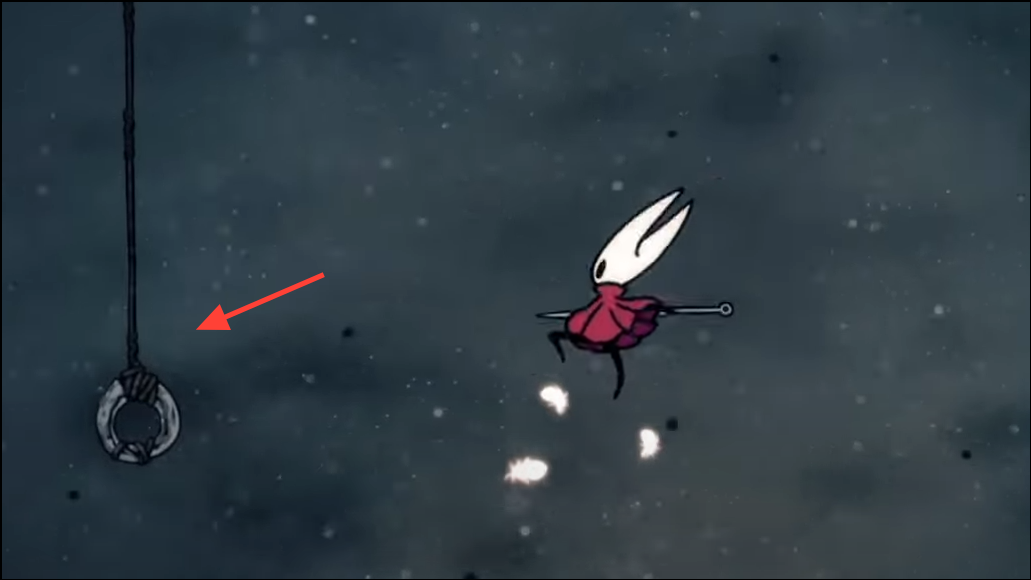
Step 1: Unlock Clawline. It’s required to enter and to cross several gaps on reactive platforms.

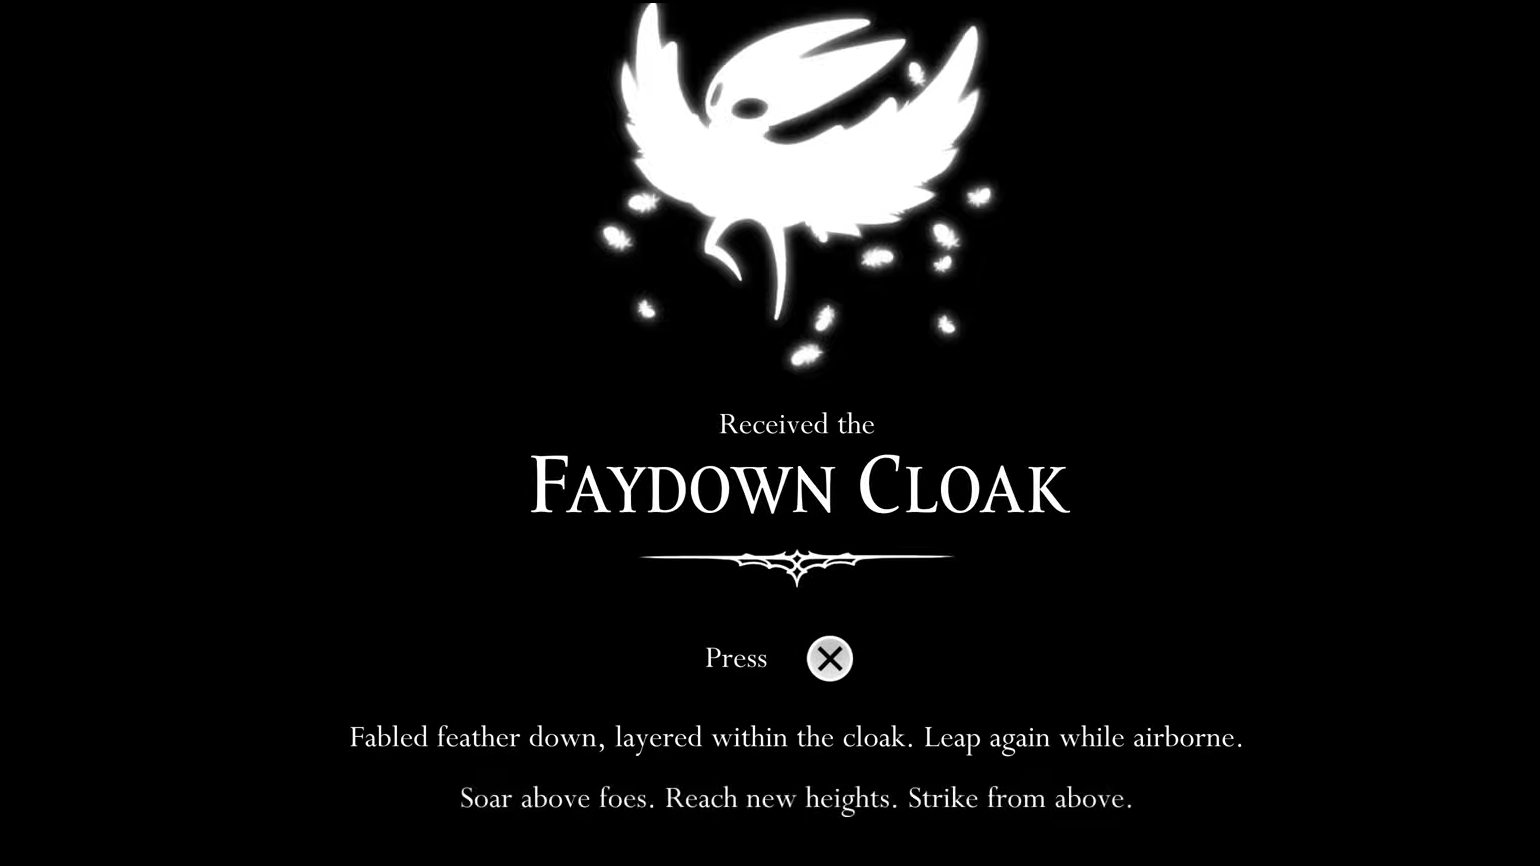
Step 2: Bring double jump (Faydown Cloak). While not mandatory, it makes the timed vines and recoveries far more forgiving.
Step 3: Equip a reach-boosting crest for the spike corridors and platform seeds. A longer strike reduces the time spent clinging to walls in hazards.
Step 4: Prepare utility tools. Cogflies can absorb aggro while you line up jumps. Weavelight improves Silk regeneration, helping with emergency binds during sequences.
How to reach Sands of Karak
This area connects from the Blasted Steps. Two reliable approaches are below.
The Pinstress’ house climb
Step 1: From the Blasted Steps, locate the suspended blue house (the Pinstress’ place). Stand to its left.
Step 2: Use Clawline on the ring left of the house to ascend. Clear the simple side room and continue climbing to the desert threshold.
The Bench-to-storm hooks route
Step 1: From the Blasted Steps bench, go right and drop the pit. Glide along the left wall to land on a westbound ledge.
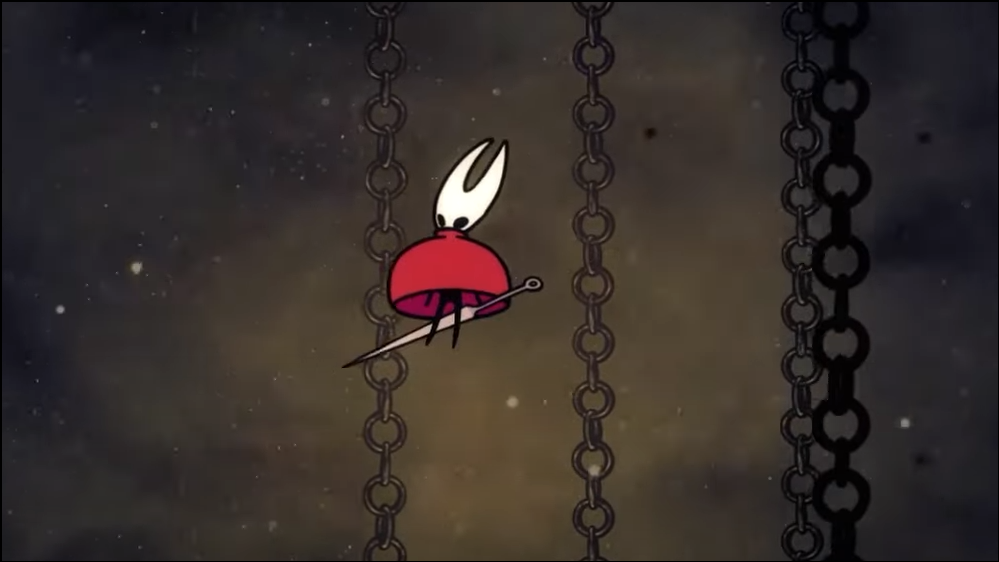
Step 2: Traverse west through the dust storm, Clawlining between visible hooks. Use brief glides to maintain horizontal speed without sinking into hazards.
Step 3: Chain a wall climb, short glide, hook grab, and rebound to reach the higher hook and ledge. Continue up to enter Sands of Karak.
Core mechanic — timed vines (what they do, how to survive)
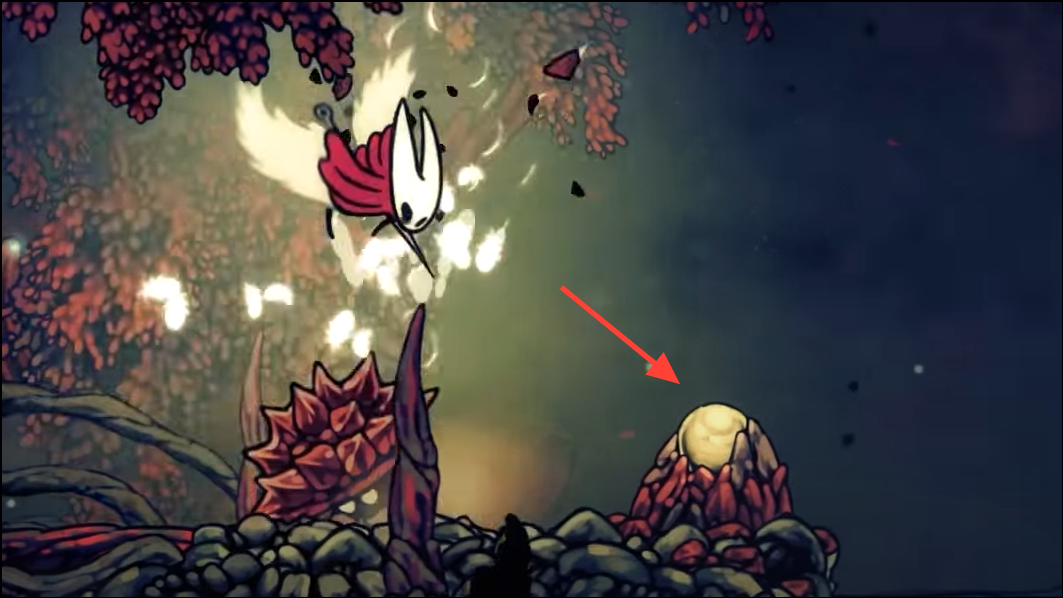
Step 1: Strike the small golden orbs near the sand. Each hit sprouts a coral‑vine path for a short window; some segments are safe platforms, others are spiky balls meant for downward strikes (pogo).
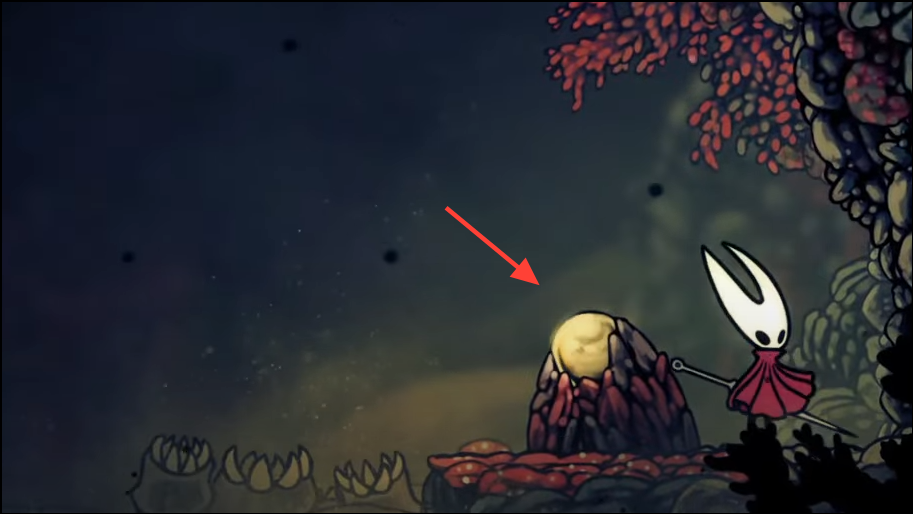
Step 2: Anticipate growth. Jump into the space the vine will occupy to maximize the window. If you drop low near a spiky ball, Clawline can snap you upward off it when a pogo is unsafe.
Step 3: Reset footing deliberately. Use wall clings to control height, then re‑engage the next orb. Time pressure is the real hazard; clean inputs matter more than speed alone.
Main vertical shaft — map, shortcuts, safe bench, and a Simple Key
Step 1: From the entry corridor, move east across introductory vine bridges to the zone’s first large vertical room. At its top, strike the large stalactite to drop a permanent shortcut that links back to the Blasted Steps.

Step 2: Before pushing deeper, head to the cave up‑left of this shaft to buy the local map from Shakra (90 Rosaries). This clarifies side rooms and one hidden passage later.
Step 3: Continue east to another vertical segment. For now, ignore the climb and keep right to a lift that also returns to Blasted Steps; activate it to secure fast access.
Step 4: From the lift entrance, go right again through a long hall to a bench room. Rest here and collect the Simple Key beside the bench.
The timed vine gauntlet (east shaft loop)
This is the section most players struggle with. Treat it as a chain of short, single‑decision moves under a timer.
Step 1: Return to the vertical room just before the lift and drop while clearing or kiting flyers. You’ll be climbing immediately after and don’t want aerial interruptions.
Step 2: Hit the first orb, pogo off spiky coral, and wall‑jump onto the fresh vine segments. Keep your body close to walls to shorten jump arcs and reduce whiffs.
Step 3: In the left room, hit the orb and advance during growth. Bounce to the long vertical wall, tag the next orb on the right, and dash back to the wall to conserve height.
Step 4: Pause for the crumble cue. When a wall section breaks above, let the next vine carry you into the opening.
Step 5: Drop onto a spiky coral, Clawline to spring upward, land on the short platform, and immediately strike the overhead orb to keep the route alive. Ascendant’s Grip helps stabilize wall hangs between hits.

- Tip: Double jump reduces re‑inputs on diagonals, cutting fail points in half.
- Tip: If you’d rather avoid repeating this runback for a nearby boss, you can open a downward shortcut near the top section before that fight and rest by the Blasted Steps bellway bench.
Side path — the Crustnut (Taste of Pharloom ingredient)
Step 1: From the top of the main vertical shaft, drop and watch your map for a breakable wall on the west side. Strike through to a tight tunnel network.
Step 2: Advance by wall‑clinging, tapping spikes with your needle to clear paths. A longer reach crest reduces damage checks in the narrowest gaps.
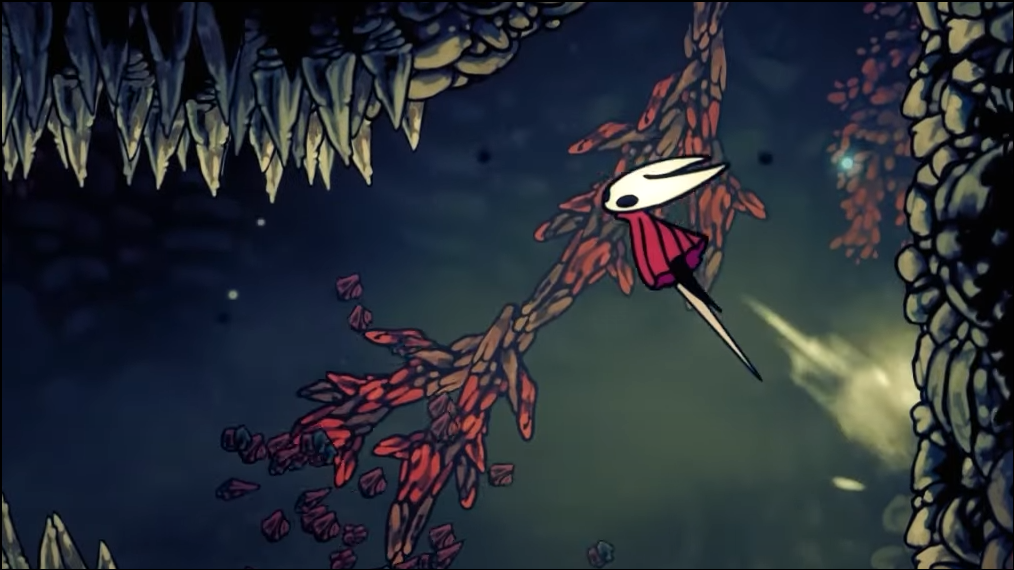
Step 3: Use Clawline through the narrow spike chokes. At the small chamber’s end, collect the Crustnut — one of five key ingredients for the Taste of Pharloom quest.
Coral Tower — Great Conchfly fight and the Conchcutter
Step 1: From the top of the main shaft, head west on stable ground to the boss arena. This Great Conchfly phase is faster than the earlier encounter; prioritize survival over damage windows.

Step 2: Learn the two pressures. Expect arcing coral spikes and drilling mini‑conchflies. Thread gaps and only counter when the boss commits to long lanes. If you opened the nearby downward path beforehand, the bench run is short.

Step 3: Continue west after the fight to reach the Coral Tower interior and pick up the Conchcutter tool. It travels on a shallow angle and ricochets off walls, making it reliable in corridors without precise aim.
Step 4: Rest at the small bench just beyond to test the tool safely.
Hidden top‑right route — Voltnest and the Voltvrym
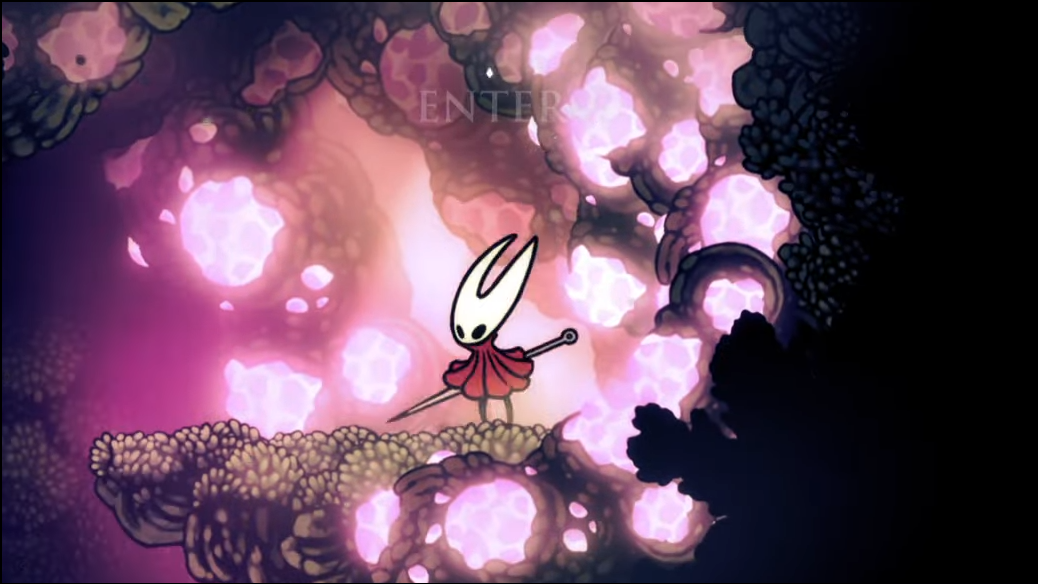
Step 1: Return to the top of the main vertical shaft and locate the concealed climb in the far top‑right. Use Clawline and wall‑jumps to enter the pink‑lit Voltnest.
Step 2: Navigate electric walls and beams. They deal two masks on contact, so time entries as the beams retract, and prefer dash commits over long floats.

Step 3: After the long drop threaded with beams, go left to the mini‑boss, the Voltvrym. It stays on the ceiling; attack from jumps only and keep floor space clear.
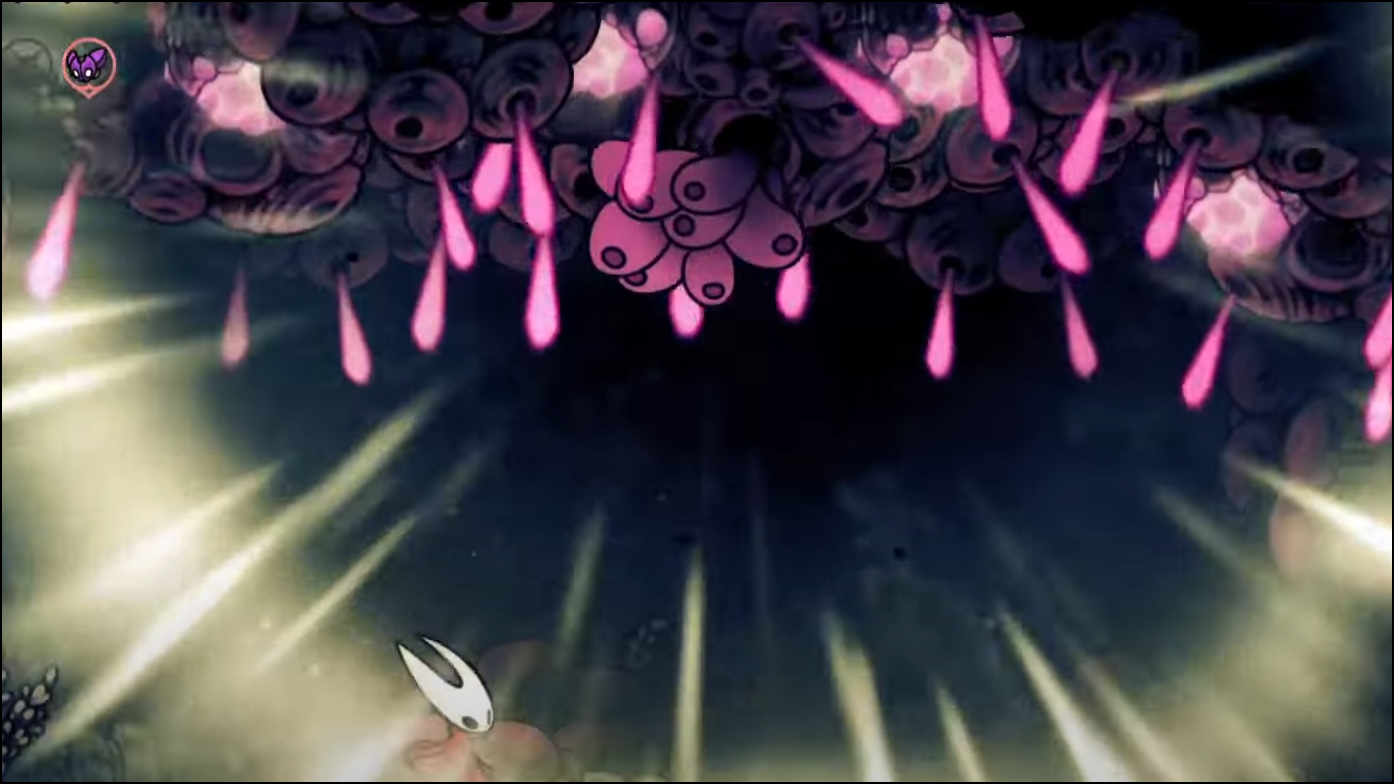
Step 4: Memorize patterns. For slow moving electricity columns, hold center, then shift to a side as the second wave meets middle. For scattered surging orbs, identify a dead zone and wait.

Step 5: Claim the Volt Filament on victory. This blue tool upgrades Silk Skills by adding an electrical charge. For example, pairing it with Sharpdart converts those bursts into piercing strikes that also apply electricity.
Step 6: Exit right and follow the looping path to rejoin the main map.
Optional upper‑left access trick (commonly missed)
Step 1: From the right‑side bench hallway in Sands of Karak, go left and jump over the elevator platform.
Step 2: In the drop that looks unsafe, fall purposefully and strike the orb node at the bottom to spawn a timed vine. Climb fast to reach beyond the usual midpoint and access the upper‑left section.
Boss and traversal quick tips
- Open every shortcut as soon as you see it; Sands of Karak has long sections without benches.
- When a vine segment creates spiky balls, default to downward strikes. Use Clawline as a bailout if you’re too low for pogo.
- If the vine timer expires mid‑chain, reset back to the last solid wall and re‑sequence rather than improvising across spikes.
- For the Great Conchfly, damage is incremental. Two or three safe hits per cycle is plenty; greed causes runbacks.
- In Voltnest, short dashes during beam gaps beat long leaps; you’ll spend less time exposed near charged walls.
Once you’ve secured the map, Simple Key, Crustnut, Conchcutter, and Volt Filament, you’ve seen the area’s value. Feel free to return later with more mobility if any vine sequences still feel tight.