
Adding a table of contents (TOC) to your Ghost blog enhances the reading experience by allowing readers to navigate through long posts easily. This guide will show how to integrate a TOC into any Ghost theme using TOCBOT, a JavaScript plugin that generates a TOC from the headings in your content.
Setting Up TOCBOT in Ghost
TOCBOT automatically creates a TOC based on the headings in your posts. Follow these steps to set it up:
- Access your Ghost admin dashboard and navigate to
Settings > Code injection. - In the
Site Headersection, add the TOCBOT script and stylesheet:
<script type="text/javascript" src="https://cdnjs.cloudflare.com/ajax/libs/tocbot/4.21.0/tocbot.min.js"></script>
<link href="https://cdnjs.cloudflare.com/ajax/libs/tocbot/4.21.0/tocbot.css" rel="stylesheet">- In the
Site Footersection, initialize TOCBOT with the following script:
<script>
  document.addEventListener('DOMContentLoaded', function() {
    tocbot.init({
      tocSelector: '.toc',
      contentSelector: '.post-content',
      headingSelector: 'h1, h2, h3, h4',
      scrollSmooth: true
    });
  });
</script>
Ensure the contentSelector matches the class used in your theme for post content. Common classes include .post-content, .gh-content, or .c-content.
- Save the changes to the
Code injectionsettings.
Adding the TOC Placeholder to Posts
To display the TOC in your posts, insert a placeholder where you want the TOC to appear:
- Edit a post where you want to add the TOC.
- At the desired location, add an HTML card by typing
/htmlin the editor. - Insert the following code into the HTML card:
<div class="toc"></div>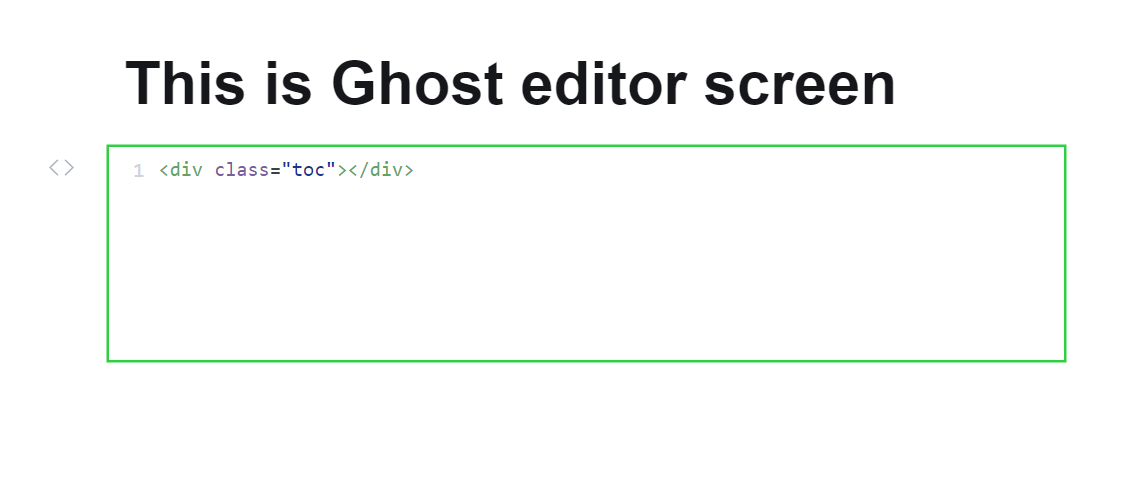
This code creates a container for the TOC. When the post is viewed, TOCBOT will populate this container with the generated TOC based on the headings in your content.
Styling the TOC
You can customize the appearance of the TOC to match your theme:
- In the
Site Headersection underSettings > Code injection, add custom CSS styles within a<style>tag:
<style>
  .toc {
    padding: 20px;
    border: 1px solid #e0e0e0;
    background-color: #f9f9f9;
    border-radius: 5px;
  }
  .toc a {
    text-decoration: none;
    color: #333;
  }
  .toc a:hover {
    text-decoration: underline;
  }
</style>
Adjust the styles as needed to fit your design preferences.
Adjusting for Different Themes
Since different themes may use various class names for content containers, ensure that the contentSelector in the TOCBOT initialization script matches your theme's content class:
- Inspect your theme to find the appropriate content class. First, open a post on your site in a tab.
- Right-click on the post content and select
Inspectto open your browser's developer tools. - Identify the class name of the element containing your post content (e.g.,
.post-content).
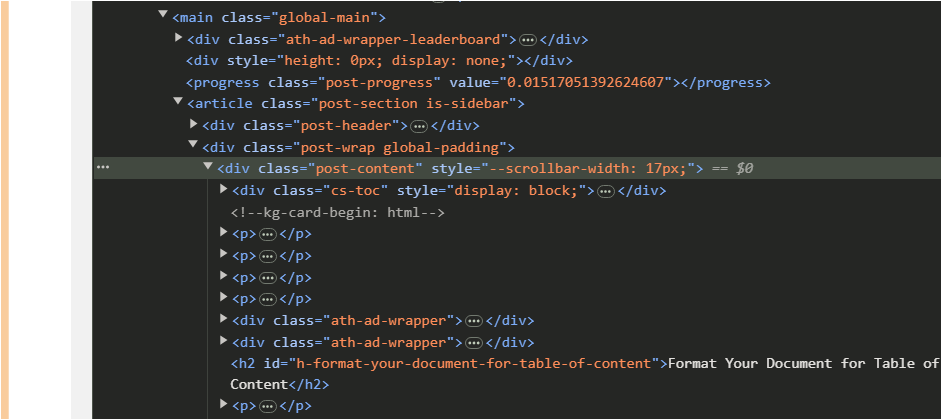
- Update the
contentSelectorin the TOCBOT script accordingly.
Making the TOC Sticky
If you want the TOC to stay visible as readers scroll, you can make it sticky:
- Add the following CSS to the
Site Headerwithin a<style>tag:
<style>
  .toc {
    position: sticky; top: 20px;
  }
</style>
This positions the TOC relative to the viewport, keeping it in view as users scroll through the post.
By following these steps, you can enhance your Ghost blog with a dynamic table of contents, improving navigation and reader engagement across your posts.