
Return to Sender is a world quest in Nod-Krai’s Wavechaser Plain, part of the East of the Moon, West of the Sun quest chain. It plays out inside an underwater bunker near Piramida and takes away your weapons, forcing you to rely on Kuuvahki-powered gadgets, Mandragoras, and environmental puzzles instead of normal combat.
The quest has three main layers: getting into the bunker and fixing Research Zone 1, solving a Mandragora puzzle and Rifthound fight in Research Zone 2, then parry-focused boss combat in the Supervisory Office against Ultimate Calamity. Completing it grants Primogems, Mora, character XP materials, the quest item Devocina-Cognoscenti's Sorrow, and the Wonders of the World achievement “Dead Man's Hand,” and it unlocks The Raven's Legacy as the next quest.
Where Return to Sender starts and how to unlock it
Return to Sender has no quest prerequisites. It starts at Wavechaser Plain in Nod-Krai, on a small island west of Piramida.
Step 1: Teleport to a waypoint near Piramida, ideally the one northwest of the city, then glide or walk west toward the small island surrounded by a large body of water.
Step 2: On the island, look for decrepit ruins and an Ancient Terminal near a waypoint. Interact with the terminal to hear the “apocalypse” recording and receive the Tier I Bunker Access Card, which formally begins the quest.
Step 3: Use the nearby lift leading underground into the Abandoned Bunker, then move forward until you reach a huge metal door with another Ancient Terminal. Interact with the terminal to open the bunker gate.
What happens when you enter the bunker
Inside the bunker, the game immediately strips away your usual approach to combat.
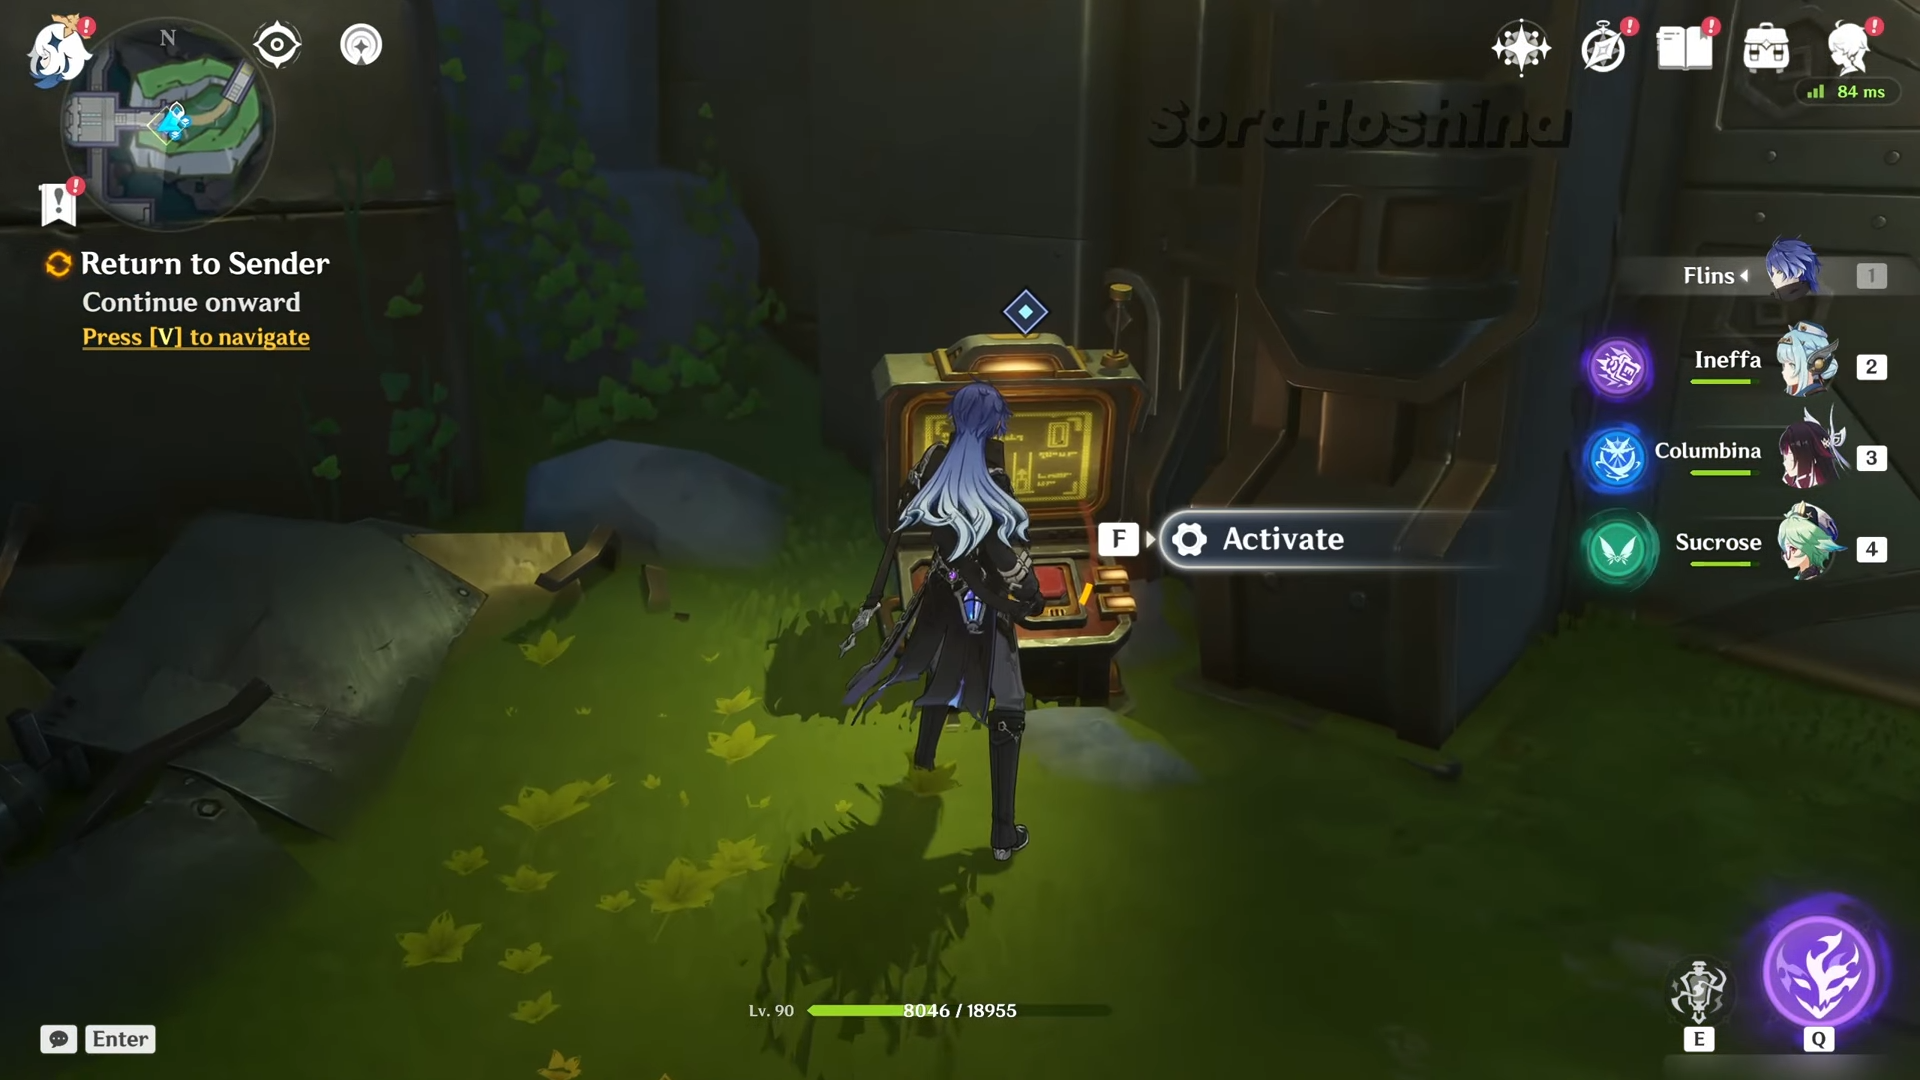
Step 1: Walk into the marked corridor beyond the main gate. Another Ancient Terminal will scan you, detect “dangerous items,” and confiscate all weapons and combat gear. Your party is effectively disabled as fighters for the rest of the quest.
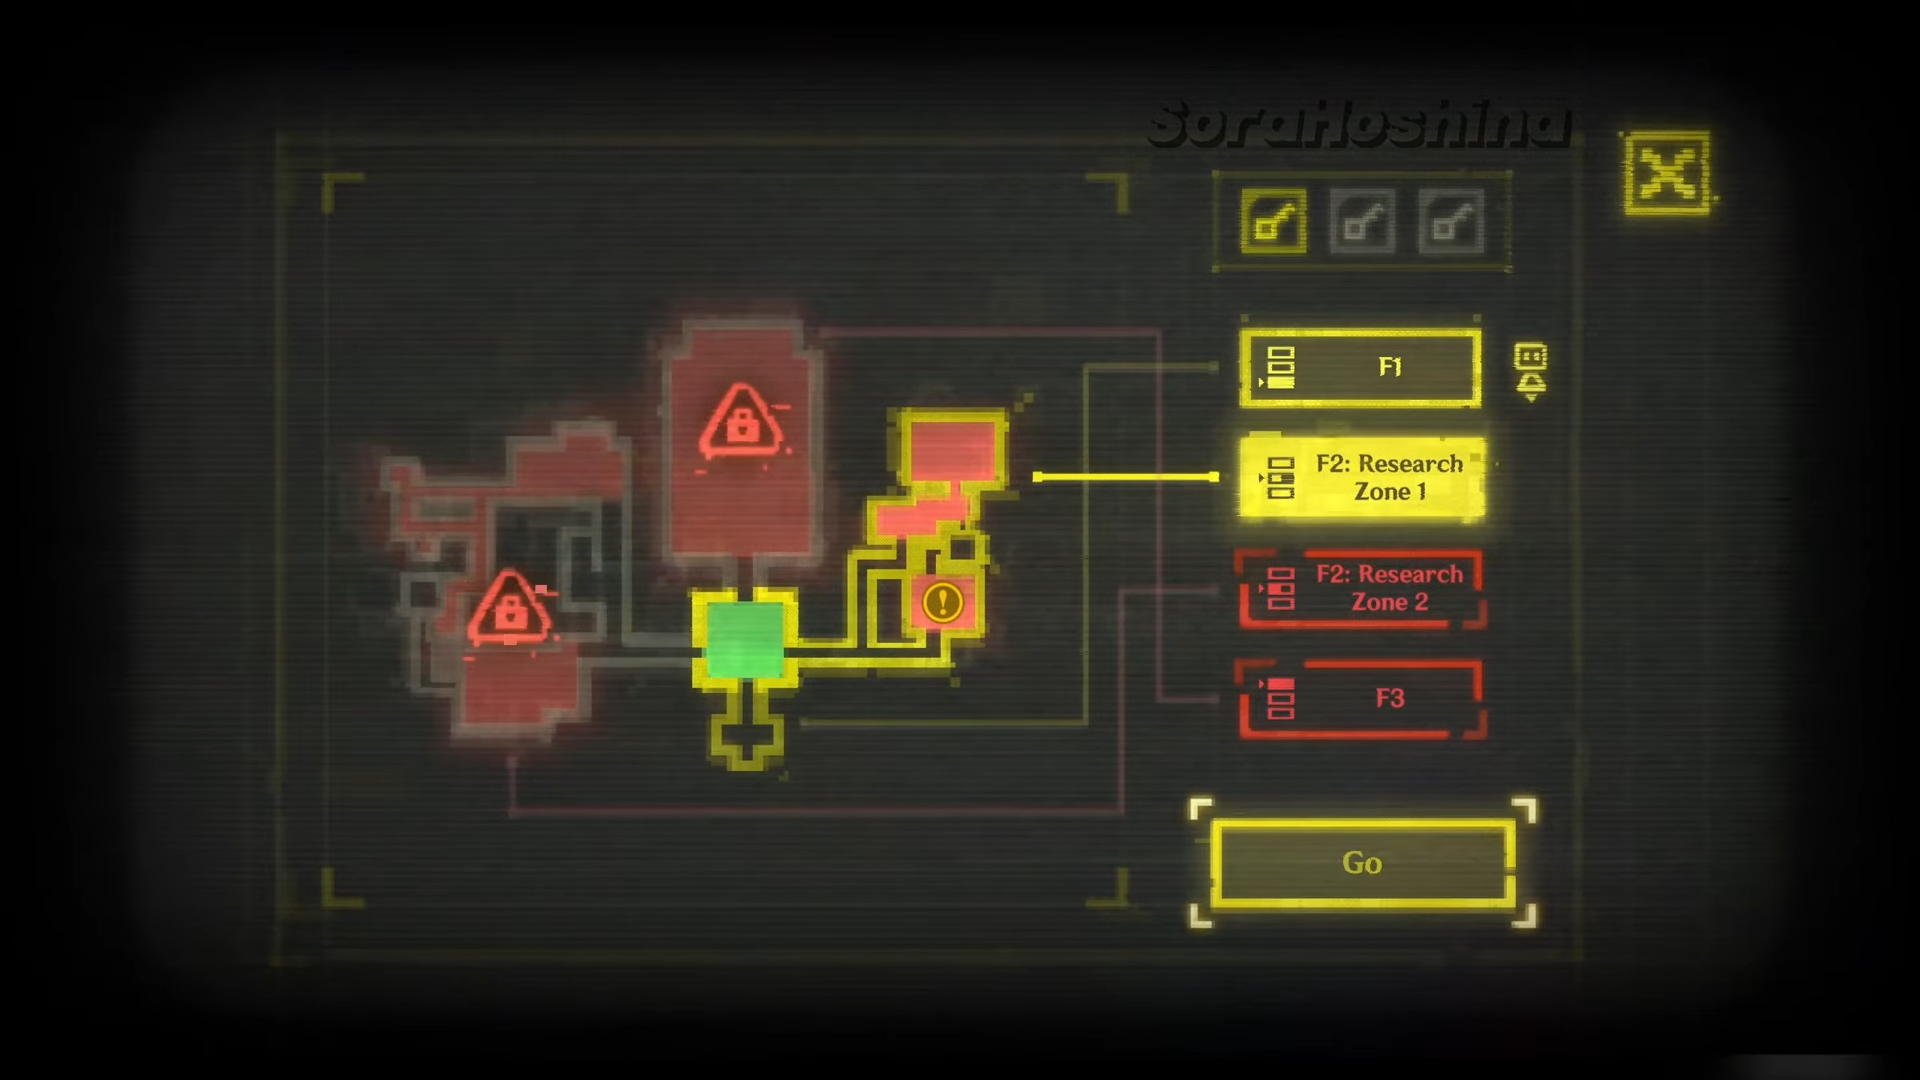
Step 2: Continue to the central control room and interact with the Bunker Access Terminal Server. The display shows a floor map with three levels. At this point, your current key card only allows access to F2: Research Zone 1.
The bunker is also running an “Apocalypse Purification System” that is blocked or damaged in different zones. A big part of the quest is bringing those systems back online while avoiding or neutralizing Abyssal contamination.
F2: Research Zone 1 – stealth valves and the first purification
Research Zone 1 introduces how the bunker handles Rifthounds and Abyssal contamination, and it sets up the stealth section many players get stuck on.
Step 1: From the main control room, select F2: Research Zone 1 on the Bunker Access Terminal Server to activate the lift. Ride down and follow the navigation marker until you see a Rifthound sealed behind glass next to a valve and terminal.
Step 2: Interact with the purification terminal in this room. The system reports it is blocked and needs manual activation, but using the terminal triggers the Purification System to annihilate the Rifthound and opens the door to your left.
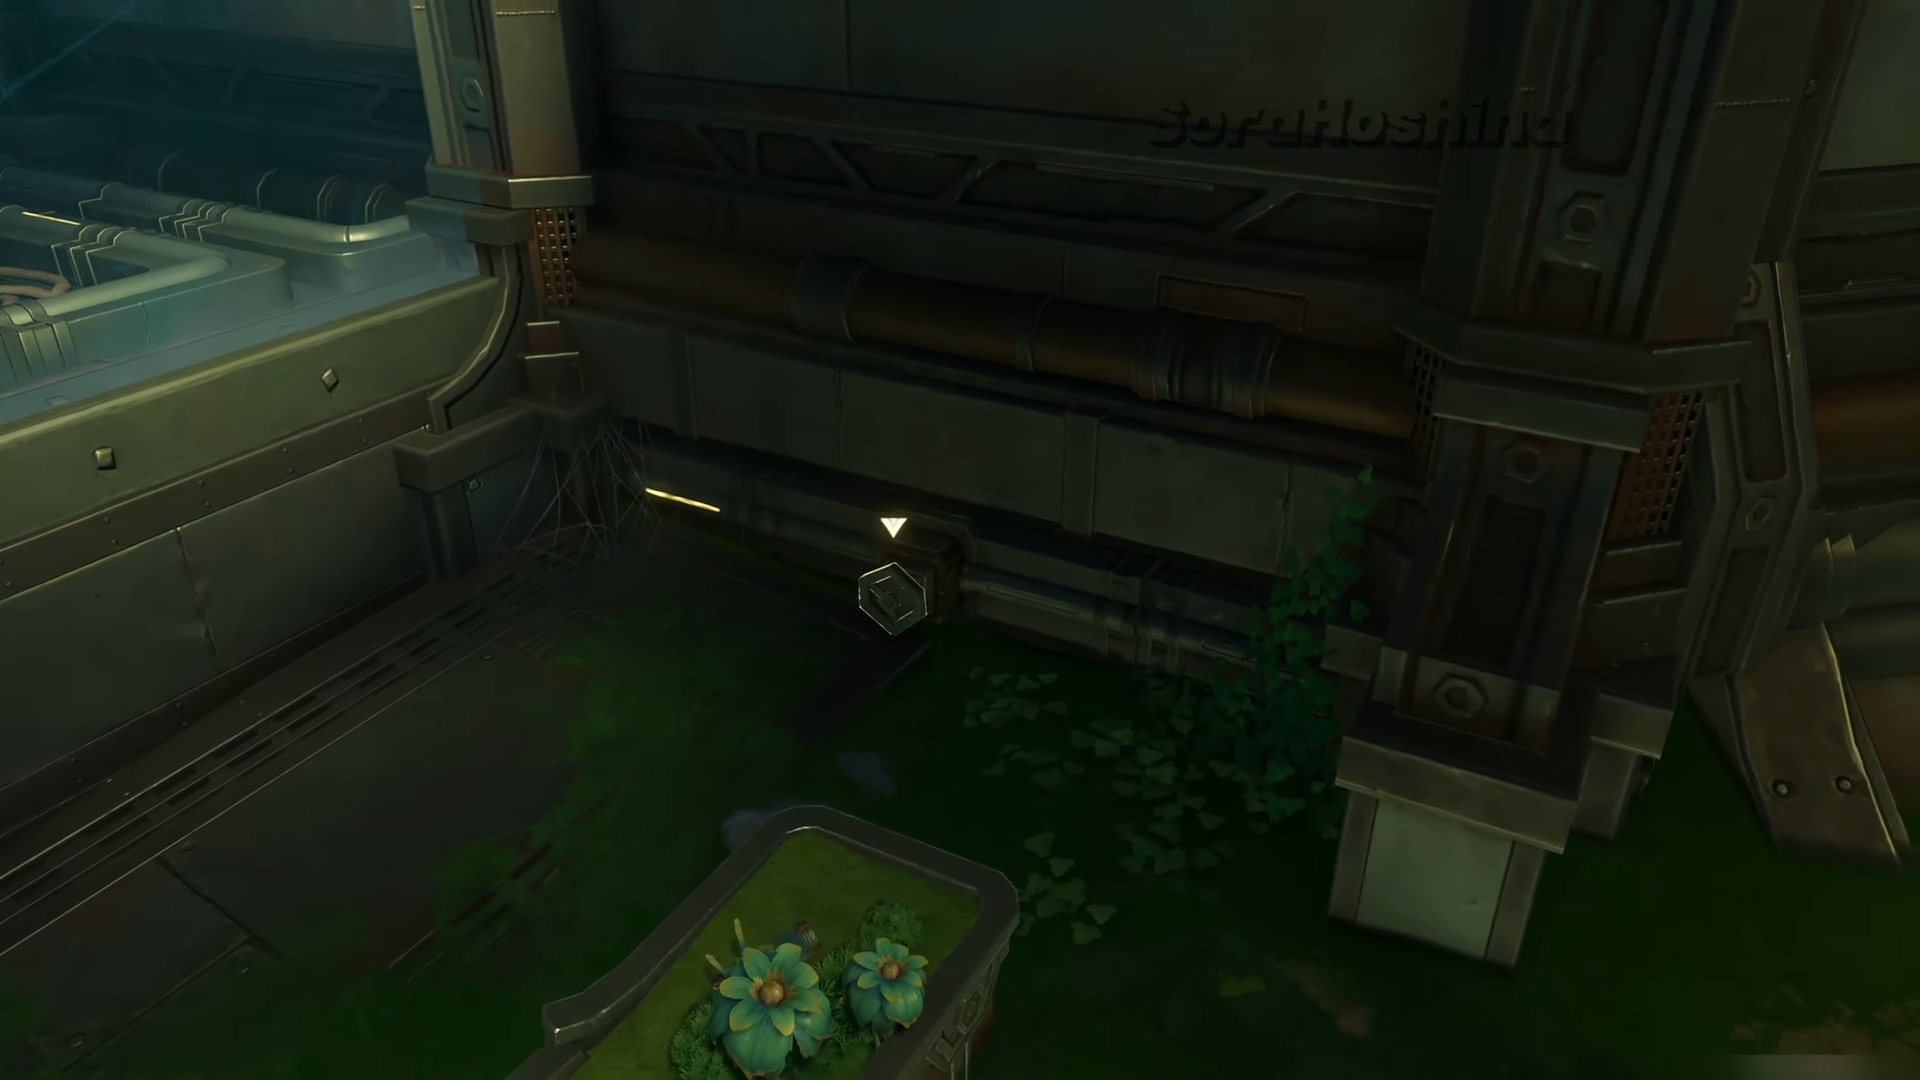
Step 3: Keep following the quest marker through corridors and a lift until you find box piles blocking the path. Pick up a Rock Enveloped in Kuuvahki and throw it at the debris to clear the way. Continue forward and drop through the ceiling hatch into a lower chamber.
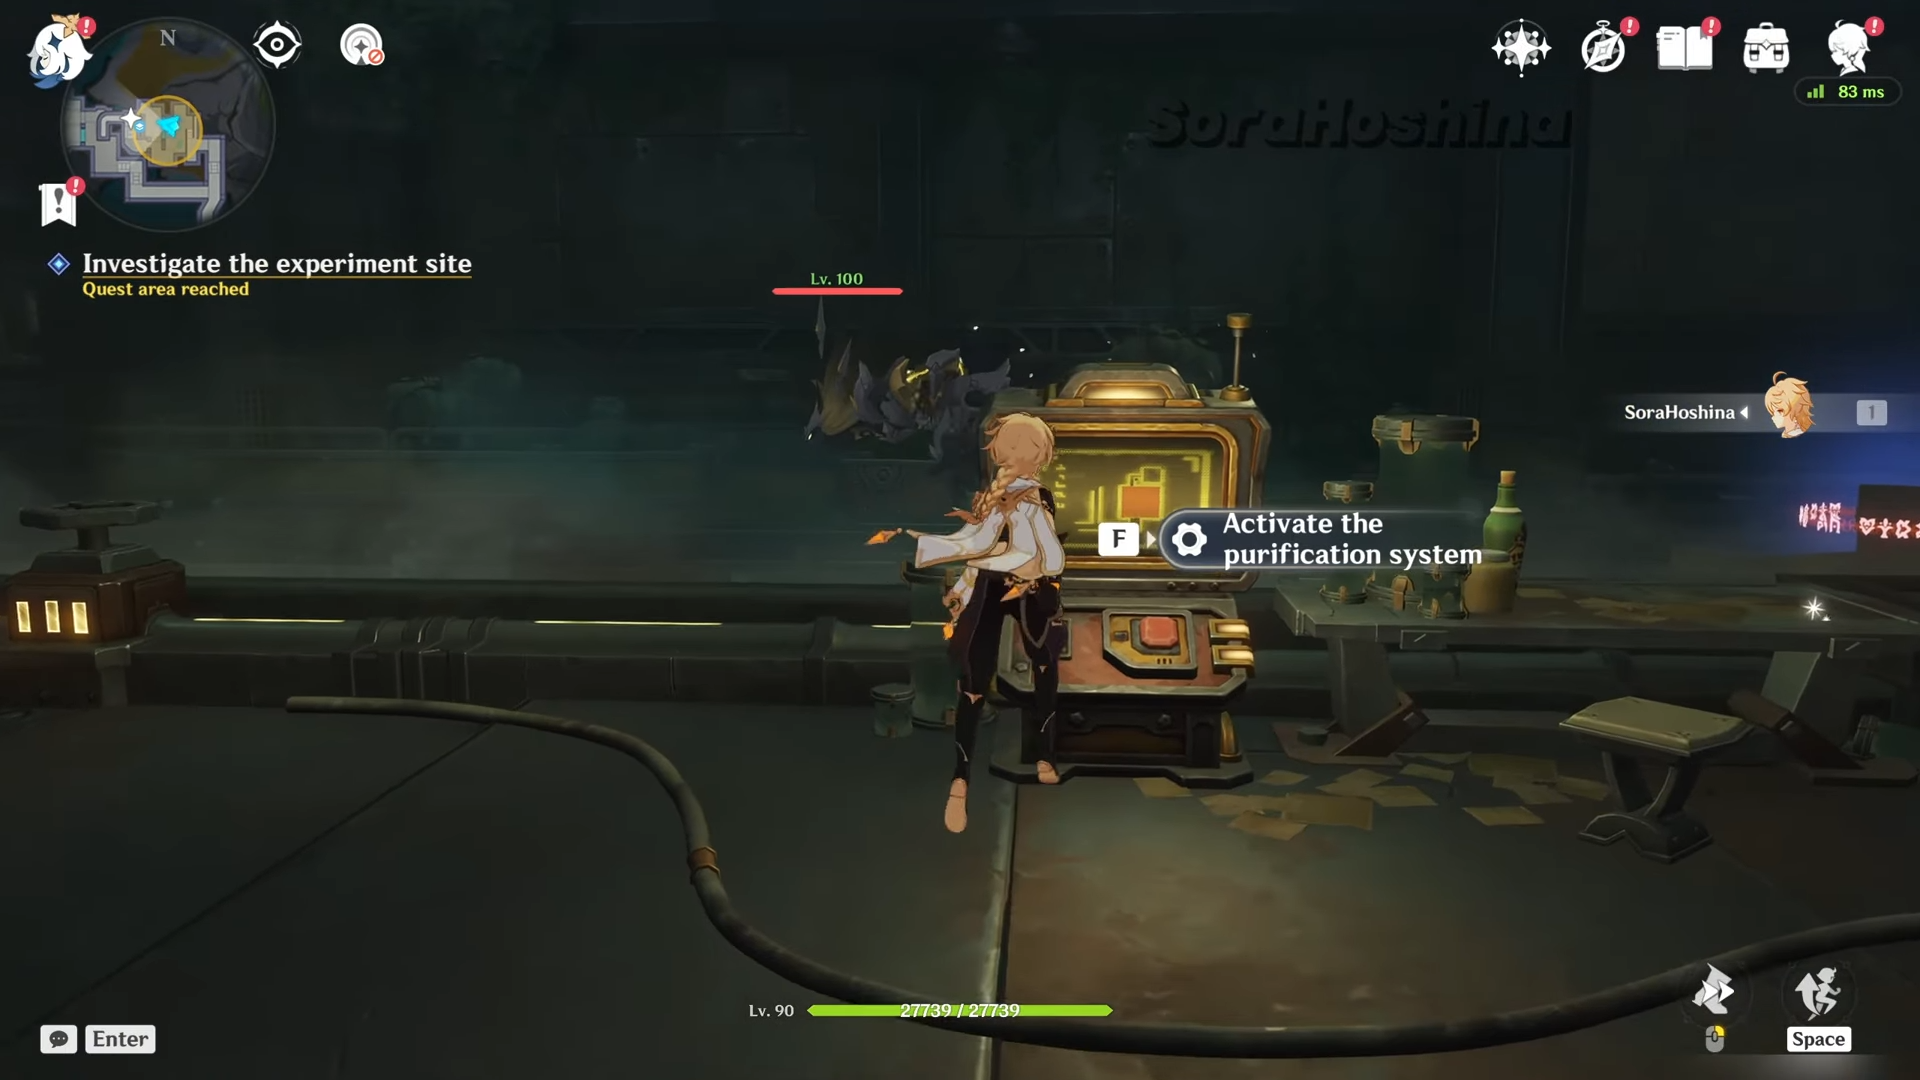
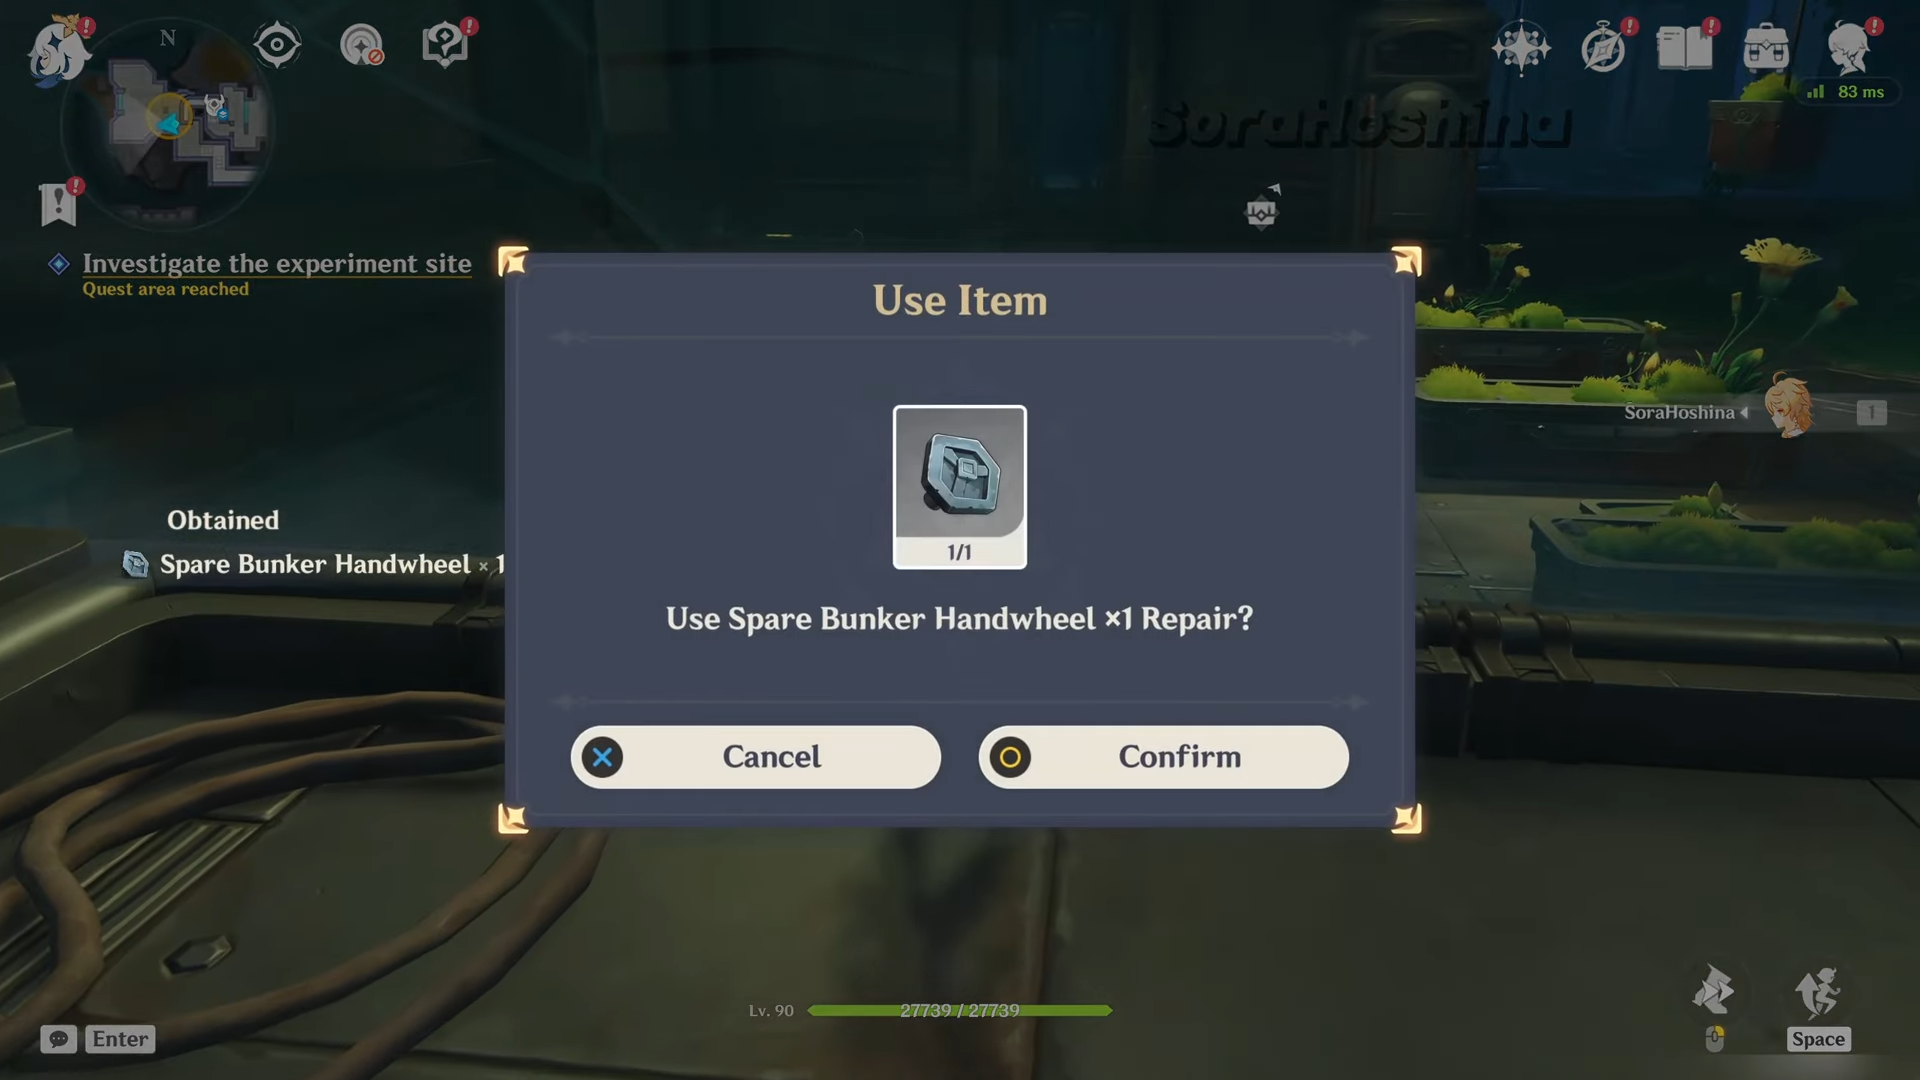
Step 4: In the new room, pick up the Spare Bunker Handwheel valve from shelves near a floating terminal. Install it on the empty valve assembly indicated by an arrow, then interact with the central control terminal. The system now demands manual adjustment of four valves deeper in the experiment site.
How to adjust the four valves without getting caught
The experiment site is a compact stealth arena filled with Rifthounds. You must repair four valves while staying out of sight. If a Rifthound spots you, the valve sequence resets, and new hounds spawn.
Step 1: Enter the experiment site and immediately turn sharply left. Approach the first valve and choose the repair interaction. Repairing this valve triggers the system and releases additional Rifthounds, so be ready to move away and break line of sight.
Step 2: For the second valve, locate another Rock Enveloped in Kuuvahki and throw it at a destructible chest across from you. The noise and Kuuvahki effect pull the nearby Rifthound away from Valve #2. Use that brief window to sprint or crouch-walk to the valve and repair it.
Step 3: For the third valve, hug the wall and stay crouched. The Rifthound patrolling this valve has a moving route, which gives you more frequent openings. When its back is turned, slip in, repair Valve #3, then immediately duck behind the nearby bush next to the Bloodstained Logs to break aggro.
Step 4: Continue crawling along the wall to reach the fourth valve. A breakable chest sits beside it. You can break it to divert attention, but using the chest as physical cover often makes it easier to interact with the valve without being seen.
Tip: Getting spotted after a repair resets the stealth section, but you keep progress on valves already fixed during the “escape” step later. During the valve phase itself, you must avoid being seen or you restart that portion.
Escaping the experiment site and finishing Research Zone 1
Once all four valves are repaired, the system switches from stealth to a timed escape.
Step 1: After the last valve, a warning plays and a countdown (around 30 seconds) begins to evacuate the experiment site before the gate seals. Sprint directly toward the marked exit. If a Rifthound sees you now, the timer resets, but you do not need to redo any valves; only the escape run restarts.
Step 2: Leave the experiment site and interact with the main terminal outside to confirm the purification protocol. The Apocalypse Purification System reports normal operation, and a Precious Chest appears as a reward along with a Tier II Bunker Access Card.
Step 3: Exit through the back route to head toward the central control room. Before you can reach it, you encounter an Evil Eye of Blightseep blocking the path.
Step 4: Use nearby Glimmerbloom and Sharp Spireblooms to fight the Evil Eye. Grab a Sharp Spirebloom, hold its attack to project a Kuuvahki shield, and release just as the Eye’s projectiles are about to hit. A well-timed release parries the shots and sends a stronger counterattack back, shaving off more of its HP than basic shots.
Step 5: After defeating the Eye, continue to the main control room and use the new key card to update your access. The system now recognizes you as Senior Technician Kotelnikov and unlocks F2: Research Zone 2.
F2: Research Zone 2 – Mandragora puzzle and Rifthound boss
Research Zone 2 mixes a Kuuvahki “circuit” puzzle with a more elaborate Rifthound fight. The bunker warns of high Abyssal contamination here and mentions traces of something called the “Ultimate Calamity.”
Step 1: Back in the main control room, choose Research Zone 2 and open the left-hand door if it is closed. Follow the hallway until you drop through another ceiling opening into a lab with a large glass wall and Abyss Riftlines.
Step 2: Pick up a Rock Enveloped in Kuuvahki and aim through the gap in the cracked glass at a glowing leaking pipe on the ceiling. Hitting this pipe infuses the Mandragoras below with Kuuvahki, activates a nearby Nycalyx, clears the contamination around the terminal, and opens the gate on your left.
Step 3: Walk through the gate to an area with two Mandragoras tethered to a Solaris Core and another Nycalyx next to Abyss Riftlines. The goal is to build an unbroken Kuuvahki chain from the source to the disabled Solaris Core.
Step 4: Slightly reposition only the second Mandragora closer to the door to maintain its connection to the first one and the Solaris Core. Avoid throwing Mandragoras; throwing breaks their Kuuvahki links. Always place them gently on the ground.
Step 5: Retrieve a third Mandragora from near the original pipe leak and set it across from the deactivated Solaris Core so that all three Mandragoras remain linked in a continuous line.
Step 6: Collect Kuuvahki from a nearby Glimmerbloom and stand between the third Mandragora and the disabled Solaris Core without dropping the Glimmerbloom. Your body completes the circuit, sending Kuuvahki into the Solaris Core and cleansing the remaining contamination.
Past this puzzle, the atmosphere shifts to a darker, horror-leaning lab with claw marks and jump-scare style visuals. Follow the scratches and corridors, using the lift when prompted, until you reach another debugging terminal in Research Zone 2.
How to defeat the Gap-Infiltrating Rifthound using Kuuvahki pipes
The Rifthound in Research Zone 2 cannot be fought with normal attacks, and it gains a powerful burrowing strike once you step into its arena. You have to hurt it indirectly with Kuuvahki leaks.
Step 1: Step fully into the mini-boss arena so the Rifthound begins using its burrowing attack. When a glowing purple circle appears on the floor, wait until the targeting circle locks, then sprint out of it before the Rifthound erupts.
Step 2: Lure its burrow attack so that it erupts under cracked Kuuvahki pipes on the ground. Each time the burrowing hit connects with a glowing crack, the released Kuuvahki damages the Rifthound.
Step 3: After the Rifthound has taken enough damage from ground pipes, look for a Rock Enveloped in Kuuvahki, then aim carefully at a leaking pipe above the spot where the Rifthound first emerged. Breaking this elevated pipe bathes the enemy in Kuuvahki and ends the fight.
Step 4: Interact with the debugging terminal again. The Purification System reports normal operation and unlocks a new golden key card, upgrading your access to Senior Researcher Grazina and enabling entry to F3: Supervisory Office.
On the way back, you pass a window where the outside world appears to have been completely consumed by the Abyss, echoing the bunker’s obsession with the “apocalypse.” Then you return to the main control room to open the final floor.
F3: Supervisory Office – Ultimate Calamity boss mechanics
The last section is a single arena fight against an Abyssal Evil Eye named Ultimate Calamity. You still have no weapons; all offense and defense come from Mandragoras and a single Sharp Spirebloom.
Step 1: Use the Bunker Access Terminal Server to go to F3: Supervisory Office, then follow the bridge to the closed gate. Inside, a cutscene introduces Ultimate Calamity and its distorted view of the world’s destruction.
Step 2: Look around the arena. There are two shield-generating plants on the sides and, behind the right-hand plant, a Sharp Spirebloom you will use to parry. Scattered Mandragoras provide Kuuvahki charges.
Step 3: If the Spirebloom is inactive, pick up a Mandragora near a shield plant and throw it next to the Spirebloom. The Mandragora’s Kuuvahki suffusion reactivates the Spirebloom so it can project shields and launch counterattacks.
Step 4: To parry, hold the Spirebloom’s aim or charge button to raise a Kuuvahki shield. Wait until Ultimate Calamity’s projectile is just about to connect and the shield flashes, then release. A correctly timed release triggers a slow-motion effect and launches a powerful counter-shot that chunks the boss’s HP.
Step 5: Keep repeating this rhythm of charging, timing, and releasing. Simple hits chip away health, but perfect parries deal much larger bursts of damage and are the intended way to win.
Step 6: When Ultimate Calamity’s HP drops to roughly half, a giant Mandragora appears and overcharges the Spirebloom. From that point on, you gain effectively unlimited Spirebloom “ammo” while the boss increases its own firepower, often shooting multiple projectiles at once. Maintain good timing under heavier fire to finish the fight.
Tip: Use the shield plants at the edges as safe cover if you need to reset your positioning, then circle back to the Spirebloom to continue parrying.
Quest completion, rewards, and follow-up
After Ultimate Calamity falls, the bunker storyline wraps up and several rewards drop at once.
Step 1: Open the chests that spawn in the Supervisory Office. These include standard exploration loot along with the quest rewards: 450 Adventure EXP, 50 Primogems, about 50,000 Mora, 5 Hero's Wit, and 4 Mystic Enhancement Ore.
Step 2: Pick up the quest item Devocina-Cognoscenti's Sorrow, the fourth Proof of Cognoscenti. The note attached is signed by Reed Miller and is addressed to Grazina.
Step 3: Use the exit tunnel to leave the bunker. At the entrance, retrieve your confiscated weaponry from the mechanism. Outside, Paimon comments on finally breathing fresh air again.
Collecting Devocina-Cognoscenti's Sorrow alongside the other three Proof of Cognoscenti items from the related quests (Inscripta-Cognoscenti's Feather, Weavenexa-Cognoscenti's Intoxication, and Strategema-Cognoscenti's Mask) automatically unlocks The Raven's Legacy, the concluding world quest of East of the Moon, West of the Sun and the next step in Reed Miller’s treasure storyline.
Finishing Return to Sender also grants the Wonders of the World achievement “Dead Man's Hand,” recognizing that you have resolved the bunker’s long-running “apocalypse” crisis and put down Ultimate Calamity at the bottom of the sea.