
Hytale is built around server-side modding. Most gameplay-changing content is installed on the server, and players receive that content automatically when they join. That removes the need for separate client launchers for the majority of mods and dramatically reduces version mismatch problems.
Some mods are purely visual or interface tweaks and are meant for the client only. Others require both server and client to have the same files. Before installing anything, always check what type of mod you are dealing with and which Hytale version it supports.
Mods are usually delivered as .jar or .zip files that you place into a mods folder next to your Hytale server executable. The server scans this folder when it starts and loads any compatible mods it finds.
Finding safe Hytale mods
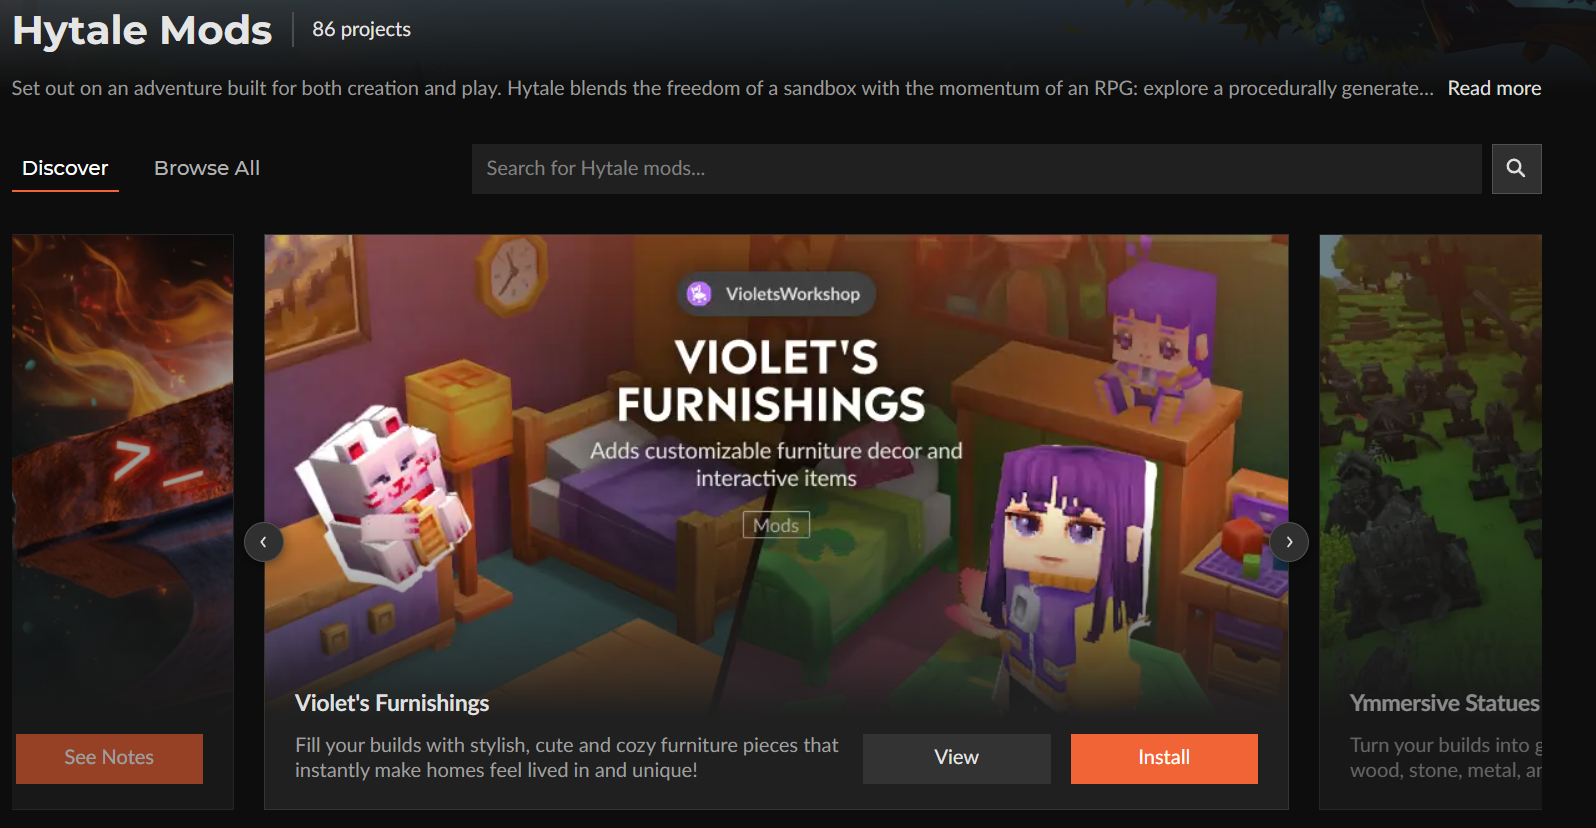
The primary hub for Hytale mods is the Hytale section on CurseForge. It provides curated listings, version tags, and dependency information for each mod, which helps reduce the risk of installing broken or malicious files.
You can browse and download mods from the dedicated Hytale category on CurseForge. The official Hytale and CurseForge communities on Discord are also useful places to discover new projects and get help from mod authors.
Only download mods from trusted platforms and avoid running files from random links or re-uploads. Stick to the files and versions the author marks as compatible with your Hytale build.
Checking Hytale mod types and compatibility
Before copying any files to your server or client, identify what kind of mod you have and whether it matches your game version. This avoids many startup crashes and invisible-feature problems.
| Mod type | Where it is installed | Typical use |
|---|---|---|
| Server-side only | Server mods folder |
Admin tools, performance tweaks, automation scripts |
| Client-side only | Player's local Hytale mod or pack location | UI changes, visual and sound packs |
| Both required | Server and every player's client | New blocks, items, creatures, or gameplay systems |
Most mod pages state their supported Hytale version. Match that version against the one your server is running. When the game updates, check your mods for updates as well; loading an outdated mod on a newer build is a common cause of server crashes.
Installing mods on a hosted Hytale server (control panel)
Many players use a commercial host that provides a web control panel. The details differ between providers, but the overall process is the same: stop the server, upload mod files into the mods directory using either the built-in file manager or SFTP/FTP, then start the server again.
Step 1: Log in to your hosting control panel and stop the Hytale server. Use the main Stop button so that the game saves cleanly before you change any files.
Step 2: Open the file manager in the control panel. Navigate to your main Hytale server folder and look for a directory named mods.
Step 3: Upload your downloaded .jar or .zip mod files directly into the mods folder using the file manager's upload function. Do not extract these archives; the server expects them as single files.
Step 4: If you prefer SFTP or FTP, connect using the credentials shown in your host's panel and upload the same files into the same mods directory. This approach is useful for large files or many mods at once.
Step 5: Return to the control panel and start your Hytale server. Open the live console view and watch the startup log for lines that indicate each mod was found and loaded. If you see errors, note the mod name and message for troubleshooting.
Tip: Most hosts also provide a file or folder named logs. If the server fails to start after adding mods, check the latest log in that folder through the file manager.
Installing mods on a self-hosted Hytale server
If you run the Hytale server on your own machine or on a dedicated server you manage, you work directly with the game files. The structure is simple: place mods into the mods directory next to HytaleServer.jar.
Step 1: Stop your Hytale server cleanly. In the server console or terminal window, type stop or press Ctrl+C so the process shuts down without corrupting world data.
Step 2: Open the folder where your Hytale server is installed. You should see files such as HytaleServer.jar, Assets.zip, and configuration files, as well as a mods subfolder.
HytaleServer/
├── HytaleServer.jar
├── Assets.zip
├── config.json
├── mods/
└── ...
Step 3: Copy your downloaded mod .jar or .zip files into the mods folder. Keep each file in the top level of that folder and avoid putting them into extra subdirectories.
Step 4: Do not extract the mod archives. If you already unzipped a mod by mistake, delete the extracted folder and move the original archive into mods instead.
Step 5: Start your Hytale server again using your usual command or script. Watch the console output for lines that show your mods being discovered and initialized, and check for any error messages.
Tip: Keep a backup copy of your entire HytaleServer folder before installing large or experimental mods. That makes it easy to revert if something goes wrong.
Updating Hytale mods safely
Updating mods is usually as simple as replacing one file with another, but it is still important to follow a safe sequence so you do not corrupt data or mix incompatible versions.
Step 1: Create a backup of your world and configuration. On a host, use the control panel's backup function; on a self-hosted server, copy your world and config directories to a safe location.
Step 2: Stop the Hytale server using the control panel Stop button or the console stop command so that no files are being written while you change mods.
Step 3: Delete the old version of the mod from the mods folder. Keeping multiple versions of the same mod can cause conflicts and unpredictable behaviour.
Step 4: Download the new version from its official page and copy the updated .jar or .zip into the mods folder.
Step 5: Start the server and review the startup log. Many mods print their version number on load; confirm that the new version appears and that no new error messages are introduced.
Note: Some mods have special upgrade instructions, especially those that add complex systems or save data. Always read the mod's changelog or documentation for any extra steps.
Removing Hytale mods without breaking worlds
Removing a mod is more risky than adding one, because worlds may contain blocks, items, or entities that the mod created. If those references disappear, the server can behave unpredictably. A careful process and backups are essential.
Step 1: Back up your world files before removing any mod. Use your host's backup feature or copy the world directory manually so you can restore it if necessary.
Step 2: Stop the server fully. Never delete mod files while the game is still running.
Step 3: Delete the unwanted mod file from the mods folder. Take note of which features, items, or regions in your world depended on it.
Step 4: Start the server again and observe the console. If the server starts but players see missing content or errors in specific areas, consider restoring the backup or cleaning affected regions using admin tools.
Note: Mods that only provide utilities or interface improvements are usually safe to remove. Mods that add world generation, new blocks, or gameplay systems can leave gaps when removed, so approach them with more caution.
Once you understand where the mods folder lives and how Hytale loads content on startup, installing and managing mods becomes a routine part of running a server. Take regular backups, change one thing at a time, and watch the logs closely whenever you introduce new content. That approach lets you experiment with Hytale's growing mod ecosystem while keeping your worlds stable and playable.