XAMPP is the most popular open-source local webserver package software used for the deployment of websites on PCs. It is an acronym where X stands for cross-platform, A stands for Apache, M stands for Maria DB, P stands for PHP and the last P stands for Perl. These bunch of software components creates a PHP development environment on the computer to deploy web scripts and code for testing and preview.
XAMPP is one of the easiest ways to install and run a development server on a budget PC. It is straightforward to access, control, and configures moreover saves time.
Installation and Setup
XAMPP is a freeware application supporting Windows, Linux, and Mac. Open the download link below and find the XAMPP for Windows button to download the latest version. (For older versions click on the green arrow).

Click the button will automatically navigate you to a download page in a new tab. You will also notice a download happening at the bottom of the browser download pane with the name xampp-windows-x64-7.4.2-0-VC15-installer.exe.

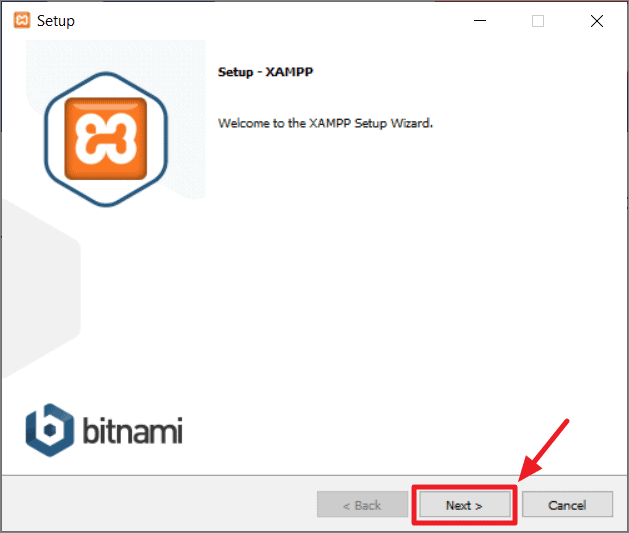
Open the file once the download finishes, and give administrator privileges if needed to begin the installation. This will open the XAMPP setup wizard screen.
Click on the ‘Next’ button on the setup window to continue the installation process.
A window with multiple component options will be opened. Select the options based on your requirement and necessity. You can also check all the options if needed and can configure them later.
Click on the next button below to continue to further installation.

Choose the folder on which the installation needs to be done. You can change the drive and folder if required. By default, the program chooses your Windows installation drive (probably C:\) and creates a folder named XAMPP inside it.

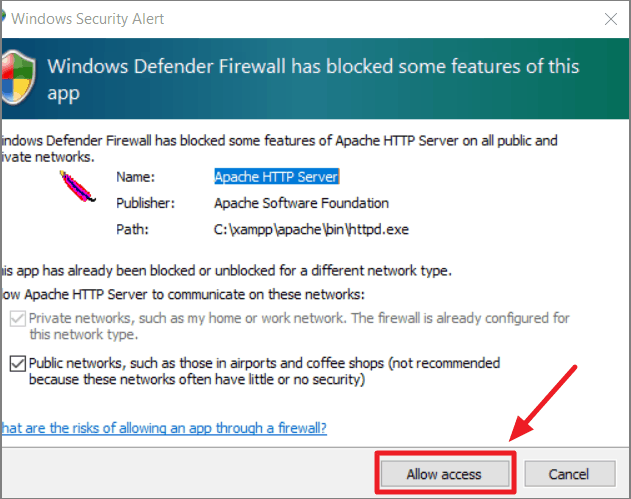
You may get a ‘Windows Security Alert’ pop-up window asking for you permission to allow ‘Apache HTTP server’ through the ‘Windows Defender Firewall’. Make sure you click the ‘Allow access’ button.
Within a few minutes, the software package will be installed with all the components selected.
Once the setup is finished, launch XAMPP on your computer from either the setup wizard finish screen by checking the ‘Do you want to start the Control Panel now’ checkbox on the screen, or from the folder where you installed XAMPP in the instructions above.

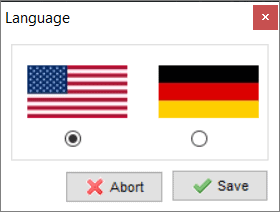
On successful installation, the app opens without any error to the first time setup screen. Configure your preferred language based on the country map from the options and click on the Save button.
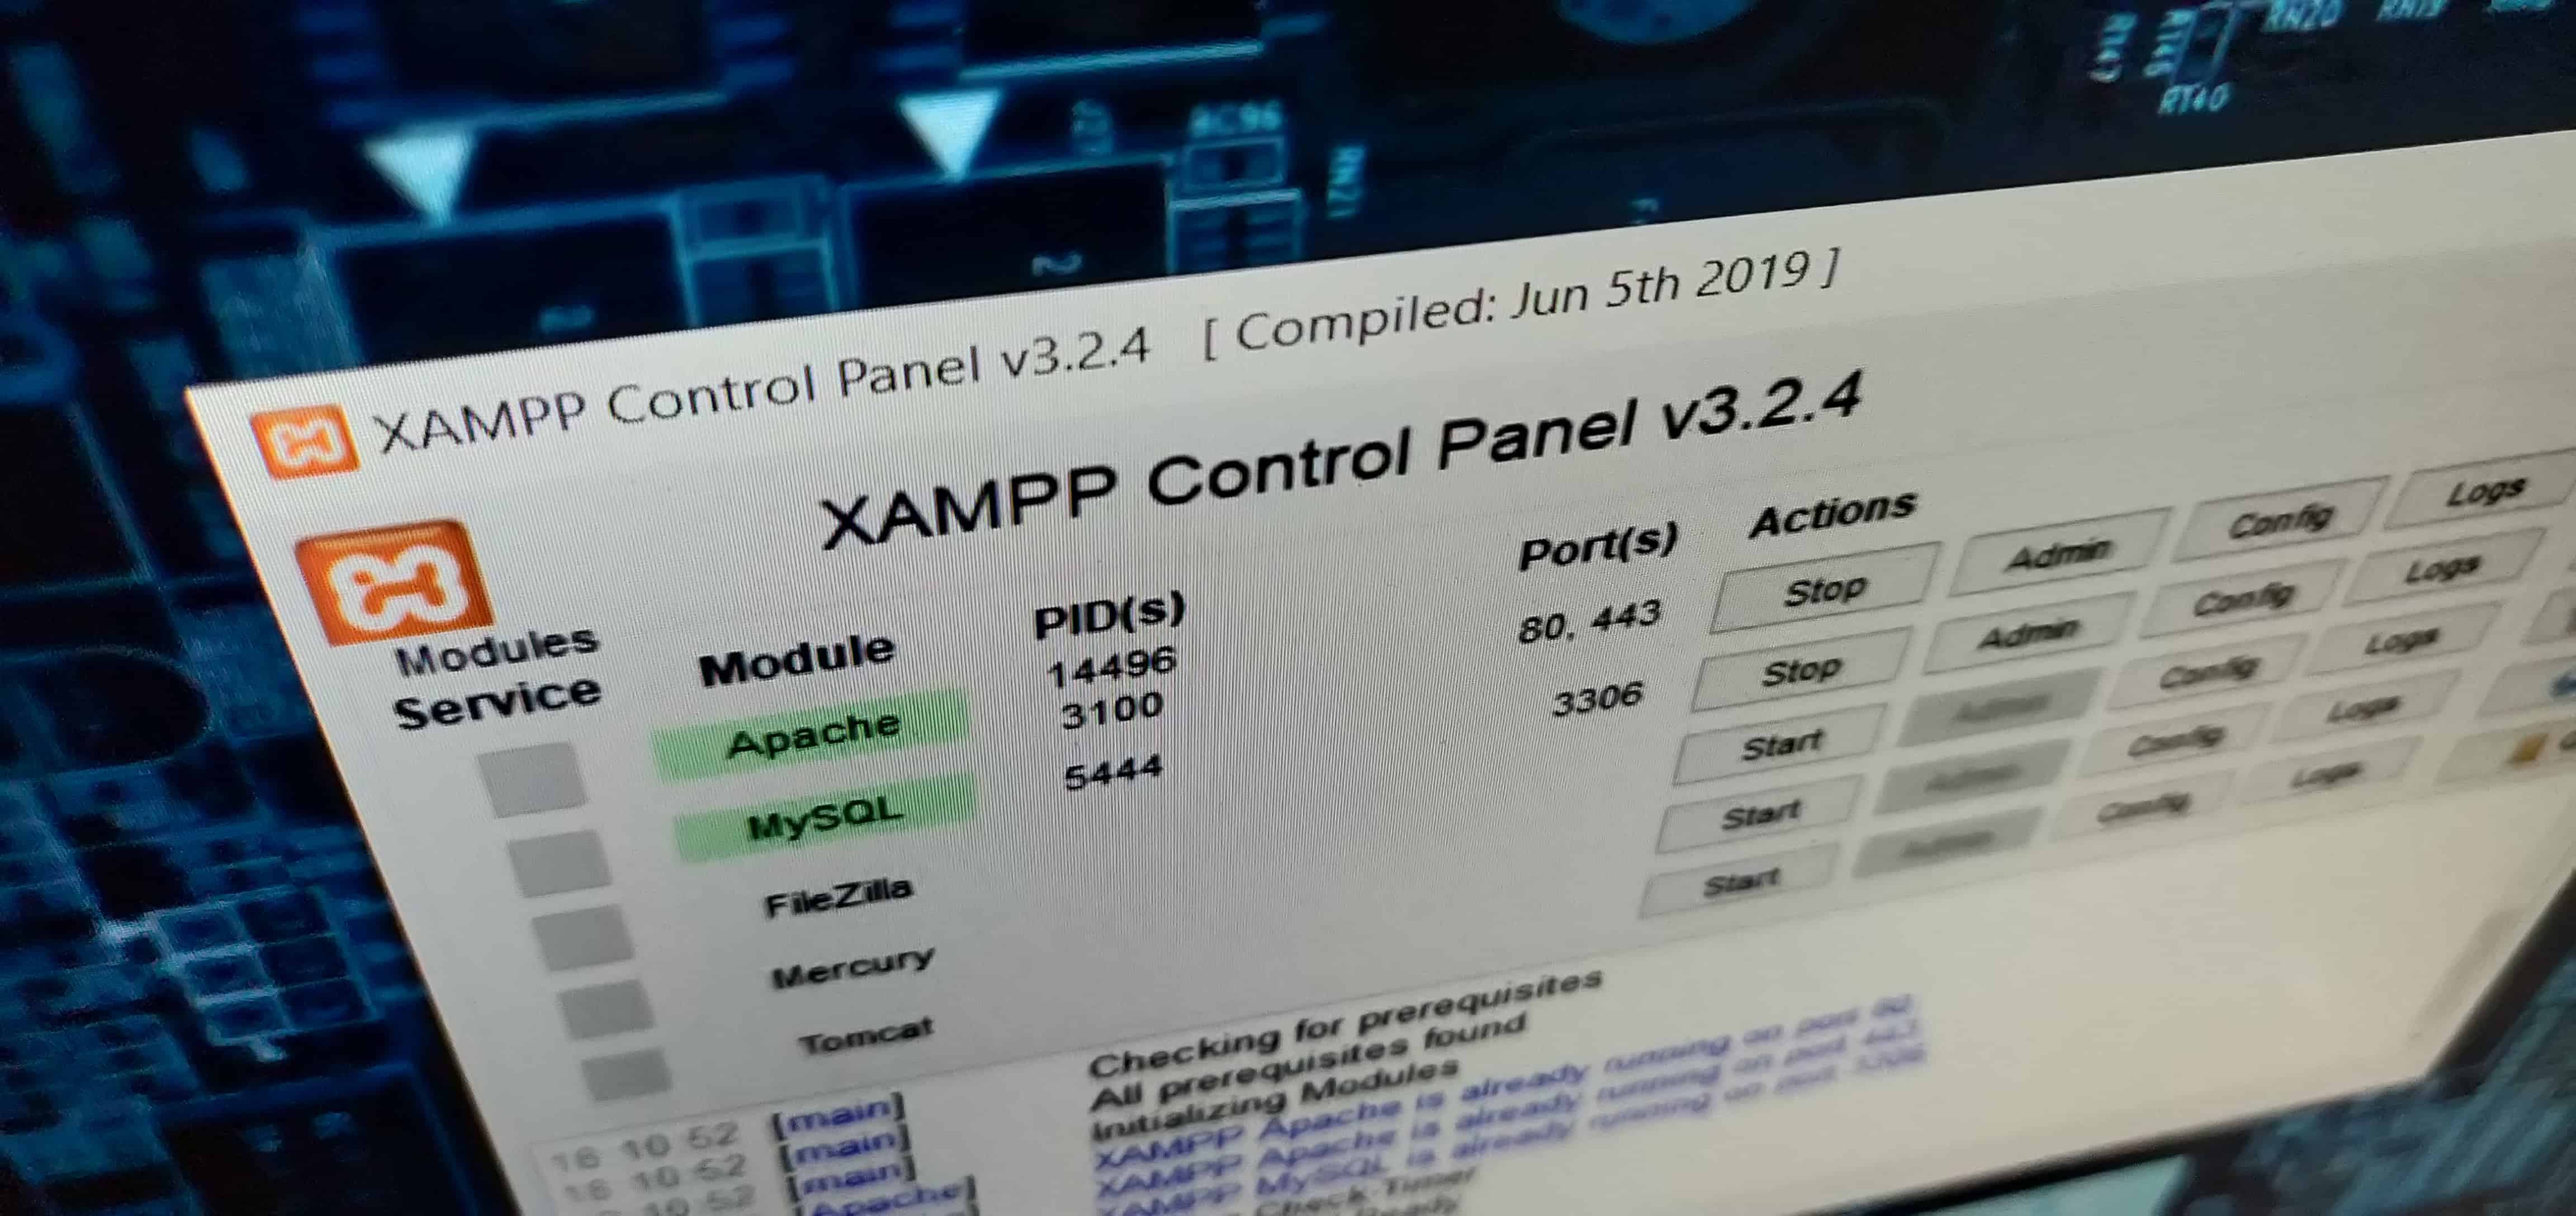
After setting up language, you’ll see the XAMPP Control Panel screen. Click the ‘Start’ button next to the server you want to start.

To access the software’s configuration, click the ‘Config’ button on the top-right corner of the screen. There’s basically every option you need to develop PHP applications on the XAMPP control panel. Have fun!