
Restoring power to the Library Tower unlocks a valuable safe spot just north of Town Hall and introduces one of the game’s early multi-socket cable puzzles. The route is short but precise: you’ll ascend via interior ledges, then route a single cable to the only functional box after using a moving gear to gain height. Doing this during daytime reduces chases and speeds up the run.
Start near Town Hall (quest setup and first connection)
Step 1: Head to the Town Hall area and look north to spot the tallest structure: the Library Tower. This cluster of objectives begins under “Life after Life,” which teaches basic cable routing.
Step 2: Interact with the wall power box beside Town Hall to pull a retractable cable, then thread it through the broken wall vent nearby. This creates a straight, manageable run to your next box.
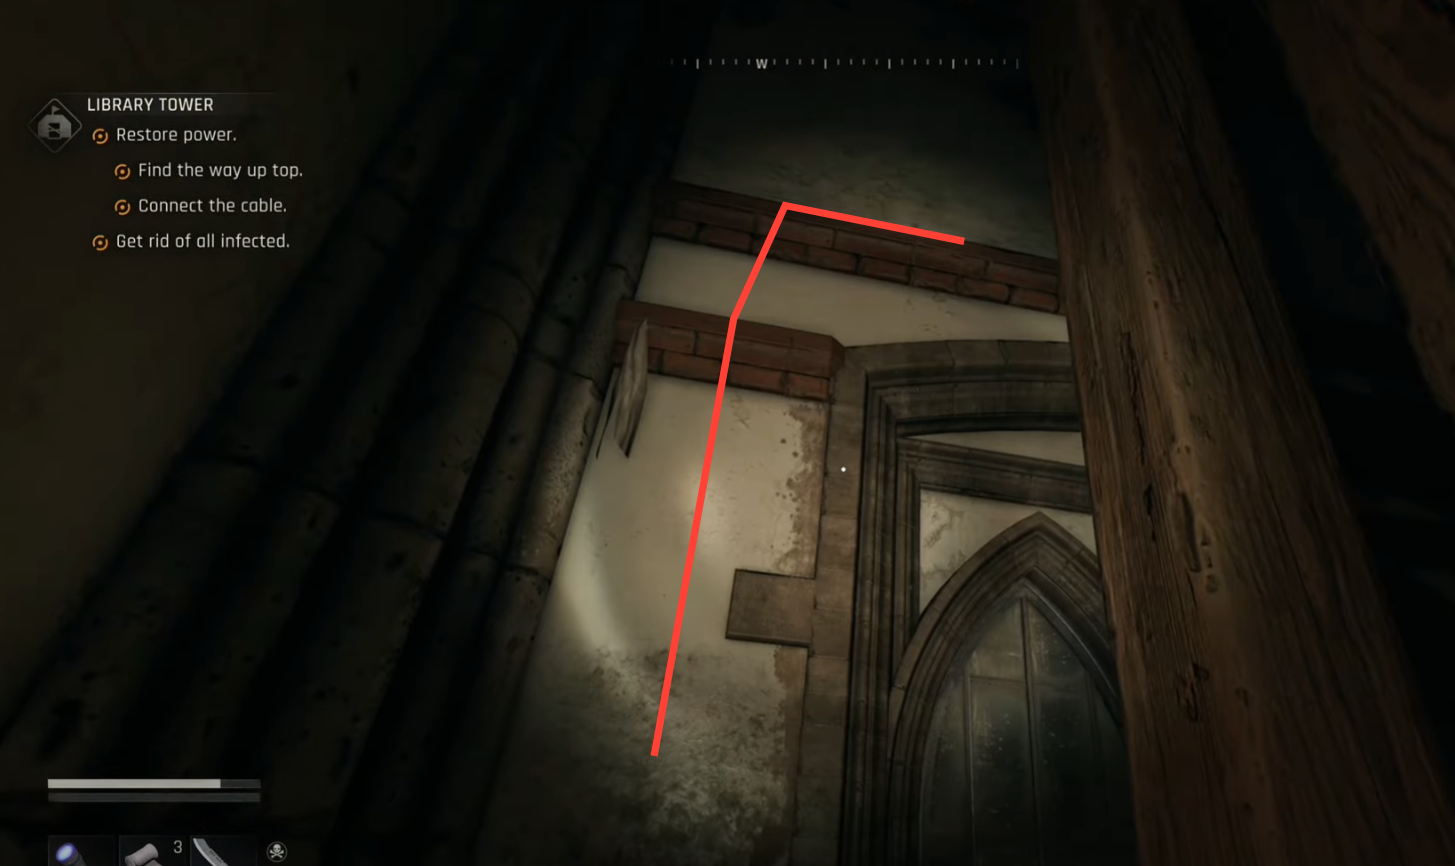
Step 3: Climb across the clock face you reach from the vent exit and connect the cable to the marked electrical box. After the ensuing story beat, you’re ready for the Library Tower climb proper.
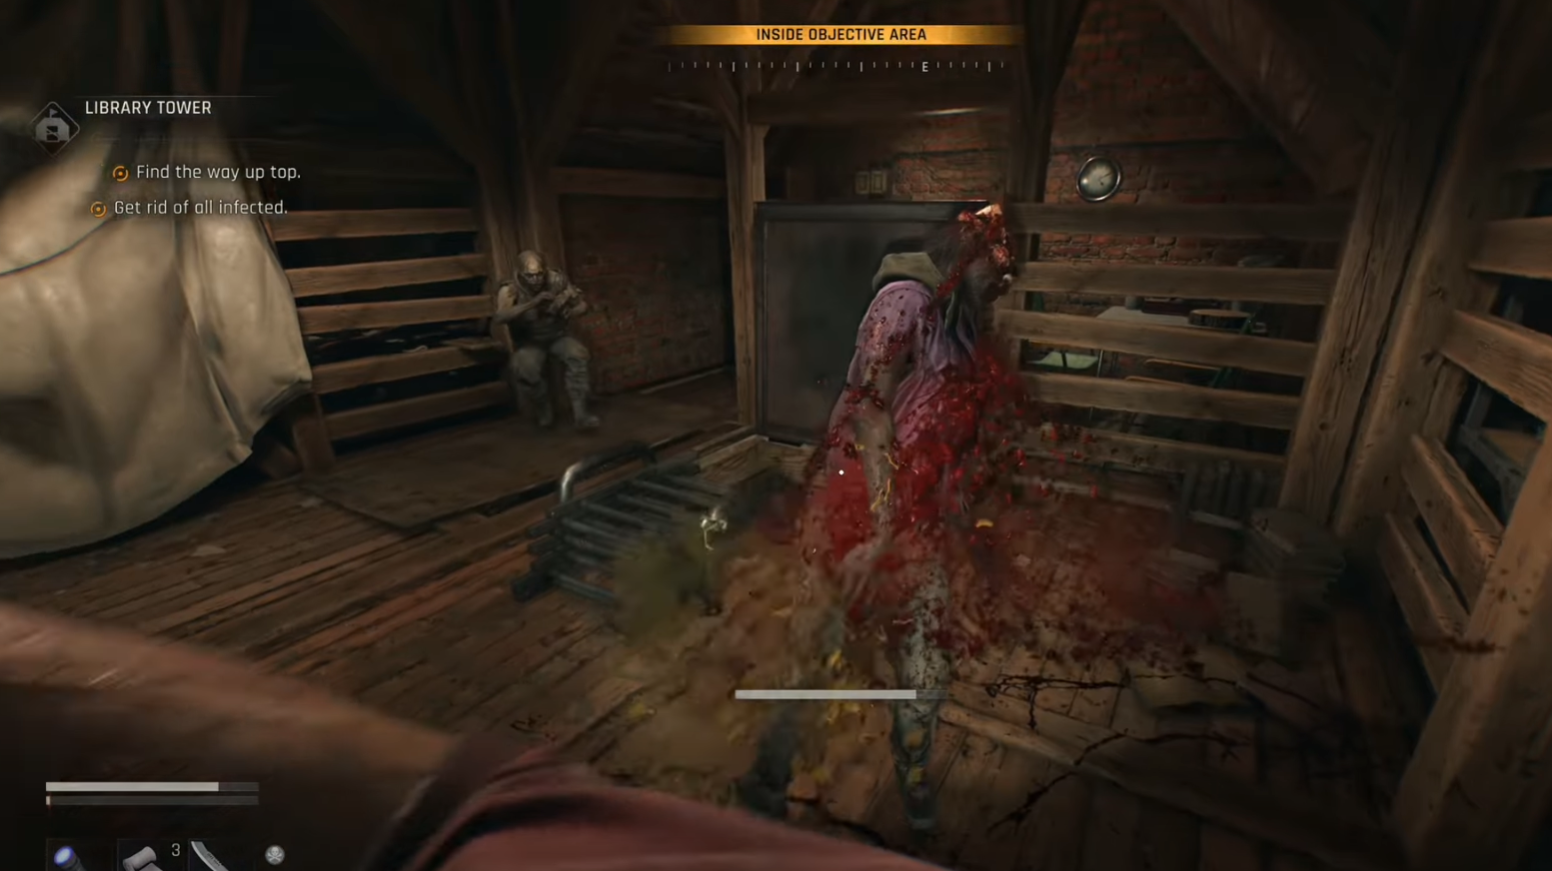
Climb the Library Tower (interior route)
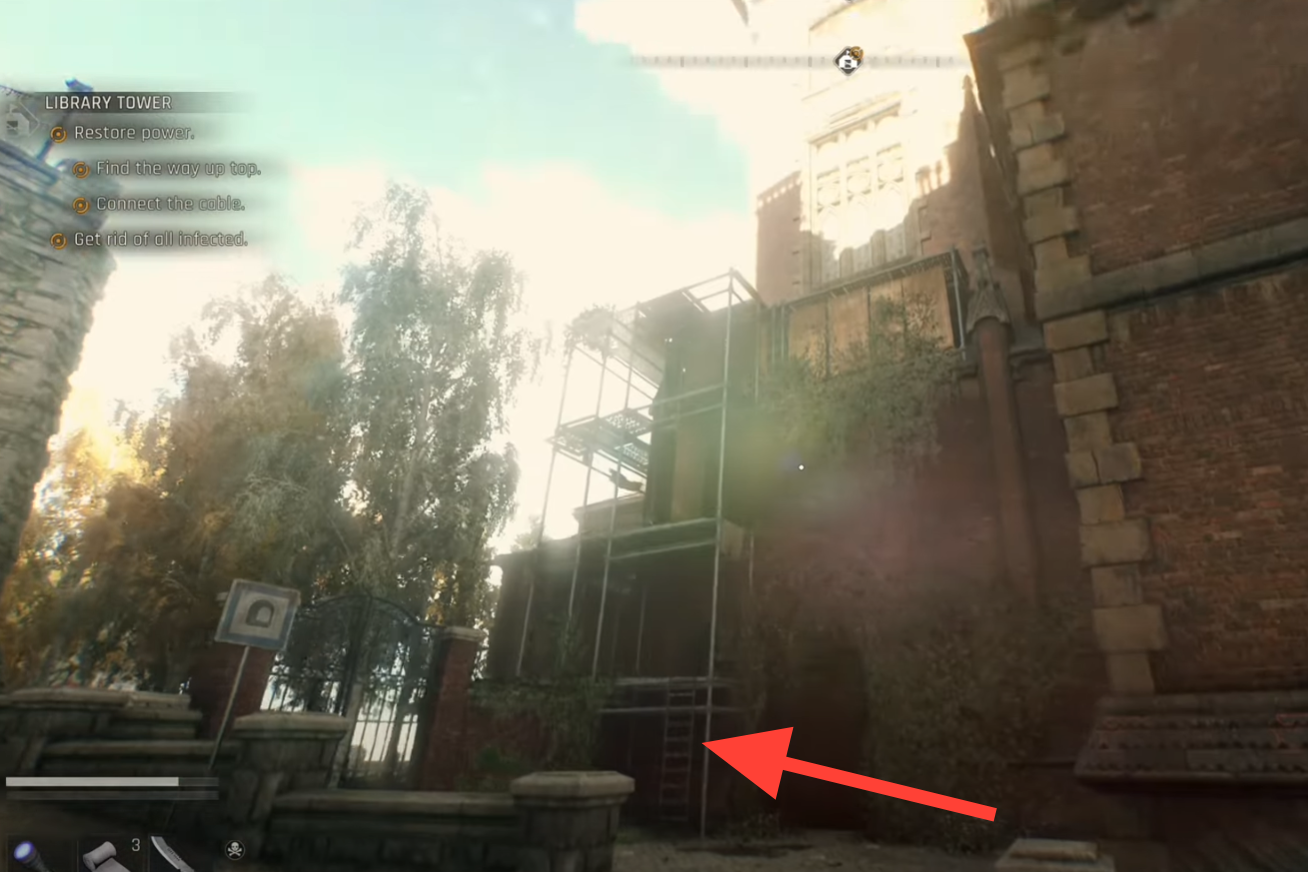
Step 1: At the base of the Library Tower, use the exterior scaffolding and ladders to ascend to an open window. This is the intended entry; other exterior surfaces here are decorative and won’t register climbs.
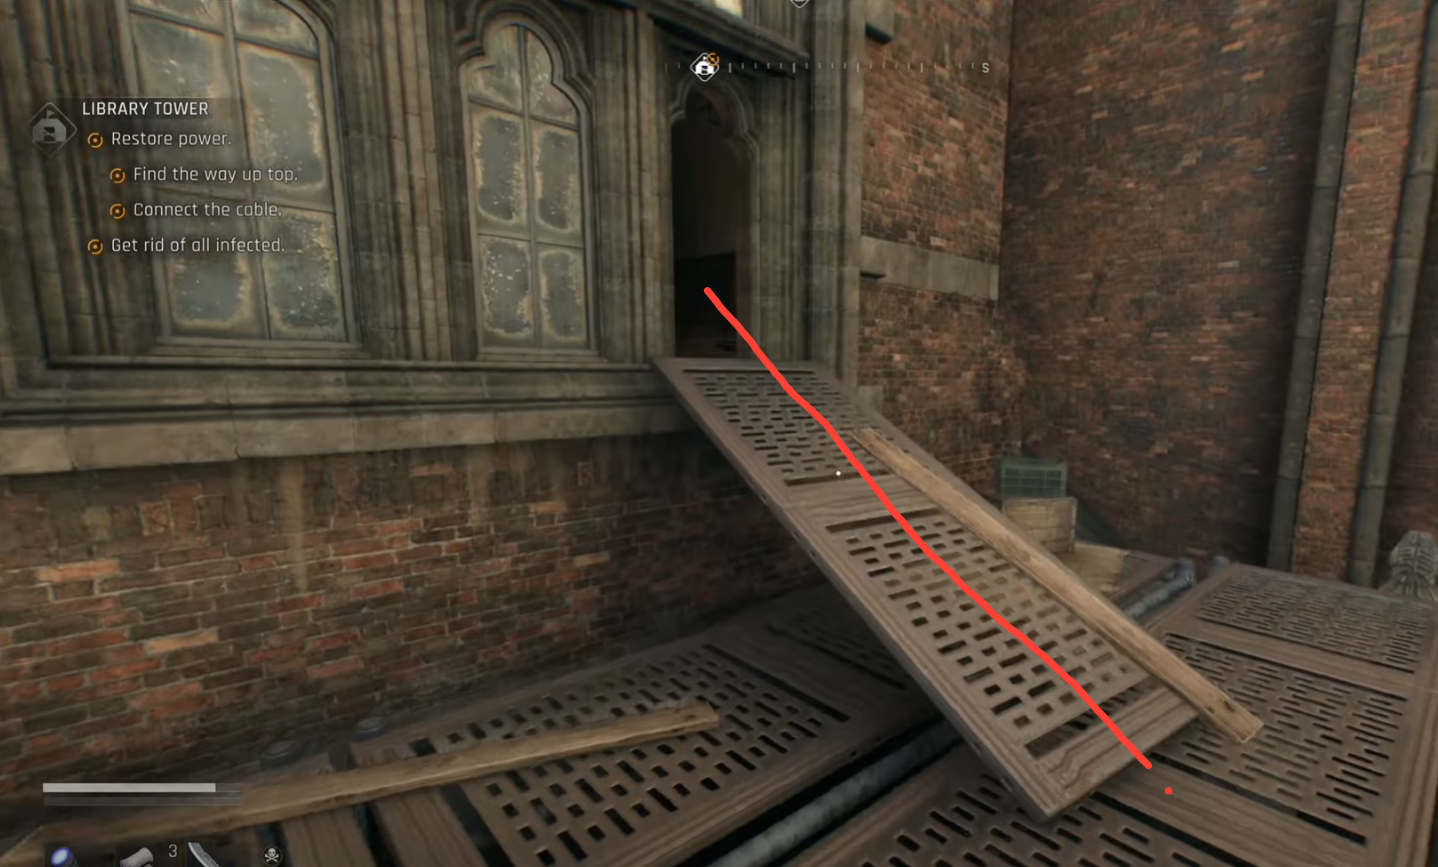
Step 2: Inside, take the staircase up one floor to the large, open chamber. This room contains the full platforming route to the power puzzle above.
Step 3: Look up to spot wooden beams and a sequence of brick ledges that wrap around the room. Move from beam to ledge, circling the space and gaining height with each traverse.
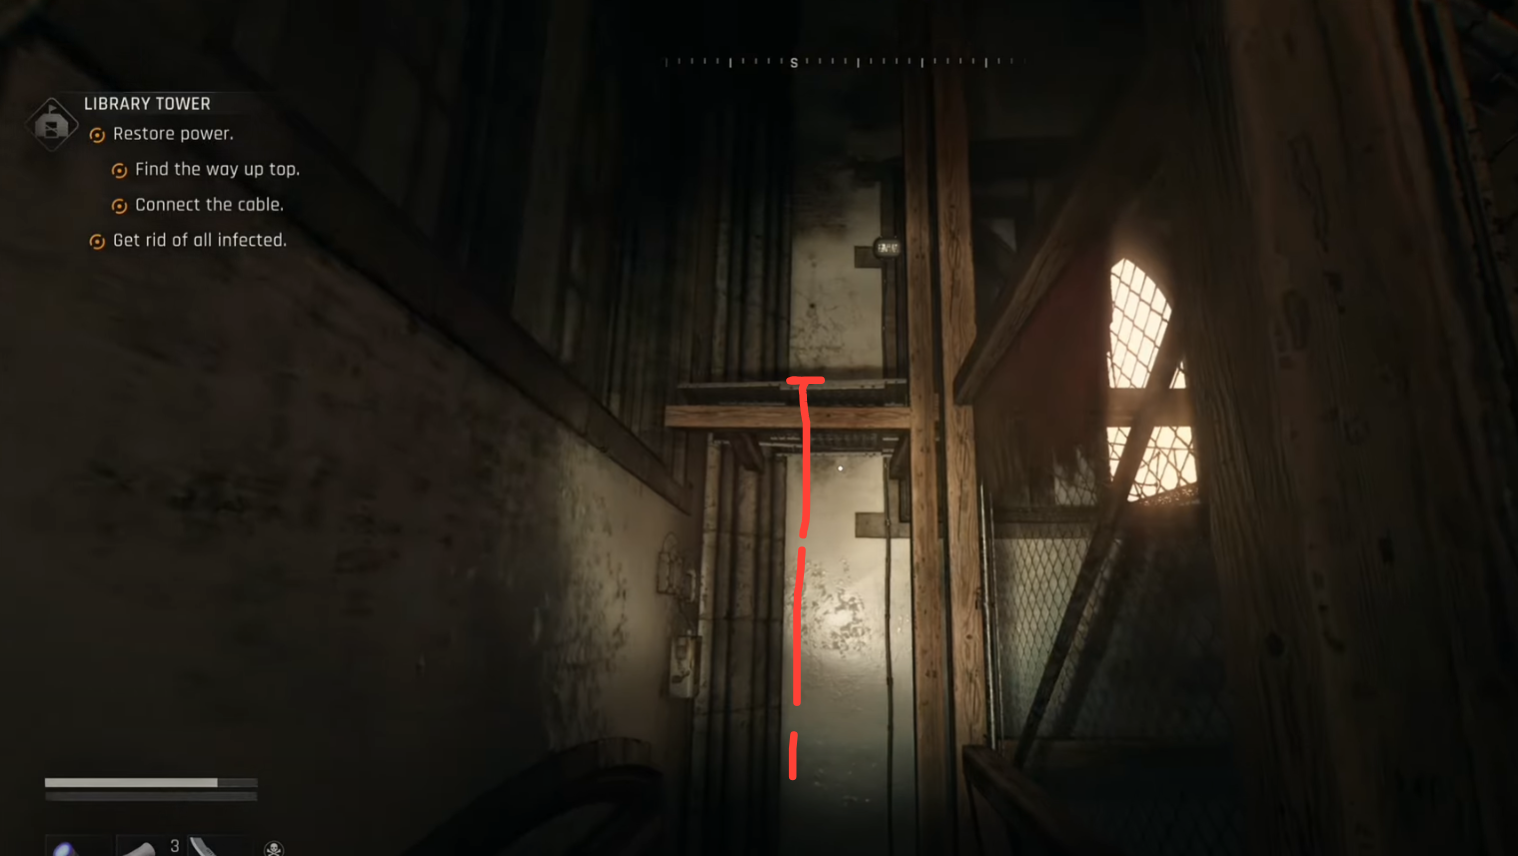
Step 4: Make the final gap marked by a red hanging tapestry. Aim higher than the lip of the ledge so Kyle’s hands register the catch; a slightly upward crosshair reduces missed grabs on this jump.
Solve the Library Tower power puzzle (the correct socket)
Step 1: At the next level, pull the loose cable from the only power box that actually outputs current. You’ll see multiple places to plug in around the chamber, but only one route advances the climb.
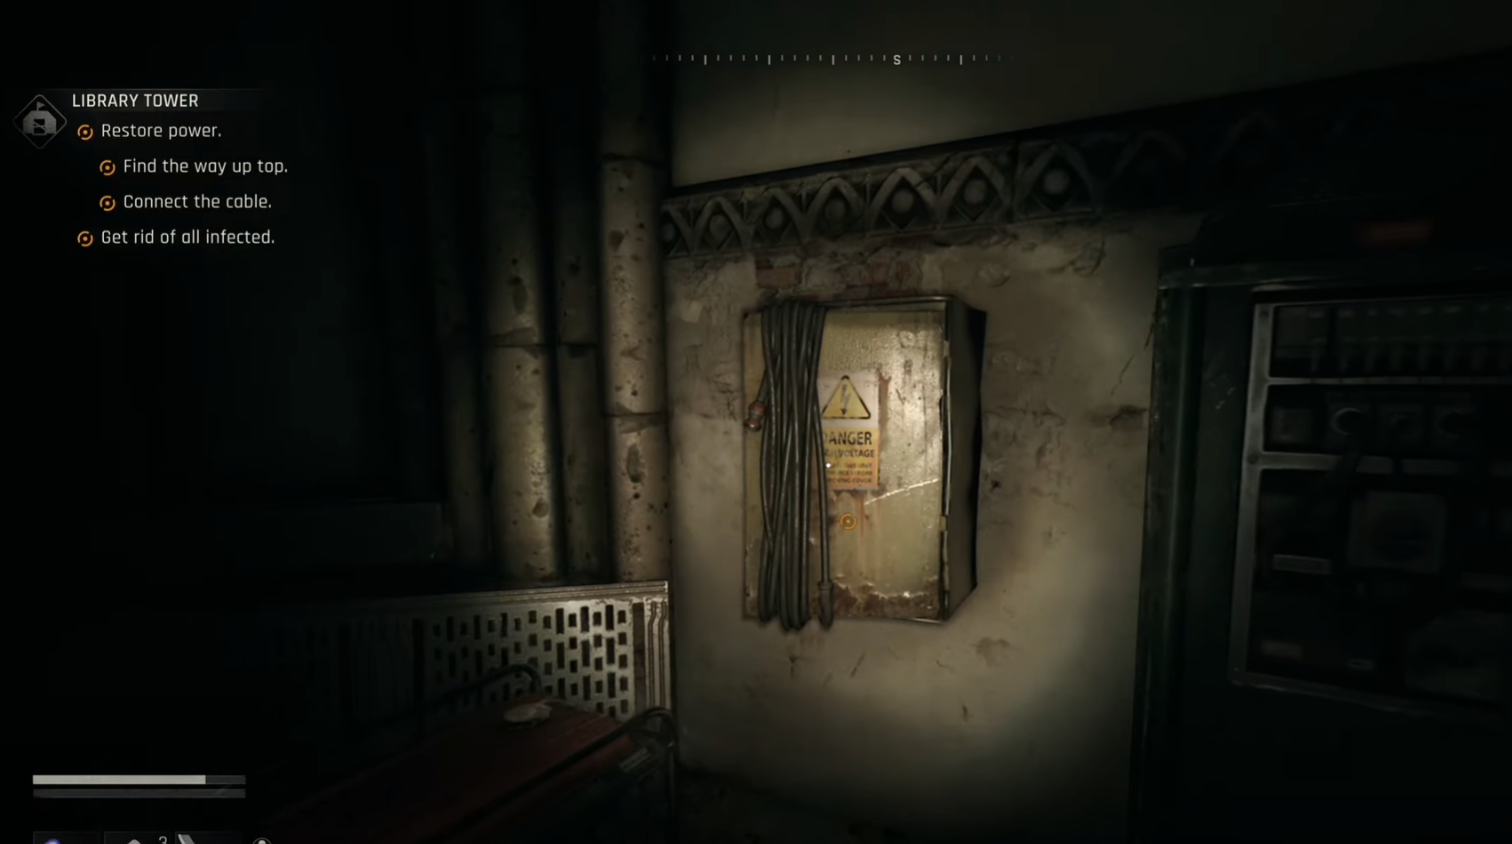
Step 2: Face the room and identify the working destination socket on the opposite side; ignore the decoy boxes that accept the plug without changing anything meaningful. The correct side also houses a moving mechanism you’ll use.
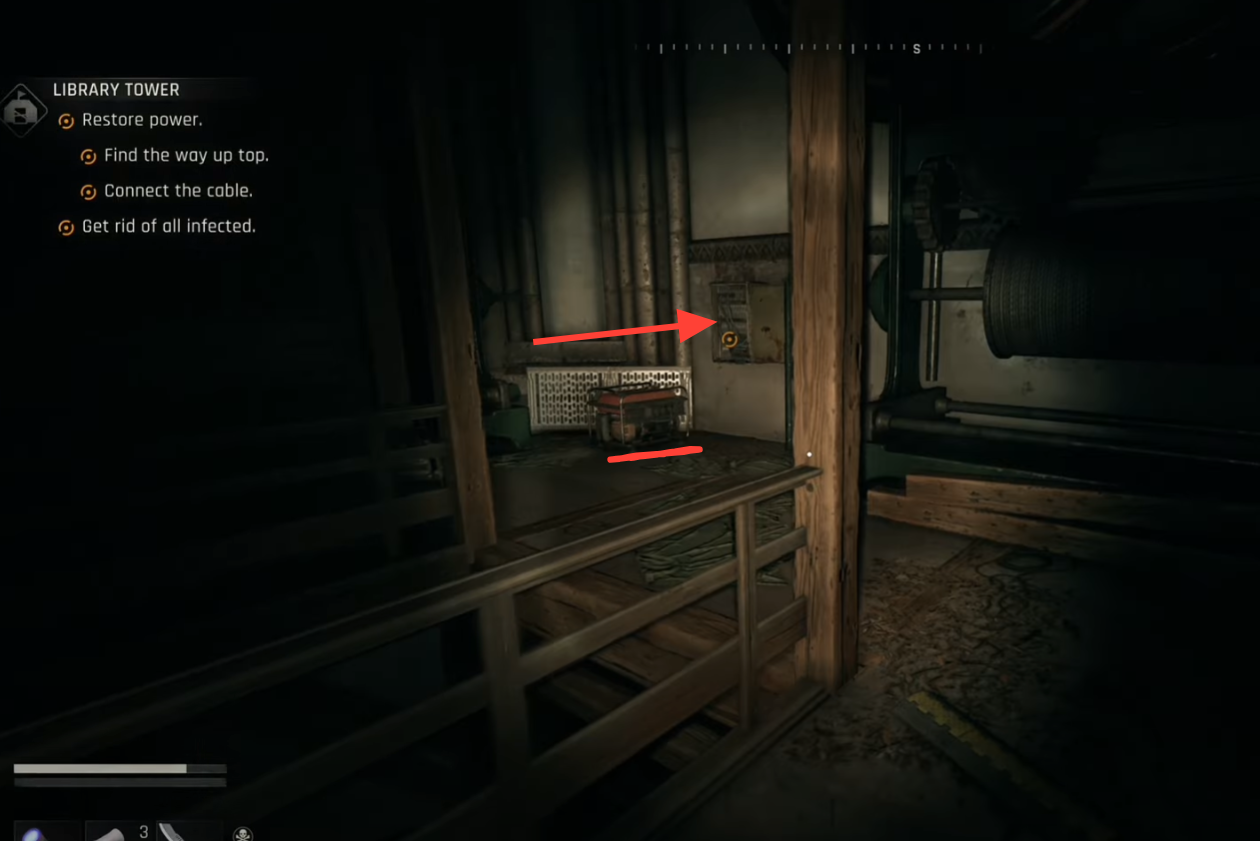
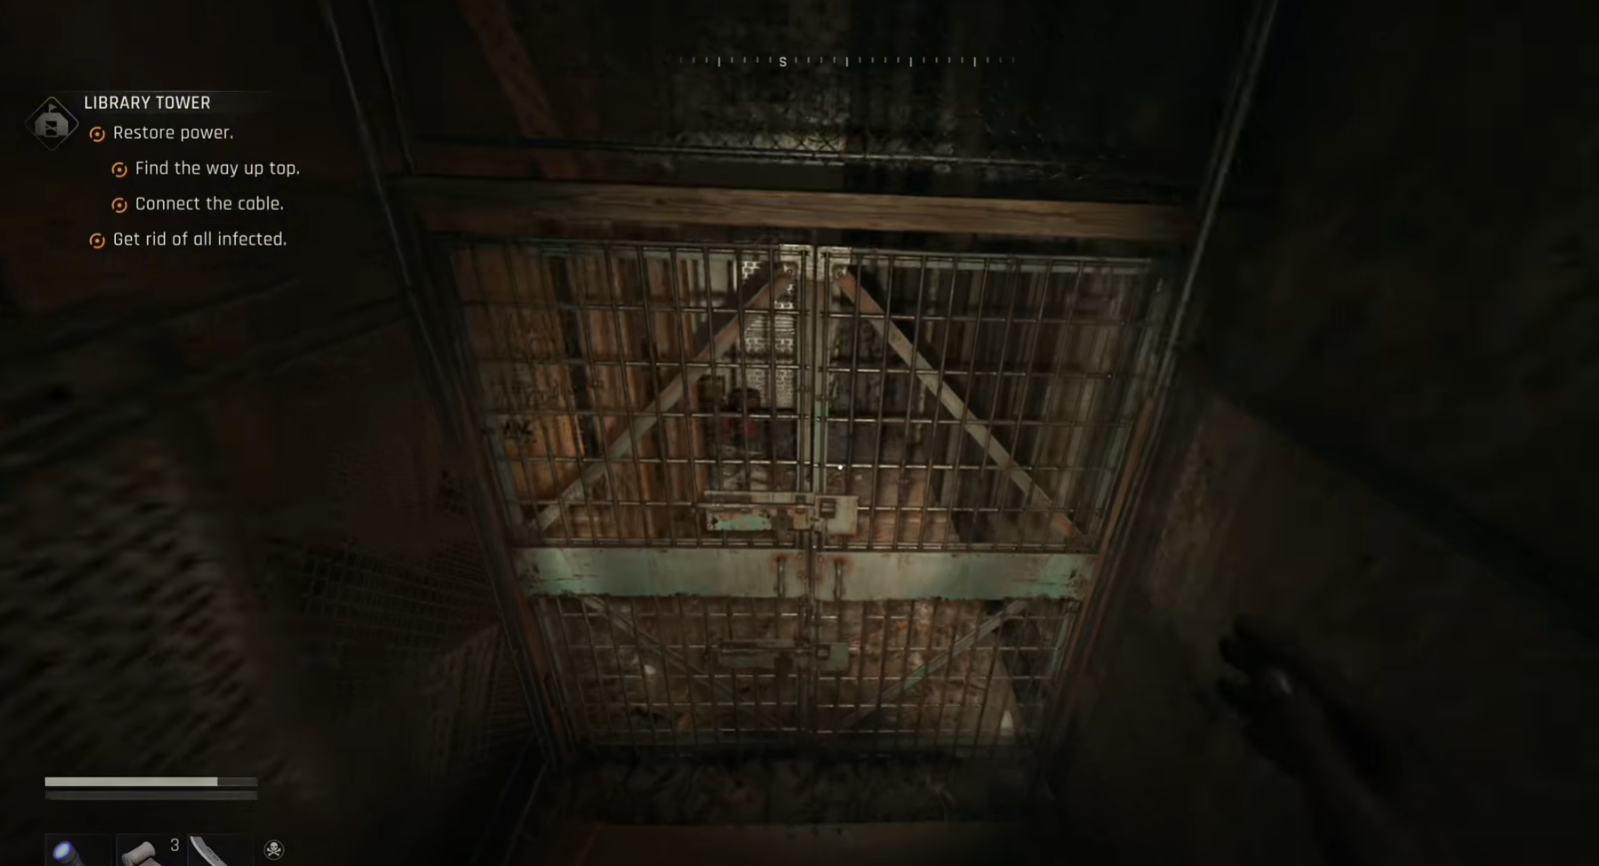
Step 3: Jump onto the rotating gear fitted with a metal bar and ride it to gain vertical position. At the high point, swing or jump off to nearby wooden beams and climb to the open hatch above.

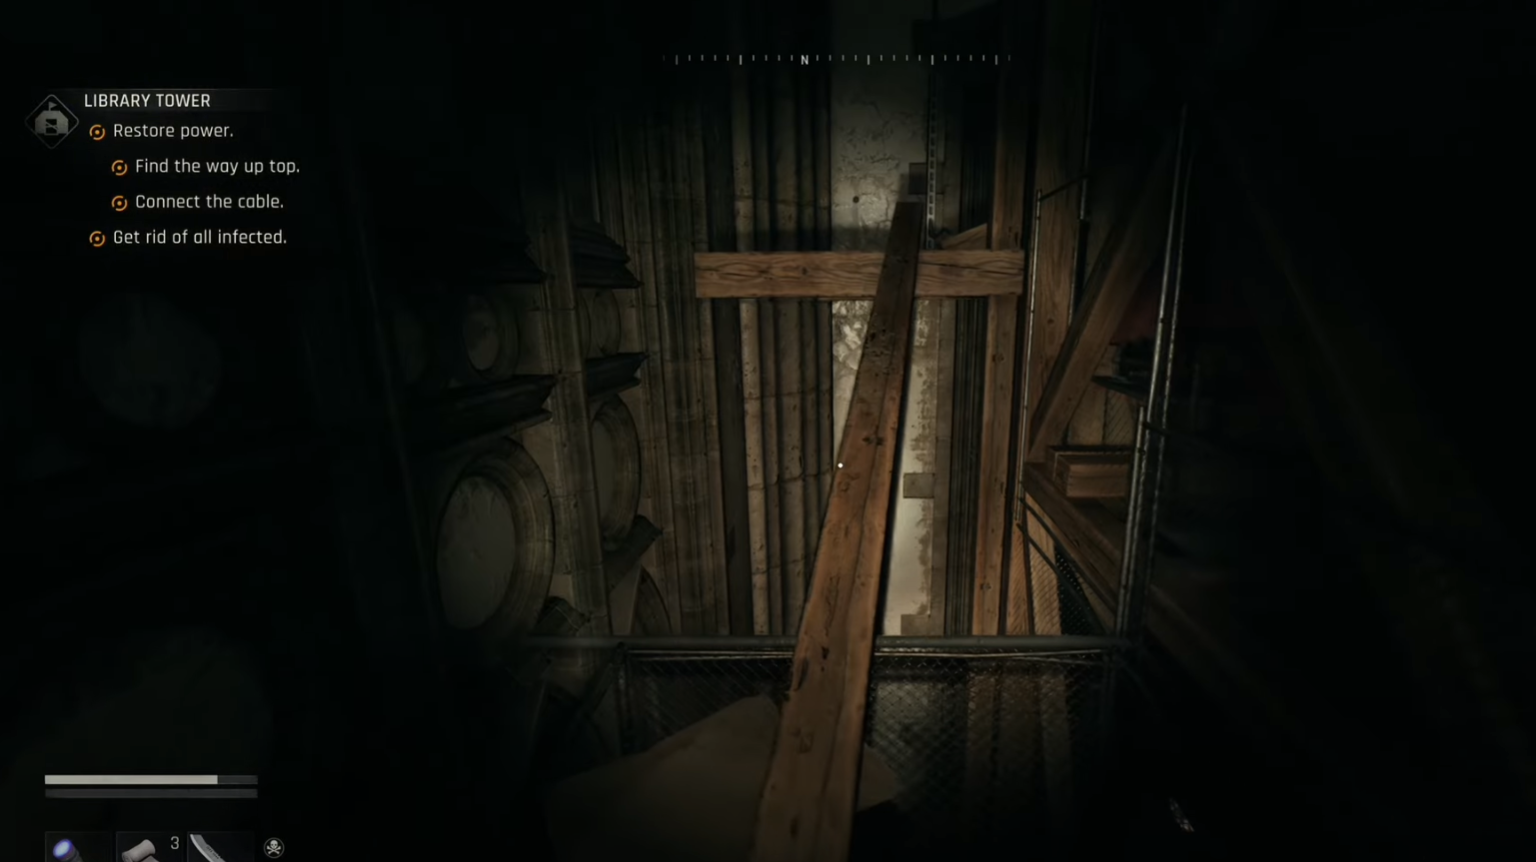
Step 4: Kick down the ladder in the upper space to create a shortcut into the final room. This is necessary because the cable is too short to drag the long way around.
Step 5: Drop back down to recover the same cable, then carry it up the ladder you just lowered and plug it into the top box. This completes the circuit and restores power to the Library Tower.

Secure the safe spot and streamline future access
Step 1: Clear any remaining infected if the objective calls for it, then activate the safe spot at the top. This gives you a reliable place to rest and manage day-night timing for nearby objectives.
Step 2: On future visits, use the long cable outside the tower to slingshot straight to the top instead of reclimbing. This shortcut cuts repeat travel time to seconds and makes the area a practical hub.
Make the climb safer (optional)
Attempt the climb during daylight to avoid heightened nighttime aggression and chases. If needed, rest at any safe area to switch from night to day, then return to the tower for a calmer run.
Once powered, the Library Tower becomes a fast-access safe spot you can reach in one move on return trips. If a jump gives you trouble, adjust your aim higher and commit—most misses here come from reaching too low.