
Hytale’s Early Access release puts a lot of emphasis on multiplayer, with support for official servers, private worlds with friends, and large community networks. Whether you join an existing community or run your own machine, everything revolves around Hytale servers and how players discover, connect to, and manage them.
Hytale multiplayer and server basics
Hytale is available in Early Access and focuses on core systems like exploration, combat, building, and community servers. Once the game is installed, the main menu includes options to play solo or connect to multiplayer servers. Multiplayer relies on a dedicated server application called HytaleServer.jar, which can run on your own hardware or on rented infrastructure.
By default, a Hytale server listens on UDP port 5520. Clients connect over the QUIC protocol, which runs on top of UDP rather than TCP. Any firewall or hosting configuration needs to allow UDP traffic on the chosen port, otherwise players will see timeouts or “cannot connect” style errors when they try to join.
Hytale supports both authenticated and offline server modes. Authenticated servers verify player accounts through the official services, while offline mode skips this check and is usually reserved for testing or private environments.
Ways to find public Hytale servers
There are several common paths to discover servers when you want to play with others. One straightforward option is to join a world hosted by a friend and connect directly using the server’s IP address and port. Many communities advertise their details through social platforms and chat groups, especially Hytale-focused Discord servers.
Separate from direct invites, community-run server listing sites collect public Hytale servers and present them in catalog form. These lists often group servers by playstyle, region, or modpack and usually publish the IP, port, and a short description. When using public lists, it is worth reading descriptions carefully and checking that a server’s rules and content rating match what you want.
Commercial game hosting providers also offer preconfigured Hytale servers for rent. In that case, the provider’s control panel shows the IP and port you give to players. These servers still appear to players like any other Hytale server; the difference is that the provider manages the underlying hardware and basic runtime for you.
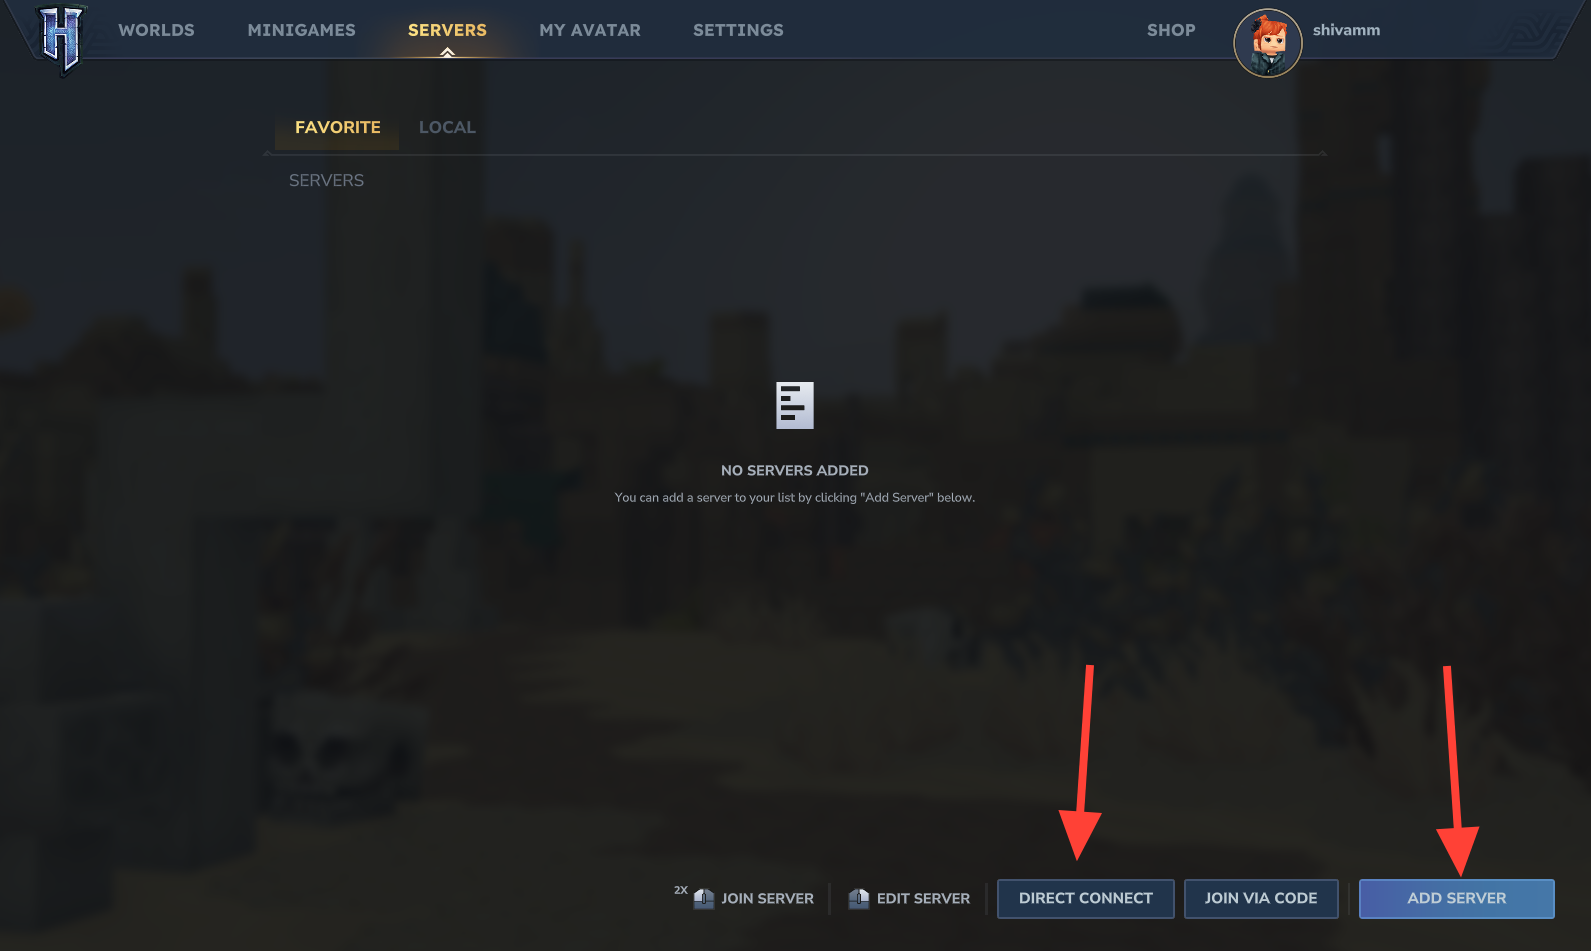
Joining a Hytale server with Direct Connect
Direct connect is the main way to join a server during Early Access and works with any server as long as you know its address and port.
Step 1: Start Hytale and wait for the main menu to load. Make sure you are logged in with your Hytale account before continuing so the client can authenticate you correctly.
Step 2: Open the multiplayer section, usually labeled something like Multiplayer or Join Server. This area lists any saved servers and gives access to direct connection options.
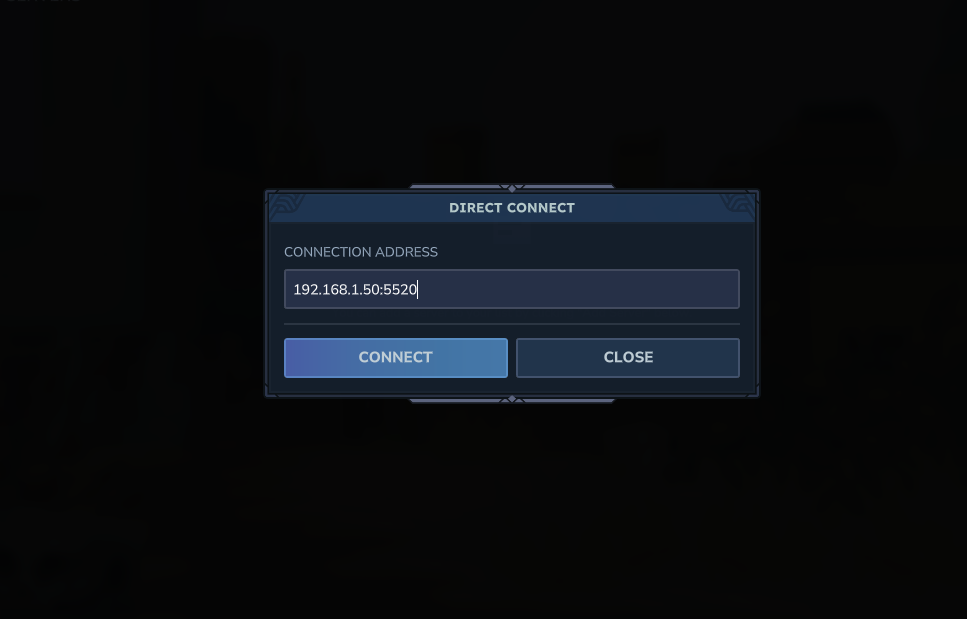
Step 3: Choose the option to add a connection, typically named Direct Connect or Add Server. This opens a form where you can enter connection details for a single join or save them for later.
Step 4: Enter the server address in the format IP:Port. For example, you might type 192.168.1.100:5520 for a local network host or play.example.com:5520 for a public server that uses a hostname.
Step 5: If the server uses the default port 5520, many clients let you leave the port out and just type the IP or hostname. Finally, choose Connect or Join to start the connection; if everything is configured correctly, you should load into the world after a short handshake.
Built-in Hytale server browser (planned feature)
In addition to direct connect, Hytale is planned to include a built-in server browser that appears in the main menu. The browser is designed to list public servers so players can discover new communities without hunting down IP addresses manually. The browser focuses on human-readable information such as server names and descriptions, not only raw technical details.
The planned browser supports filters for server name, region, and game mode, and shows current player counts so you can see how active a world is before joining. Another planned capability is filtering by content rating, which helps players avoid servers with unwanted themes or mods. Server entries are meant to be joinable with a single click, simplifying the process for players who are not comfortable working with IP addresses and ports.
This browser is described as a future feature and may not be available in the initial Early Access client. Until it appears, direct connect and community lists remain the primary discovery methods.
Installing Hytale for multiplayer
Before you can connect to any server, the Hytale client must be installed on your computer. The official download is provided through the Hytale website’s download page at hytale.com/download, which also integrates with the pre-purchase flow for Early Access. Installation gives you access to the launcher, which handles game updates and integrity checks.
Once the launcher is set up, sign in with your Hytale account and let it install or patch the client to the latest version. Multiplayer requires a working login, so ensure any multi-factor authentication or email verification for your account is completed before troubleshooting network issues.
Account and version requirements for joining servers
Joining most servers requires a valid Hytale account. You can register for an account through the official account portal at accounts.hytale.com/registration if you do not already have one. Some servers may operate in offline mode for testing, but public environments typically expect authenticated users.
Client and server versions need to match exactly. If the game client updates before a server does, you may see “Version mismatch” or “Incompatible version” style errors when trying to connect. In that situation, either update the server to the current build or, if you do not control it, wait until the server owner applies the same update that your client is running.
Playing Hytale on a local network (LAN)
Local network play is useful when several devices share the same home or office network. In this setup, the server runs on one machine, and other devices connect using the server’s private IP address rather than a public one.
Step 1: On the server machine, find the local IPv4 address. On Windows, open Command Prompt, run ipconfig, and look for the IPv4 entry that commonly starts with 192.168 or 10..
Step 2: Start the Hytale server and confirm that it binds to the default port 5520 or another port you prefer. Other devices on the same LAN do not require port forwarding to reach this address since the traffic never leaves the local network.
Step 3: On each client machine, use the direct connect menu and enter the server’s local IP and port, such as 192.168.1.50:5520. Once connected, the experience is the same as joining any other server, but latency is usually lower because packets do not traverse the wider internet.
Key Hytale server configuration files
Hytale servers keep their main configuration in JSON files in the server directory. Before adjusting any settings, always stop the server cleanly and create a backup copy of its configuration and world data so you can roll back if something goes wrong.
Several JSON files sit in the server’s root folder. A primary config.json controls global settings, permissions.json defines roles and player privileges, bans.json tracks banned users, and whitelist.json restricts access to a known list of accounts when whitelist mode is used. The file formats for some root-level configs are not fully documented publicly, so it is safest to follow official examples and check the support portal at support.hytale.com for updates.
Each world inside a server’s universe has its own configuration file under a path like universe/worlds/<WorldName>/config.json. This per-world file controls simulation, player-versus-player combat, saving behavior, and more. Editing these values changes how that specific world behaves without altering the entire server.
| World setting | Effect |
|---|---|
Seed |
Controls procedural world generation so the same seed produces the same layout. |
IsPvpEnabled |
Turns player-versus-player combat on or off for that world. |
IsFallDamageEnabled |
Determines whether players take damage when falling from heights. |
IsGameTimePaused |
Freezes or advances the in-game day and night cycle. |
IsSpawningNPC |
Controls whether creatures and NPCs can spawn naturally. |
IsAllNPCFrozen |
Freezes NPC movement and behavior when set, useful for testing or showcases. |
IsTicking and IsBlockTicking |
Enable or disable world and block simulation such as physics and crop growth. |
IsSavingPlayers and IsSavingChunks |
Control whether player data and world changes are written to disk. |
IsUnloadingChunks |
Releases empty regions from memory when players move away to reduce resource usage. |
DeleteOnUniverseStart and DeleteOnRemove |
Delete world data automatically when the universe starts or when the world is removed. |
When using a hosting control panel, configuration files are usually accessible through a “Configuration Files” page or via FTP. For self-hosted servers, they reside in the directory where you placed HytaleServer.jar. Always ensure the server process is stopped before saving changes so you do not overwrite live data.
World pre-generation to reduce exploration lag
New terrain generates as players explore, which can create short pauses or spikes in resource usage when many chunks appear at once. Pre-generating parts of the world lets the server do this work in advance so live players experience smoother travel.
Method 1 – manual exploration: Start the server, log in with an administrator account, and use creative or admin movement abilities to fly across the region you care about. As you move, the server generates chunks and saves them to disk. This method is simple but time-consuming for large areas.
Method 2 – pre-generation mods: Some mods can automate world generation by walking the boundaries of a defined region without a human player. Typically you place the mod in the mods folder, restart the server, configure the radius and center, then trigger a pre-gen command. The specific commands depend on the mod you choose.
Method 3 – command-line options: The server JAR may expose built-in options for pre-generation or related maintenance tasks. Running the following command shows the available server arguments and any world-generation flags:
java -jar HytaleServer.jar --helpMulti-server networks with Hytale server mesh
Hytale includes native support for connecting several servers together into a seamless network, often called a server mesh. Instead of relying on an external proxy like BungeeCord, the Hytale server itself exposes a Java API to move players between nodes.
The PlayerRef.referToServer(host, port, payload) method lets a running server send a connected player to another server. Along with the target host and port, it can forward a small payload of data, up to roughly 4 KB, to carry context such as current party or matchmaking information. A related event, PlayerSetupConnectEvent.referToServer(host, port), can redirect players during the initial handshake before fully connecting them.
Because payloads travel through the client, they can be altered by malicious users. To preserve trust between servers, sign payloads cryptographically on the sending side and verify them on the receiving side, for example using an HMAC with a shared secret key. Planned features also include automatic fallback after disconnects, where a player is returned to a lobby server if a game server crashes.
For maximum control, custom proxy services can be built using Netty’s QUIC support to handle Hytale traffic directly. Packet structures live in the com.hypixel.hytale.protocol.packets package inside HytaleServer.jar, which gives developers the schema they need to implement routing or monitoring tools tailored to their network.
Launching Hytale servers with JVM and server options
Hytale servers are Java applications, so their performance and behavior depend on both JVM flags and server-specific command-line options. A typical launch command follows the pattern below, where you specify Java memory settings and point to the server JAR and assets.
java [JVM options] -jar HytaleServer.jar [server options]Common JVM options include -Xms for initial heap size, -Xmx for maximum heap size, -XX:+UseG1GC to enable the G1 garbage collector on higher-memory systems, and -XX:AOTCache=HytaleServer.aot to speed up startup using an ahead-of-time cache.
| Server option | Purpose | Default |
|---|---|---|
--assets <path> |
Path to the Assets.zip bundle required for the server to run. |
None (must be provided) |
--bind <ip:port> |
IP and port for the server to listen on. | 0.0.0.0:5520 |
--auth-mode <mode> |
Choose between authenticated and offline modes. | authenticated |
--backup |
Enables automatic backups at a regular interval. | Disabled |
--backup-dir <path> |
Directory to store backups. | ./backups |
--backup-frequency <mins> |
Time in minutes between automatic backups. | 60 |
--disable-sentry |
Turns off crash reporting to the default telemetry service. | Enabled by default |
--allow-op |
Permits operator commands to be used on the server. | Disabled |
--accept-early-plugins |
Allows loading experimental plugins that are not fully supported. | Disabled |
For production on Windows, a common pattern is to fix memory allocation and enable backups in a batch file:
@echo off
java -Xms6G -Xmx6G -XX:+UseG1GC -XX:AOTCache=HytaleServer.aot -jar HytaleServer.jar --assets Assets.zip --backup --backup-frequency 60
pause
On Linux, a similar shell script can be used:
#!/bin/bash
java -Xms6G -Xmx6G -XX:+UseG1GC -XX:AOTCache=HytaleServer.aot -jar HytaleServer.jar --assets Assets.zip --backup --backup-frequency 60
For development, many administrators run with lower memory and offline mode:
java -Xms4G -Xmx4G -jar HytaleServer.jar --assets Assets.zip --auth-mode offline --disable-sentryFirewall and port configuration for Hytale servers
Because Hytale uses QUIC over UDP, opening the correct port on your firewall is essential. Simply forwarding TCP ports is not enough; clients must be able to send and receive UDP packets to the server’s port, typically 5520.
On Windows, PowerShell can be used to create an inbound UDP rule:
New-NetFirewallRule -DisplayName "Hytale Server" -Direction Inbound -Protocol UDP -LocalPort 5520 -Action AllowOn Linux systems that use iptables directly, an appropriate rule looks like this:
sudo iptables -A INPUT -p udp --dport 5520 -j ACCEPTIf the server uses UFW as a frontend to iptables, the following command opens the same port:
sudo ufw allow 5520/udpAfter adjusting firewall settings, restart or reload the firewall where required, then test the connection from a remote client. If clients still cannot reach the server, confirm that any upstream firewalls or hosting provider security groups also allow UDP on the chosen port.
With these fundamentals in place, joining Hytale servers becomes straightforward: discover a community through friends or server lists, use direct connect to join by IP and port, and rely on sensible server configuration and networking to keep worlds responsive. As official features like the in-game server browser expand, the ecosystem of public servers and curated lists will only grow, giving players many different styles of Hytale worlds to explore.