
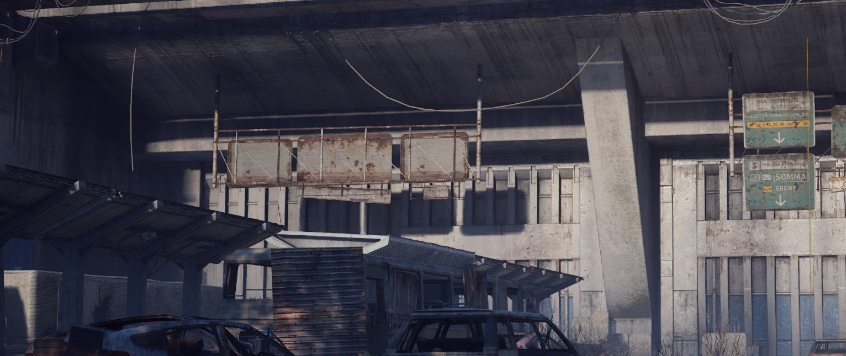
The Locked Gate modifier turns a Blue Gate run into a focused objective: override an emergency shutdown by retrieving four security codes and inputting them at the Gate Control Room. Expect fewer ways out, no Raider Hatches, and a firm timer pushing you to move with purpose.
Locked Gate changes and constraints
| Setting | Value |
|---|---|
| Map | The Blue Gate |
| Objective | Collect four security codes and enter them at the Gate Control Room (near the Warehouse Complex) |
| Where codes spawn | Random containers within four named areas |
| Time limit | 40 minutes (maximum raid duration) |
| Extraction changes | Fewer active Return Points; Raider Hatches are inactive |
| Difficulty change | Trials multiplier: 2x |
Locked Gate objective and run flow
- Head to the four target areas and search containers for the security codes. Spawns are randomized each run.
- Carry codes in your inventory; you can extract with them if needed.
- Once all four are secured, go to the Gate Control Room near the Warehouse Complex and enter the codes.
- With Return Points limited and Raider Hatches disabled, plan your exit around an active Return Point after the turn‑in.

Locked Gate security code locations (areas and hazards)
| Area | Known hazards | Notes |
|---|---|---|
| Raider's Refuge (northwest Blue Gate) | Busy with raiders and ARC machines; expect Rocketeers, small drones (e.g., Snitches, Wasps, Hornets, Spotters, Bombardiers); a turret can spawn inside the main building. | Code appears in random containers. The area also includes an optional locked cellar puzzle with high‑value loot (details below). |
| Pilgrim's Peak | Guarded by two Rocketeers. | Search containers; placement varies by run. |
| Reinforced Reception | Varies by run. | Search containers; placement varies by run. |
| Ancient Fort | Varies by run. | Search containers; placement varies by run. |
Raider's Refuge cellar (optional loot during Locked Gate)
While you’re at Raider’s Refuge, there is a separate locked cellar on the outside of the building. The door shows four bulbs that light up as you find and press four hidden buttons around the site. Button positions are randomized each run and can be inside or outside the building.
- Common placements include: near the cellar doorway and generator; on overhangs and above outdoor AC units; inside the roof collapse/under floorboards; on or opposite the broken structure reached via a zipline; around the watch tower (overhang or top, accessible by zipline or ladder); within fallen steel panels near the northern entrance; and along damaged roof tiles or metal plates.
- When all four bulbs are lit, the cellar opens. Use the ladder to descend and loot containers, weapon cases, and cabinets. Finds often include high‑tier materials, weapon blueprints, and Epic/Legendary gear.
- Given the modifier’s limited Return Points, consider your exit route once you’ve looted the cellar.
Locked Gate timing and extraction notes
- The 40‑minute cap applies to the whole raid, so weigh optional detours (like the cellar) against travel time between the four target areas and the Gate Control Room.
- Because Raider Hatches are inactive and Return Points are fewer, identify a viable Return Point as part of your route once the codes are turned in.
- If you’ve secured one or more codes and prefer to bank them, you can leave the raid with codes in hand.
Locked Gate compresses a Blue Gate raid into a clear hunt for four codes under a strict clock, with extraction options deliberately constrained. Focus on the four areas listed, confirm the Gate Control Room turn‑in near the Warehouse Complex once you have all codes, and plan an exit through an active Return Point.