
Angela is Marvel Rivals’ first flying Vanguard with a dual‑stance kit: a spear while airborne and twin axes on the ground. She excels at displacing targets, punishing enemy fliers, and creating space through mobility and crowd control. This guide lays out clear steps to learn her inputs, convert pressure into wins, and avoid common pitfalls.
Angela – Quick Reference Overview
| Attribute | Details |
|---|---|
| Role | Vanguard |
| Health Pool | 600 |
| Difficulty | ★★★★☆ (4‑Star) |
| Mobility | Free flight via Seraphic Soar; can swap between air (spear) and ground (axes) stances |
| Primary Strengths | Displacement, anti‑flier pressure, sustained zone control, team sustain boosts |
| Attack Charge Mechanic | Builds while flying or blocking damage; empowers spear for higher damage + vertical knock‑up |
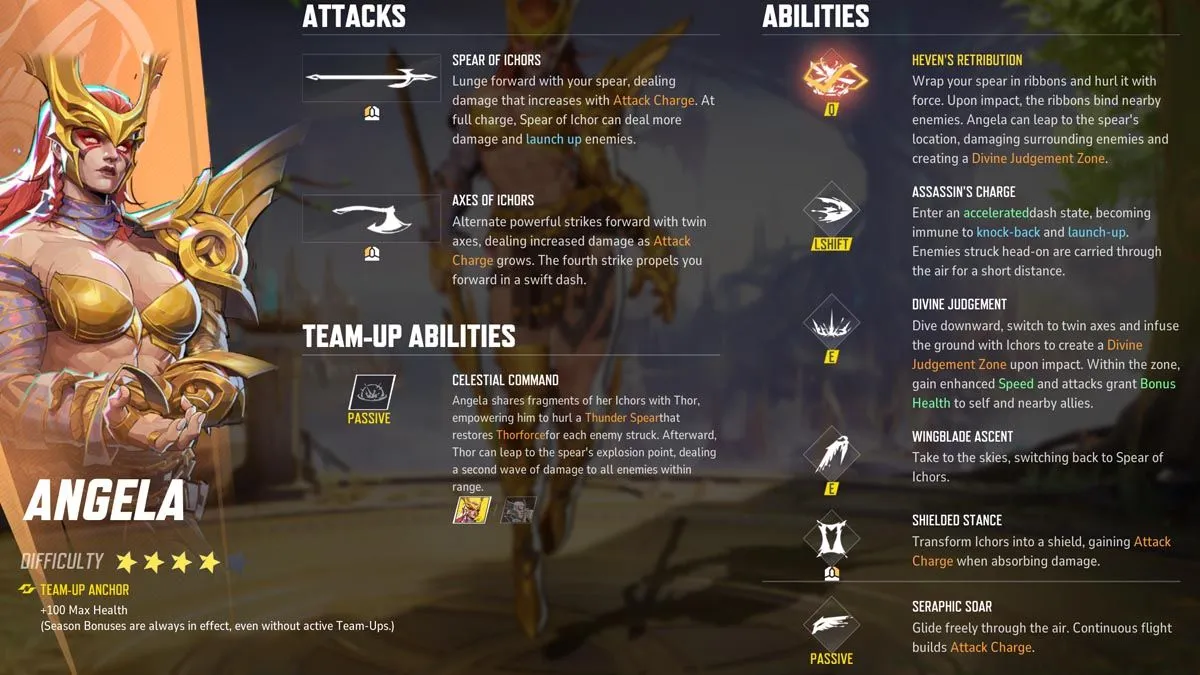
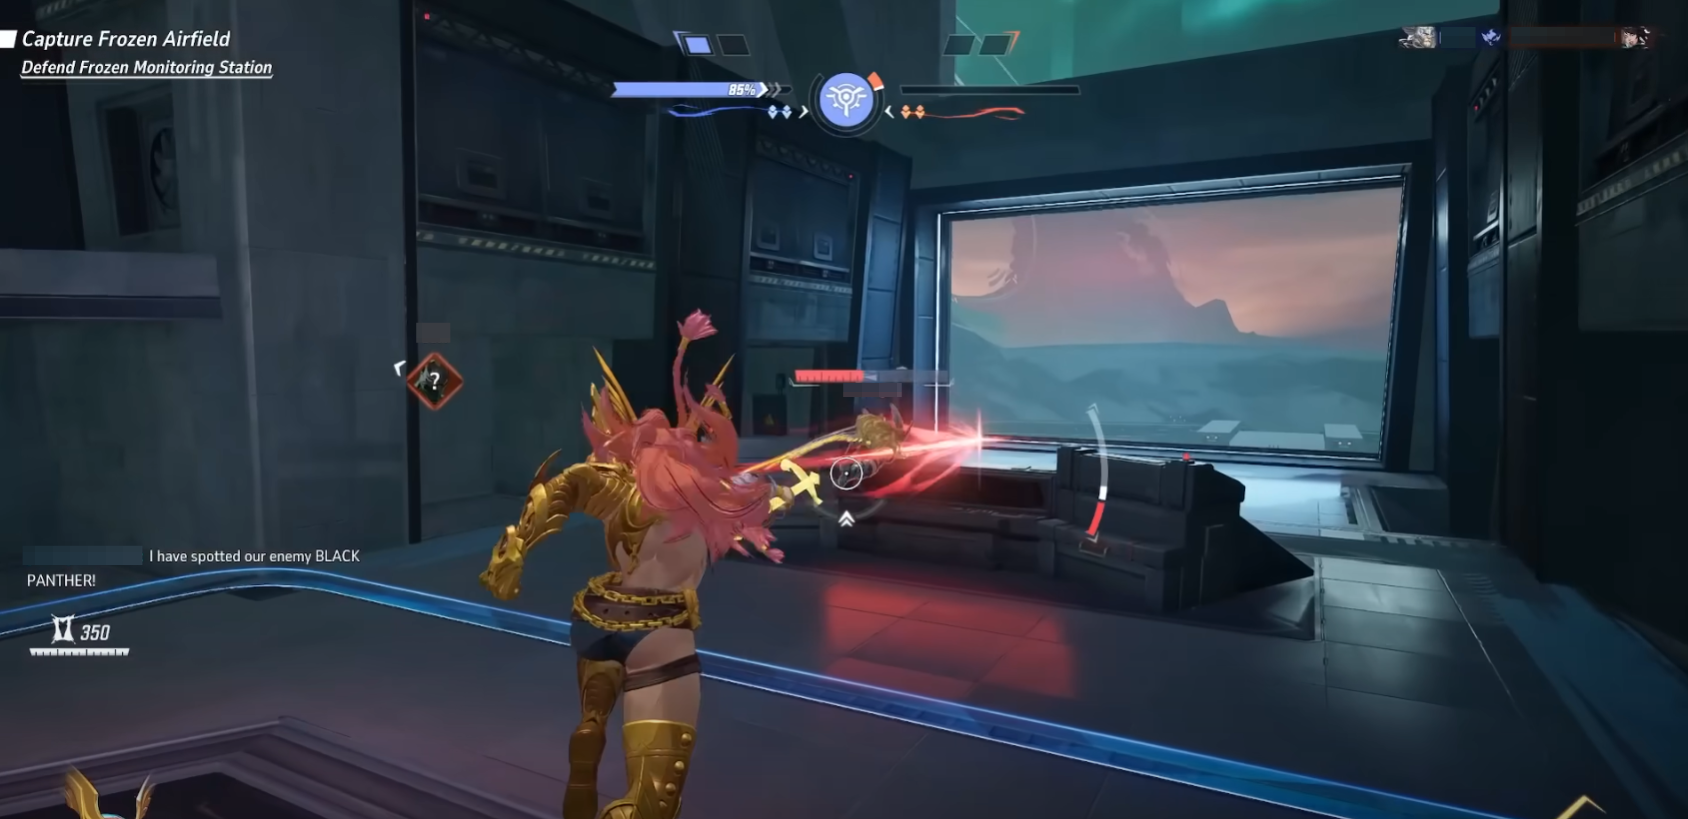
| Air Stance (Spear) | Spear of Ichors – lunging thrust scaling with Attack Charge |
| Ground Stance (Axes) | Axes of Ichors – fast 4‑hit combo; final hit dashes forward |
| Key Defensive Tool | Shielded Stance – 350‑HP directional shield, ~4s cooldown, also builds Attack Charge |
| Signature Engage | Assassin’s Charge – aerial dash, CC immunity to knock‑back/launch‑up, carries enemies |
| Zone Control | Divine Judgment – dive to ground, spawn speed + Bonus Health zone for allies |
| Ultimate | Heaven’s Retribution – bind enemies with thrown spear; optional leap for AoE + zone |
| Team‑Up Ability | Celestial Command with Thor – Thunder Spear synergy for burst and follow‑up dive |
Core kit and what to expect
- Role: Vanguard
- Health pool: 600
- Difficulty: 4‑star
Angela can fly indefinitely and build an Attack Charge resource while moving or blocking damage. At full charge, her spear hits harder and can pop enemies upward. Diving with axes creates a ground zone that speeds allies and grants Bonus Health on hits, helping teams push or hold objectives.
Key abilities and inputs:
- Spear of Ichors (air primary): lunging thrust that scales with Attack Charge.

- Axes of Ichors (ground primary): fast combo; the fourth swing dashes forward.

- Shielded Stance: 350‑HP directional shield on roughly a 4s cooldown that also builds Attack Charge.

- Assassin’s Charge: quick aerial dash, immune to knock‑back/launch‑up while active, carries enemies along; ~3s cooldown.

- Divine Judgment (air
E): dive to ground, swap to axes, spawn a zone that boosts speed and grants Bonus Health on hits; ~12s cooldown.

- Wingblade Ascent (ground
E): take off and swap back to spear.

- Seraphic Soar (passive): free flight that builds Attack Charge over time.

- Heven’s/Heaven’s Retribution (Ultimate
Q): throw a ribbon‑wrapped spear that binds enemies in an area; you may leap to it to deal damage and create a Judgment zone.

- Team‑Up: Celestial Command with Thor. Thor gains a Thunder Spear that restores his resource and can leap to the impact for a second damage wave.
1. Establish reliable flight stance fundamentals
Build Attack Charge before committing. Use free flight to strafe around cover and hold RMB (Shielded Stance) to soak poke safely. The shield converts blocked damage into Attack Charge so your next spear matters.

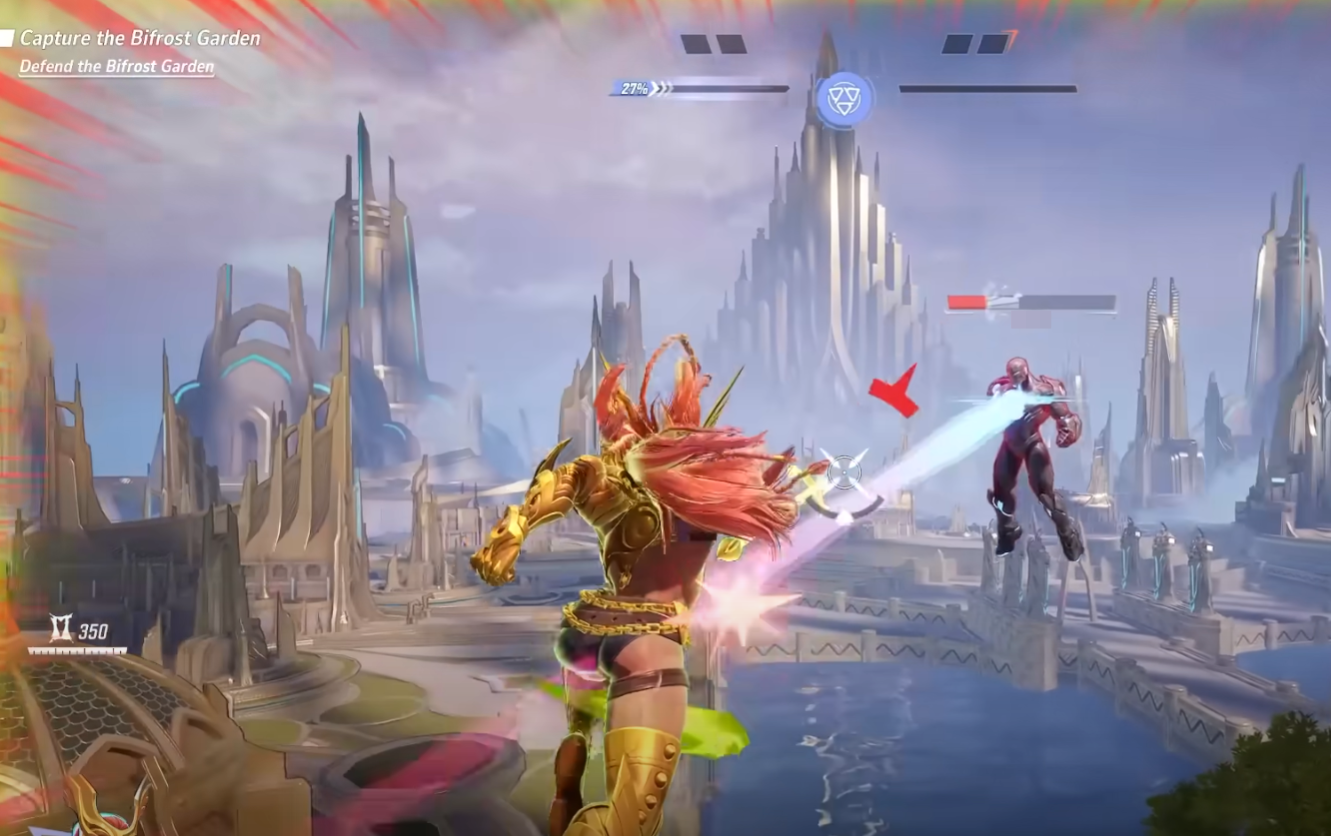
Aim for close‑range spear hits. Treat the aerial thrust like a short lunge rather than long‑range poke—connect at medium or closer distance to reliably land and benefit from the full‑charge launch.
Use the spear melee cancel to speed up pressure. Tap melee once in air, then immediately thrust with primary; you can reset with a quick shield tap to shorten downtime between pokes. This raises your DPS during windows when you cannot dive yet.
2. Ground stance for controlled brawls
Dive when your team is contesting. Trigger air E into Divine Judgment as allies engage. The zone grants movement speed and Bonus Health on hits to you and nearby teammates, letting your line stay in the fight longer.
Play around the fourth axe swing. The dash on your fourth strike closes gaps or finishes a pick. Use it to re‑center targets inside the zone rather than overextending past your team’s cover.
Leave early with Wingblade Ascent. If focus fire turns on you, hit ground E and take off with 25–40% HP to avoid being finished while grounded with limited mobility.

3. Shielded Stance management
Block predictable bursts. Time RMB against common spikes (charged shots, peek bursts) to bank Attack Charge and negate chip. The 350‑HP value lets you cut through routine poke reliably.
Use shield for animation cuts. Briefly tapping shield can cancel some recovery, letting you chain air melee into spear faster; apply this only when safe, as you’ll drop the shield almost immediately.
Strafe with shield up in the sky. Present your shield to the largest damage source while repositioning; this both preserves health and accelerates your next high‑impact action with a full Attack Charge.
4. Displacement with Assassin’s Charge
Target isolated supports or front tanks away from cover. The dash makes you immune to knock‑back/launch‑up and carries enemies briefly—ideal for peeling threats off your backline or splitting the enemy formation.
Go for environmental picks only when safe. If the map has ledges, carry a victim to the edge, then hit a full‑charge spear to stack knock‑backs. If counters are present, prefer short displacements that disrupt rather than overcommitting.
Combine dash with a pre‑charged spear. Your highest reliability sequence is dash carry → immediate full‑charge spear to throw a target into your team’s sightlines or into the Judgment zone.
5. Getting value from Divine Judgment zones
Place zones where your team will fight for 5–10 seconds. Choke points, payload stops, or contest circles maximize Bonus Health uptime and movement speed gains.
Let allies swing inside the aura. Remind your team that hits inside the zone grant Bonus Health—Vanguards and brawling Duelists benefit most; call the dive timing so they commit with you.
Layer zones judiciously. Your ultimate leap also spawns a zone; staggering a dive zone and an ult zone keeps sustain rolling for a longer teamfight rather than overlapping them wastefully.
6. Ultimate usage that reliably secures fights
Throw the spear to bind multiple targets, then pause. Cast Q from air to bind enemies in a chosen area; do not immediately leap if your team can follow with ranged AoE or focused fire.
Create a second frontline before leaping. Drop to ground with air E, start axes inside the bind, then press Q again to leap to the spear and spawn the ult zone. This stacks control and sustain windows without losing pressure.
Protect the spear window. The spear can be destroyed—make the bind count by coordinating ults (e.g., large AoE or turret setups) and line‑of‑sight to prevent easy focus on the spear.
Positioning, target priority, and rhythm
Patrol above sightlines, not over the enemy core. Stay within a short drop of your team while skirting angles. This keeps you safe from sustained hitscan pressure and lets you respond quickly to dives on your supports.
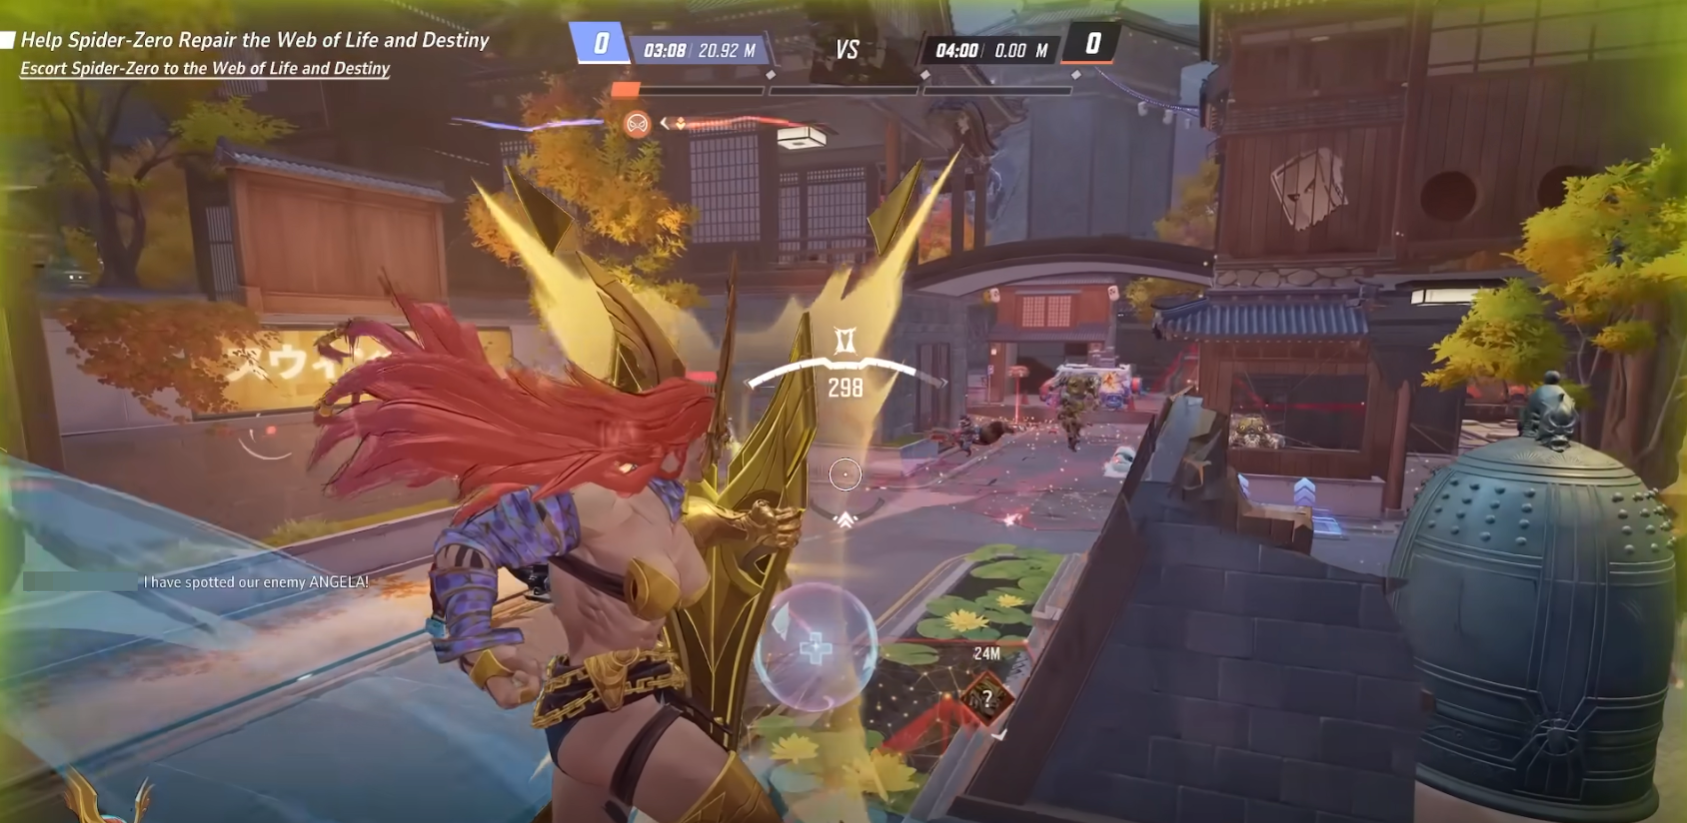
Hunt enemy fliers first when the comp permits. Angela’s kit is built to check airborne Duelists/Strategists; shut them down with charged spears and dash carries to reduce mid‑air harassment on your team.
Alternate stances often. After two or three axe cycles or one displacement play, leave the brawl to rebuild Attack Charge in the air. This predictable cadence reduces the time you’re vulnerable on the ground.
Team comps and synergies
Strong pairings:
- Thor (Team‑Up: Celestial Command). Thor’s Thunder Spear restores his resource and gives him a leap finisher at Angela’s focus point—together they dive quickly and finish binds reliably.
- Magneto or Doctor Strange. Bubble or frontal blocking tools let Angela survive dives and hold zones, buying time for Bonus Health stacking.
- Moon Knight, Phoenix, Scarlet Witch. High‑impact AoE ultimates that capitalize on bound enemies.
- Mantis, Rocket Raccoon. Sustained healing and damage boosts help Angela brawl longer during zone windows.
Example roles:
- Dual Vanguard: Angela + Magneto or Strange for space control, with one Duelist and two Strategists.
- Dive setup: Angela + Thor, plus a mobile DPS who can burst bound targets and a healer with AoE sustain.
Counters and how to adapt
Primary threats:
- Hitscan DPS such as The Punisher and Hawkeye. They chip Angela during long flights. Use cover, shield‑strafe, and shorter flight paths to build charge safely.
- Groot. Walls can block dives and binds; vary your dive angles and bait the wall before committing your zone or ult.
- Luna Snow and Mantis. Hard control stops charge plays when knock‑backs won’t; track their cooldowns and shield preemptively as you approach.
- Iron Man and other sustained fliers. Fight them on your terms—build full charge, close distance, and treat the spear like a lunge, not poke.
Adaptation steps:
Shorten exposure against hitscans. Fly low‑profile routes, use shield taps to bank charge, and commit only with full‑charge spear or a clean dive window.
Displace tanks, not just supports. Pulling an enemy Vanguard off the frontline instantly opens space and often wins objective trades without risking a deep solo pick.
Change bind placements. Against strong clears or walls, bind behind cover where your team can shoot safely, then leap to spawn a zone that forces them to push into you.
Quick reference: High‑value combos
- Carry and toss: Assassin’s Charge → full‑charge spear to throw a target into your team or off‑angle sightlines.
- Dive brawl: Air
E(zone) → axe combo to fourth‑hit dash → Wingblade Ascent to exit if focus swaps to you. - Ult sandwich:
Qbind → airEdive and axes →Qleap for second zone and burst.
Practice the flight‑to‑ground rhythm and shield timing first; once your cadence is consistent, layer in displacement picks and ult setups to convert fights cleanly.