
Silent Hill f hides a small but easy-to-miss detour that pays off with a strong early charm and extra lore. The key to Sakuko’s mailbox only appears during your second time in Ebisugaoka (Fog Town). You’ll head north to Sennensugi Shrine to pick it up, then return to Sakuko’s home to open the box beside her front door.
Quick reference
| Step | Where | What to do | Outcome | Notes |
|---|---|---|---|---|
| 1 | Ebisugaoka (second visit) | Head north toward Sennensugi Shrine; at the fork, take the left path. | Reach shrine area safely. | Path to the shrine is calm; no enemies reported along this stretch. |
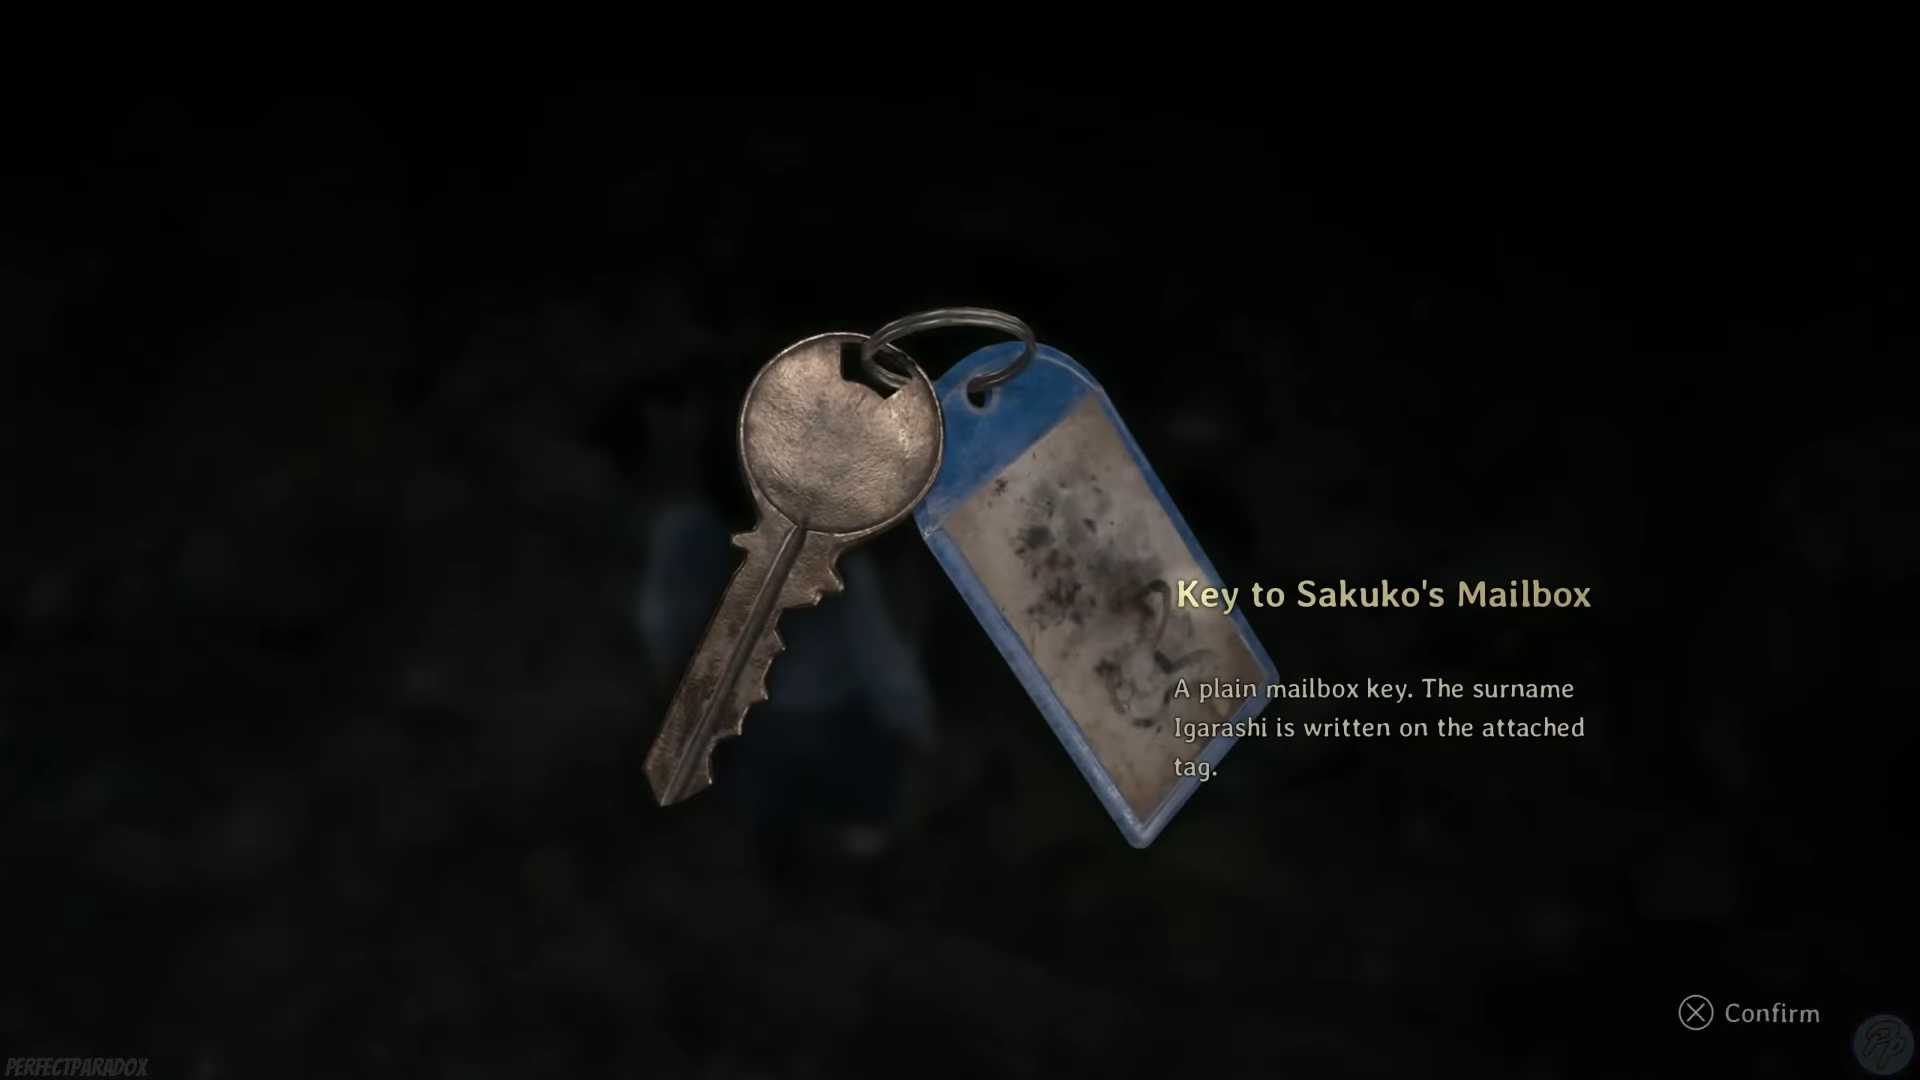
| 2 | Sennensugi Shrine | Pick up the Key to Sakuko’s Mailbox and the Letter from Sakuko’s Mother near rocks/gravestone on the left. | Key acquired. | Tag on the key reads “Igarashi.” Nearby pickups include Arare and an Antique Comb; Divine Water can also be found in the area. |
| 3 | Return through Ebisugaoka | Backtrack to Sakuko’s house (near the starting area, by the general store). | Reach the mailbox by her front door. | Expect enemies near the residence; evade or fight as needed. |
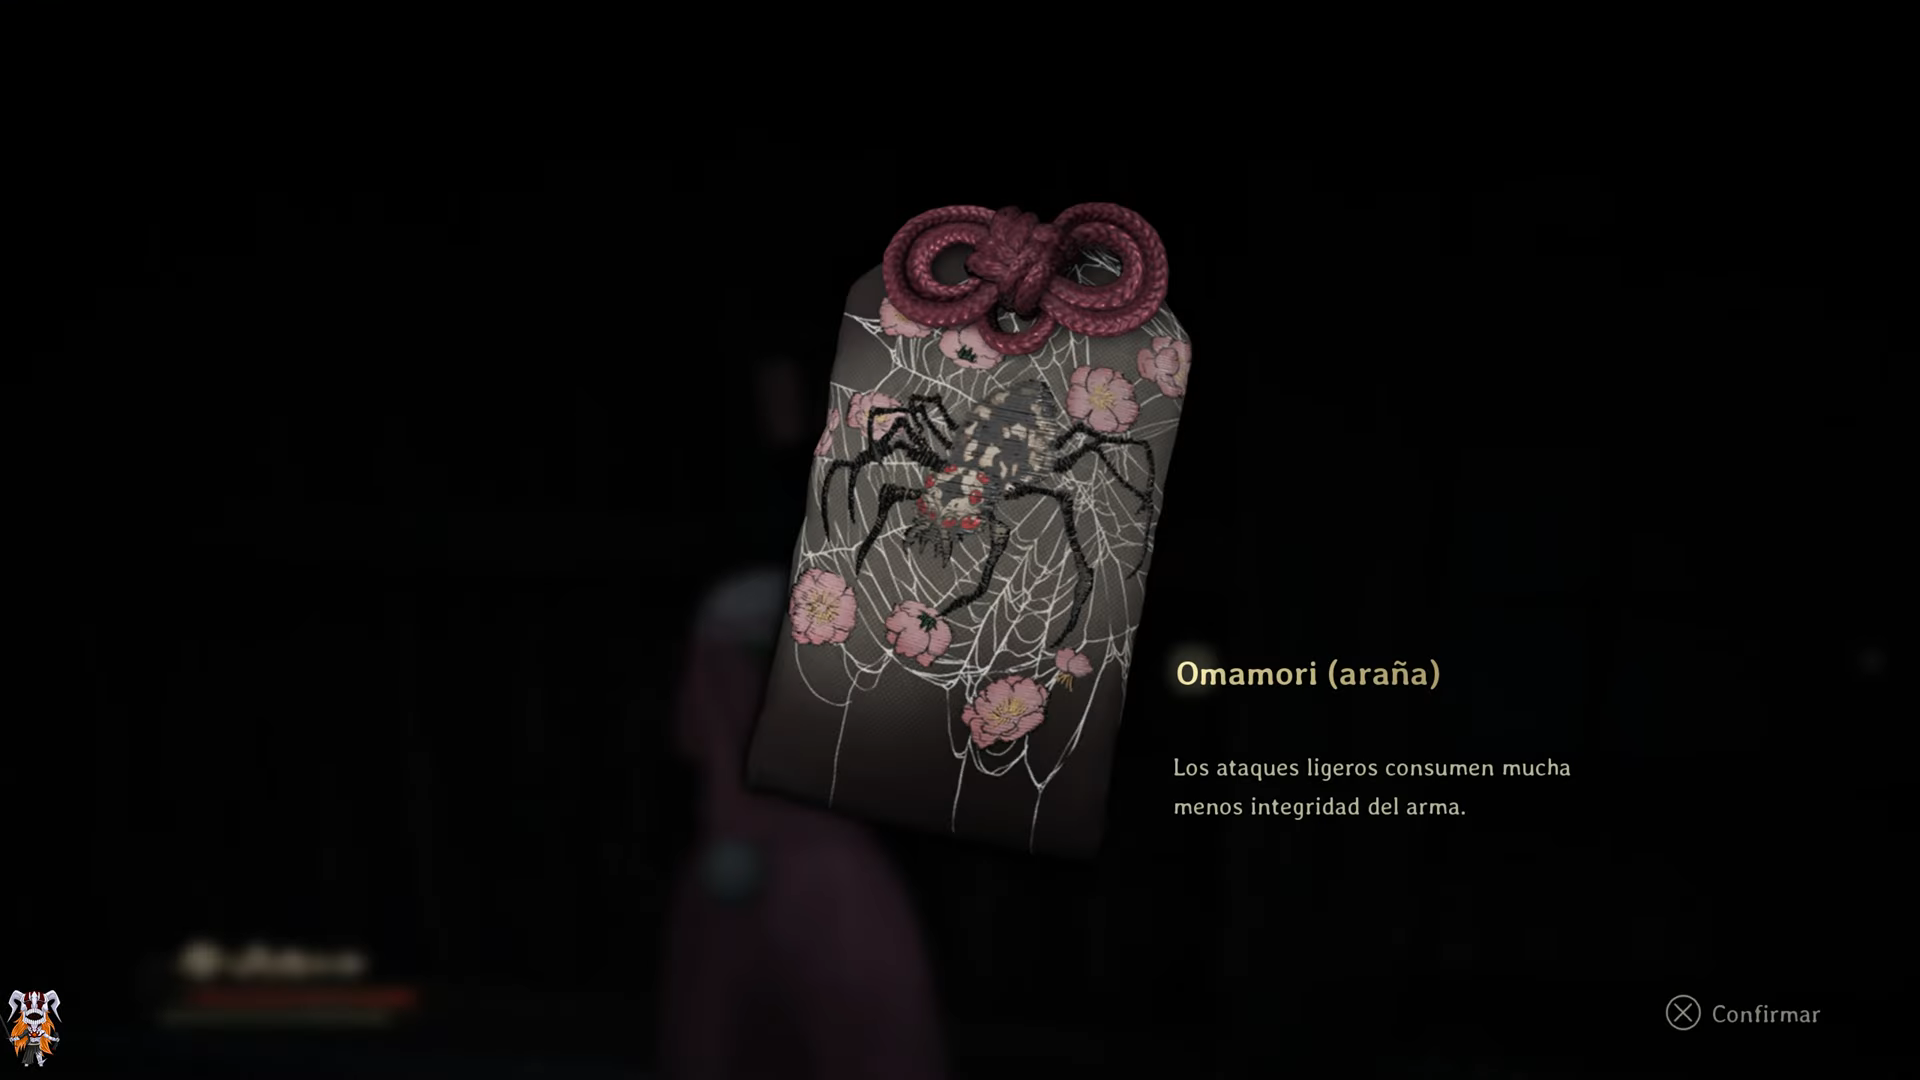
| 4 | Sakuko’s house | Use the key on the mailbox. | Receive Omamori “Spider” and a hospital letter. | Omamori “Spider” reduces weapon durability loss from Light Attacks. |
Find Sakuko’s mailbox key (second visit to Ebisugaoka)
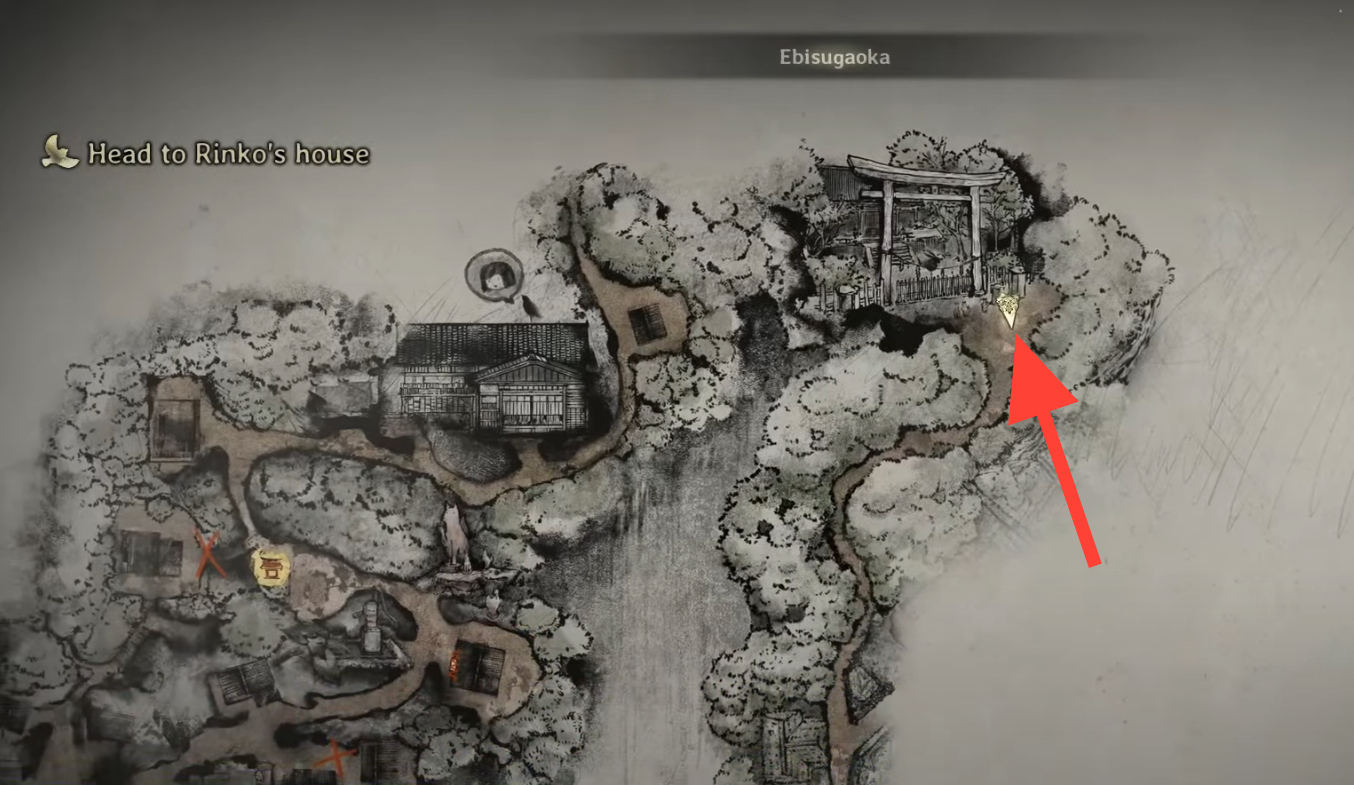
When your objective points you toward Rinko’s house, ignore the fields for now and travel north instead. At the split, take the left-hand route that climbs further up to Sennensugi Shrine. This path is straightforward and notably quiet, letting you conserve resources.
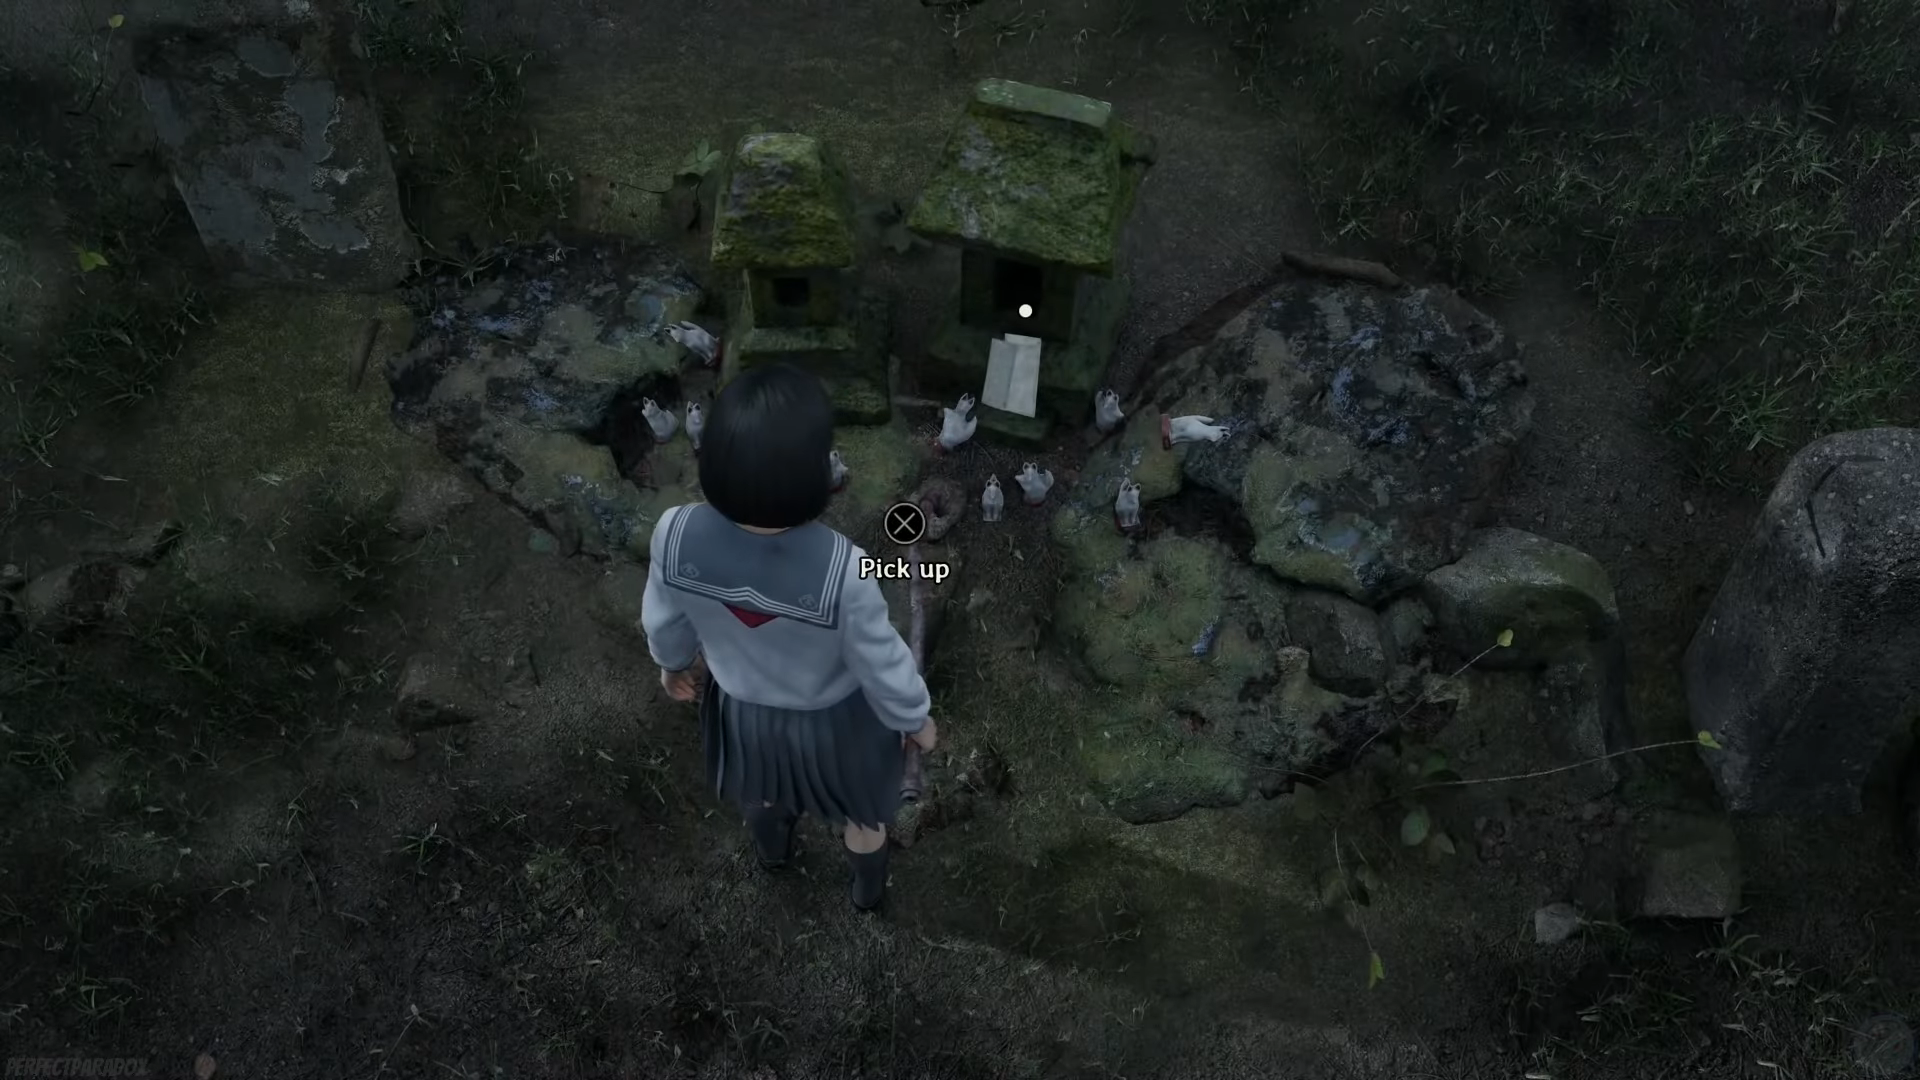
At the shrine, look to the left side as you enter. The Key to Sakuko’s Mailbox sits by rocks and a gravestone alongside the Letter from Sakuko’s Mother. The key is labeled with the Igarashi surname, tying it to Sakuko’s family.
Before you leave, sweep the area for optional items: you can pick up Arare and an Antique Comb nearby, and there’s also Divine Water to find in this stretch. As you depart the shrine, a brief scene with Shu will trigger if you came here at this point in the story.
Open Sakuko’s mailbox (and when you can do it)
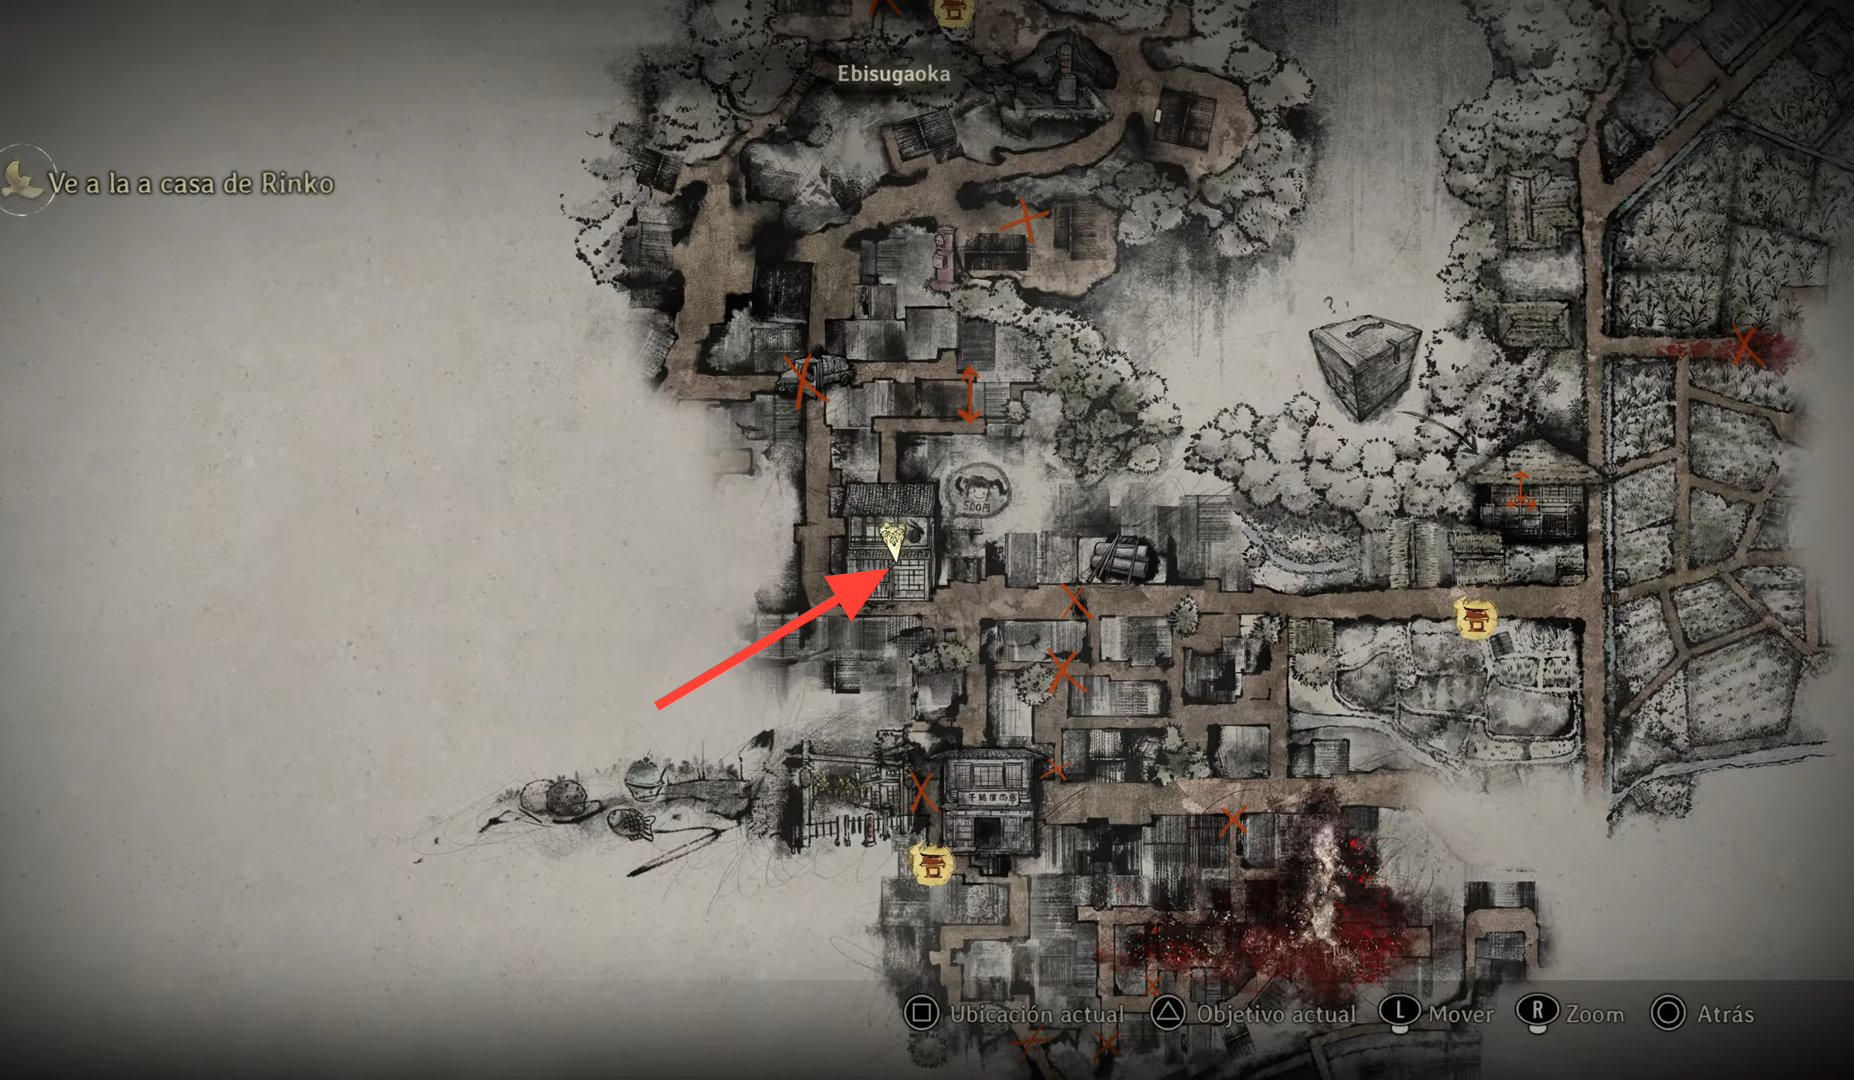
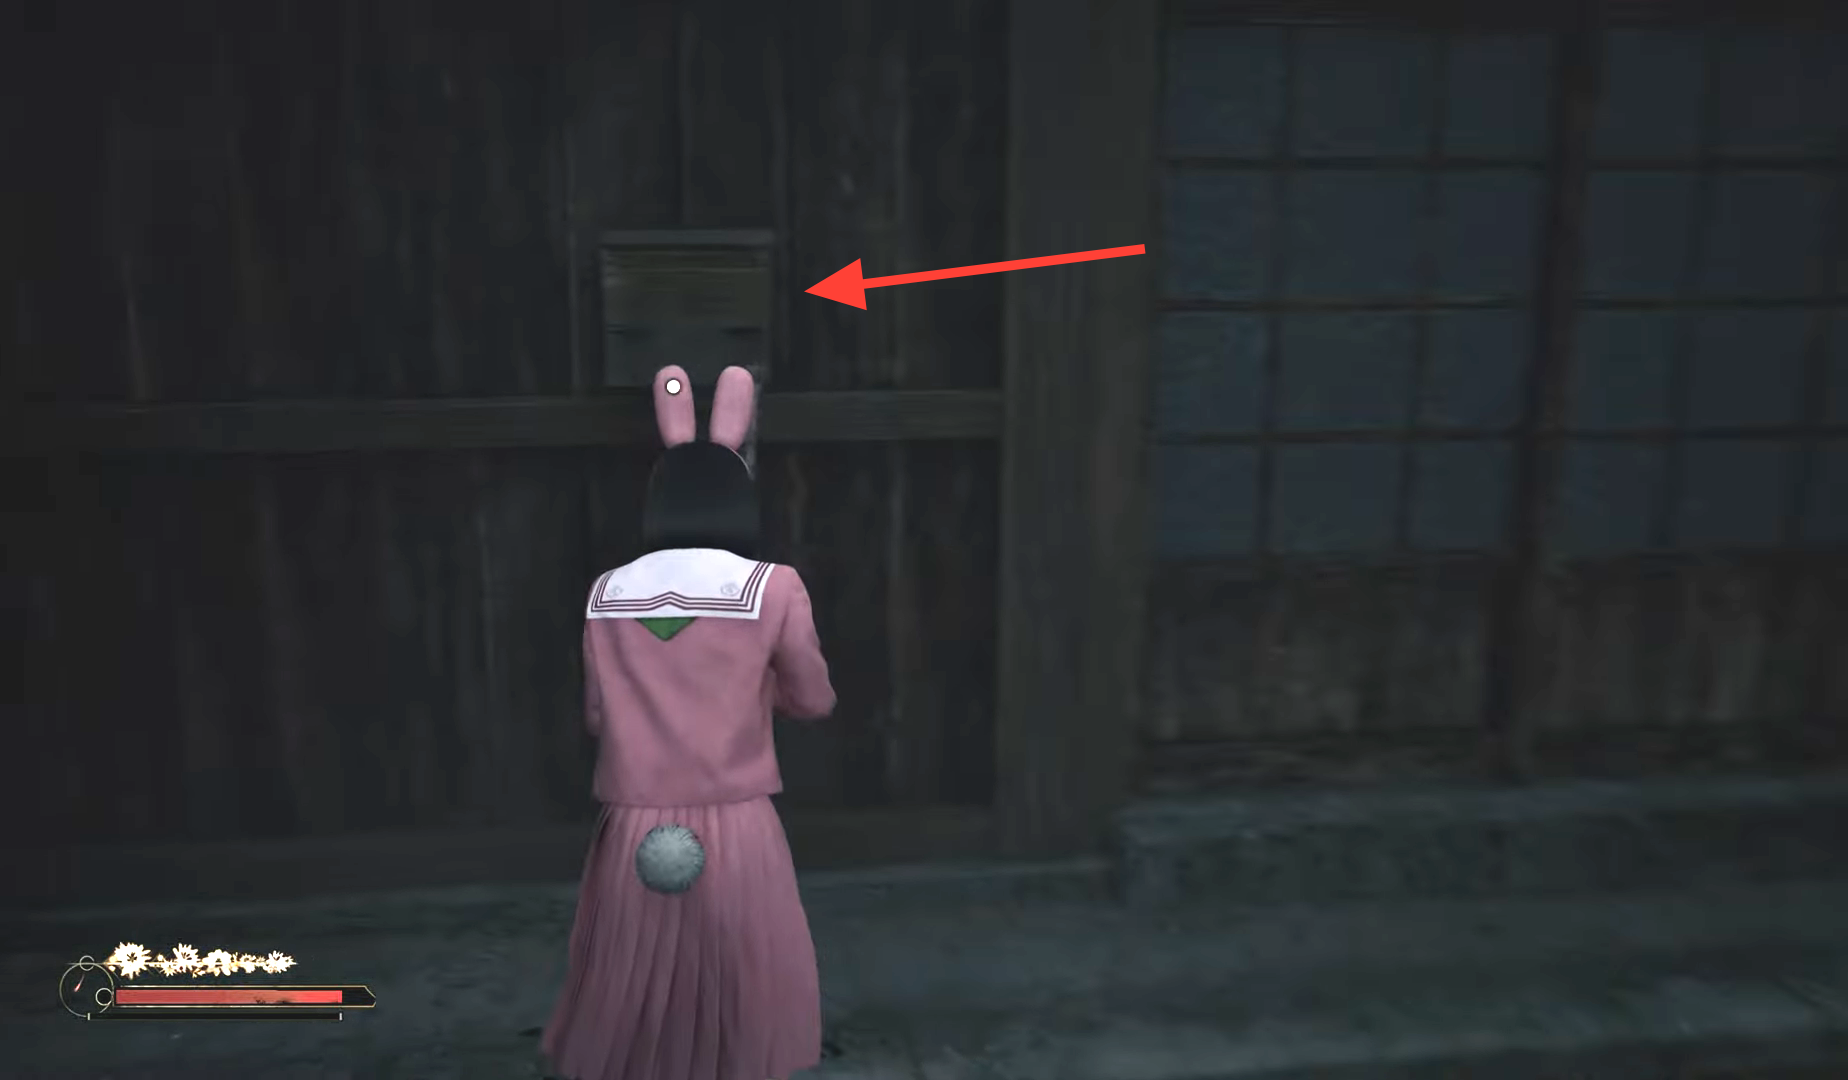
With the key in hand, retrace your steps back to Sakuko’s home in western Ebisugaoka, near where this chapter began. Her house is marked on the map with a drawing, and the mailbox is mounted right beside the front door.
You can’t get inside the house; the mailbox is the only interactable that matters here.
Use the key to unlock the mailbox and collect two items:
- Omamori “Spider” — a charm that significantly lowers weapon durability consumption when performing Light Attacks.
- A letter from the hospital — a story document that adds context to Sakuko’s condition.
Tip: The approach back through town can be crowded with enemies, especially around Sakuko’s street. If you’re low on tools or durability, prioritize evasion and use openings to interact with the mailbox quickly.
Missable timing and access window
There are two timing constraints to keep in mind. First, grab the key on your way toward Rinko’s house during the second visit; you won’t be able to return to that shrine path later in the chapter. Second, use the key at Sakuko’s mailbox before moving too far past the Rinko segment — access to the mailbox is blocked until very late in the game if you skip it now.
If you’re collecting trophies, opening the mailbox at this stage also unlocks a missable achievement tied to the interaction.
Route pointers if you get turned around
From the shrine, descend the same way you came, then angle back toward the early Ebisugaoka streets near the Chizuruya general store. Head into the alley northwest of that storefront to reach Sakuko’s home. Her place stands out thanks to the map doodle; the mailbox is on the wall by the entrance.
If you’re aiming for an efficient run through Ebisugaoka, the shrine detour is worth the minutes it takes: you secure a low-risk charm with a clear combat benefit, a small set of resources on the hillside, and a story beat you won’t see otherwise.