
Enter the Dark Shrine Main Hall prepared: this encounter supplies healing items just before the arena, and the boss opens with a brief delay that lets you claim momentum. Use that window to front‑load damage and set the tempo for the rest of the fight.
Rinko move quick reference
| Move | Telegraph | Safe response | Risk if missed |
|---|---|---|---|
| Chain lash combo. | Rapid chained swings (3–4) with brief pause after. | Circle strafe, then punish the post‑string pause; counter after second swing when prompted. | Hit‑stun into follow‑up or forced heal. |
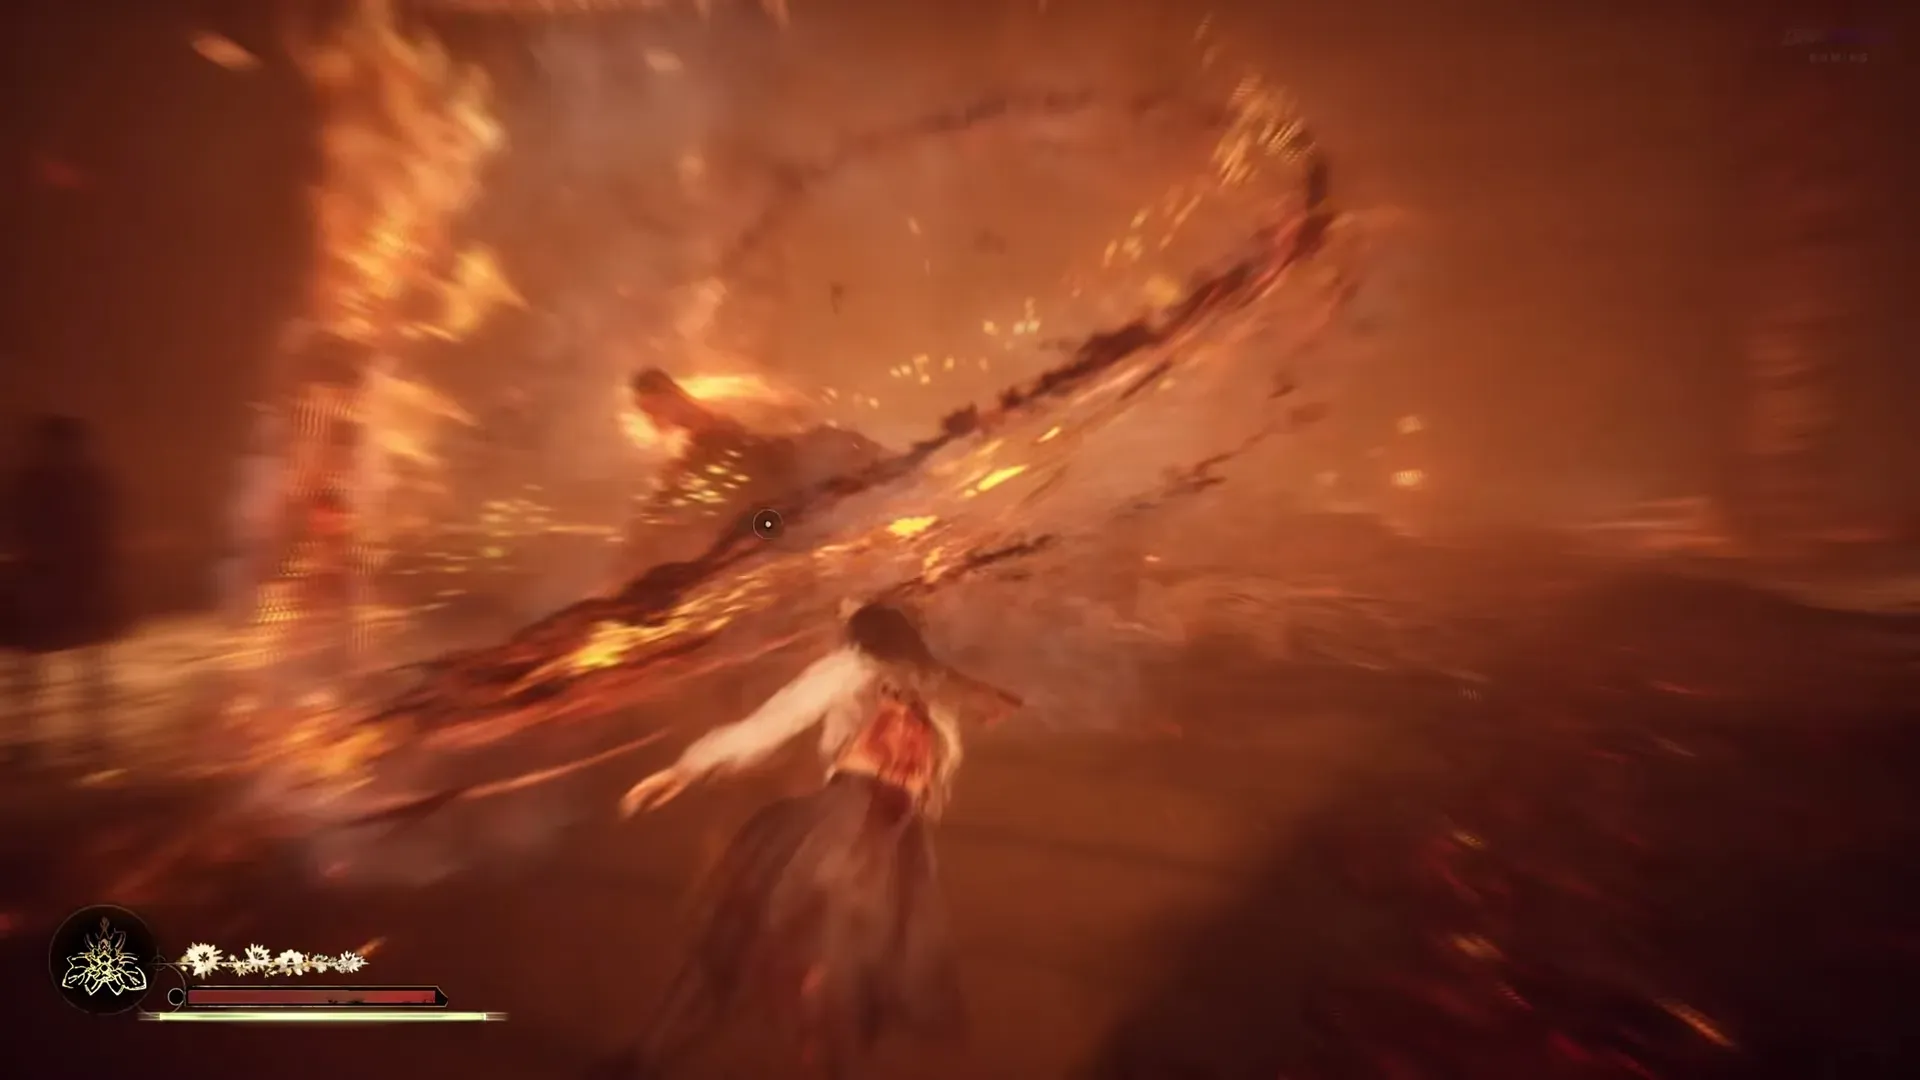
| Flame toss (projectiles). | Arm draw and arc of fireballs. | Dodge on release timing, then close for 1–2 hits. | Multiple hits or stamina drain on recovery. |
| Fire plumes (line). | Long, smoky path on the floor. | Step off the line, approach from the side for a brief punish. | Damage over time, reposition loss. |
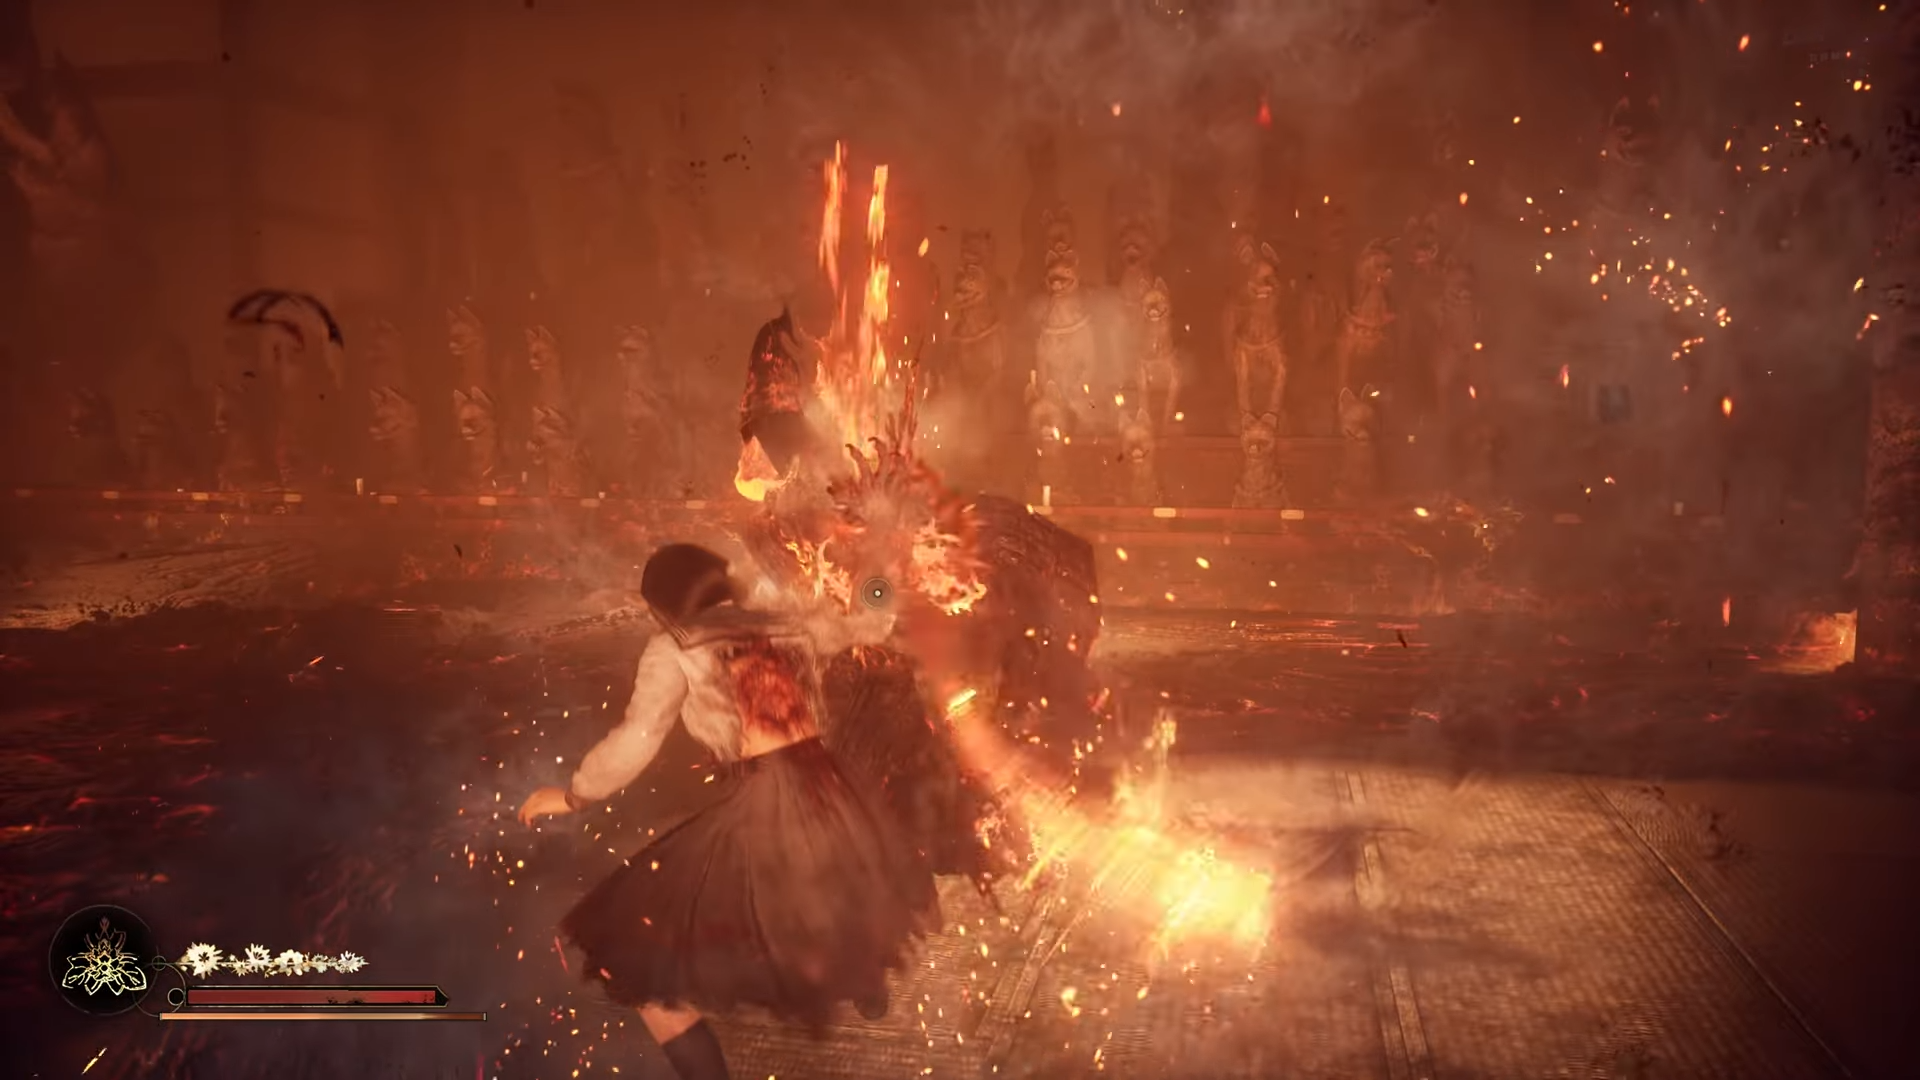
| Flaming geysers (AOE field). | Clusters of smoke or circular shadows. | Relocate immediately; re‑engage after eruptions resolve. | High burst damage and knockback. |
| Exploding puppets. | Puppets ignite and sprint toward you. | Kill pre‑ignite or bait and dodge at the last moment. | Point‑blank explosion and status pressure. |
Preparation and safe opening (pre-arena and first seconds)
Step 1: In the supply room before the arena, top off health and restore your sanity gauge. Clear inventory space so you can pick up additional drops without menu friction mid‑fight.
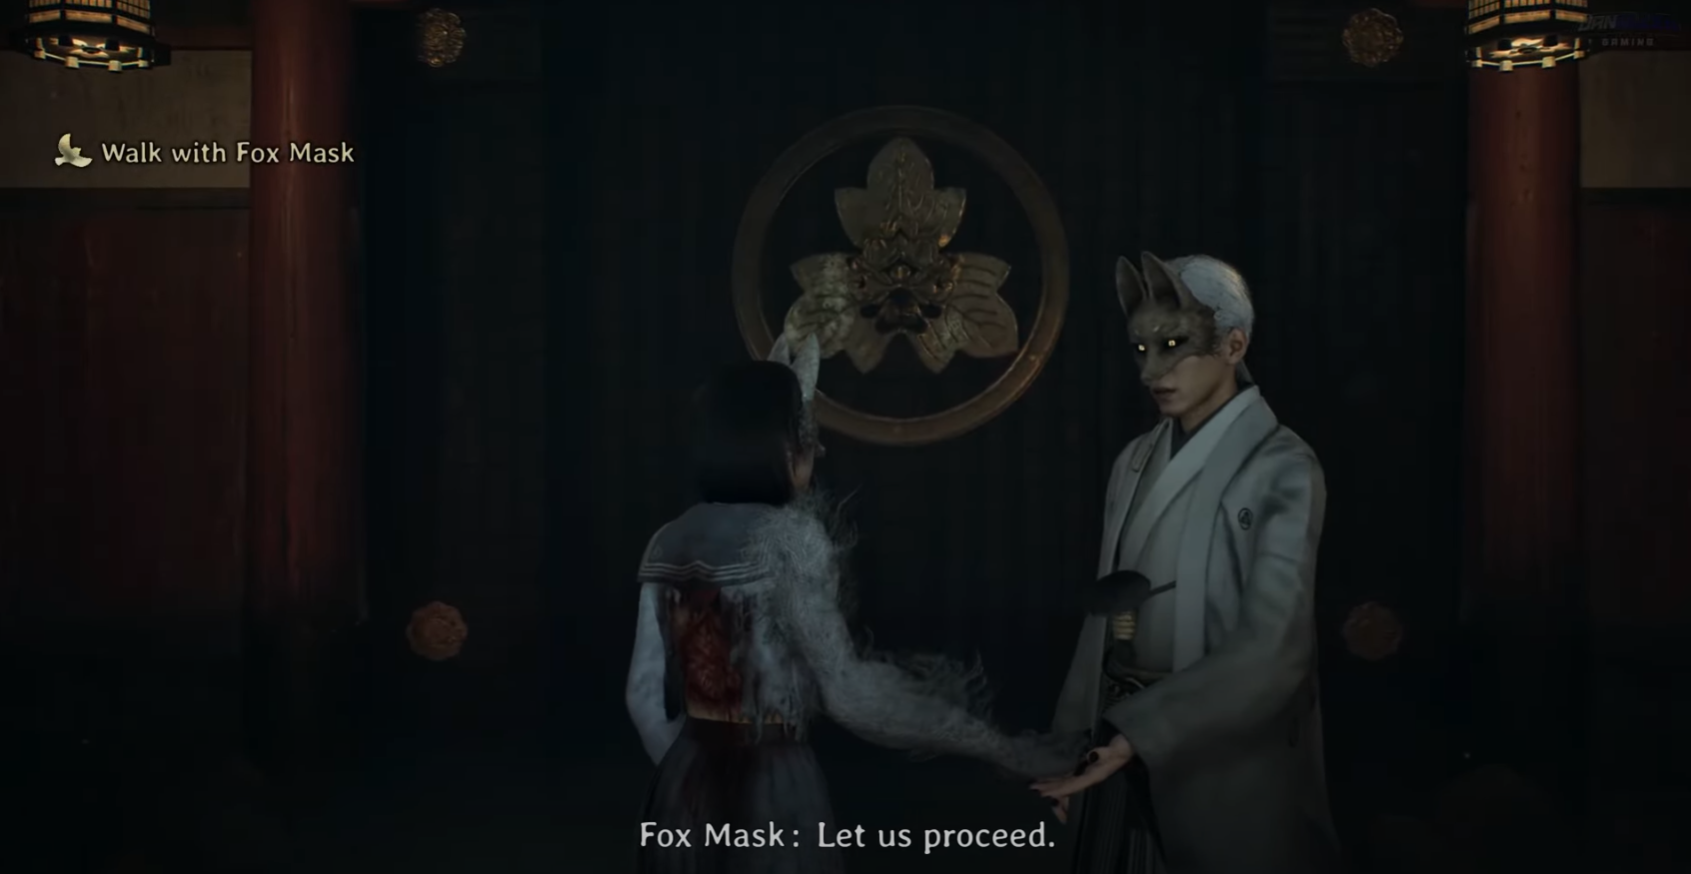
Step 2: On entry, wait the brief wind‑up before Rinko’s first action, then commit to an opening burst. Your Bestial Form (Awakened state) starts available at the outset, letting you deal damage while ignoring incoming hits for a short time.
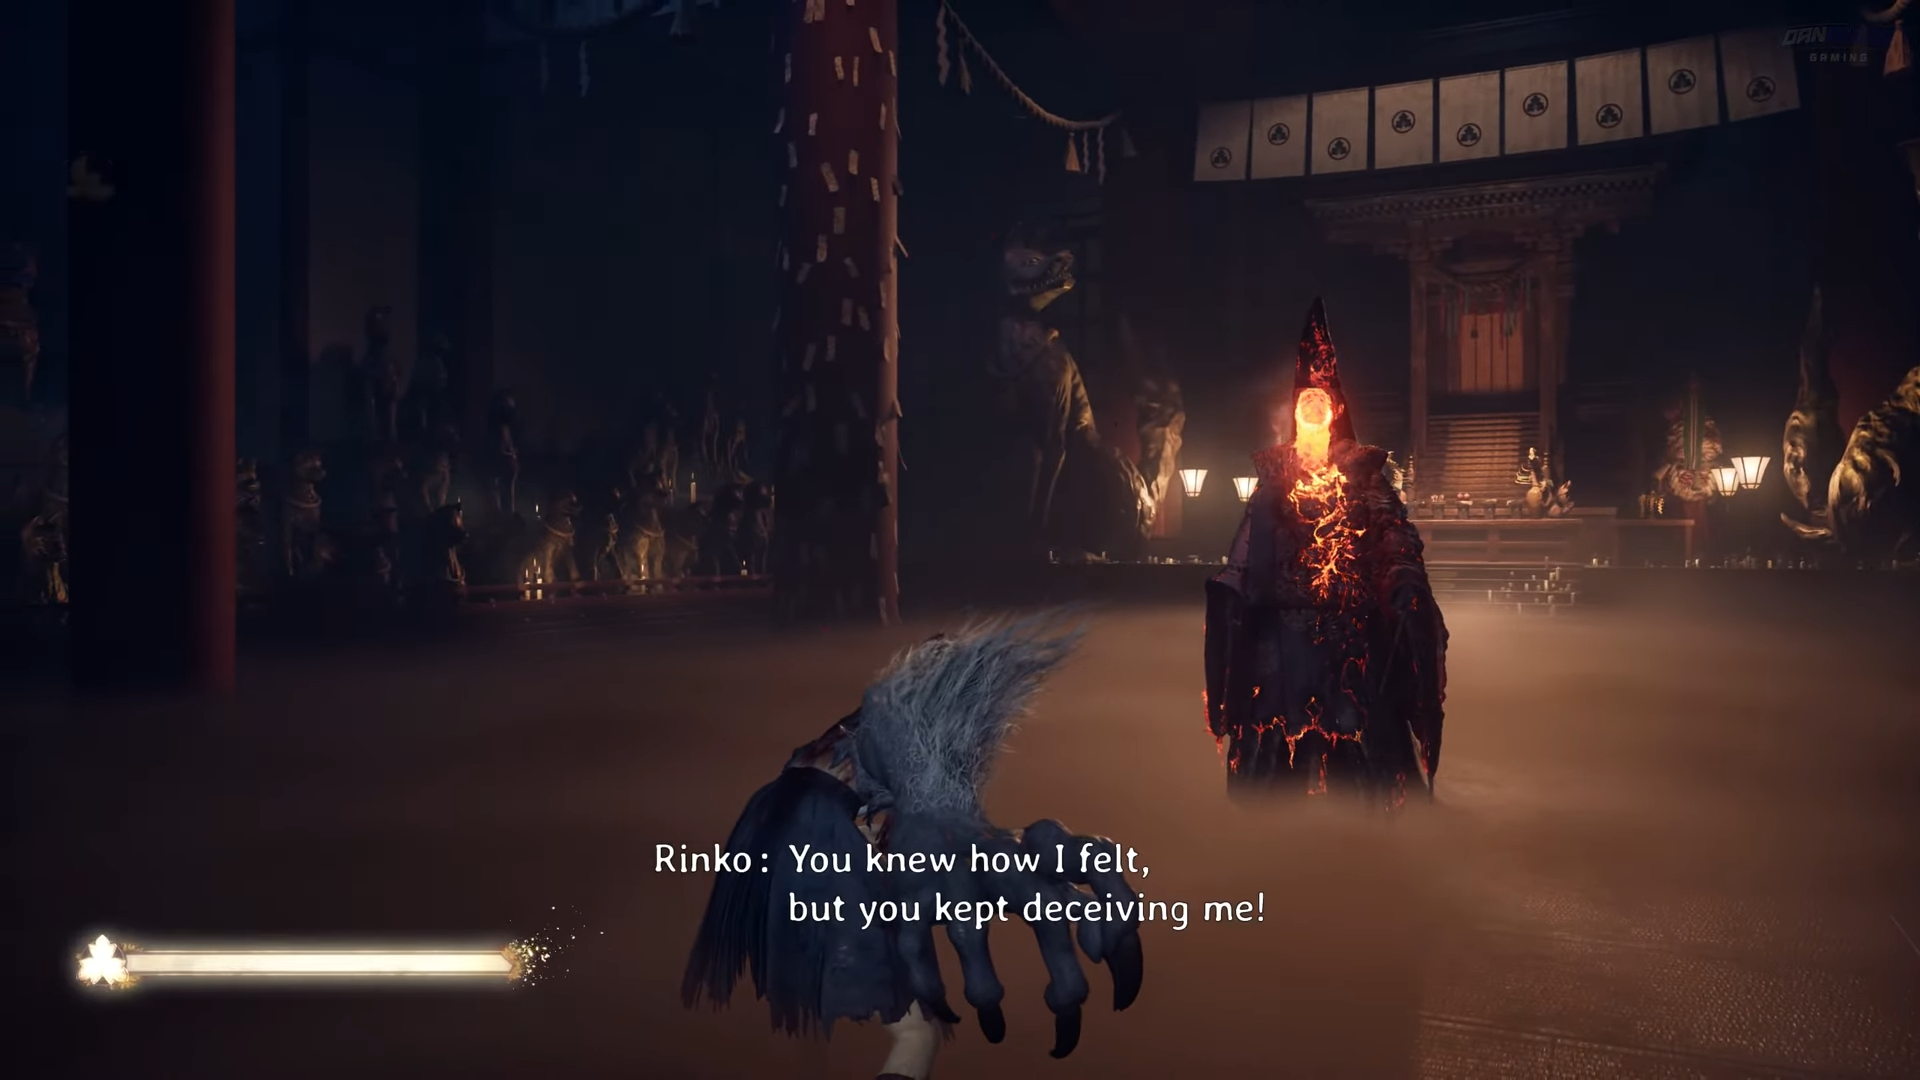
Step 3: When lava erupts from the ground around Rinko to flood the floor, dodge straight back to exit the hazard. If your Awakened state is still active, you can continue your assault through this sequence; otherwise, prioritize repositioning.

Core patterns to punish (ground AOE and projectiles)
Step 1: Watch for ground telegraphs. Small circular marks indicate localized eruptions, while long linear markings signal a pathing plume. Step clear of the highlighted areas, then close distance briefly for 1–2 safe attacks before resetting.
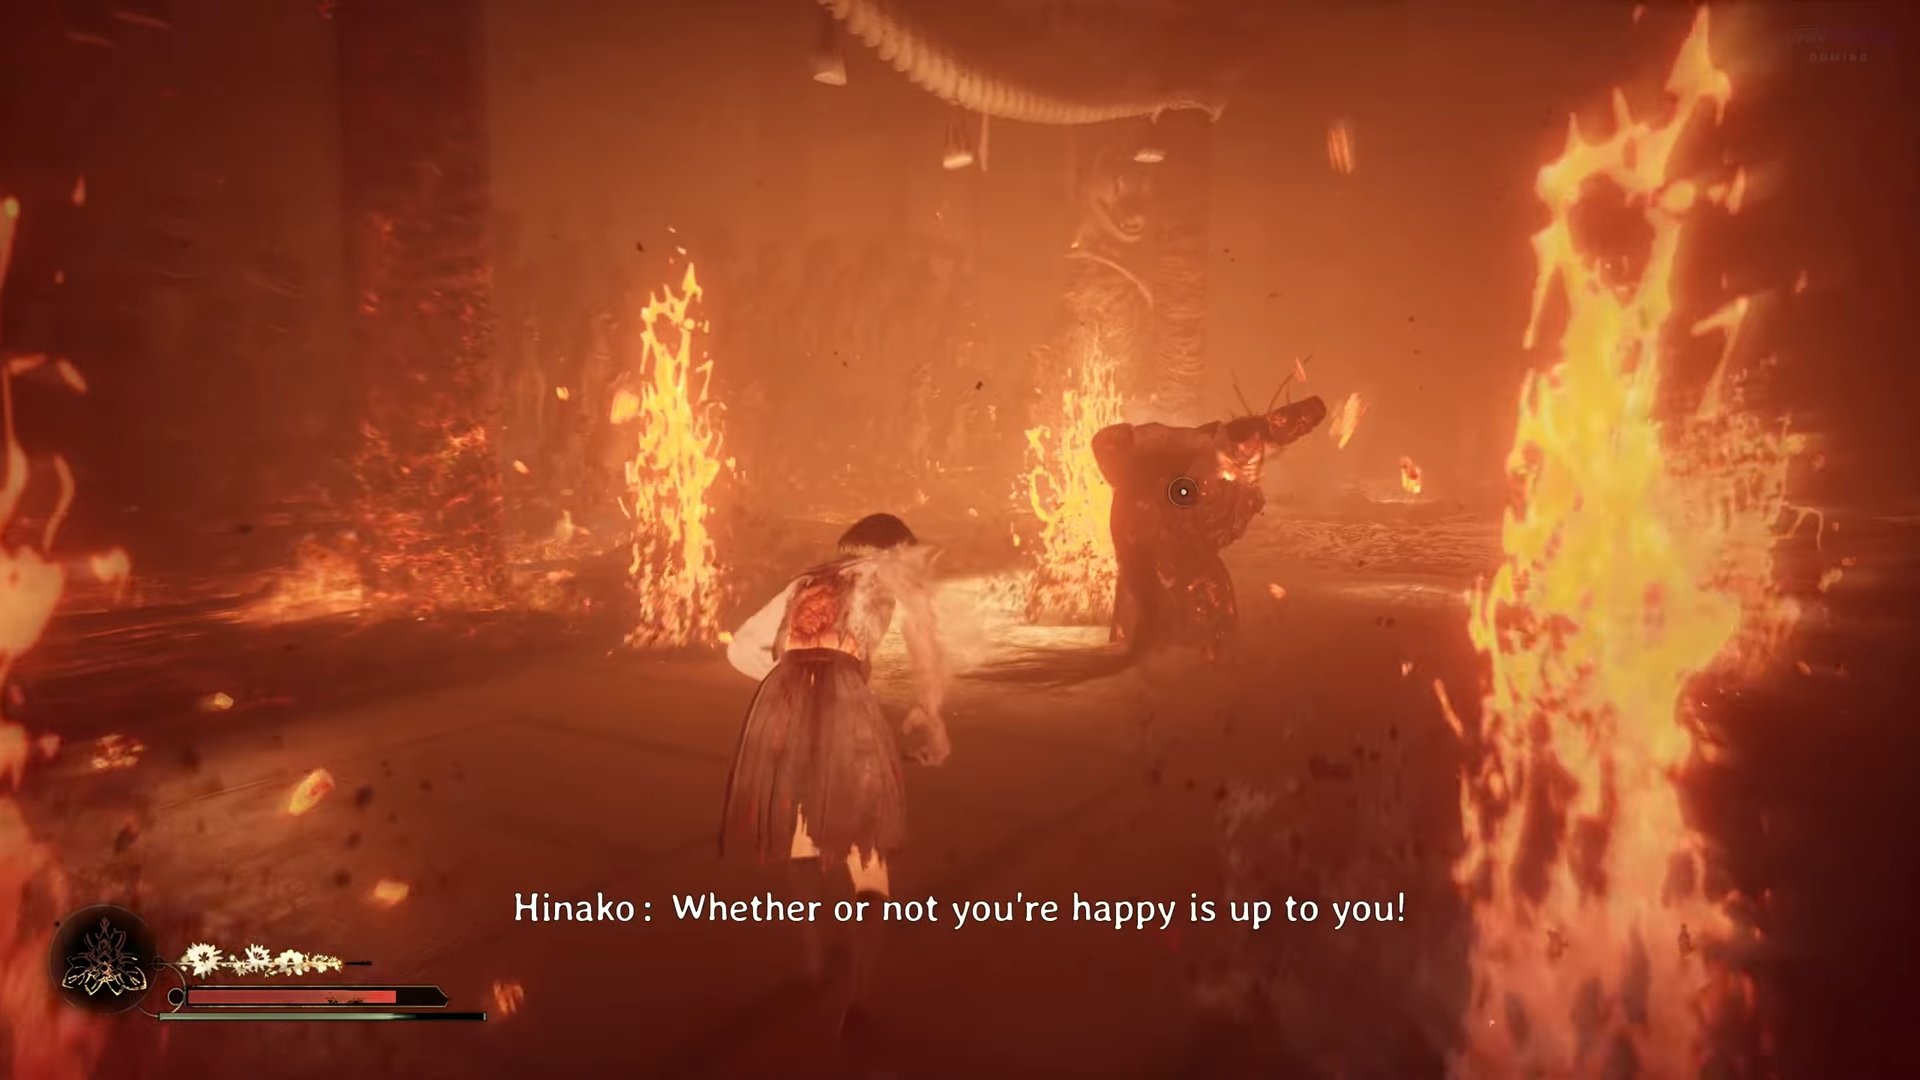

Step 2: Respect the fireball volley. Rinko launches projectiles in an arc with notable travel distance. Begin your dodge as the fireballs leave her hand—too early and you’ll be clipped by the spread, too late and you’ll be caught on recovery.
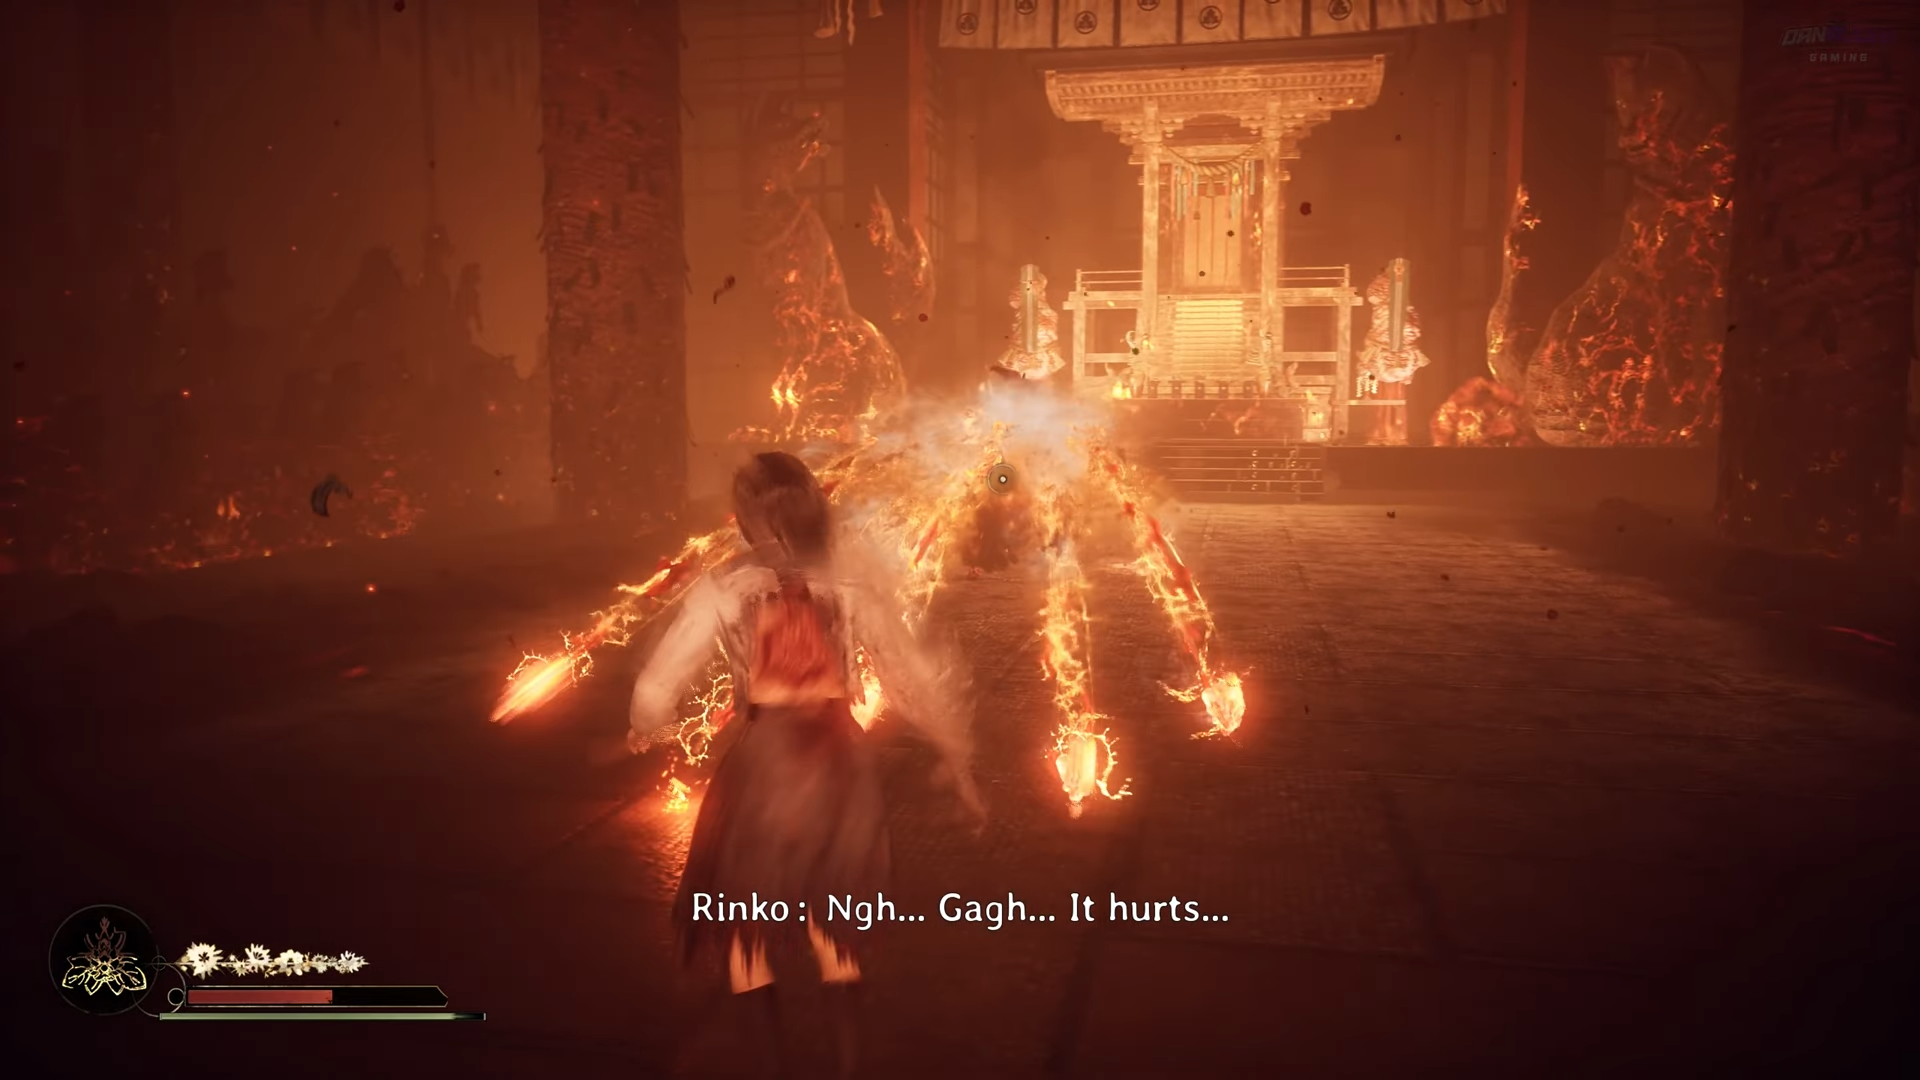
Step 3: Use stamina-positive dodges. A well-timed evade on the projectile sequence lets you recover stamina, enabling a quick gap‑close for counter hits before the next pattern begins.
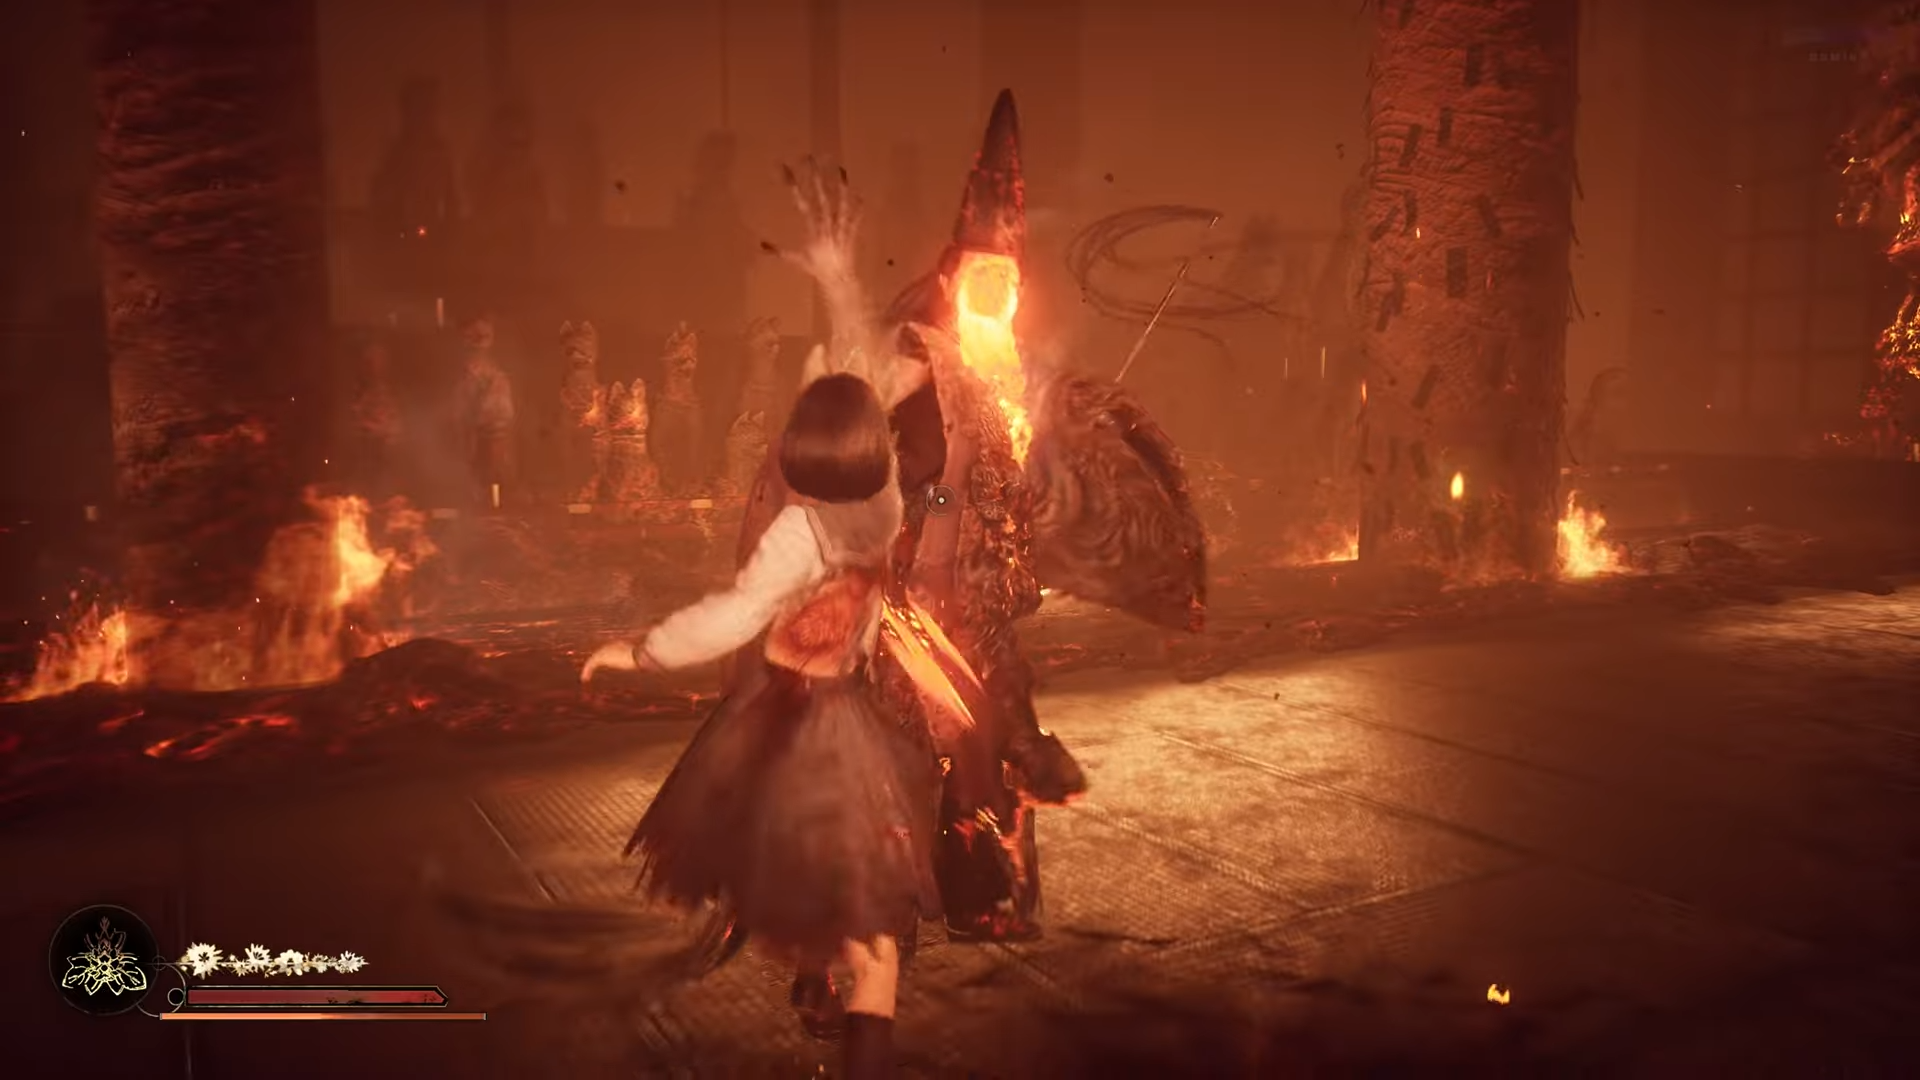
Melee strings, counters, and stuns
Step 1: Track her melee rhythm. Rinko typically throws 3–4 chained strikes, then pauses or transitions to a ranged action. Don’t swing inside the string; sidestep around her flank and prepare to punish the gap after the sequence ends.
Step 2: Look for the counter window after the second swing. Dodge forward through the hitbox and trigger the counterattack prompt as it appears to land guaranteed damage.
Step 3: Leverage charged sanity attacks to procure a stun. A successful charged hit will stagger Rinko and open a short, consequence‑free damage window—reserve stamina to capitalize with heavier attacks during this state.
Add waves and resource loop (clones/puppets and Bestial Form uptime)
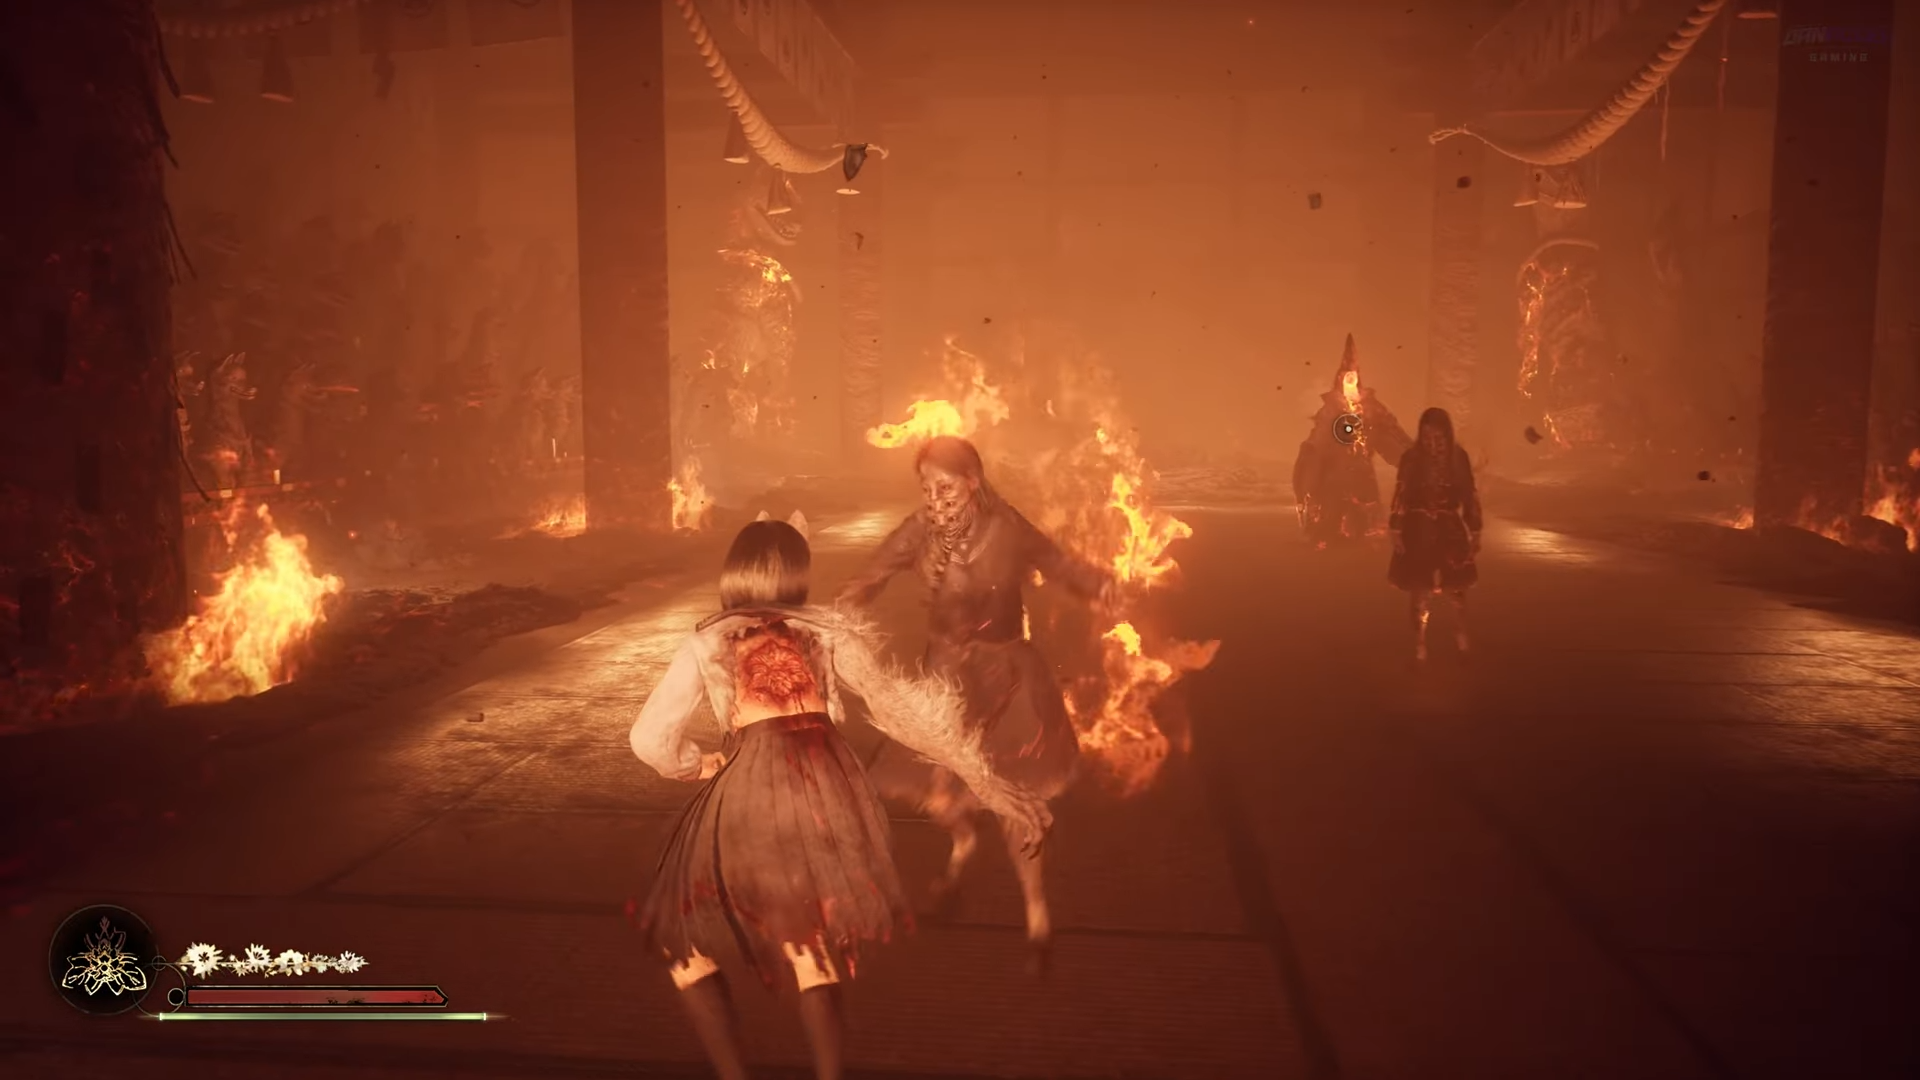
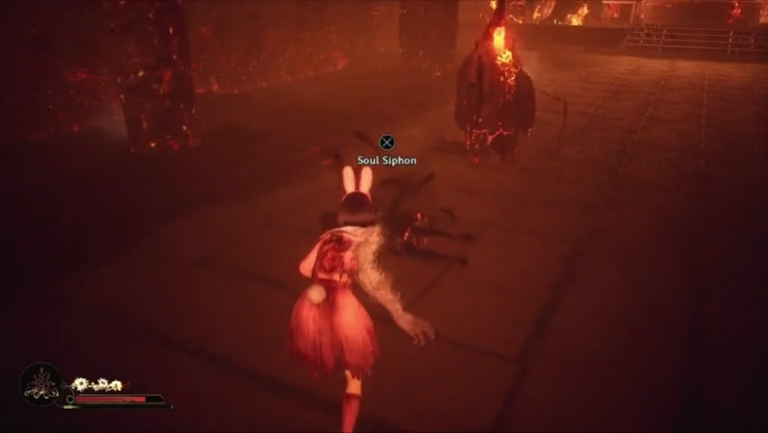
Step 1: Cull adds on spawn. Mid-fight, shadowy puppets (undead clones) enter the arena at intervals. Pick them off promptly to prevent crowding and to reduce the risk of taking chip damage while tracking Rinko’s patterns.
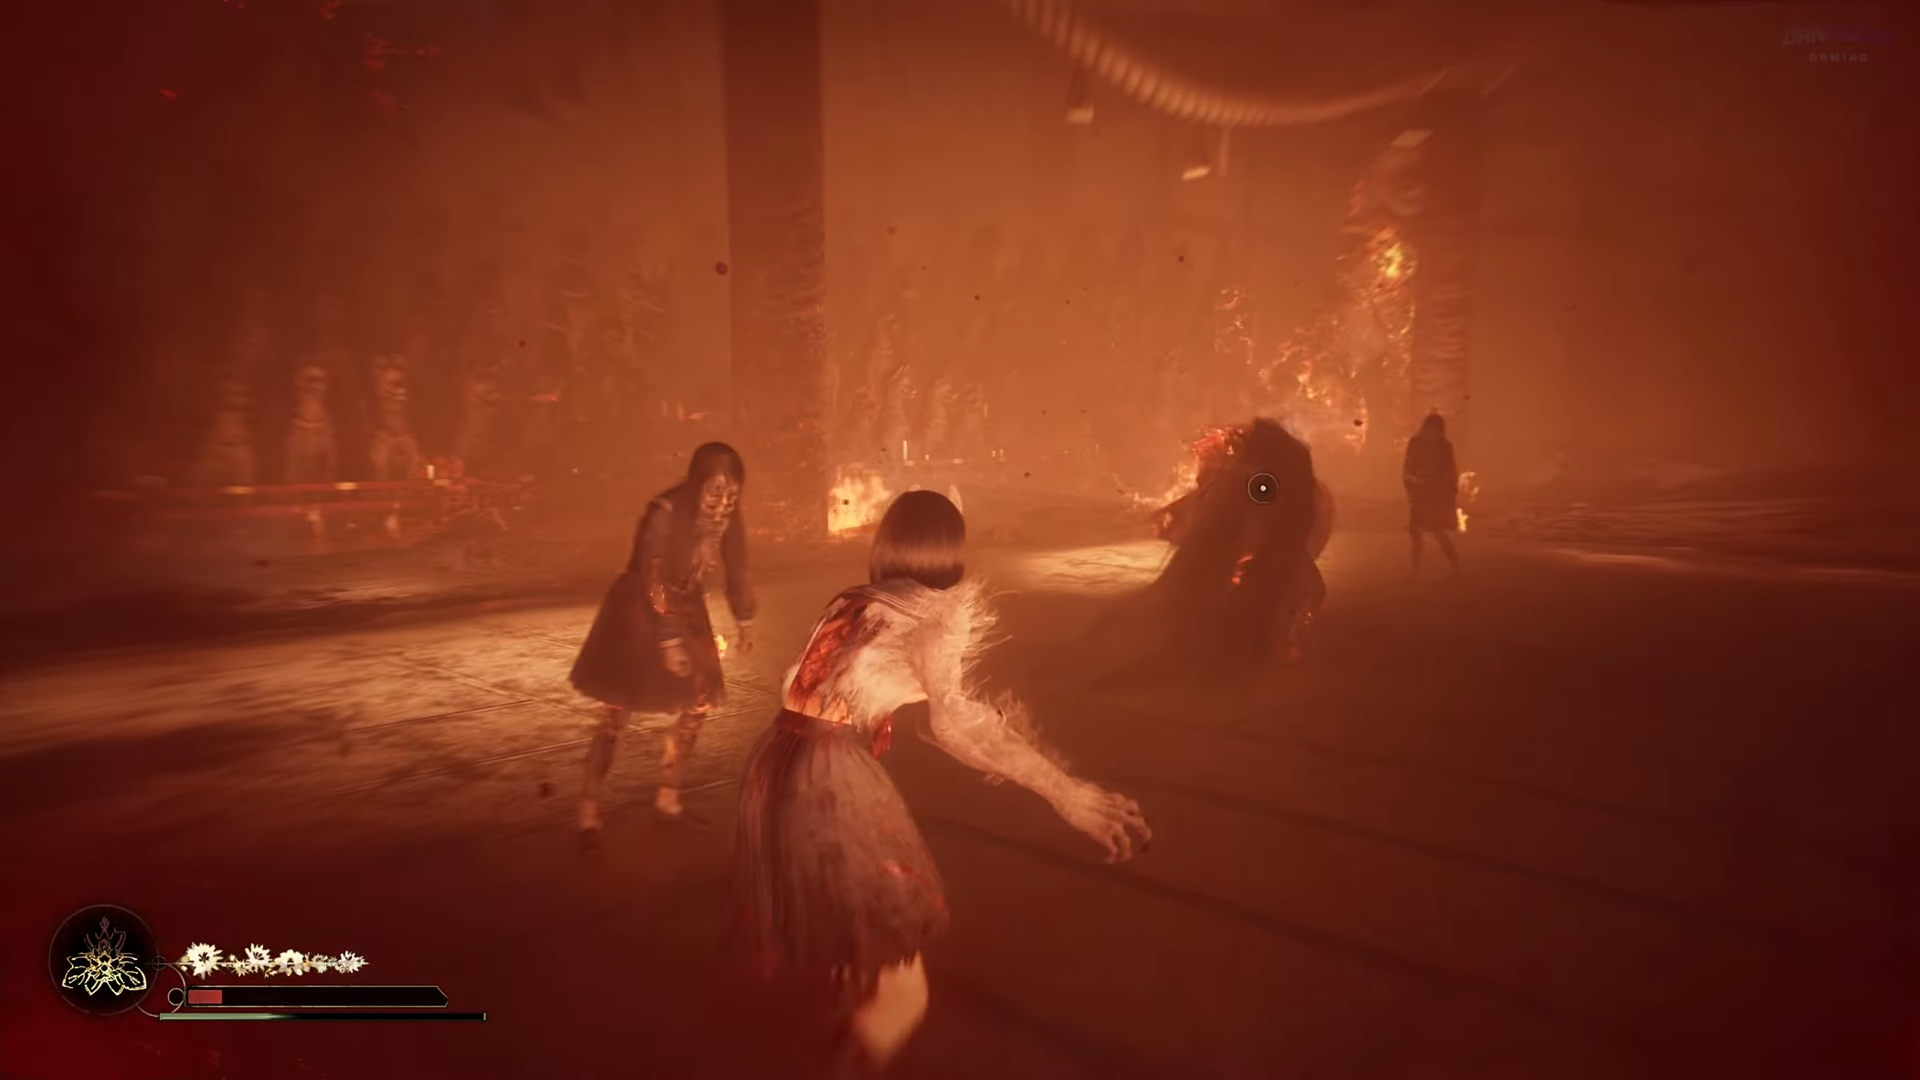
Step 2: Prevent suicide rushes. Rinko can ignite these puppets, causing them to sprint and explode at close range. If one is set alight, keep line of sight, bait the approach, then dodge at the last moment to avoid the blast.
Step 3: Siphon for uptime. After clearing adds, perform Soul Siphon to build your Bestial Form meter. This sustain loop fuels additional invulnerable bursts; if you own an omamori that heals on minion kills (e.g., Crow), equip it to stabilize during waves.
Final phase AOE management
Step 1: Read floor warnings. In the closing stretch, Rinko layers more AOE: flaming geysers and lines of fire marked by smoke or dark circular shadows on the ground. Vacate these markers immediately and re‑engage from a safe angle.
Step 2: Keep lateral movement high. Strafe continuously to desync her melee tracking, then step in for brief punishes after each AOE or combo ends. Avoid greed—two clean hits are safer than eating a reset from a late dodge.
Step 3: Spend Awakened at the start of a phase cycle. Trigger Bestial Form as her pattern shifts to push HP thresholds quickly and skip the most dangerous overlaps; if it ends mid‑cycle, revert to disciplined dodge‑and‑poke until you can rebuild meter.
Optional objective (no-puppet-hit trophy)
Step 1: Maintain clear lanes. If you are pursuing the “Echoes of Jealousy” trophy, never allow ignited puppets to connect. Thin spawns immediately and prioritize spacing when multiple adds are present.
Step 2: Use corners sparingly. Avoid backing into walls where puppet pathing can compress; fight near the arena center so you can dodge through or around converging threats without getting trapped.
Rinko move quick reference
| Move | Telegraph | Safe response | Risk if missed |
|---|---|---|---|
| Chain lash combo. | Rapid chained swings (3–4) with brief pause after. | Circle strafe, then punish the post‑string pause; counter after second swing when prompted. | Hit‑stun into follow‑up or forced heal. |
| Flame toss (projectiles). | Arm draw and arc of fireballs. | Dodge on release timing, then close for 1–2 hits. | Multiple hits or stamina drain on recovery. |
| Fire plumes (line). | Long, smoky path on the floor. | Step off the line, approach from the side for a brief punish. | Damage over time, reposition loss. |
| Flaming geysers (AOE field). | Clusters of smoke or circular shadows. | Relocate immediately; re‑engage after eruptions resolve. | High burst damage and knockback. |
| Exploding puppets. | Puppets ignite and sprint toward you. | Kill pre‑ignite or bait and dodge at the last moment. | Point‑blank explosion and status pressure. |
With disciplined spacing, timely dodges, and smart Bestial Form windows, Rinko’s aggression becomes predictable and controllable. Keep your resource loop running off add waves, and the fight will quickly tilt in your favor.