
Late in Silent Hill f, you’ll hit a mural with nine empty sockets and a riddle that feels more cryptic than helpful. The task: find three crests — Fox, White Bird, and Black Bird — and place them into specific holes on the frame. The catch is that the arrangement changes depending on the ending you’re on, while the crest pickup spots do not. Note: light late-game context below.
Where the mural puzzle appears and what you need
You’ll reach the mural shortly after the boss fight involving Hinako’s parents in the Dark Shrine Rooms. You can’t solve it on first sight — explore the adjacent rooms to retrieve the three crests (Fox, White Bird, Black Bird), then return to the mural. There are two scrolls flanking the frame; reading them adds the riddle to Hinako’s journal so you don’t have to recheck the walls.

Puzzle difficulty changes how explicit those hints are, but the rules and the crest locations remain the same across difficulties. On higher settings, expect the guidance to be thinner and the steps less spelled out.
All mural solutions by ending
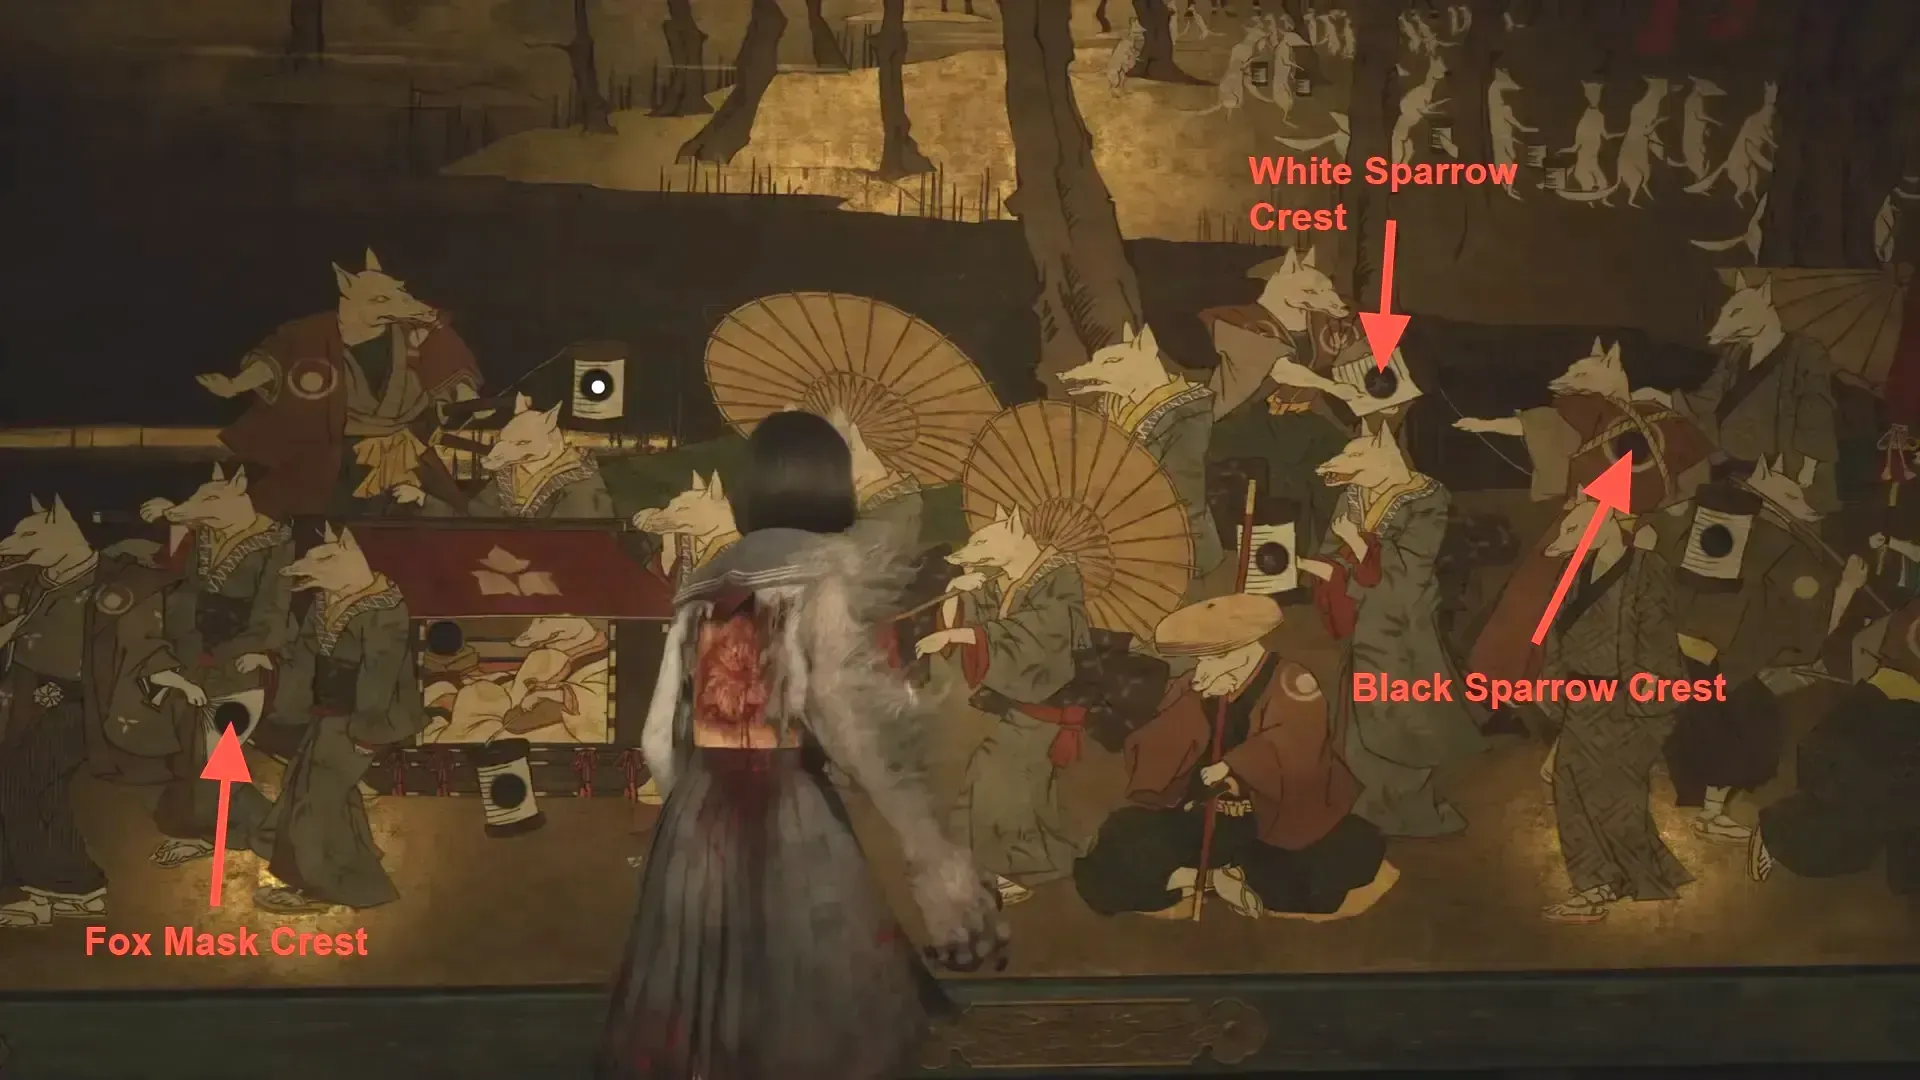
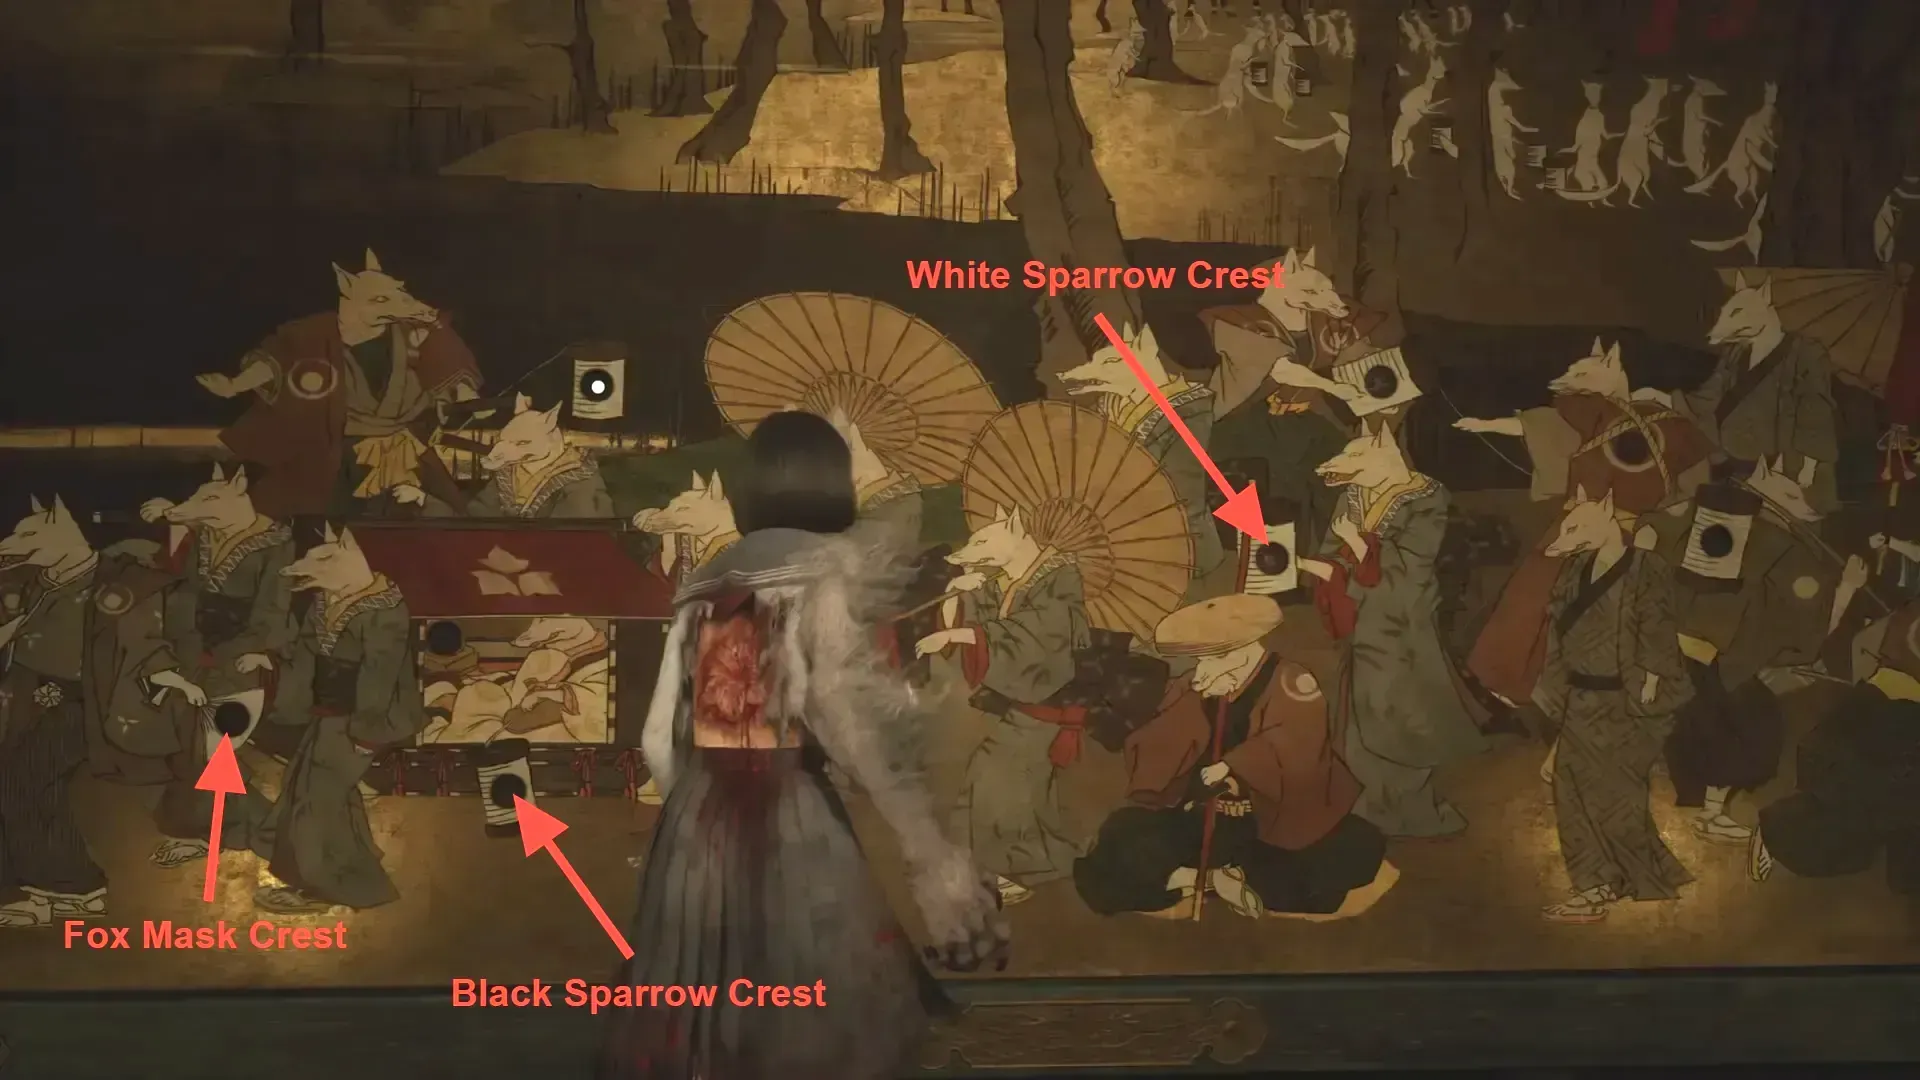
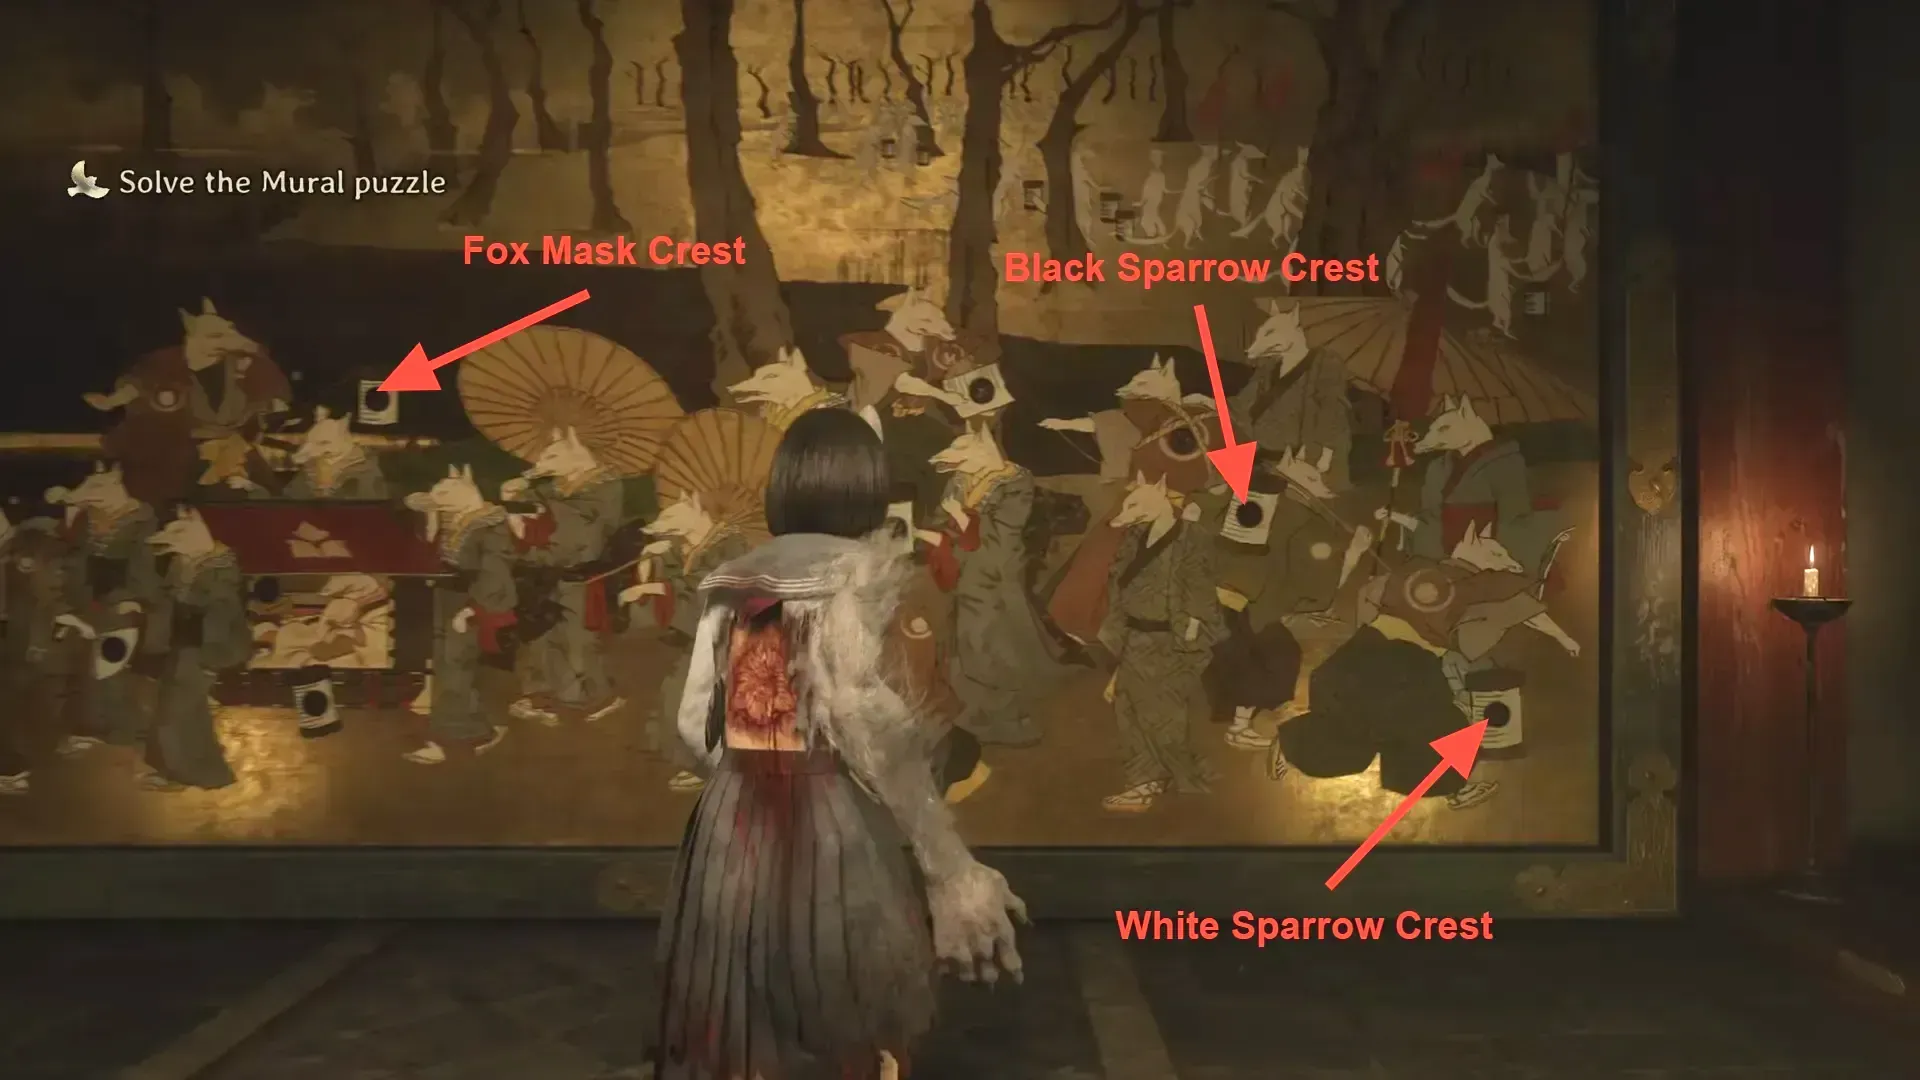
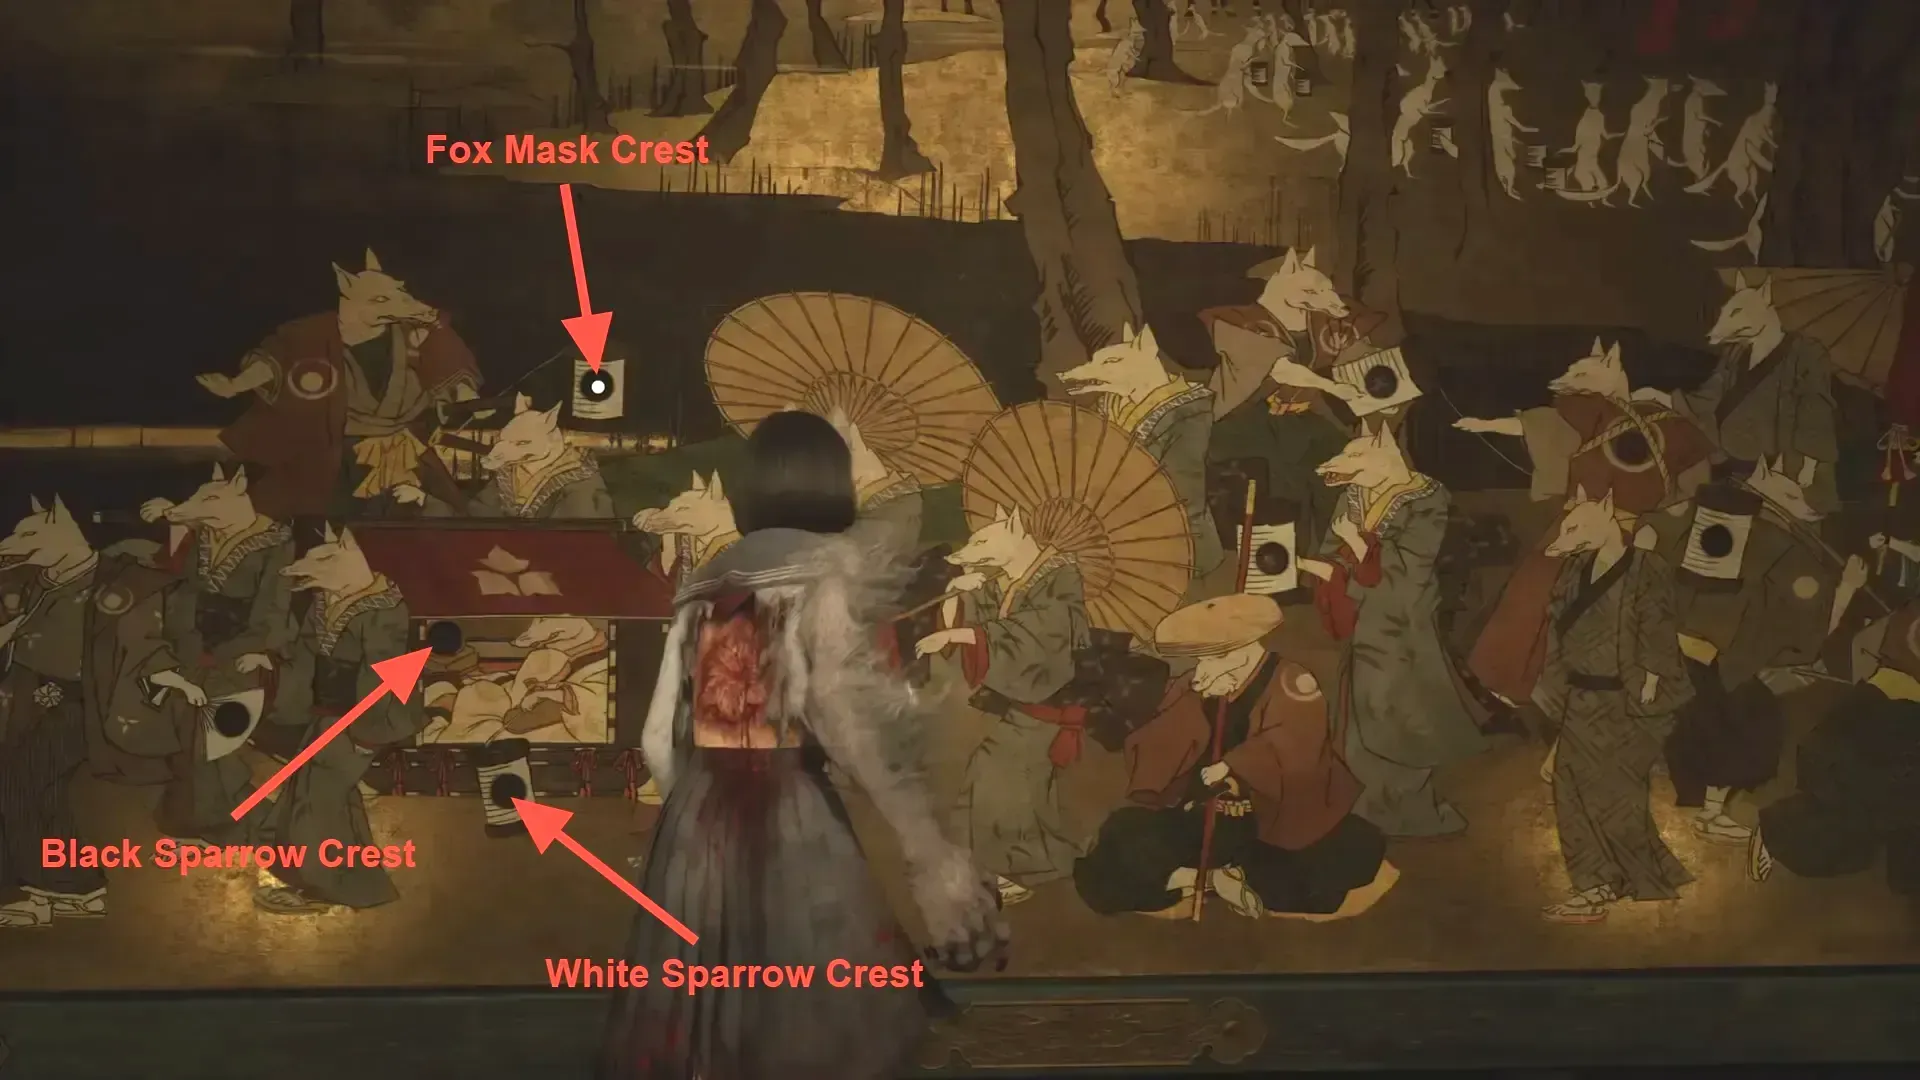
The table below lists the exact socket imagery for each crest per ending route. Use the small visual cues on the frame (fan, lanterns, rope, cage, running/resting poses) to confirm you’re on the correct slot before placing a crest.
| Ending | Fox Mask Crest | White Sparrow Crest | Black Sparrow Crest |
|---|---|---|---|
| Ending 1 (Coming Home to Roost) | Far left slot — image of a fox with a fan | Top middle slot — image of a fox pulling a lantern | Slot immediately right of the above — image of a fox pulling a rope |
| Ending 2 (Fox's Wedding) | Far left slot — image of a fox with a fan | Bottom middle slot — image of a resting fox | Slot directly next to the far-left fan scene — image of a lantern dangling from a red‑roofed cage |
| Ending 3 (The Fox Wets Its Tail) | Top left slot — image of a fox holding up a lantern | Bottom right slot — image of a running fox | Slot adjacent to the running fox scene |
| Ending 4 (Ebisugaoka in Silence) | Top left slot — image of a fox holding up a lantern | Slot directly below the red‑cage scene — image of a lantern dangling from a red‑roofed cage | Slot directly below the fox‑with‑lantern scene — the red cage |
Ending 1 (Coming Home to Roost)
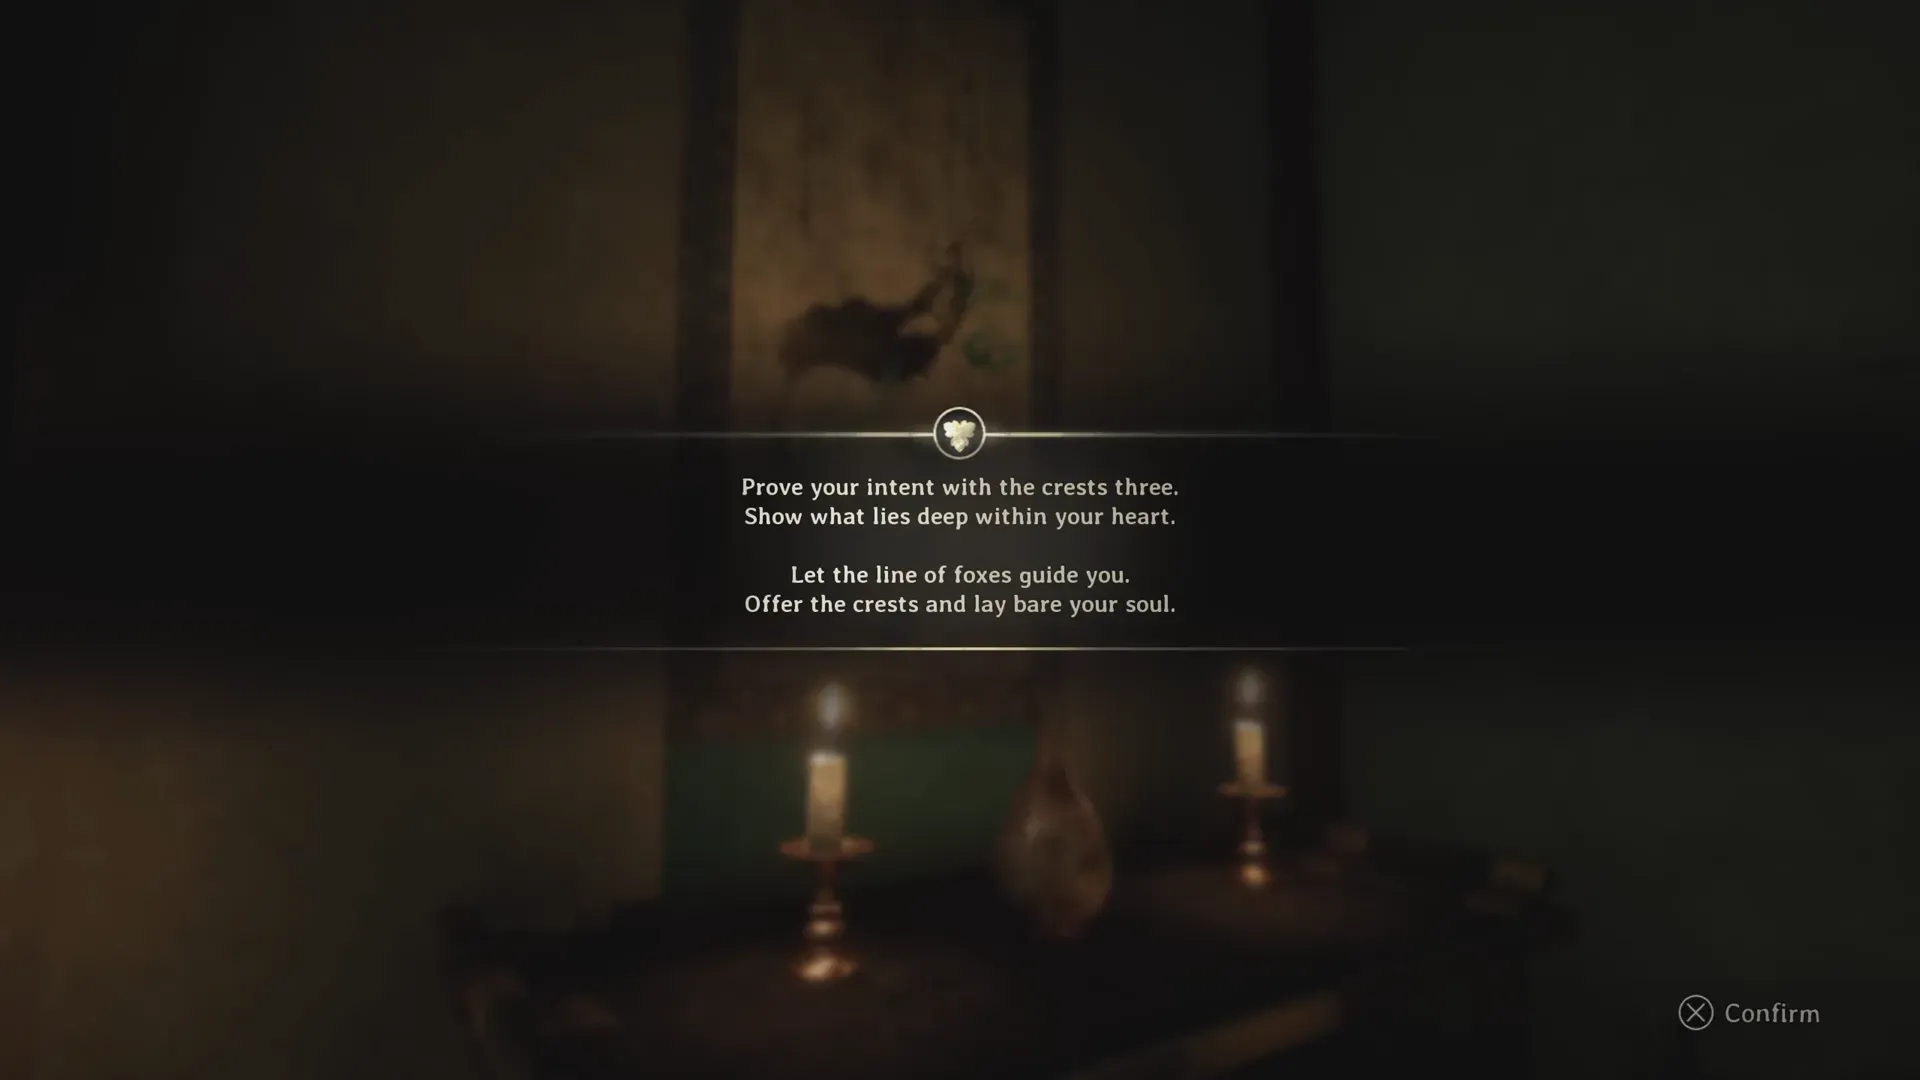
Prove your intent with the crests three.
Show what lies deep within your heart.
Let the line of foxes guide you.
Offer the crests and lay bare your soul.
The Black Bird wishes to take the White Bird.
The White Bird wishes to resist.
The Fox brings along his followers in triumph.
He notices not the two birds in conflict.
Ending 2 (Fox's Wedding)
Prove your intent with the crests three.
Show what lies deep within your heart.
Let the line of foxes guide you.
Offer the crests and lay bare your soul.
The Black Bird is in the cage at last.
The satisfied Fox spreads his fan.
The White Bird remains in a daze.
All had been swept away as she slept.
Ending 3 (The Fox Wets Its Tail)
Prove your intent with the crests three.
Show what lies deep within your heart.
Let the line of foxes guide you.
Offer the crests and lay bare your soul.
The White Bird flies free from her cage.
Her shadow follows close behind her.
The Fox raises a lantern as he watches them fly away.
There is nothing he can do now.
Ending 4 (Ebisugaoka in Silence)
Prove your intent with the crests three.
Show what lies deep within your heart.
Let the line of foxes guide you.
Offer the crests and lay bare your soul.
Two chicks confide in one another in their shells.
A Fox watches over them in the light of his lantern.
Nobody knows when, or even if, the eggs will hatch. Not even the chicks themselves.
Puzzle difficulty and hints
Silent Hill f’s puzzle difficulty primarily adjusts how much the game explains — not the underlying layout. On lower settings, the mural riddle is more plainly stated; on higher ones, it’s pared back, and you’re expected to read the mural’s imagery closely. Either way, the crest placements above will resolve the mural for each route.
Once the three crests are set in the correct sockets for your route, the mural resolves and the story path you’re on continues. If a placement doesn’t register, remove the crest and recheck the slot’s artwork — the tiny differences between lanterns, cages, and fox poses are the intended tells.