
There is no traditional double jump in Hollow Knight: Silksong. Instead, Hornet’s movement toolkit lets you combine an aerial dash, pogo chains, wall jumps, mantling, and later a glider to cover the same gaps and climb to the same heights. This guide shows the most reliable methods, where to unlock the air dash, and how to execute each technique cleanly.
Swift Step (air dash): the closest substitute for a double jump
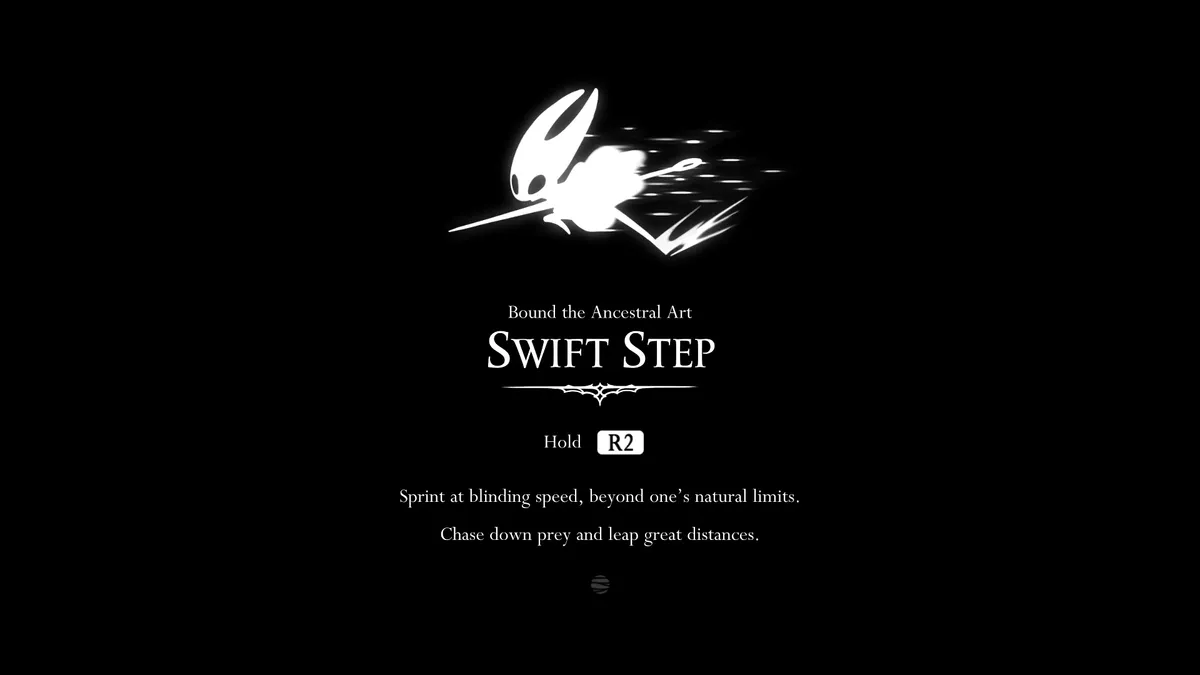
Swift Step grants a mid‑air dash that extends your reach and tightens aerial control. You also gain a ground sprint that turns long jump setups into safer clears.
Step 1: Defeat the Bell Beast in the Deep Docks. This boss gates early progression and is the prerequisite for accessing the Swift Step route.
Step 2: From the Deep Docks’ northeast exit, move into the adjoining passage and clear the red‑ant gauntlet. Focus on spacing and pick safe windows; you don’t need double jump for this stretch.
Step 3: Re‑enter the Deep Docks via the tunnel that drops down from the west of the exit you just used. This loops you back into the Docks along a higher line.
Step 4: Interact with the Swift Step technique pickup. Once learned, practice a jump into mid‑air dash to “extend” your arc over gaps that previously looked like double‑jump checks.
Step 5: On the ground, hold a sprint before a jump to add a few tiles of horizontal distance. This reduces the number of setups that demand precise pogo chains.
Why this works: a mid‑air dash effectively gives you a second burst of horizontal speed, which is what most players use a double jump for. In tight platforming, a sprinting long jump followed by an immediate air dash can bridge ledges that look out of reach.
Pogo chains (air‑dive bounce): consistent vertical and diagonal lift
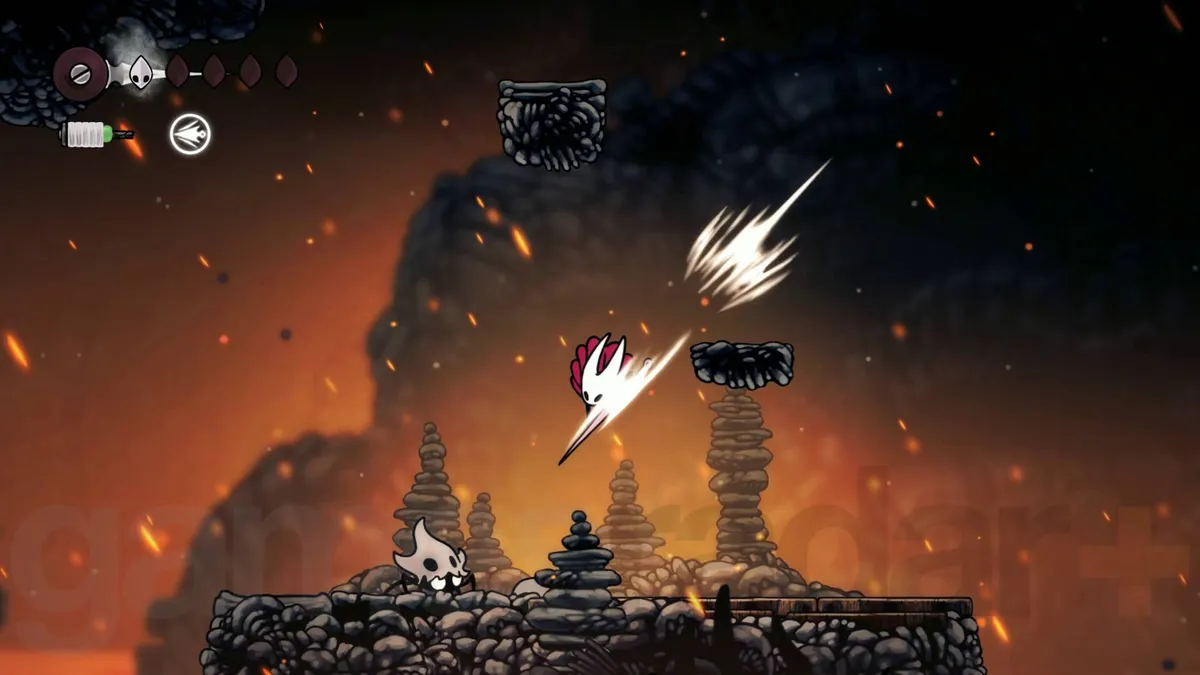
Hornet’s pogo is performed from a diagonal air dive. It’s available from the start and is required for multiple early routes, including red‑flower climbs in Hunter’s March.
Step 1: Jump to leave the ground. Gain enough height that you can safely aim your dive without clipping hazards.
Step 2: Tilt the stick or D‑pad diagonally downward toward your facing side to arm the dive. Keep the input steady; Hornet’s dive tracks the diagonal you hold.
Step 3: Press attack during the descent to perform the diagonal air dive. Use Down‑Left/Down‑Right + Attack while airborne.
Step 4: Strike a valid target (enemy, red flower, or certain safe spikes) to rebound upward. Time your next diagonal input before you peak to chain the next pogo.
Step 5: For red‑flower sequences, aim for the blossom center and repeat controlled, rhythmic dives. Treat each bounce as its own beat to remove panic inputs.
Tips that cut failures: approach from slightly off‑center so the diagonal dive clears the flower’s edge, and commit to the diagonal—neutral or horizontal inputs during the dive will whiff. On enemies, favor larger, predictable targets to learn the cadence before attempting long chains.
Chain techniques: sprint jump → air dash → pogo
Many “this must need double jump” gaps are solved by stringing movement tools in one pass.
Step 1: Start a sprint on flat ground to build initial speed. A short runway is enough to meaningfully lengthen your first jump.
Step 2: Jump at the edge and assess distance mid‑arc. If the target ledge is still short, prepare to dash in the air.
Step 3: Trigger Swift Step mid‑air to extend horizontal coverage. Use this to reach an enemy, flower, or bounce object you targeted.
Step 4: Immediately perform a diagonal dive and pogo on the object to gain the last bit of height or distance. The rebound buys a second decision point for a wall grab or final ledge touch.
This chain converts a single jump into three distinct movements: takeoff, mid‑air speed, and lift. Practicing the timing in a safe room pays off later in hazard arenas.
Wall options and glider: expand routes as you progress
Beyond dash and pogo, later upgrades widen your routing without relying on a double jump.
- Use Cling Grip (wall jump) to climb vertical shafts. Jump into a wall, stick, then jump away; repeat to scale shafts that formerly looked locked.
- Deploy Drifter’s Cloak (glider) to cross broad chasms or thread moving hazards. Activate it after a jump or air dash to trade height for safe horizontal drift.
- Take advantage of Hornet’s ledge mantle. Jump to a platform edge and allow the auto‑grab to pull you up, reducing the precision needed on tight landings.
These tools reduce your reliance on enemy positions for pogo setups and turn many diagonal‑dive sequences into simple wall climbs or measured glides.
Common “double jump” chokepoints, solved
Two early areas frequently confuse players into searching for a non‑existent double jump.
Hunter’s March red flowers
Step 1: Enter from the west or via The Marrow and locate the first hanging red flower.
Step 2: Jump, hold a firm diagonal toward the flower, and press attack to dive. Aim for the center to avoid sliding off.
Step 3: As you rebound, queue the next diagonal input and dive again at the peak. Chain bounces until you clear the gap or reach a safe platform.
Step 4: If a chain collapses, prioritize recovery to a safe wall or previous platform rather than forcing a late dive—resetting the rhythm prevents repeat falls.
Deep Docks early progression (no double jump required)
Step 1: From the merchant’s hallway, move to the corridor just above and head right to the locked doorway.
Step 2: Perform a jump with a brief ground run‑up, then use your mid‑air dash to clear above the door frame.
Step 3: Hit the switch beyond to open the route forward toward Far Fields. This path is intended to be reachable without double jump.
Step 4: When you encounter Lace in this sequence, focus on learning her patterns; a nearby bench keeps attempts quick, and Swift Step is not required to win.
Loadout and practice tips
Step 1: Prioritize unlocking Swift Step early. It meaningfully improves jump consistency by giving you an on‑demand mid‑air correction.
Step 2: Practice diagonal dive inputs in a safe arena. Build a consistent input habit—Jump → Down‑Diagonal → Attack—before attempting long flower chains.
Step 3: Experiment with Crests that alter attack angles or mobility. Small changes to dive behavior can make specific platforming rooms more forgiving.
Step 4: Route with mantling in mind. Hornet’s auto‑grab turns “pixel‑perfect” ledges into lenient landings and reduces wasted attempts.
Quick answers
Does Silksong have a double jump? No. Monarch Wings (from Hollow Knight) do not exist here, and there’s no equivalent true second jump.
What replaces it? Swift Step for mid‑air distance and control, pogo chains for lift, and later Cling Grip and Drifter’s Cloak for vertical climbs and long glides.
Mastering Swift Step and clean pogo timing removes nearly all early “I must need double jump” roadblocks. With wall jumps and the cloak later, you’ll open even more lines through Pharloom.