
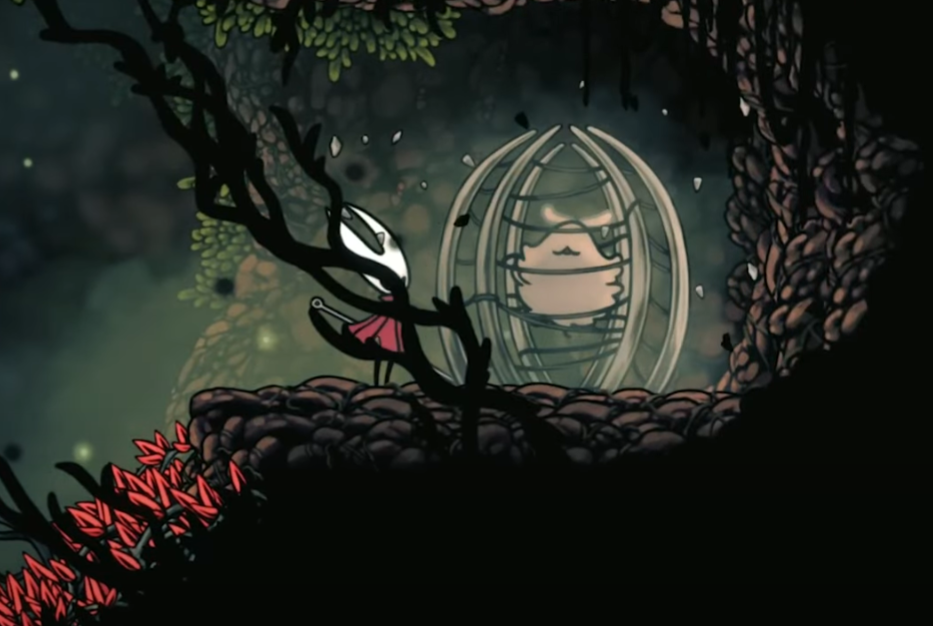
Lost Fleas in Hollow Knight: Silksong are the sequel’s version of hidden critter rescues: tiny, yapping passengers tucked into cages or behind secret paths that reward thorough exploration and precise platforming. You’ll first tackle them as a “wish” that asks for five rescues; more are scattered across Pharloom as you push into new regions and abilities.
How the wish works
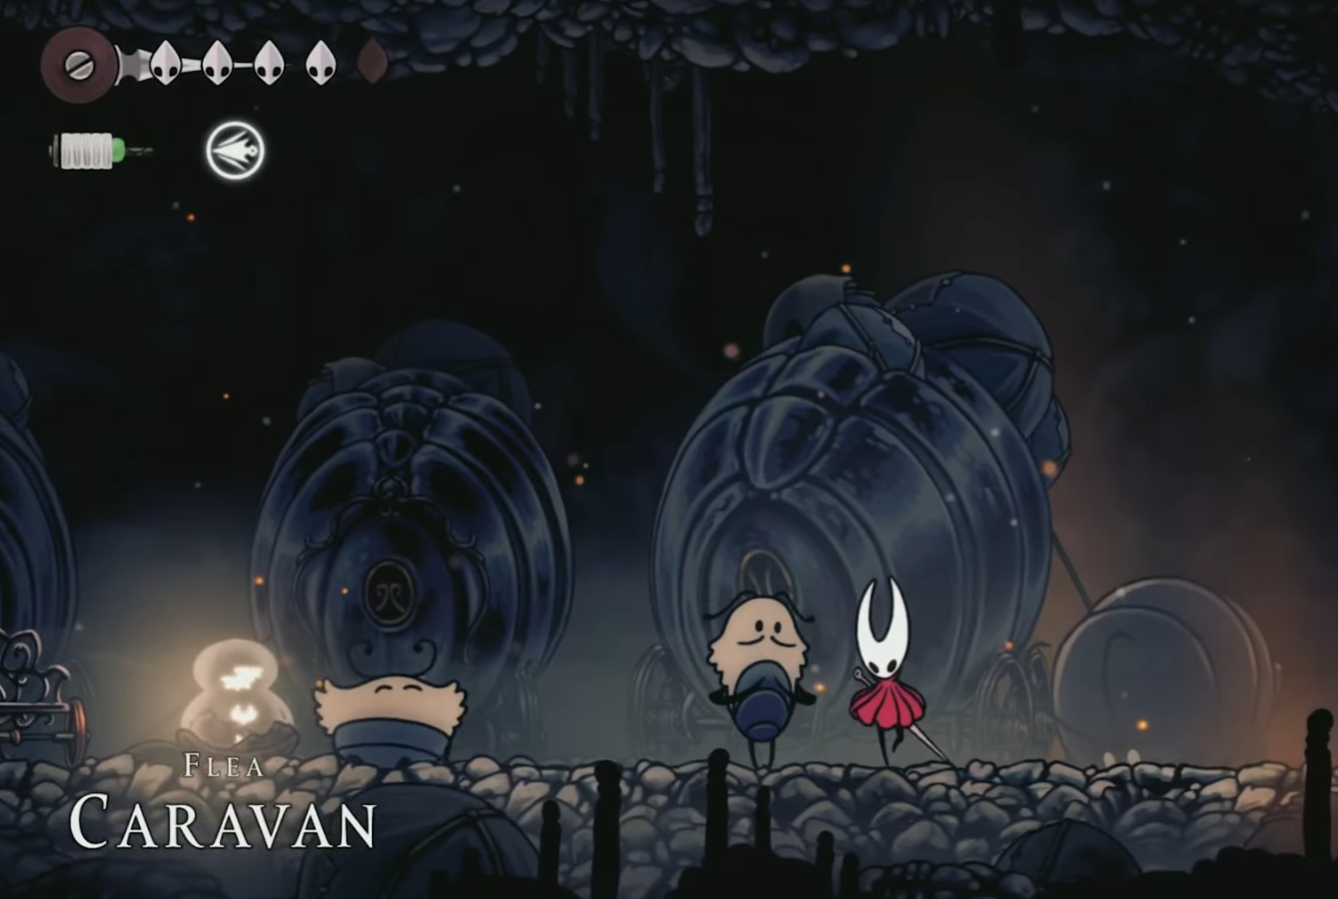
In The Marrow, follow signboards marked with a shaggy flea to a small caravan and speak with Fleamaster Mooshka. From here, The Lost Fleas wish tracks rescues in batches of five. Expect to revisit earlier rooms with new movement tools; many cages sit behind crumbling floors, destructible walls, or routes gated by Swift Step, Drifter’s Cloak, or Cling Grip. Audio is your best compass: Lost Fleas emit dog-like barks you can hear offscreen.
Turn in your first five to move the caravan forward and unlock Flea Brew, a consumable that temporarily boosts movement and attack speed. As you keep rescuing, you’ll earn additional rewards over time; late-game tallies also grant a Tool Pouch capacity upgrade and the Egg of Flealia, which reduces Silk Skill costs while at full health.
The first five rescues (early-game route)
These are the most consistent early finds across the lower regions. Ability notes indicate what’s required or simply recommended.
- The Marrow (no abilities required)
After defeating the Bell Beast, head right past the bench/bell room into a tall chamber. Climb out into the next area: a wide spike room with crumbling platforms. Traverse to the far left, then snake upward on platforms to the top. Look down and drop to a crumble tile, then jump right to a bramble-wrapped cage. Slash the brambles to free the flea.
- Deep Docks — Bellway side path (no abilities required)
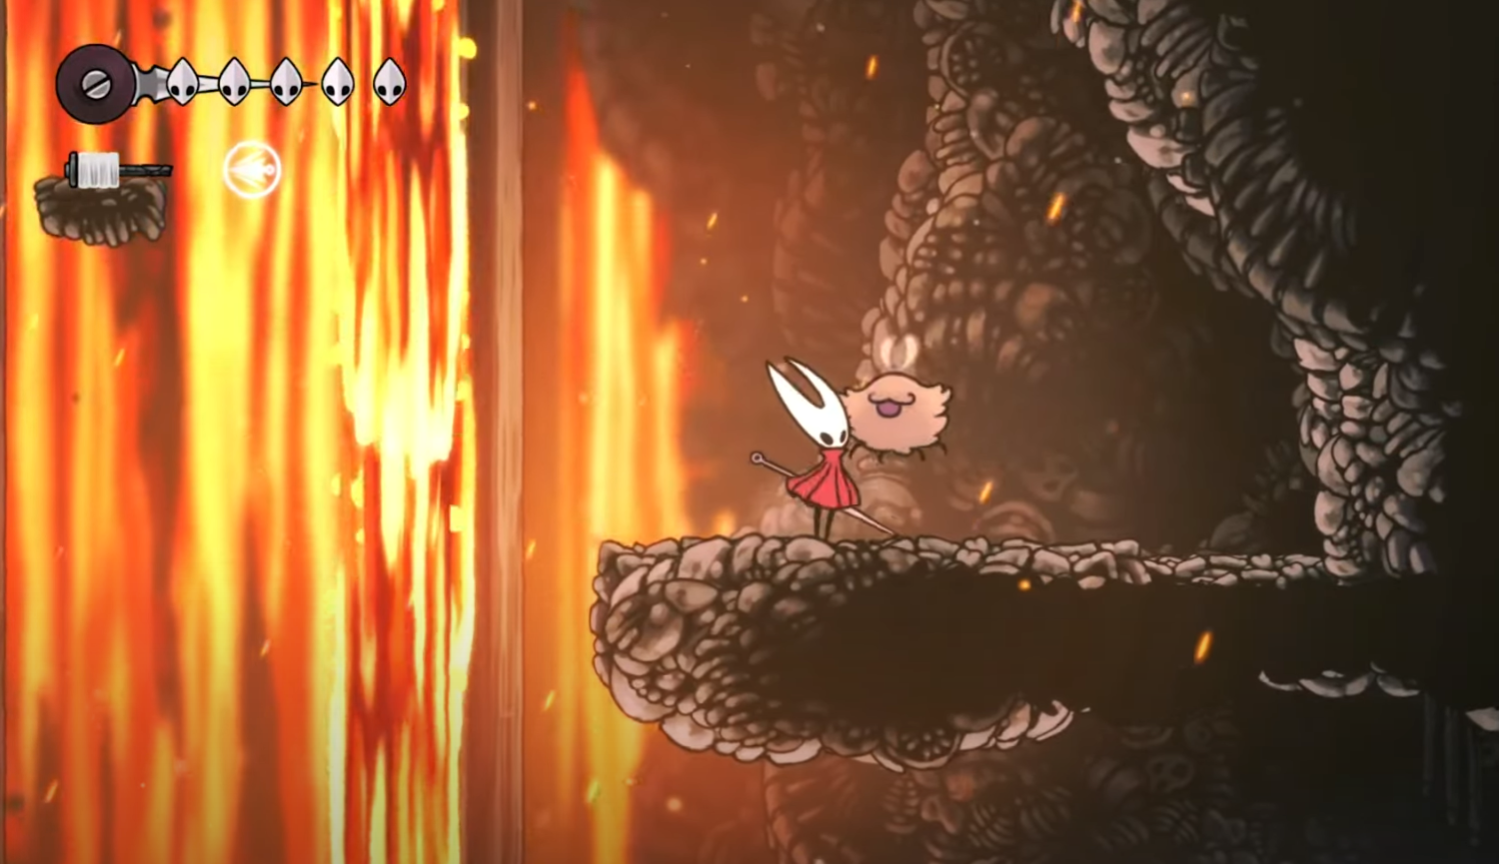
Enter Deep Docks from The Marrow and pass the bench room to a tall hub with stacked platforms. Drop one level, go through the left door, and continue down toward the Bellway station. Before calling the Bell Beast, hit the far-left wall to reveal a hidden passage. Inside is a lavafall platforming gauntlet; work left, then up and back right to a ledge above the entrance with a caged flea. Tip: striking the right edge of that ledge creates a small shortcut for a safer exit.
- Deep Docks — Swift Step shrine room (requires Swift Step)
Progress to the Weaver’s altar where you gain Swift Step. Test the new air dash across the high platforms to the left. At the end, hit the lever to drop a large platform. Use it and short air dashes to reach the upper ledges (left, then upper right) and break the cocooned cage.
- Far Fields (Swift Step recommended; alternate route possible)
From the central vertical in Far Fields, push into the lower left corridors and loop upward to an exit on the top left that turns back right. In the next segment, find a dark side tunnel with bone containers. Enter, break free if you’re trapped, clear the ambusher, then open the cage. Alternate: if you reach the Far Fields Bellway first, Drifter’s Cloak makes the leftward chasm crossing trivial; without it, careful sprint jumps can still get you to the same interior route.
- Hunter’s March (Swift Step recommended)
From The Marrow’s upper-right prison bench, go up and right. Defeat the red Skull Ant guarding the entrance. In the first vertical chamber, use downward attacks to bounce on red pincushion blooms and thread through spike-lined gaps. Aim for a ledge near the top left and free the caged flea.
Note: Depending on where you explore first, your fifth early rescue may come from Greymoor instead. In its lower right, use balloon “pogo” chains to climb halfway, then glide right to a caged flea and hit the lever below to release it.
What changes after five rescues
Return to Mooshka to complete the first stage of the wish. The caravan relocates to Greymoor and offers Flea Brew. You can ride with them, which also acts as a quick route forward in the story. From this point, expect more fleas in midgame areas and sub-regions off the beaten path. You’ll still hear their barks, and many are paired with small platforming puzzles rather than combat gauntlets.
Next likely finds (when you’re ready to keep going)
- Shellwood (platforming challenge)
In the central Shellwood chamber beyond the map vendor, chain pogo jumps on white flowers while dodging spikes to reach a cage high above. - Bellhart (requires Cling Grip)
After defeating Sister Splinter and claiming Cling Grip, take the right-hand exit from the arena/elevator hub into narrow bell-lined corridors. Use wall climbs and careful bounces off bell enemies to reach the upper-left passages and a hidden cage behind a cracked wall.
Abilities that commonly gate rescues
- Swift Step: short air dashes open up lateral gaps and “just-barely” climbs.
- Drifter’s Cloak: larger gap coverage and wind-riding segments in later areas.
- Cling Grip: wall climbing to upper platforms and vertical detours.
Finding the rest without burning time
- Listen first, then scan: stop on the edges of rooms and pan to pick up barks. Cages are often tucked just off camera, above or behind a single cracked wall.
- Revisit hubs: large verticals in The Marrow, Deep Docks, and Far Fields hide multiple paths that only become viable once you have Swift Step or Cling Grip.
- Use caravan services: later on, a flea-friendly vendor can mark remaining cages on your map for a fee once they’ve joined the caravan.
How many are there?
The opening wish asks for five, but there are many more across Pharloom. Current tallies land in the high 20s to around 30, with a late-game achievement tied to a near-complete rescue count. Expect new batches to become reachable as regions branch and as you acquire additional movement tools.
Why it matters
Beyond the movement buff from Flea Brew and periodic gear upgrades, Lost Fleas are reliable markers for when to re-scout old rooms after a new ability. They also quietly chart a fast, safe pathway through the world via the caravan—helpful if you want to push into higher regions earlier than a straight-line route would allow.
Tip: when a platform collapses or a lever drops an unexpected elevator during a flea run, take it. Many of these rooms are designed with a built-in shortcut for the way out.
Keep an ear out for barks, return to Mooshka after each batch of five, and don’t be afraid to circle back with new movement—most cages are less about combat and more about reading the room’s geometry.