Vi combo notation (quick reference)
Inputs use numpad directions (1–9) and button letters (L/M/H, S1/S2). Examples:
6= forward;2= down;9= up-forward66= forward dashj.= in the air;jc= jump cancel>= cancel;,= link (after recovery);dl.= delay input{X}= partial charge;~= follow-up input timing;( )= optional
Electric Upper shorthand (saves space when writing sequences):
| Shorthand | Input sequence | Notes |
|---|---|---|
| 1xEU | 6S1~L~{M} |
Single electric upper |
| 2xEU | 6S1~L~{M} > 6S1~{M} |
Double electric upper |
| 3xEU | 6S1~L~{M} > 6S1~{M} > 6S1~{M} |
Triple electric upper |
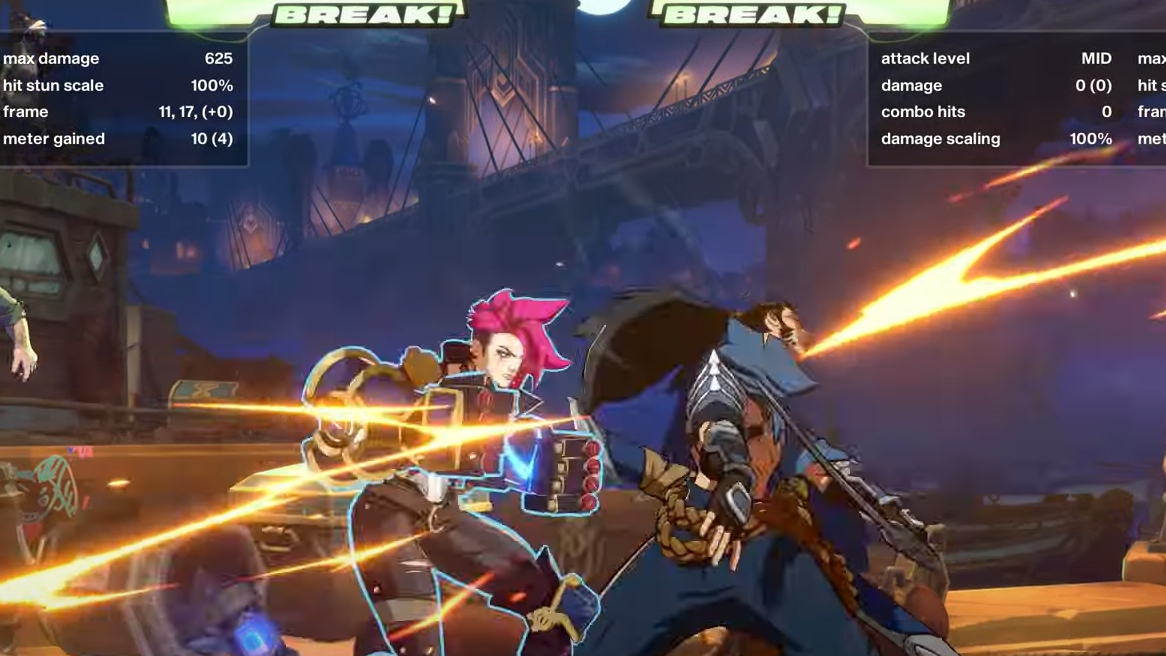
Starter confirms (beginner BnBs)
Two practical, anywhere routes that stabilize into an air ender. End with j.S1; j.S2 tends to miss in air juggles.
| Route | Damage | Meter | Notes |
|---|---|---|---|
2M > M > HH > S1, L > M > H > 2H > 9 jc > j.M > j.H > S1 ( > Super 2 ) |
416 | Builds ~48 | Works from low confirms; add Super 2 at the end when available |
2M > M > HH > S1, L > MM > 2M > 2H > 9 jc > j.M > j.H > S1 ( > Super 2 ) |
434 (534 with Super 2) | Builds ~56 | Slightly easier timing, slightly higher damage |
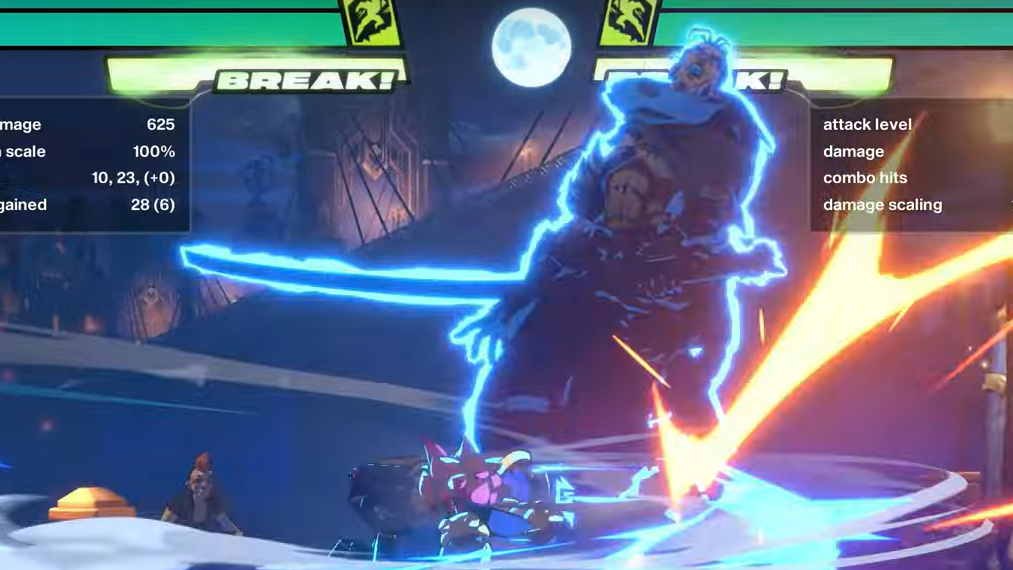
Midscreen routes (solo)
These stabilize from common starters and either cash out with Super or carry to the corner. Damage values assume standard hits unless noted.
| Route | Damage | Meter | Notes |
|---|---|---|---|
M > HH > S1 > L > M > HH > S1 > H > S2 (mash) > H > S1 > Super 2 |
600 | Spends 1 bar (gains ~65) | Roundstart BnB; can replace Super 2 with Ultimate for a higher cash-out |
M > H > S2 (mash) > 66 > H > S1 > M > HH > 6S1 > L > M > H > 2S2 > Super 2 |
600 | Spends 1 bar | Routes through Footwork into corner carry before cash-out |
MM, HH > S1, microdash.L > M > 2M > 2H > 9 jc > j.H > j.S1 |
450 | Meterless (builds ~0.5 bar) | Reliable side switch from nearly anywhere; microdash later than you expect |
2M/M > H > 1xEU or 2xEU ~{H} > dl.M > 2M > H > 2H > 9 jc > j.M > j.H > j.S1 |
450 (1xEU) / 472 (2xEU) | Meterless | Corner-to-corner potential; skip the second EU if consistency drops |
2M/M > H > 3xEU > S1 > M > 2H > 9 jc > j.L > j.M > j.H > S1 |
496 | Meterless (builds ~68) | Triple electric upper; midscreen to corner with strong meter build |
L/M/H > S2 (mash) > 66 > dl.HH > S1 > (66) M > 2M > H > 2H > 9 > j.H > j.S1 ( > S2 + L ) |
401/504 (no Super), 516/619 (with Super) | 0 or 1 bar | Non-electric corner-to-corner optimal; the dash after S1 depends on your HH delay |
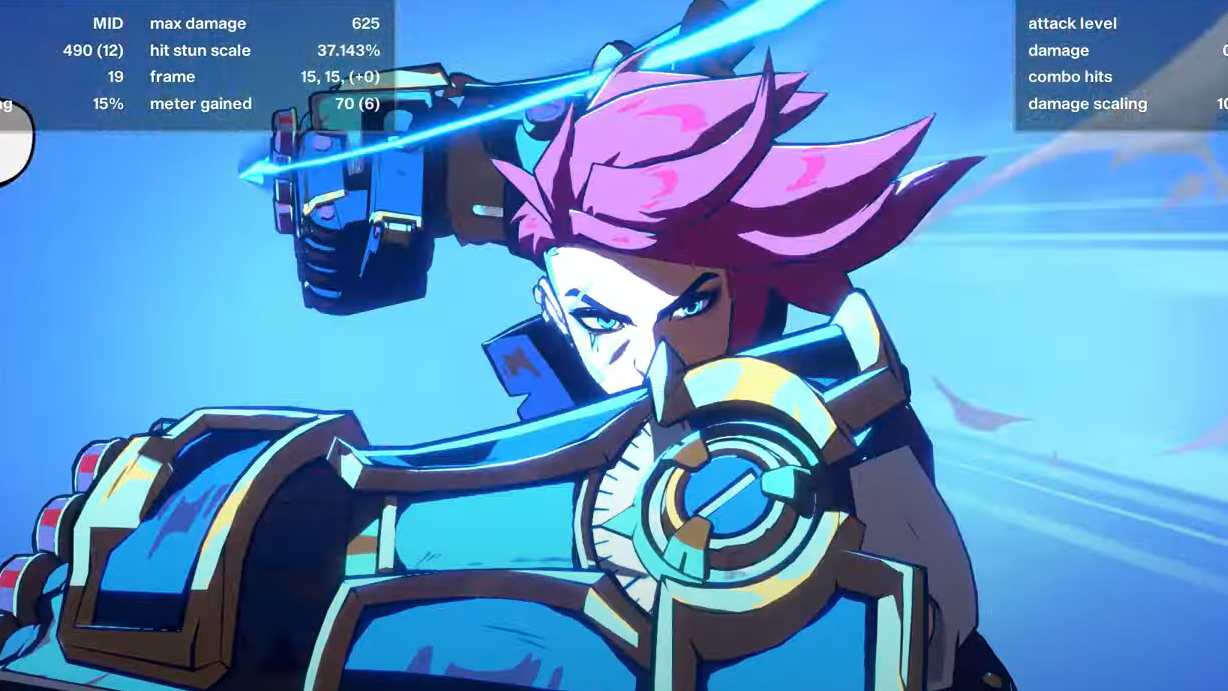
Corner routes (solo)
In the corner, electric uppers extend juggles and let you choose between meterless knockdowns or big Super/Ultimate cash-outs.
| Route | Damage | Meter | Notes |
|---|---|---|---|
(L > M) / M > H > 6S1~L~{M} > 6S1~{L}~{M}~{H} > dl.M > 2M > HH > dl.2H > 9H > S1 |
400/499 (no Super), 515/614 (with Super) | 0 or 1 bar | Approachable corner electric route; stable launcher re-jump timing |
(L > M) / M / H > S2 (mash) > M > HH > S1 > dl.M > 2M > HH > dl.2H > 9 > j.H > j.S1 ( > Super 2 ) |
406/514 (no Super), 521/629 (with Super) | 0 or 1 bar | Non-electric, consistent; can end in Super 2 for extra damage |
(L > M) / M / H > 3xEU > 6S1~{L}~{M} > S1 > HH > dl.2H > 9 > j.H > j.S1 ( > Super 2 ) |
412/507/523 (no Super), 527/622/638 (with Super) | 0 or 1 bar | High execution, high reward; practice the partial-charge cadence |
(Starter) > H > 6S1~L~{M} > 6S1~{L}~{M} > 6S1~{L} > S1 > 2L > 2M > HH > dl.2H > 9 > j.H > j.S1 |
500 (M starter) | Meterless (builds ~0.74) | Corner BnB with layered electric uppers into clean juggle ender |
(Starter) > H > 6S1~L~{M} > 6S1~{L}~{M} > 6S1~{L} > S1 > 2L > 2M > HH > dl.S1, 4S1~L~M > Super 1 / Super 2 / Ultimate |
637 / 617 / 782 (M starter) | 1 bar / 1 bar / 3 bars | Route specifically to Super/Ultimate; delay L/M after 4S1 so Super 1 connects |
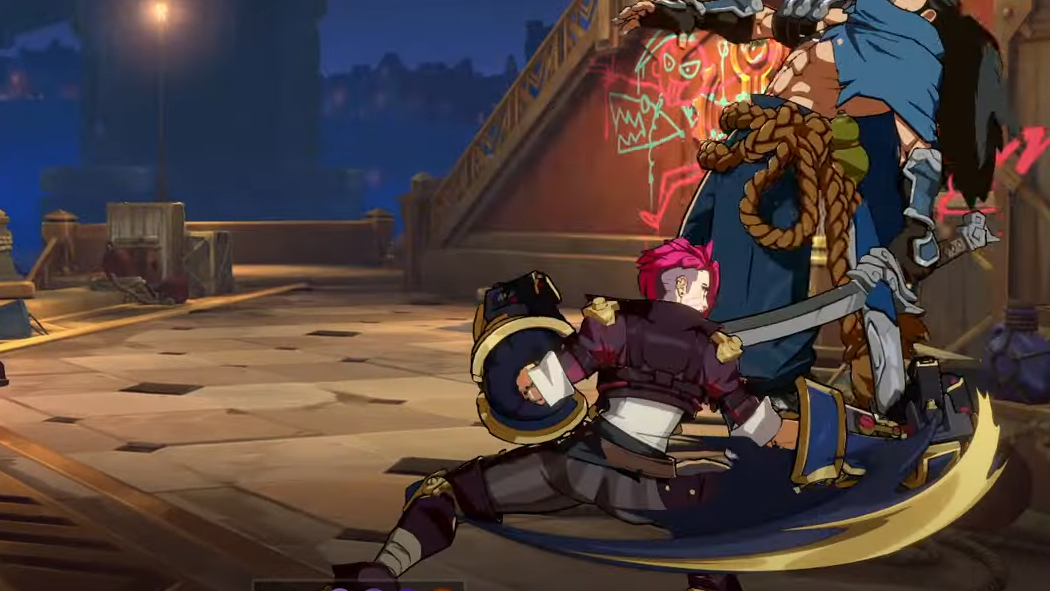
Execution notes for electric uppers (EU)
- The opener
6S1~L~{M}uses a light hit-cancel into a brief medium hold. Release too early and you lose height; too late and you drop the link into your next normal. - For double/triple EU, buffer the next
6S1as you’re landing. The rhythm is frontloaded: first EU slower, subsequent EUs slightly quicker partial holds. - Routes that note
dl.2Hordl.Muse the delay to restore juggle height before the launcher. If the opponent is falling behind you, you delayed too long. - Side switch route needs a late
microdash.LafterS1. Aim the dash soLhits just before they touch the ground.
Metered enders and substitutions
- Anywhere you see
... > j.S1, you can cash out with... > j.S1 > Super 2when you have a bar. - In grounded enders that already include
S2 (mash), consider spending into Super 2 immediately after a stable juggle hit rather than at max scaling; many routes above show ideal cancel points. - Several midscreen routes that end in Super 2 can be upgraded to Ultimate for materially higher damage.
- Corner routes that pivot through
... dl.S1, 4S1~L~M ...are designed to connect Super 1 reliably. DelayL/Mslightly after4S1to prevent tech-out.
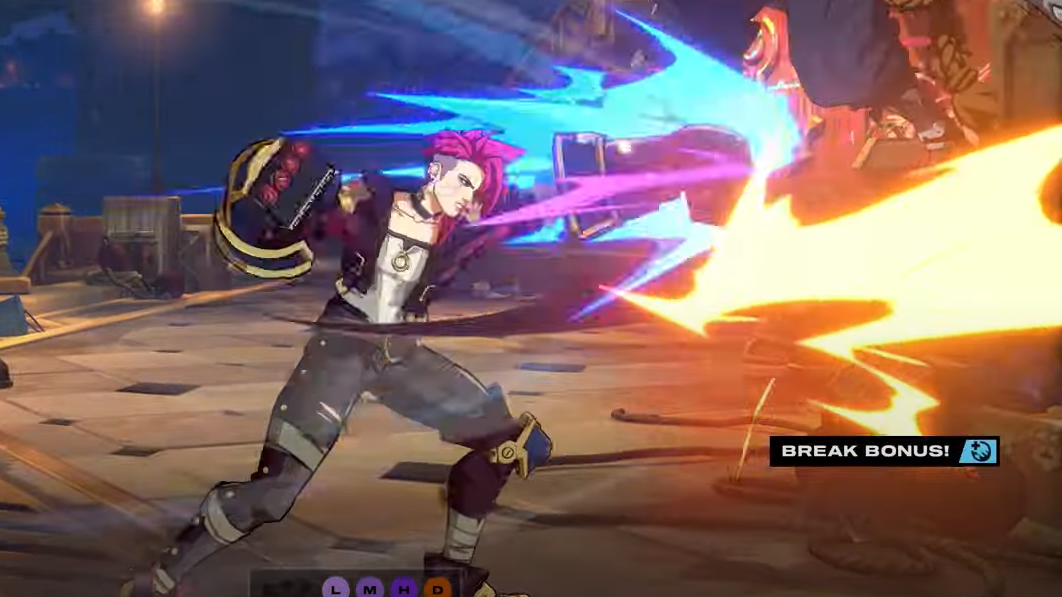
Quick move map (names to inputs)
For clarity while practicing, here’s how common names map to inputs used in the routes above.
| Move name | Input | Use in combos |
|---|---|---|
| Vault Breaker (chargeable dash punch) | S1 (hold for charge) |
Link after HH, EU sequences, and air enders |
| Denting Blows (flurry) | S2 (mash) |
Mid-combo damage and wall bounce setups |
| Crater Maker (ground pound) | 2S1 |
Occasional hard knockdown ender; not used in the BnBs above |
| Footwork (stance dash with follow-ups) | 4S1 / 6S1 |
Corner routing and Super 1 setups after dl.S1 |
| Blast Shield (counter) | L+H |
Defensive; not part of core combo routes here |
Where each route fits
- Midscreen confirms: Use the roundstart BnB for straightforward damage; switch to the side swap route when your back is to the corner.
- Corner carry: The 1x–3x electric upper routes push to the corner while building strong meter without immediate cash-out.
- Corner pressure: The easier electric corner route is consistent under scramble starts; escalate to the triple EU route as your timing improves.
Start with the beginner confirms to lock in rhythm, then layer in 1xEU mid-route. Once you’re landing it consistently, add the second and third electric uppers and pick a metered ender that fits the match state—stable Super 2 midscreen, or Super 1/Ultimate when you’ve already got the corner.

