
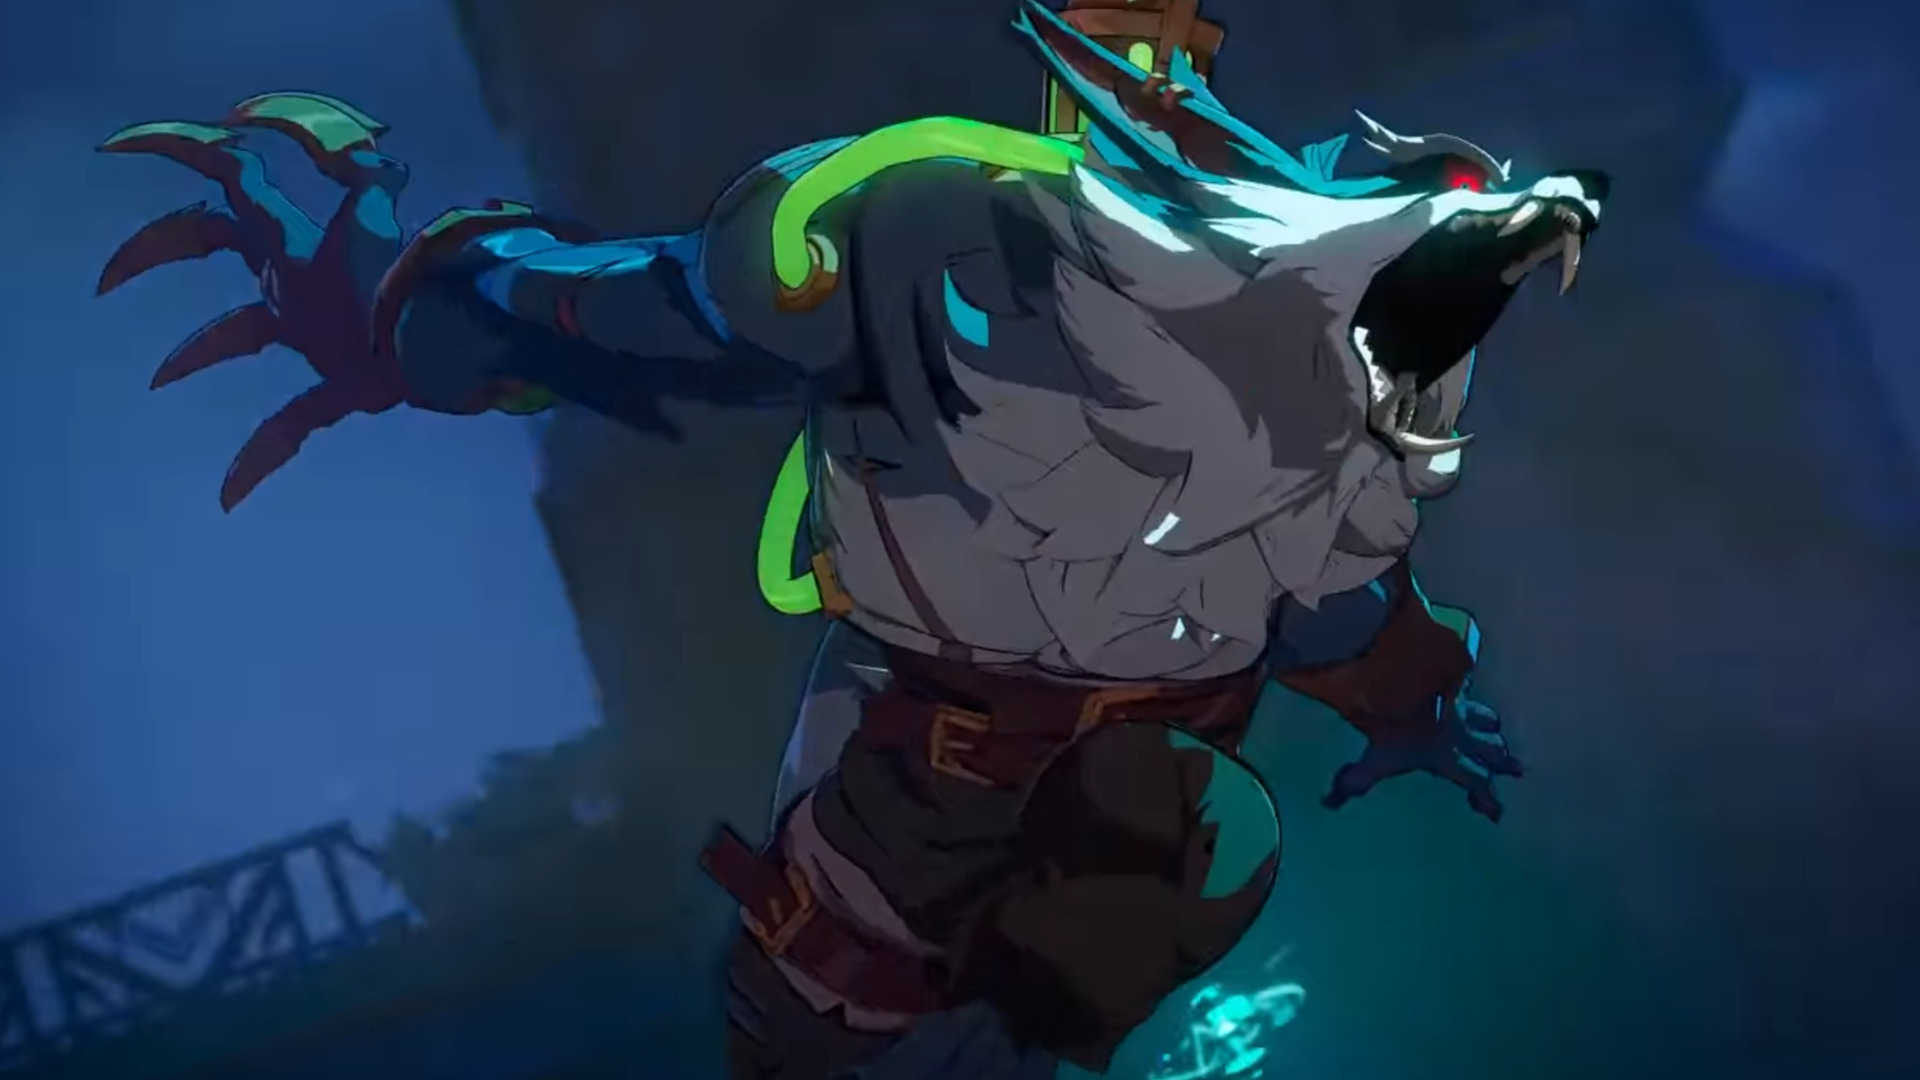
Warwick is a rushdown brawler built to chase and maul. He accelerates once Bloodlust is active, unlocks extra specials, and can restore health off certain S2 attacks. Many of his tools shrug off projectiles, so the game plan is simple: force your way in, stay on top of your target, and cash out with mauls or supers.
Warwick core kit and inputs (quick reference)
| Move | Input | Role and notes |
|---|---|---|
| Rage of the Beast | Forward + S1 | Fast lunge; hold S1 to travel farther. Projectile‑tolerant approach. |
| Wrath of the Beast | Forward + S1 (Bloodlust) | Rapid slashes; causes wall bounce. Bloodlust variant of Rage. |
| Claws of the Beast | S1 | Jumping overhead; hold to travel farther. Can cancel to Primal Leap (Up). |
| Primal Leap | Down + S1 | Somersault that hits on the way down; hold for distance. Air follow‑ups: Pursuit (L), Tear (M), Snare (H). |
| Feral Fang | S1 (air) | Air bites into a slash; knocks down airborne targets. |
| Feral Bite | Forward + S2 | Low bite pickup; tosses behind. On hit, cancel into specials, Supers, or Ultimate. Builds Bloodlust. |
| Spinning Slicer | S2 (air) | Aerial spinning slashes; slams to ground. Builds Bloodlust quickly. |
| Blood Seeker | Down + S2 | Rising slash; launcher/juggle tool, Bloodlust builder. |
| Savage Slash | S2 repeatedly | 3‑hit series; 5 hits during Bloodlust. Pressure and Bloodlust gain. |
| Primal Climb | Back (near corner) | Stage corner cling. Follow‑ups: Climb Pursuit (L, air) launcher; Descend (Down) rush; Leap (Forward); Climb Rend (M, air) spike/bounce; Climb Snare (H, air) command throw that can grab grounded. |
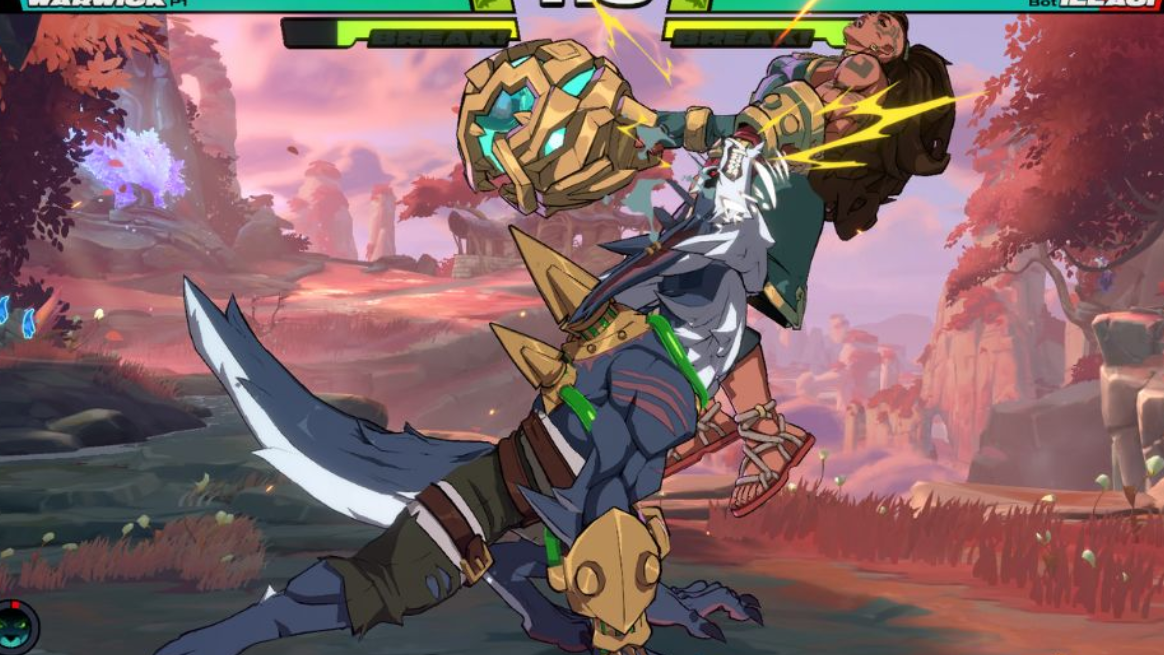
| Feral Feast | Forward + S2 (Bloodlust) | Leaping maul; picks up off the ground and heals Warwick’s recoverable health. |
| Aerial Primal Vault | Up (Bloodlust) | Unique: cancel a jump directly into Primal Leap to re‑access air follow‑ups. |
| Ankle Swipe | Diagonal Forward + H | Low knockdown; checks stand‑block and starts okizeme. |
| No Escape (Super) | S2 + L/M/H (1 bar) | Multi‑hit slashes ending in a big knockback. Reliable ender. |
| Infinite Duress (Super) | S1 + L/M/H (1 bar) | Ground/air pounce after a back step; repeated slashes on hit. |
| Blood Hunt (Ultimate) | S1 + S2 (3 bars) | On hit, triggers Bloodlust; if already enraged, heals some health. |
| Rage of the Beast (Assist) | T | Head‑first lunge assist to cover approaches. |
| Blood Seeker (Assist) | Back + T | Rising slash assist; sets up air extensions. |
| No Escape (Super Assist) | Down + T (KO’d) | Available when Warwick is KO’d; extended slashes from off‑stage. |
Notation key
- L/M/H: Light/Medium/Heavy
- S1/S2: Special 1 / Special 2
- Hold: Keep the button pressed to extend distance or hits
- Directional: Forward/Back/Up/Down relative to facing
- T: Tag/Assist
Universal confirms that work across 2XKO
2XKO’s baseline combo structure is consistent: chain L → M → H, then launch with Down + Heavy, jump, repeat LMH in the air, and finish with a special ender. Keep it simple on early confirms; on block, pivot to pressure with specials/assists instead of committing to a launcher.
Warwick bread‑and‑butter combos to practice
- M, H, Down + S1 (hold), M — stable ground route that uses the somersault cancel.
- M, Down + M, H, Down + H — grounded juggle into launcher.
- Jump‑in, M, H, S1, Forward + S2 — air‑to‑ground confirm into Feral Bite pickup.
- S2, S2, S2 — rapid Savage Slash series; gains Bloodlust fast.
- S2, S2, S2, S1 + S2 — slash series into Ultimate when you have 3 bars.
- M, H, Down + S1 (hold) — short confirm into Primal Leap pressure.
Bloodlust routing and where to cash out
- Pressure with Savage Slash (5 hits in Bloodlust) to pad damage and gauge gain.
- Use Wrath of the Beast for wall bounces, then juggle with Blood Seeker or Primal Leap follow‑ups.
- End long strings with Feral Feast to pick up off the floor and recover your own recoverable health.
- Air checks with Spinning Slicer build Bloodlust and often re‑route into Aerial Primal Leap during Bloodlust.
When meter is available, No Escape is a clean ender after juggles; Infinite Duress can snipe air gaps thanks to its fast pounce. Blood Hunt not only flips Bloodlust on but also heals if you’re already enraged—reserve it for guaranteed hits.
Approach patterns and projectile pressure
Warwick wants to force scrambles. Several specials ignore or outlast projectiles, so rotate Rage of the Beast and Claws of the Beast to close space, then threaten a low (Ankle Swipe) or overhead into Primal Leap mix. Corner presence is potent: Primal Climb adds wall cling mix‑ups with a true command throw (Climb Snare), a launcher bite (Climb Pursuit), and a spike (Climb Rend) for ground bounces.
Team picks that cover Warwick’s gaps
Warwick struggles at long range and can become predictable on approach. Partners with better screen control help him get in and stay in:
- Ekko — strong zoning and time‑based setups to mask entries; assist extends airborne juggles.
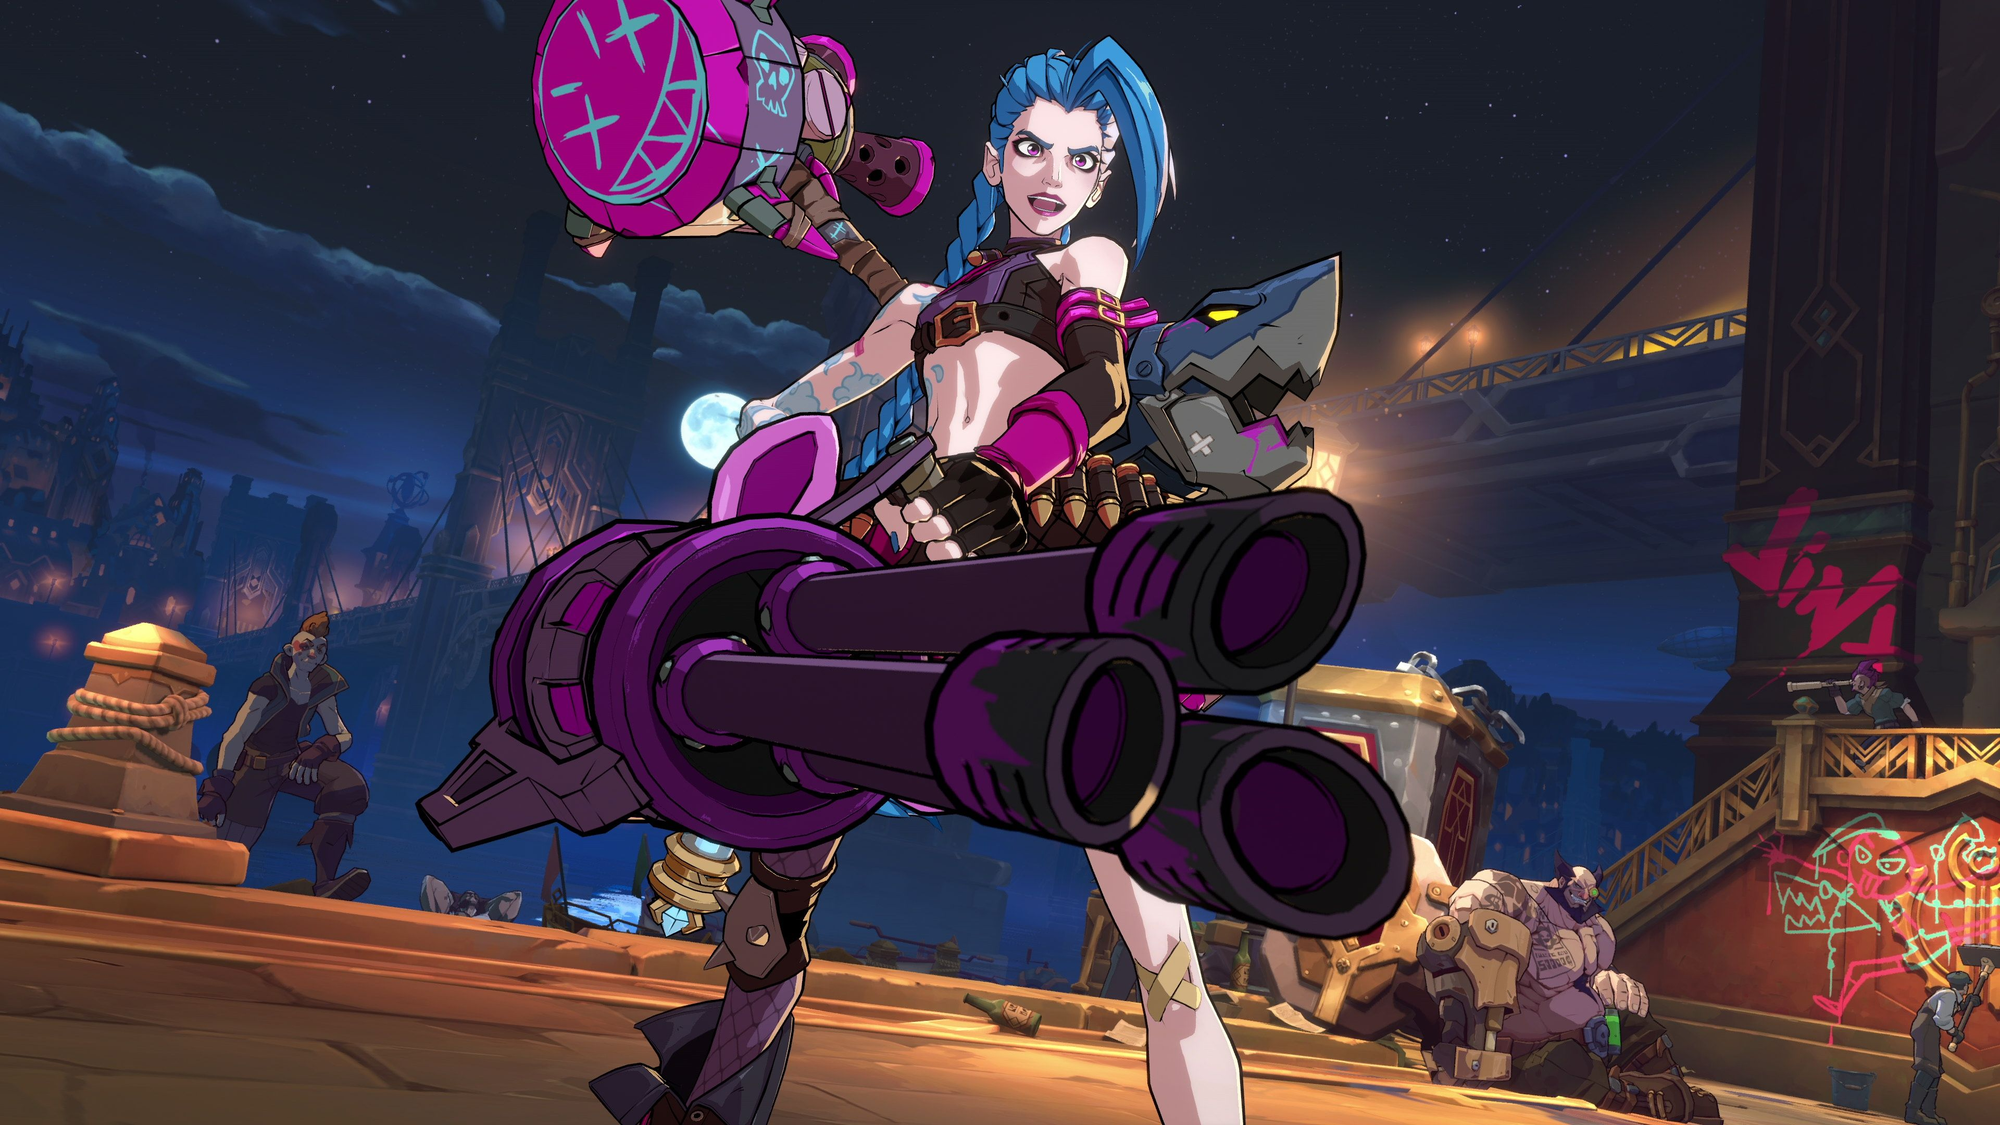
- Jinx — projectile volume and traps to pin opponents, letting Warwick force mix‑ups safely.
Handshake Tags during enders keep pressure rolling. Use a rising assist (e.g., Blood Seeker Assist) to stabilize air routes after wall bounces.
Matchup notes and counters
- Illaoi — defensive, space‑controlling play makes entries costly. Be patient and exploit projectile‑tolerant specials to weave past tentacles.
- Jinx — sustained keep‑away with explosives and traps. Shield your approach with assists, then chase predictable retreat patterns.
- Braum — slow but sturdy. His defense can stall your Bloodlust; bait commitments and punish with long juggles when he overextends.
- Teemo — small hurtbox invalidates some routes, and his zoning is slippery. Use shorter confirms and prioritize knockdowns over long strings.

Practice checklist
- Drill M → H → Down + S1 (hold) timing from different spacings.
- Route Wrath of the Beast wall bounce into Blood Seeker or Primal Leap follow‑ups.
- Confirm Savage Slash strings into No Escape and test Ultimate confirms after S2 sequences.
- Record small‑body dummies to verify which routes remain reliable on Teemo.
Warwick is at his best when momentum never stops: build Bloodlust, smother with slash strings, and cash out with mauls or supers. Pair him with a partner that buys screen space, and keep your routes compact when hurtboxes or spacing get tricky.