
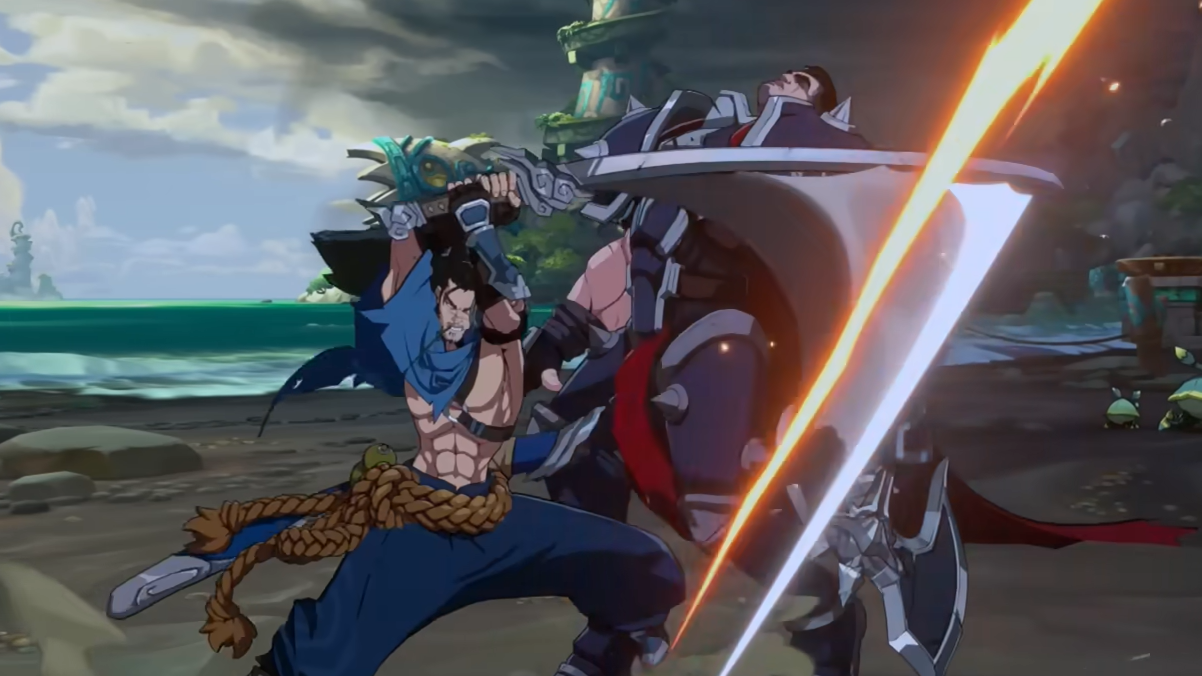
Yasuo thrives on routing flexibility, but one midscreen path stands out for damage and reach: a pro-favored sequence that starts from Special 1 stance and squeezes in extra S2 hits. It’s not the easiest way to pilot Yasuo, but once the timings click, it converts from farther hits and pays off with strong corner carry and an easy super ender. As of the 1.0.1 patch, S2 and j.S2 do the heavy lifting for damage, so the goal is to set up a reliable late bounce that keeps the opponent in hitstun long enough to thread additional stance and air specials.
Notation quick reference (used in this guide)
| Notation | Meaning |
|---|---|
| M / H | Medium / Heavy |
| S1 / S2 | Special 1 / Special 2 |
| j, jf | Jump, jump forward |
| d, f, cr | Down, forward, crouch |
| x | Cancel |
| , | Link to the next hit (timing-sensitive) |
| (hold) | Hold the button |
| stance | Enter stance (d+S1). “stance M” = stance into Medium follow-up |
| stance fM | Stance, then forward dash from stance, interrupted by stance Medium |
Important stance behavior: after entering stance, pressing forward or back performs a command dash. If you trigger a stance follow-up early in the dash, you travel less; later in the dash, you travel more. This distance change is a core tool in this route.
The pro S1 route (full input)
M, crM x S1 x stance f(delay)M x stance f(instant)M, jf S2,
fS1(hold) x stance M, jf dH x S1(hold) x stance dH,
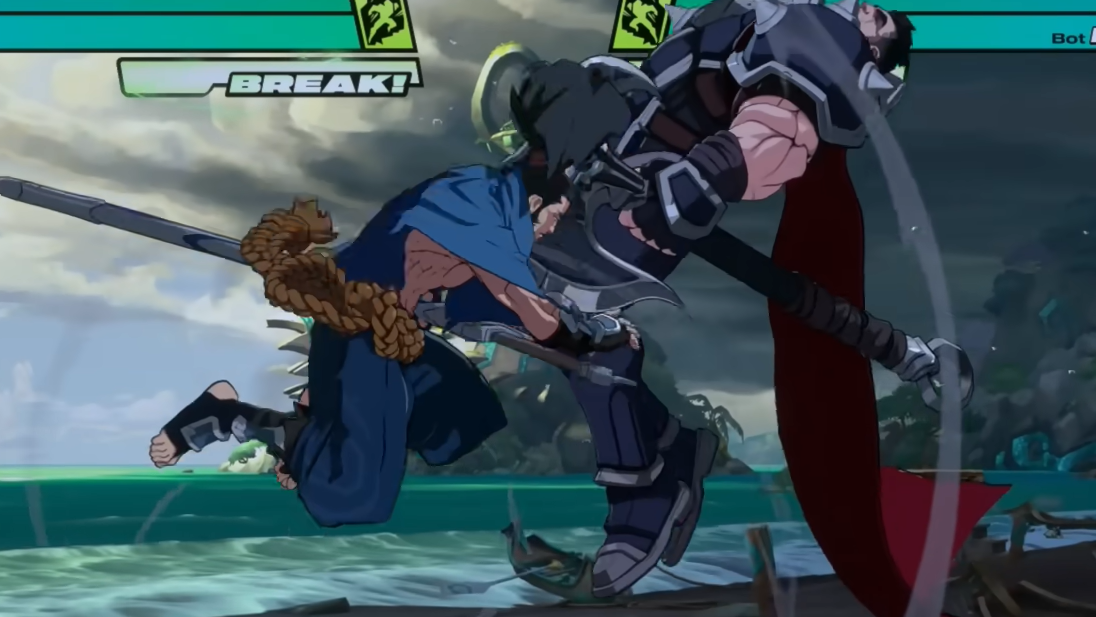
fS1(hold) x stance M, jfdH x S1S1S2 x Super 2 (hold)Why this route: it starts from S1, reaches from slightly farther pokes thanks to the delayed stance fM, and stacks extra j.S2/S2 damage. The late-bounce juggle after the first air S2 is the lynchpin; everything else flows if you set that up correctly.
Set up the late bounce on j.S2
The first juggle has to “pop” late so the ground fS1(hold) connects under the opponent’s feet. If the orb hits the body directly, they flip out and the slash whiffs. Build the correct height and orb position with three levers:
- Get max travel on the first stance fM by delaying it slightly. This extends your reach and sets spacing.
- Make the second stance fM almost instant after the first. This keeps the opponent high enough.
- Launch the jf S2 as low to the ground as possible. You want the orb low so the opponent lands onto it and bounces late.
When those three align, the opponent hangs in a juggle state long enough for fS1(hold) to connect cleanly, and the rest of the route becomes stable.
Two critical timings that make or break the combo
- Stance fM rhythm: think of “fM (delay)” then “fM (immediate)” as two distinct beats. If both feel the same, you’ll either be too close (no late bounce) or too far (orb whiffs).
- The first j.dH must hit low: after the first big fS1(hold) into stance M, don’t rush upward. Land j.dH when the opponent is low to the ground. Too high and you risk dropping the follow-up S1 or letting them fall out before stance dH.
Consistency notes and small adjustments
- Hold S1 slashes: “fS1(hold)” is non‑negotiable in this route; it’s the damage engine and the reason the late bounce matters.
- After stance dH, many players try stance‑cancel loops to re-time into fS1(hold). You can simply time fS1(hold) directly; it’s consistent and avoids extra inputs.
- The final j.fdH is tight. Jump quickly after the last stance M or you’ll miss the S1S1S2 ender.
- Situationally, the first jump-down heavy can be neutral jump dH rather than forward. Use it if forward momentum overshoots.
- That very first delayed stance fM is your lifeline when the starter hits at the tip—without the delay, the route often whiffs at range.

Character size and move swaps
On large bodies, bounce distances can shift. In some routes, S2 or j.S2 after wallbounce needs to be replaced with a held forward S1 for consistency. If your j.S2 starts to clip too directly into the hurtbox on big characters, experiment with 6[S1] in those slots to preserve spacing and keep the juggle stable.
Meter, enders, and when to cash out
- The route finishes with S1S1S2 into Super 2. Holding Super 2 triggers the ultimate for a clean cash‑out.
- If the opponent is low and scaling is high, you can shorten the ender to preserve corner position; otherwise take the super for guaranteed damage.
- Because this path frontloads stance hits, adding more S2/j.S2 earlier yields better returns than tacking on extra normals late in the combo.

Drills to lock in the route
- Delayed vs. instant fM: in training, set the dummy to crouch block, record “S1 → stance fM (delay)” and “S1 → stance fM (instant).” Alternate them until the distance change is obvious and repeatable.
- Lowest possible jf S2: jump forward from point‑blank and press S2 as low as you can. The goal is for the orb to appear nearly at ground level.
- j.dH height check: juggle into j.dH from a simple launcher and practice hitting it late. If the follow-up S1 whiffs, you hit too high.
- One‑pass string: run “stance f(delay)M → stance f(instant)M → jf S2 → fS1(hold)” only. Don’t continue until this segment lands ten times in a row.
Troubleshooting common drops
- fS1(hold) whiffs after jf S2: the orb hit too high on the body. Make the second stance fM faster and the jf S2 lower.
- Opponent air‑techs before stance dH: the first j.dH connected too high. Wait a beat so j.dH hits near the ground.
- Lose range on the opener: the first stance fM wasn’t delayed. You need the later dash cancel to extend forward before committing to M.
- Final S1S1S2 won’t link: jump too slow after the last stance M. Buffer the jump direction early and press dH promptly.
Mastering this path is mostly about two levers—spacing via delayed/instant stance follow‑ups and height via low j.S2 and late j.dH. Nail those, and the rest of the string feels automatic. If you’re brand new to Yasuo, start with simpler routes; once comfortable, come back to this S1 starter and build it piece by piece until the late bounce and cash‑out become second nature.