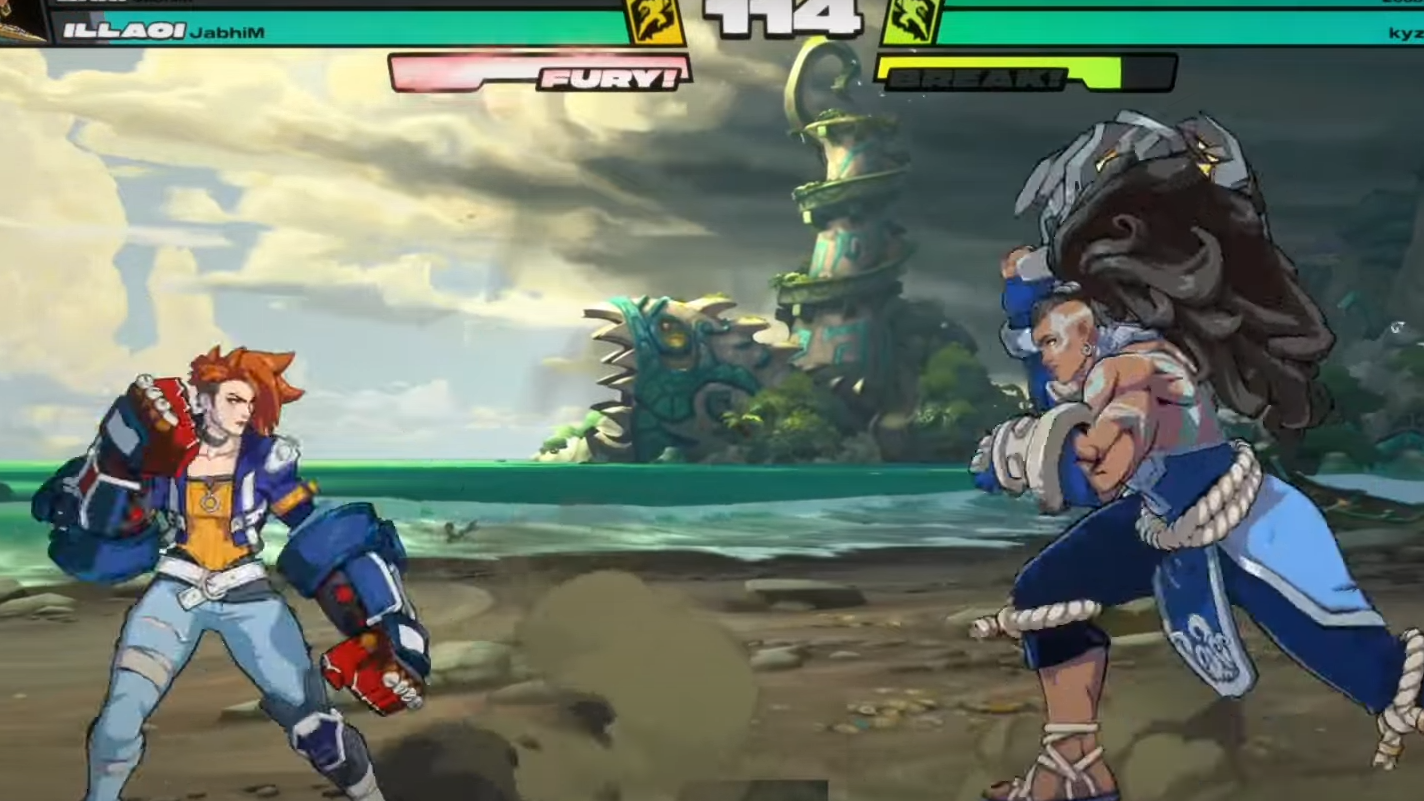
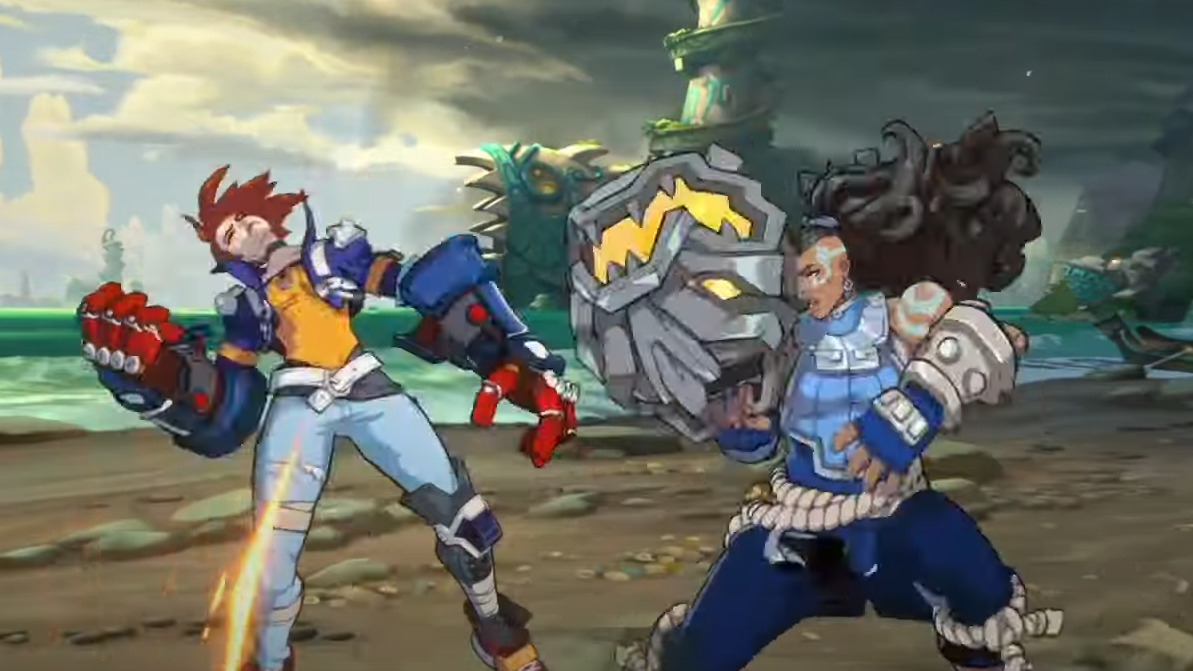
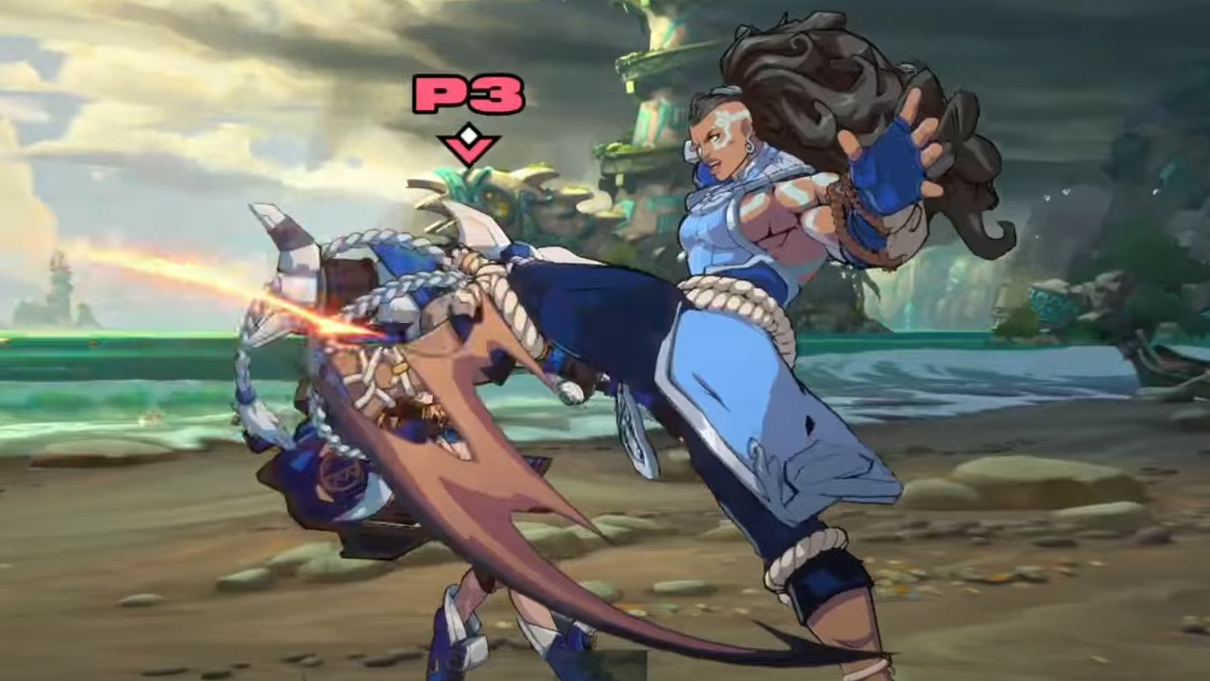
Juggernaut keeps you on a single character and strips out tag‑team tools. You lose all team mechanics except Break, and your plan shifts from assist‑driven pressure to solo fundamentals, meter management, and smart defensive timing. To offset the loss of a partner, Juggernaut adds more health, stronger defensive options at low life, expanded super cancel routes, and a unique way to force your opponent to swap.
| Category | What you get | What you lose | Numbers/notes |
|---|---|---|---|
| Team mechanics | Break remains available | All assist and tag tools (Quick Tag, Handshake Tag, Tag Launcher, Push Assist) | Play the entire round on one champ |
| Health/defense | +20% max HP; 25% damage reduction at low life | — | Damage reduction turns on at 500 HP or lower; the “effective” HP increase varies with the hit that crosses 500 |
| Supers/Ult | Chain your own supers | — | Cancel Special 1 into Special 2, or into Ultimate, and vice versa |
| Meter | 2 bars at round start; 5‑bar max | — | More meter upfront for confirms or pressure |
| Defense (push) | Push Block instead of Push Assist | — | Costs meter; access is more frequent than standard Push Assist |
| Control | Eject forces an opponent swap on hit | — | Executed with the Tag input; costs one bar |
Season 0 balance timeline (what changed and when)
Juggernaut arrived as the “solo focus” fuse and has seen targeted tuning around Break and defense.
| Date | Change | Impact on play |
|---|---|---|
| Alpha Lab 2 (spring 2025) | Introduced with increased health, low‑life damage reduction, round‑start access to Fury Break, self super‑chaining, Eject, 2 bars at start, 5‑bar cap | Round‑start burst (Fury Break) made early scrambles safer; meter and cancels enabled solo damage routing |
| Closed Beta (Sep 2025) | Break meter gain increased on clean hit; Push Block now spends Break meter instead of Super | Rewards clean offense with faster burst availability; defensive push competes directly with your Break resource |
| Season 0 Patch 1.0.1 (Oct 2025) | Round‑start Break meter reduced from 100% to 75% | No guaranteed Fury Break at the bell; you must play the opening more honestly or pre‑bank meter across rounds |

How Juggernaut changes your decisions
Juggernaut is less about set‑play with assists and more about stable neutral, safe pressure, and resource discipline. Here’s what actually shifts once you lock it in.
- Openings are riskier post‑1.0.1: with only 75% Break at round start, you can’t always burst the first mistake. Walk‑block, pre‑emptive anti‑airs, and spacing matter more than gambling on early scrambles.
- Meter is your pressure and your lifeline: starting with two bars encourages early super confirms, but you also need meter for Eject and to threaten super‑into‑super kill routes. Blowing both bars early can leave you without answers later.
- Defense revolves around Break and Push Block: without Handshake Tag or tag DP cover, your escapes are timing‑sensitive. Because Push Block now spends Break meter, every push you spend delays your next burst.
- Super chaining closes rounds: the ability to cancel Special 1 into Special 2, or into Ultimate, lets you convert stray openings into lethal damage if you’ve banked meter.
- Eject is a tempo swing, not a raw mixup: on hit, it forces the opponent’s other character to tag in. Use it to punt out a warmed‑up point or drag in a cold assist at a bad time, then take space rather than overextending.

When Juggernaut makes sense
Pick Juggernaut when you want to simplify to one kit without being overwhelmed by tag timings and assist routing. It’s a strong training ground for learning a champion’s buttons, confirms, and defensive cadence under pressure. In matches, it suits players who:
- Prefer consistent neutral over elaborate set‑play.
- Are comfortable managing one pool of resources for offense and defense.
- Can recognize when to hold meter for burst or Push Block instead of cashing out on damage.
You’re trading screen control and extensions that assists provide for sturdier solo survivability and cleaner punish windows. If you rely on assist‑covered approaches or tag mix, Juggernaut will feel restrictive. If you thrive on reads, spacing, and direct punish game, it rewards you with straightforward, repeatable sequences.

Practical examples (routes and resource checks)
- Meter check at round start: with two bars and 75% Break, you can threaten a single super confirm, but can’t burst immediately unless you’ve carried Break meter from a previous round. Plan your first swing accordingly.
- Confirm to close: off a grounded punish, route into Special 1, cancel into Special 2. If stun or spacing is tight, buffer into Ultimate instead. This is where Juggernaut’s super‑into‑super canceling separates it from other fuses.
- Corner pressure without assists: stagger jabs and mediums to bait reversals. If blocked out, Push Block to reset to mid‑screen only when you can’t contest the next layer; otherwise, save Break for the burst.
- Targeted Eject: if the opponent’s point is resource‑rich, fish for an Eject to yank in their assist, then run a meaty that’s safe against invincible options. You’ve bought time and stripped their momentum.
Quick reference
| Stat/Tool | Juggernaut value |
|---|---|
| Max HP | +20% over baseline |
| Low‑life defense | 25% damage reduction at ≤500 HP |
| Round‑start Super meter | 2 bars |
| Max Super meter | 5 bars |
| Round‑start Break meter | 75% (Season 0 patch 1.0.1) |
| Break gain on clean hit | Increased versus baseline (Closed Beta change) |
| Push Block cost | Break meter |
| Super canceling | S1 ⇄ S2, either → Ultimate |
| Eject | Tag input; on hit forces opponent swap; costs 1 bar |
Juggernaut is deliberate by design. If you want a cleaner, single‑character fight with enough meter and super flexibility to cash out when it counts, it’s the fuse that lets you cut through noise and play straight to your fundamentals.

