
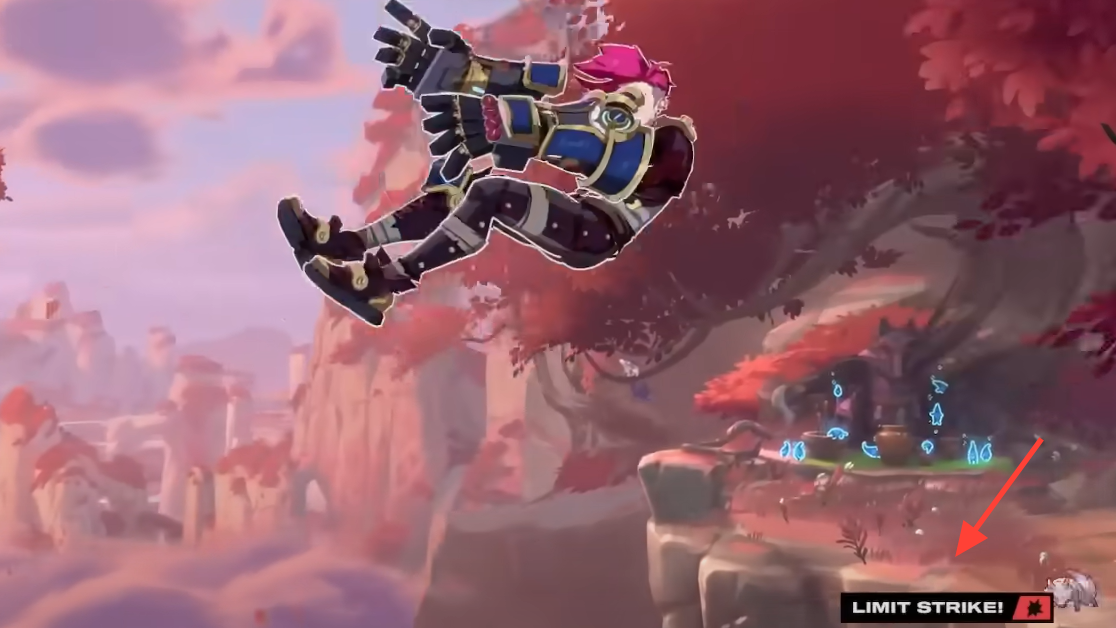
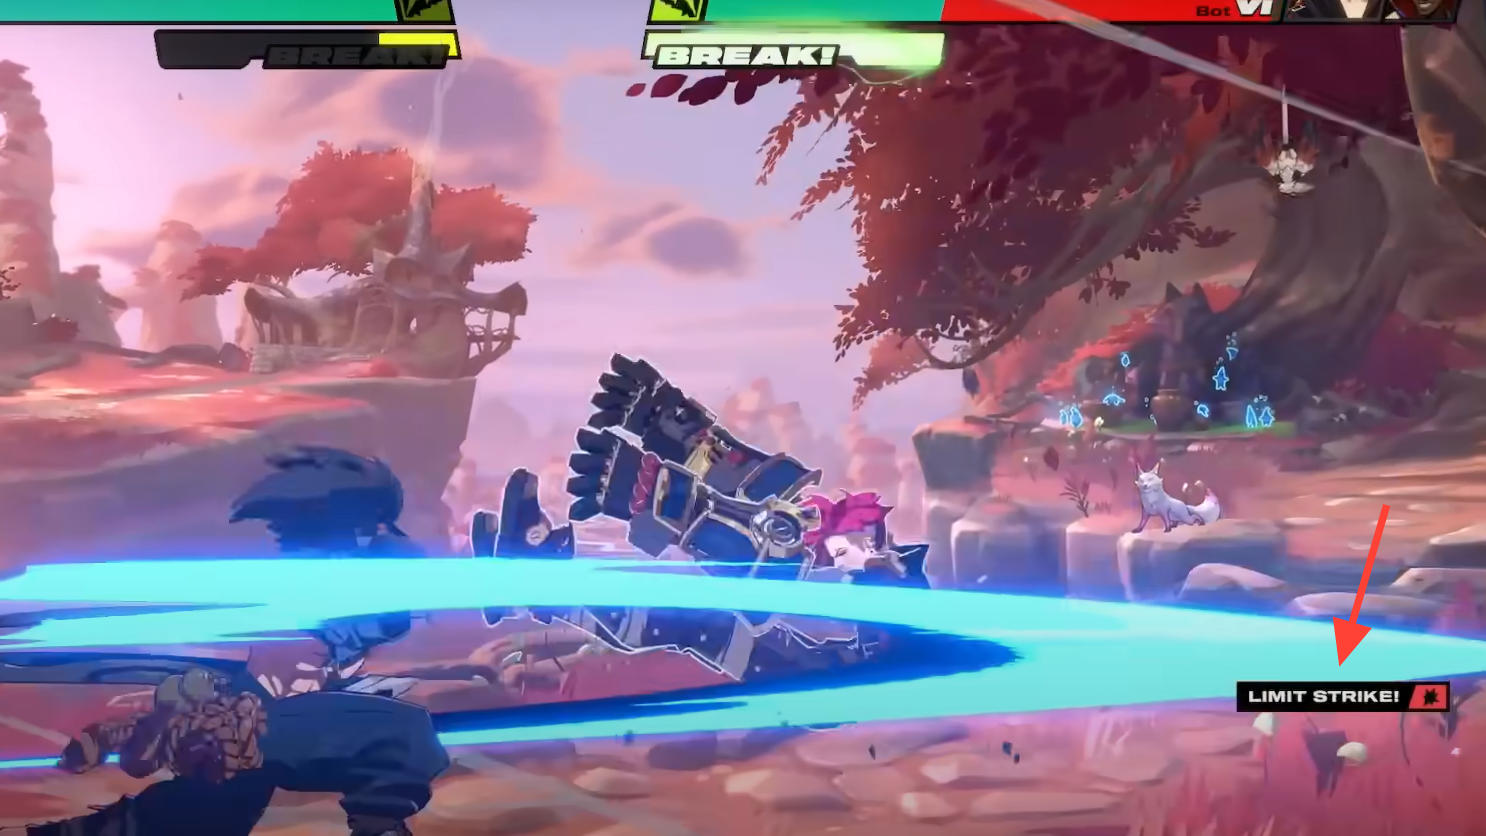
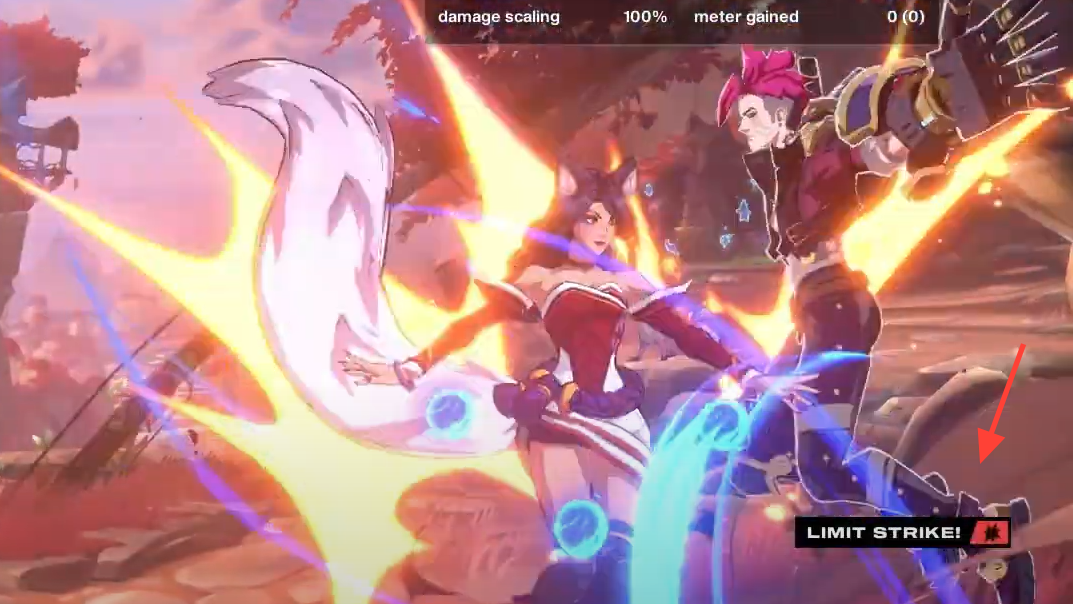
Limit Strike is 2XKO’s new answer to long, sagging combos. In earlier tests, combos auto‑dropped once a character triggered multiple reaction types (ground bounce, wall bounce, tumble), a guardrail meant to kill infinites that often killed momentum instead. Limit Strike keeps the ceiling in place while giving you a payoff when you hit that threshold: the repeated reaction converts into a guaranteed benefit tied to the situation.
What Limit Strike does
When you reach the reaction limit during a combo, the next qualifying reaction becomes a Limit Strike with a defined reward. That reward depends on which reaction state you trigger at that moment:
| Limit Strike situation | Guaranteed reward | Why you’d choose it |
|---|---|---|
| Ground Bounce Limit Strike | Extra Damage | Cash out when the next reset is unlikely or scaling is high |
| Wall Bounce Limit Strike | Extra Meter | Build resources for Supers/Ultimates or Super Assists |
| Tumble Limit Strike | Hard Knockdown | Secure oki, corner carry set‑ups, or Fuse/assist timing |
Think of Limit Strike as a routing fork: you’re not just deciding how to juggle; you’re deciding whether to finish for damage, stock meter, or lock in positioning.
Why it matters for routing and resource planning
Alpha Lab 2 tweaked several systems that make Limit Strike’s choices more meaningful:
- Meter is now generated per attack, not by damage dealt. Extra hits don’t just scale your combo; they feed your bar consistently.
- Ultimates cost three bars; Supers still cost one. The Wall Bounce Limit Strike’s extra meter becomes a real path to three‑bar confirms in the next exchange.
- Hitpause was reduced to shorten combos overall, so the Extra Damage route is a cleaner way to finish without overextending.
- It’s no longer possible to call an assist after Tag Launcher, or to tag after Double Down, which elevates Tumble’s Hard Knockdown for planned oki over assist‑driven extensions.
In short: Limit Strike turns an automatic drop into a deliberate ender. Pick damage when the next reset won’t stick; pick meter if you’re near a breakpoint; pick knockdown when momentum matters more than raw damage.
How Limit Strike changes corner, midstage, and endgame decisions
Limit Strike’s rewards land differently depending on screen position and game state:
- Corner pressure: If you’re in or near the corner, Wall Bounce Limit Strike’s extra meter is often more valuable than a marginal damage bump because the next touch can cash out with a Super or set up a Super Assist when a partner is KO’d.
- Midstage juggling: Ground Bounce Limit Strike’s extra damage is the simplest way to close a round when scaling starts to bite and you don’t have a clean route back to the wall.
- Oki over extension: Tumble Limit Strike’s hard knockdown sets expectations on wake‑up and buys time for assists coming off cooldown or Fuse tools like Fury Break timing after a KO.
Synergy with other Alpha Lab 2 changes
Limit Strike doesn’t exist in a vacuum. A few system updates interact with it in obvious ways:
- Push Assist replaces Pushblock: Since Push Assist uses a shared assist cooldown instead of meter, saving bars via Wall Bounce Limit Strike can be even more impactful for offense.
- KO’d & Super Assists: When a partner is down, you can still call assists — and spend one bar for a Super Assist. Extra Meter from Limit Strike gives you more windows to spend here.
- Fury Break: After a KO, triggering Fury Break grants damage boost and reduction with additional on‑hit effects depending on timing. If you’re planning a Fury Break round, Wall Bounce Limit Strike to bank meter early can underpin a comeback sequence; conversely, Ground Bounce Limit Strike helps cash out while the buff window is active.
When to favor each Limit Strike reward
Use a simple priority to cut through the noise mid‑match:
- Go Extra Damage when a confirm will kill or force a chip‑out guess on wake‑up.
- Go Extra Meter when you’re one bar short of a Super route, two bars from an Ultimate kill path, or setting up Super Assist coverage.
- Go Hard Knockdown when screen control matters more than scaling — e.g., to pin a slippery zoner, time assists, or protect a health lead.
How Limit Strike compares to the old reaction cap
Previously, hitting multiple reactions with the same character during one combo simply ended the sequence. That stopped infinites but also forced drops right as combos got interesting. Limit Strike preserves the guardrail while paying you out with something useful. The practical effect is a higher skill ceiling for routing: you’re rewarded for planning the reaction you’ll hit at the limit, not punished for reaching it.
Practical examples (no character specifics required)
- Corner juggle into wall bounce: Route into a Wall Bounce Limit Strike to top off meter, then run a short ender. You’ll exit with positioning and a bar advantage for the next touch.
- Midstage anti‑air pickup: If you can’t drag to the wall, aim for a Ground Bounce Limit Strike to bank damage and end with a safe meaty rather than chasing a risky reset.
- Reset table vs. armor: Use Tumble Limit Strike’s hard knockdown when you need a guaranteed meaty that breaks armor on getup, aligning with system changes that made getup attacks break armor.
What Limit Strike does not do
- It doesn’t remove the need to manage scaling; it just gives a defined reward when you hit the limit.
- It doesn’t expand assist timing windows after Tag Launcher or Double Down; those were intentionally tightened to reduce combo length.
- It doesn’t guarantee corner carry. You still need clean routing to reach the wall if you want the meter payout.
Limit Strike turns a hard cap into a decision point. Train for all three payoffs and pick based on position, health, and bar count. When the system offers you a fork mid‑combo, you should already know which path wins the next exchange.