
Abyss is a Roblox fishing survival game where you're dragged into the ocean depths by a Kraken. You must catch fish to feed the beast, manage oxygen levels, upgrade harpoon guns and tubes, and complete quests across multiple biomes. Progression hinges on purchasing the right equipment at the right time, equipping stat-boosting artifacts, and choosing efficient upgrade paths.
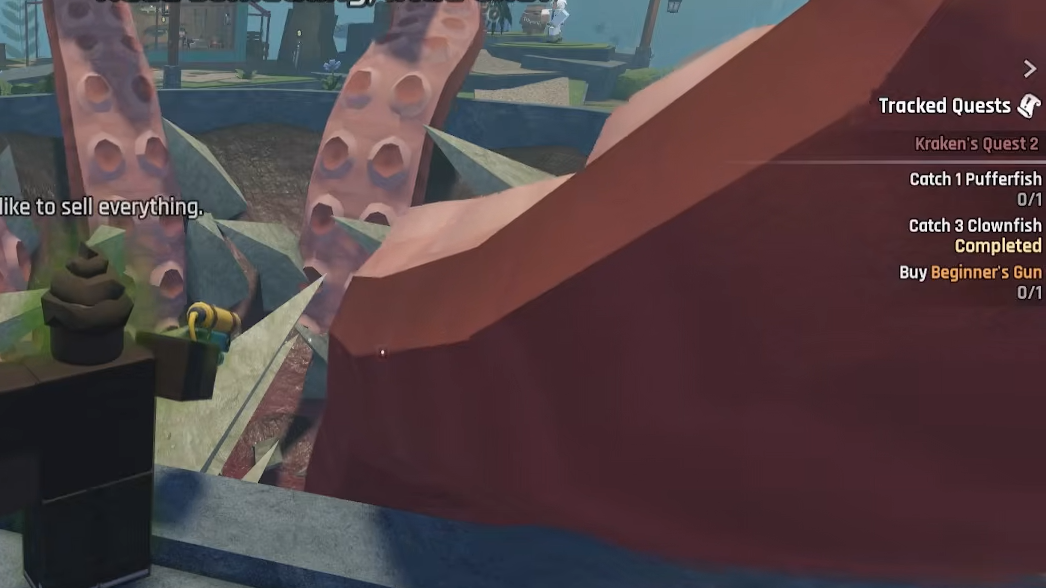
Quick answer: Complete Kraken's Quest 1–5 to unlock the Normal Tube and Advanced Gun, then save for the Pufferfish Tube ($4,000) to access Ancient Sands. From there, buy the Crossbow Gun and Boat Tube ($10,000 total) from Marcus, then farm for the Wasted Gun and Rukiry Tube ($58,000 total) before moving to Spirit Roots.
Forgotten Deep Progression (Starting Area)
When you spawn in Forgotten Deep, accept quests from Virelia and Mr. Black immediately. Their objectives overlap with Kraken's early quests, letting you complete multiple tasks simultaneously. Progress through Kraken's Quest 1–5 to receive the Normal Tube and Advanced Gun as rewards.

The best tube in Forgotten Deep is the Pufferfish Tube, which costs $4,000 and is part of Kraken's Quest 6. This tube provides enough oxygen capacity and depth range to reach Ancient Sands. Do not buy the Fire Tube or Air Rifle Gun—skip directly to the Pufferfish Tube and save money for better equipment in Ancient Sands.
Before leaving Forgotten Deep, complete the Scientist's Quest to unlock the Teleporter. This NPC asks you to find five items scattered around the starting island (toilet, antenna, toilet paper, and two other objects). Walk around the island's perimeter to locate them—all items are on the main island, not underwater. The Teleporter lets you fast-travel between biomes for a small fee, which is essential if you don't have the Sell Anywhere gamepass. Without it, you must return to the Kraken to sell fish, making the Teleporter critical for efficient farming.
Once you have the Pufferfish Tube and Teleporter unlocked, follow the objective marker toward Ancient Sands. Under the giant arch, look for a sign reading "Crazy Jeff's" that leads to a cave with breathable air. Enter this cave quickly to avoid oxygen depletion.

Recommended setup at the end of Forgotten Deep:
- Tube: Pufferfish Tube
- Harpoon: Advanced Gun
- Artifact: Feather or any higher-rarity artifact you've obtained from geodes
Ancient Sands Progression
With the Pufferfish Tube, you can stay underwater longer than in Forgotten Deep, but Ancient Sands is deeper, so you still need to manage oxygen carefully. Fish near Crazy Jeff's cave entrance sell for more money than Forgotten Deep fish. When oxygen runs low, return to the cave to refill.
Save $10,000 to purchase both the Crossbow Gun and Boat Tube from Marcus, an NPC located near Crazy Jeff's cave next to a giant skeleton. The Crossbow Gun handles most Ancient Sands fish efficiently, and the Boat Tube provides enough depth and oxygen capacity to explore the biome comfortably. Purchase the Radar from the starting area in Forgotten Deep for $350—it displays fish health, mutations, and species, making it easier to identify quest targets.

Progress through Marcus's quests to earn money and experience. Continue Virelia's and Mr. Black's quests as well to maximize resource gain. Your next goal is to save $58,000 total for the Wasted Gun ($17,500) and Rukiry Tube ($40,500). The Wasted Gun provides 120 damage, a 2.2-second cooldown, and 0.75 range—a significant upgrade from the Crossbow. The Rukiry Tube offers enough oxygen and depth to comfortably reach Spirit Roots.
Grumpy Hank, who sells the Rukiry Tube, is located southwest of Crazy Jeff's store. Be cautious of sharks swimming in that area. Complete Marcus's and Grumpy Hank's quests to farm money faster.

Technically, you can reach Spirit Roots with just the Zepline Tube (obtained from a treasure chest), but the Zepline Tube's depth limit makes the journey difficult. The Rukiry Tube is the recommended purchase for a smooth transition.
Recommended setup at the end of Ancient Sands:
- Tube: Rukiry Tube
- Harpoon: Wasted Gun
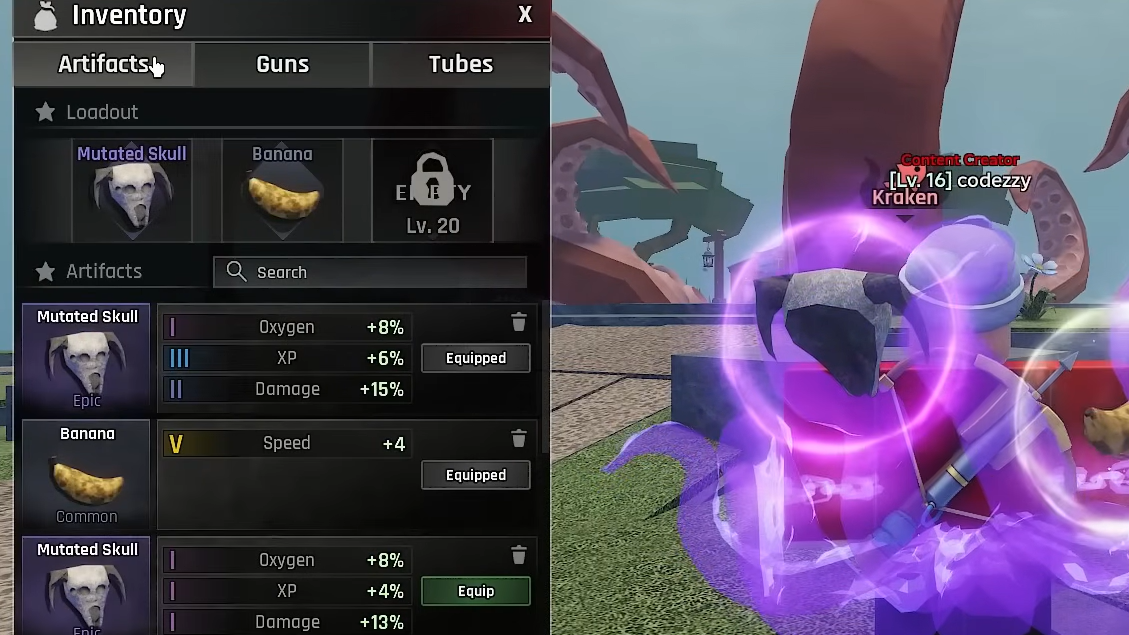
- Artifact: Two Mutated Skulls (or best available artifacts)
Spirit Roots Progression
Upon arriving in Spirit Roots, accept quests from Lumi and Isolde. You can progress their quests while fishing normally outside the Spirit Roots entrance. Fish just outside the entrance sell considerably more than Ancient Sands fish, making this your primary farming location.

Save $105,000 total to purchase the Oxy Tube ($57,500) and Magroot Gun ($47,500) from the vendor near Lumi. These upgrades last through most of Spirit Roots and allow you to dive deeper into the biome.
Focus on completing Isolde's quests to unlock a barrier at the back of the area. This barrier leads to Victor, a new NPC with a questline. As you progress through Victor's quests, save $318,250 total for the Lost Spirit Tube ($160,000) and Lost Spirit Gun ($158,250). The Lost Spirit Tube allows you to dive into the underground cave area, where you can catch legendary fish like the Eyefish.

Once you have the Lost Spirit Tube and Gun, farm until you reach level 35 to unlock quests from the Lost Captain. Progressing through the Lost Captain's questline unlocks Angler's Cave, a hidden area with high-value fish.
If you want to farm experience quickly, catch fish in Forgotten Deep. They provide slightly lower experience than Spirit Roots fish but can be caught much faster. This method is efficient if you're not upgrading equipment soon.
Angler's Cave and King Anglerfish
Angler's Cave becomes accessible after completing the Lost Captain's quest chain. The King Anglerfish is the boss of this area. Catching it grants massive amounts of cash and experience, significantly accelerating progression. However, this is not a mandatory step—check your gear's capabilities before engaging, as the King Anglerfish has high health and deals significant damage.

Best Artifact Builds
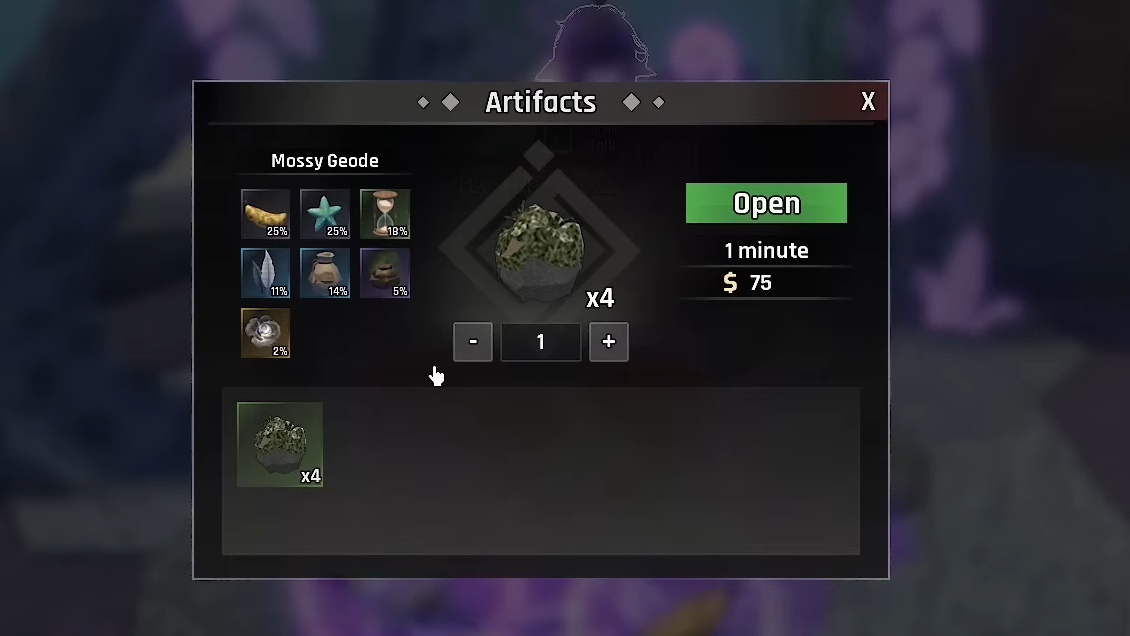
Artifacts provide permanent stat boosts that directly affect gameplay. You obtain artifacts by opening geodes, which drop randomly while fishing. When you catch a fish, a treasure chest icon may appear on the minigame bar. Keep it within the green zone to receive a geode. Take geodes to Virelia to open them and receive a random artifact.
Early-game artifact build:
- Artifact: Hour Glass
- Stat priority: Cooldown reduction
Cooldown reduction is most important early because starting guns have low damage. Higher shot frequency lets you catch more fish over time.
Mid-game artifact build (main loadout):
- Artifacts: Hour Glass, Holy Flower
- Stat priority: Cooldown, Speed, Damage
In mid-game, balance cooldown reduction with speed and damage to handle a wider variety of fish. Speed helps you dodge aggressive fish, and damage lets you one-shot lower-tier fish for 3-star catches, which sell for more.
Mid-game artifact build (alternative loadout):
- Artifacts: Holy Flower, Banana
- Stat priority: Damage, Speed
Prioritizing damage completely allows you to farm fish more efficiently by one-shotting most targets. This build maximizes cash gain from 3-star catches.
Endgame artifact build:
- Artifacts: Wraith Flower, Divine Hour Glass, Demonic Hour Glass
- Stat priority: Cooldown, Speed, Damage
In endgame, prioritize cooldown, speed, and damage to catch higher-tier fish. Cooldown lets you repeatedly damage fish with large health bars. Speed helps you dodge aggressive fish during fights. Damage gives you access to higher-tier fish and enables one-tap catches. Oxygen and weight become less valuable because higher-tier tubes compensate for them.
Endgame artifact build (alternative loadout):
- Artifacts: Rune of Might, Holy Flower, Eternal Crystal
- Stat priority: Damage, Cooldown, Oxygen
This build focuses on damage, cooldown, and oxygen. Oxygen replaces speed for survivability during fights. This loadout favors slow, steady fights and survivability against higher-tier fish.
Artifact Tier List
S-tier artifacts (best in game):
- Wraith Flower (Mythical): Speed +3.5 to +5.25, Cash +9% to +16%, Damage +30% to +44%. One of the highest damage boosts in the game with strong speed and cash scaling. No negative stats. Extremely rare.
- Infernal Eye (Mythical): XP +7% to +13%, Cooldown +0.3s to -0s, Damage +15% to +21%. Boosts XP gain significantly with strong damage. Cooldown increase can be negated. Very low drop rate.
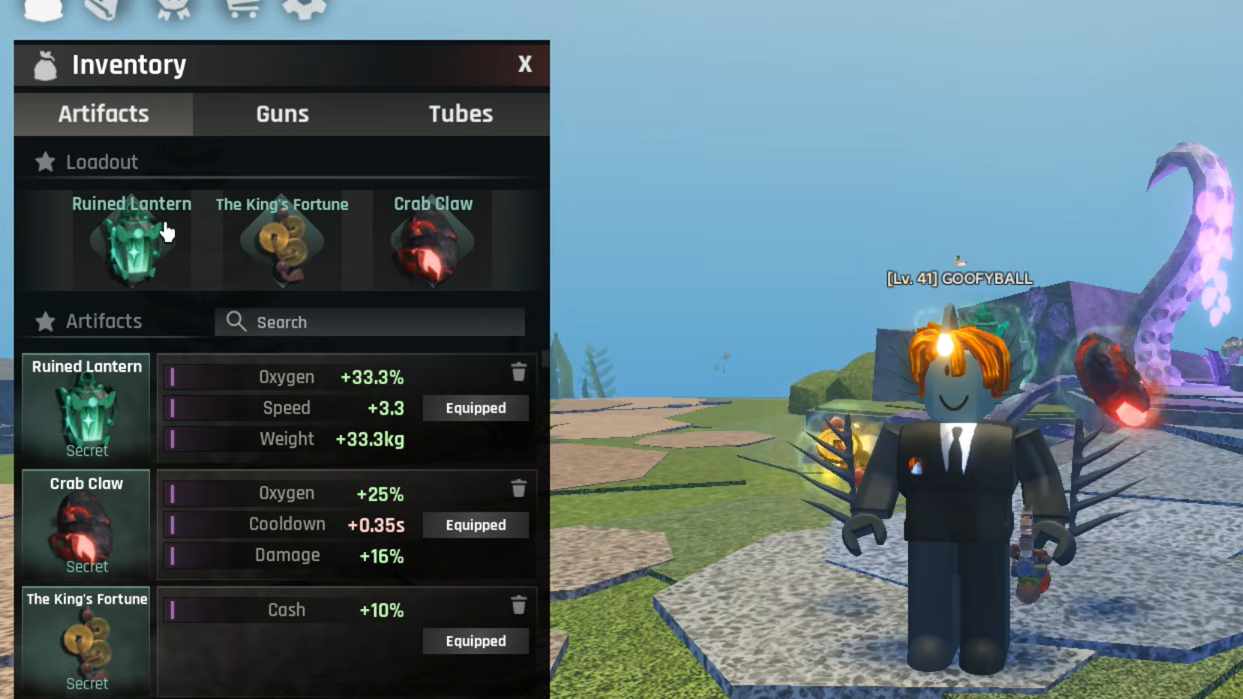
- The King's Fortune (Secret): Cash +14% to +21%, Speed +3.25 to +5, Cooldown -0.2s to -0.34s. Best overall money-focused artifact. Improves both speed and cooldowns with no stat penalties. Locked behind quest progression.
- Divine Hour Glass (Legendary): Speed +2.5 to +4, Cooldown -0.2s to -0.32s, Damage +6% to +12%. Excellent cooldown reduction at higher tiers with strong movement speed boost. Slightly weaker early tiers.
- Eternal Crystal (Legendary): Oxygen +18% to +25%, Damage -9% to +12%, Weight +30kg to +65kg. Huge oxygen bonus for deep runs with strong weight scaling. Decent damage increase. Can be hard to obtain.
A-tier artifacts:
- Demonic Hour Glass (Epic): Speed +2.25 to +4, Cooldown -0.2s to -0.34s, XP +8% to +18.5%. Massive speed boost at high tiers with strong cooldown reduction. No damage or income bonus.
- Holy Flower (Legendary): Oxygen -7% to -1%, Speed +1.75 to +3.25, Cash +7% to +13%. Good income boost with solid speed scaling. No negative effects. Lacks combat stats.
- Rune of Might (Rare): Cooldown +0.3s to -0.05s, Damage +20% to +34%. One of the highest damage boosts available. Can shorten fishing cooldowns. Excellent for high-damage builds. Less useful for utility-focused players.
- Crab Claw (Secret): Oxygen +22% to +29%, Cooldown -0.14s to -0.28s, Cash +12% to +19%. Excellent for both income and survivability. Strong oxygen capacity buff. No drawbacks. Quest-gated.
B-tier artifacts:
- Mutated Skull (Epic): Oxygen +7% to +13%, XP -10% to -4%, Damage +9% to +13.5%. Good oxygen and damage boosts. XP reduction slows progression.
- Poop (Epic): XP -5% to -2.9%, Damage +9% to +15%. High damage bonus. Easy to obtain. XP penalty hurts long-term growth.
- Sea Mine (Rare): Oxygen -15% to -6%, Damage +8% to +14%. Strong damage increase for its rarity. Oxygen reduction is risky in deep areas.
- Fish Bag (Rare): Weight +8kg to +20kg. Solid weight bonus for fishing. No negative stats. No combat or speed benefits.
- Feather (Rare): Speed +2 to +3.5, Damage -5% to -0.5%. Movement speed bonus. Damage reduction lowers efficiency.
- Lantern (Uncommon): Cooldown -0.16s to -0.23s, Weight +25kg to +46kg. Decent cooldown reduction. Increases weight capacity. Overall stat buffs are lacking in comparison.
C-tier artifacts (worst in game):
- Fish Crate (Uncommon): Weight +15kg to +33kg, Speed -1.5 to -0.9. Decent weight increase. Speed reduction hurts farming efficiency.
- Cactus (Common): Cooldown -0.12s to -0.24s. Minor cooldown reduction in early game. Scales poorly compared to better options.
- Hour Glass (Uncommon): Cooldown -0.1s to -0.22s. Easy to obtain. Inferior to higher-tier hourglass variants.
- Tank (Common): Oxygen +8% to +22%, Speed +1.75 to +3.5. Decent boost to both oxygen and speed. Falls off in late game.
- Banana (Common): Speed +0.75 to +1.5, Damage +1% to +1.6%. Early-game stat boosts. Extremely low scaling.
- Sea Star (Common): Oxygen +5% to +8%. Helps beginners survive longer underwater. No late-game value.
Best Guns and Tubes
Recommended guns (in progression order):
- Air Rifle Gun: Best early-game gun. High damage for its cost. Easy to obtain through Kraken quests.
- Crossbow Gun: Best mid-game gun for Ancient Sands. Affordable and efficient against most Ancient Sands fish.
- Magroot Gun: Third strongest endgame gun. Budget-friendly while still offering solid stats for endgame.
- Lost Spirit Gun: Best value endgame gun. High damage, longer range, shorter cooldown. Can carry you through the rest of the game.
- Ruined Gun: Direct upgrade from Lost Spirit Gun. Highest stats among accessible guns. Can handle all fish effortlessly.
Recommended tubes (in progression order):
- Pufferfish Tube: Opens up Ancient Sands. Best tube in Forgotten Deep.
- Zepline Tube: Lets you skip most Ancient Sands tube purchases. Enough depth to reach Spirit Roots surface early. Obtained from a treasure chest.
- Oxy Tube: Allows entry into Spirit Roots proper. Third fastest tube in the game.
- Lost Spirit Tube: Allows exploration of the last segment of the game. Second fastest tube in the game.
- Ruined Tube: Best endgame tube. Enough capacity and weight to tide you over for the rest of the game.

Money Farming Tips
Focus on catching fish with mutations. Mutations provide multipliers to the fish's base value. The Abyss mutation is the best, followed by Angelic, Shadow, and Rooted. Size matters, but mutations provide significantly higher value multipliers than size alone.
Use the Radar ($350 from Forgotten Deep) to identify fish mutations before catching them. Prioritize fish with multiple mutations over large fish with no mutations.
In Spirit Roots, whales spawn randomly and sell for the highest value. Server hop to find servers with whale spawns. If you can't find whales, farm fish with good mutations in the Spirit Roots entrance area.
If you don't have the Sell Anywhere gamepass, use the Teleporter to return to the Kraken to sell fish. The teleport fee is small compared to the time saved.
Race Tier List
Recommended races:
- Sea Angel (Mythical): Most versatile race. Provides bonuses to fishing minigame catch speed, oxygen consumption, and damage that scales on speed. Best race to roll but hard to get due to rarity.
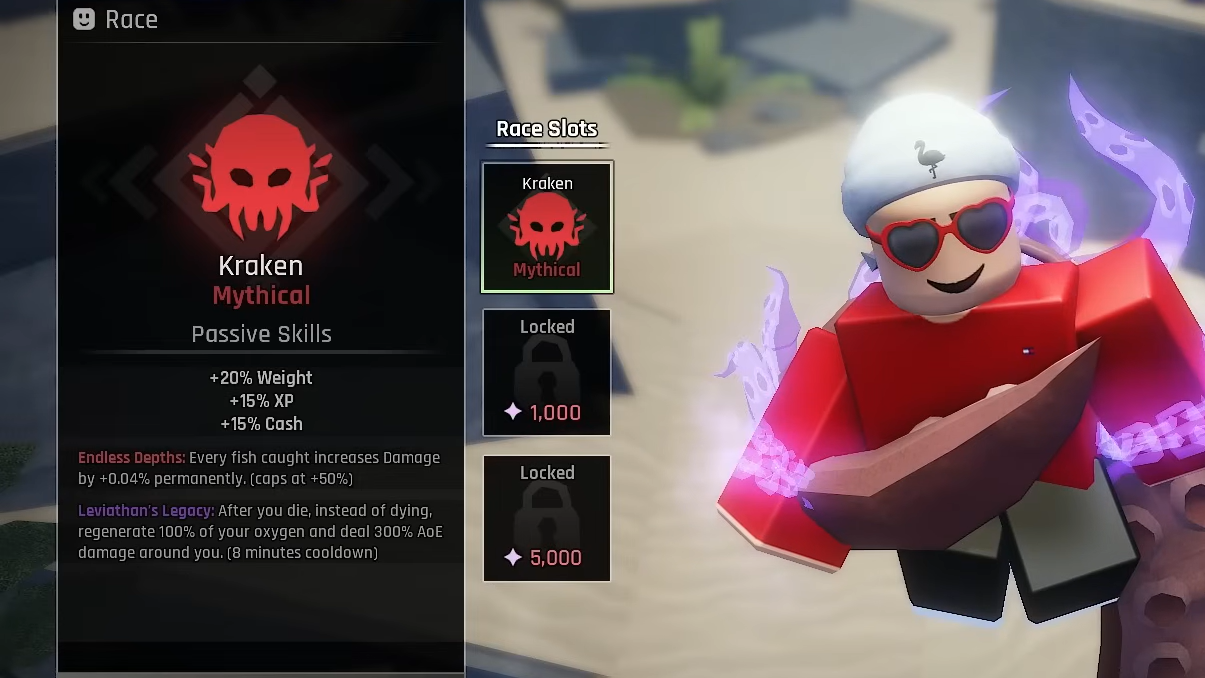
- Kraken (Mythical): Second Wind passive with 50% damage increase at max. Allows powerful one-shot builds when paired with high-power guns and damage artifacts.
- Vampire Squid (Epic): Passive allows you to stay out longer and use fewer oxygen tanks, indirectly contributing to more cash earnings. Easier to get than mythicals.
- Shark (Epic): Increases damage at low oxygen while reducing oxygen usage. Lets you reap damage bonus while teetering around the threshold. Easier to get than mythicals.
- Spirit (Rare): Provides Second Wind mechanic to save you from death and extra cash earnings. Only a rare race, so high chances of getting this during lucky reroll.
Races to consider:
- Anglerfish (Epic): Specializes in maximizing income with cash boost and double fish catch perk. Only race that can illuminate dark areas. Increase to damage makes it versatile for combat.
- Narwhal (Rare): Damage-boosting capabilities with additional speed for evasion. Great for combat in early to mid stages.
- Crab (Rare): Survivability is considerable thanks to 25% chance to absorb damage as healing, oxygen increase, and additional EXP.
- Puffer (Rare): 20% chance of reflecting damage back to attackers. Does not provide much else apart from additional oxygen.
- Monkey (Common): Viable for early game. Provides increase in EXP and speed for easier leveling and mapping.
Use Star Shards to reroll your race. Star Shards are obtained from codes, quests, and achievements. Lucky rerolls cost 400 Star Shards and significantly increase your chances of getting rarer races. Regular rerolls cost 100 Star Shards.