
The Alchemist’s Workbench is one of the most important crafting stations in Hytale once you move beyond basic survival. It turns monster parts and minerals into potions, bombs, and healing items that can decide whether you clear a dungeon or respawn back at your base.
What the Alchemist’s Workbench does in Hytale
The Alchemist’s Workbench is dedicated to potions, healing items, and explosive tools. It lets you:
- brew potions that restore health or provide temporary buffs, such as extra damage or resistance
- craft bombs and similar consumables that help control groups of enemies or break through tough encounters
- unlock more advanced recipes as you progress, upgrade your workbenches, and explore key locations like the Forgotten Temple
In practical terms, weapons and armor keep you alive in straightforward fights, but the Alchemist’s Workbench gives you the safety net and damage spikes needed for boss fights, long expeditions, and co-op runs.

Prerequisites before building the Alchemist’s Workbench
You cannot place an Alchemist’s Workbench on day one. There are two key milestones you need to hit first.
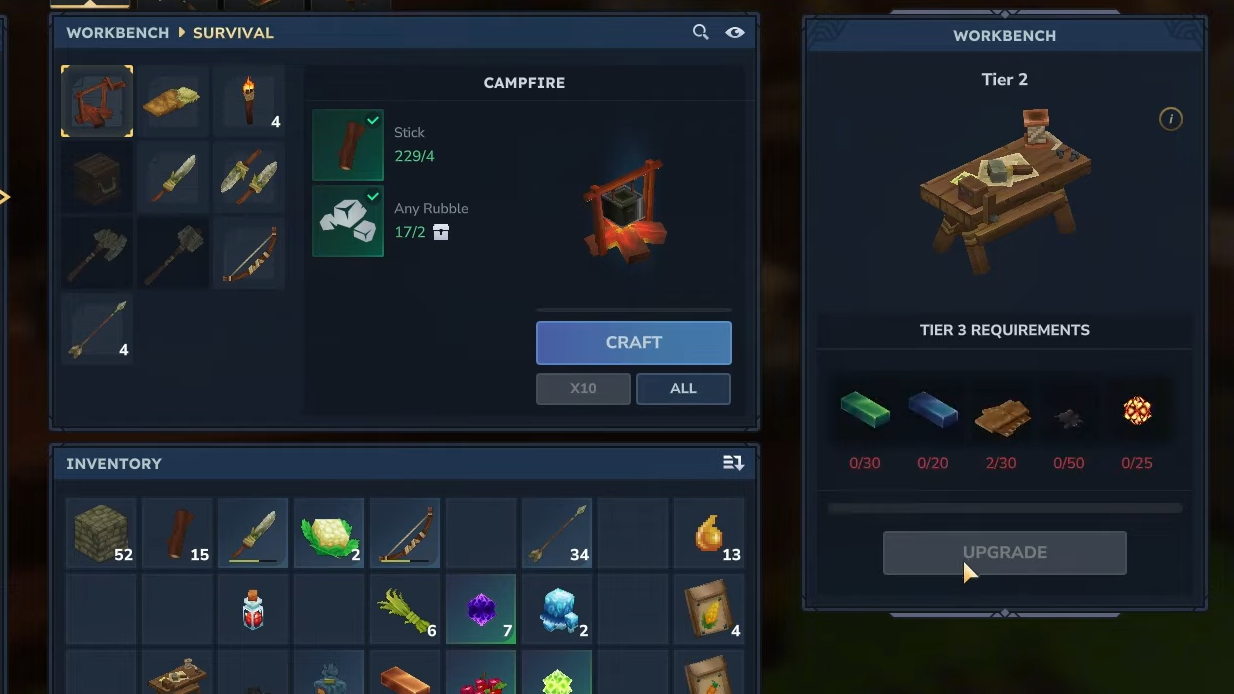
1. Build a basic Workbench, then upgrade it to Level 2
The starting Workbench is your first real crafting hub. Once you have it, you can use it to create other specialized benches. The Alchemist’s Workbench only appears as a craftable option once that initial Workbench has been upgraded to Level 2. That upgrade unlocks several late-game benches, including the Alchemist’s Workbench, Salvager’s Workbench, and Arcanist’s Workbench.
2. (Alternative path described in some materials) Create a Builder’s Workbench first
Some descriptions present the Builder’s Workbench as the first specialized bench you should craft. It uses 6 Tree Trunks and 3 Stones and then serves as the station where you create other workbenches, including the Alchemist’s Workbench. In practice, the flow is the same conceptually: build your basic crafting infrastructure, then expand into specialist benches once you have enough early-game materials.
Either way, you should treat the Alchemist’s Workbench as a mid-progression structure you build after establishing tools, basic gear, and a secure base.

Alchemist’s Workbench crafting recipe and materials
Once your Workbench is Level 2 and the recipe is available, the Alchemist’s Workbench requires a mix of stone, metals, and monster drops. The full recipe is:
| Material | Amount | How to obtain it |
|---|---|---|
| Any Stone | 20 | Mine rocks and stone blocks with a pickaxe in the overworld. |
| Gold Ingot | 5 | Mine gold ore underground, then smelt it into ingots in a furnace. |
| Venom Sac | 10 | Defeat spiders or other venomous enemies that drop venom-related items. |
| Bone Fragment | 10 | Loot skeleton-type enemies after combat. |
How to build the Alchemist’s Workbench
Once you have the prerequisite bench level and all materials, the build process is straightforward.
Step 1: Ensure your primary Workbench is upgraded to Level 2. If you are using a Builder’s Workbench flow, make sure that the bench is already placed and accessible in your base.
Step 2: Gather 20 Stone, 5 Gold Ingots, 10 Venom Sacs, and 10 Bone Fragments in your inventory. Double-check stack counts so you do not have to interrupt crafting to hunt more mobs.
Step 3: Interact with your Level 2 Workbench (or Builder’s Workbench, depending on your setup). Navigate to the workbench crafting category and select the Alchemist’s Workbench once it appears in the list.
Step 4: Confirm the recipe and craft the bench. The materials will be consumed, and the Alchemist’s Workbench item will appear in your inventory.
Step 5: Place the Alchemist’s Workbench in a safe, frequently used area of your base. Avoid cramped corners; you will visit it regularly between fights and expeditions.
For co-op worlds, it is often worth placing multiple Alchemist’s Workbenches if your base is spread out so everyone can restock potions quickly.

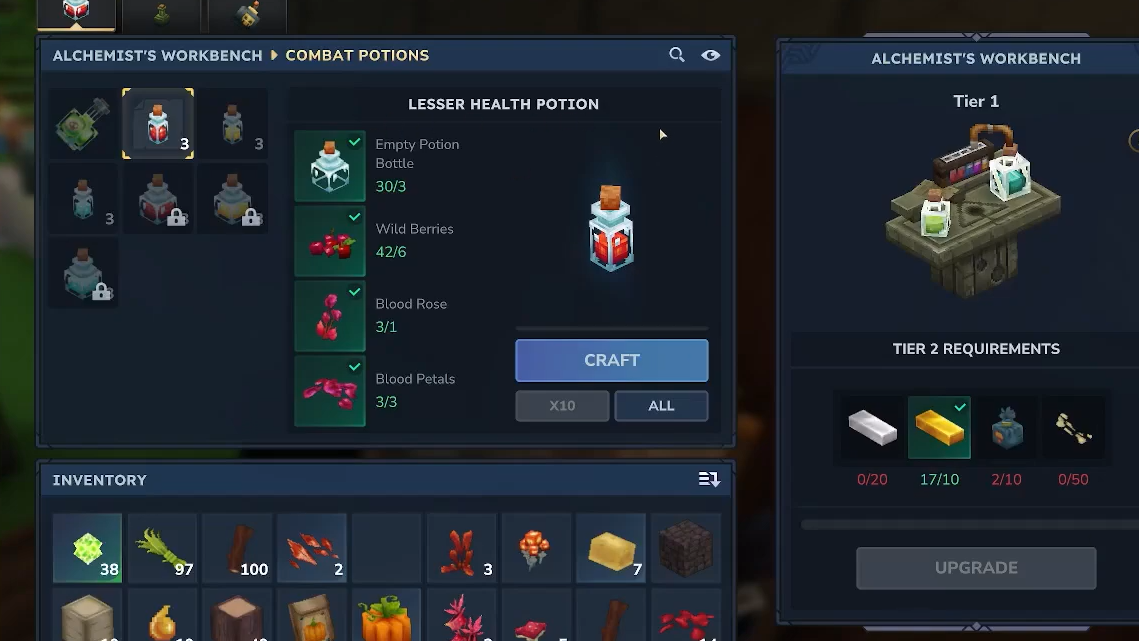
How to use the Alchemist’s Workbench
The interface behaves much like other workbenches, but the outputs are all chemistry-focused.
Step 1: Interact with the Alchemist’s Workbench. A crafting menu opens with a list of potions, bombs, and related consumables currently available to your character.
Step 2: Highlight a potion or bomb recipe. The UI shows the exact ingredients and quantities required, typically a mix of monster drops, herbs, minerals, and sometimes liquids.
Step 3: Make sure the required ingredients are in your inventory. If anything is missing, the missing materials are usually visually distinct so you can quickly see what to farm.
Step 4: Once you have everything, select the item and hit the Craft button. The materials are consumed ,nd the finished potion or bomb moves into your inventory.
Step 5: Add freshly crafted potions and bombs to your hotbar before you leave your base. Potions only help if you can trigger them quickly when things go wrong.
How to unlock more Alchemist’s Workbench recipes
Potion variety grows as you push deeper into Hytale’s world and systems. The main ways to expand your options are:
- Default recipes: A core set of basic healing and buff potions is available as soon as you build the Alchemist’s Workbench. These usually cover straightforward health restoration and simple boosts.
- Heart of Orbis memories: Recording memories with the Heart of Orbis in the Forgotten Temple can unlock additional alchemy recipes. Exploring that location and interacting with the Heart of Orbis is a major progression gate for more specialized potions.
- Workbench upgrades: Higher-level versions of the Alchemist’s Workbench (or global crafting upgrades tied to your main Workbench) can reveal advanced recipes that are hidden at lower tiers.
As you unlock new recipes, always revisit the Alchemist’s Workbench before a big adventure. Many of the stronger buffs and situational potions only appear later and can dramatically change how you approach certain zones or bosses.
Why you should prioritize the Alchemist’s Workbench in your progression
Once your basic needs are handled, the Alchemist’s Workbench becomes a central part of efficient progression for several reasons.
First, it improves survivability. Healing potions let you stay in the field longer instead of retreating to your base every time your health dips. Combined with armor from the Armorer’s Workbench and food from the Farmer’s Workbench, you can tackle longer dungeons in a single run.
Second, it gives you flexible power spikes. Temporary buffs and offensive consumables help you handle enemies that outscale your current weapons or armor. Instead of grinding for a full new gear set before entering a dangerous biome, you can bridge the gap with stronger potions.
Finally, it supports co-op play. When multiple players share one base, an Alchemist’s Workbench stocked with enough materials allows everyone to grab what they need before heading out, rather than relying on a single healer or a limited stash of food.
Building the Alchemist’s Workbench as soon as your Workbench reaches Level 2 is a strong investment. Once it is placed near your core storage and other benches, it becomes a reliable way to turn the risks you take fighting spiders and skeletons into the potions and bombs that keep your adventure going.