
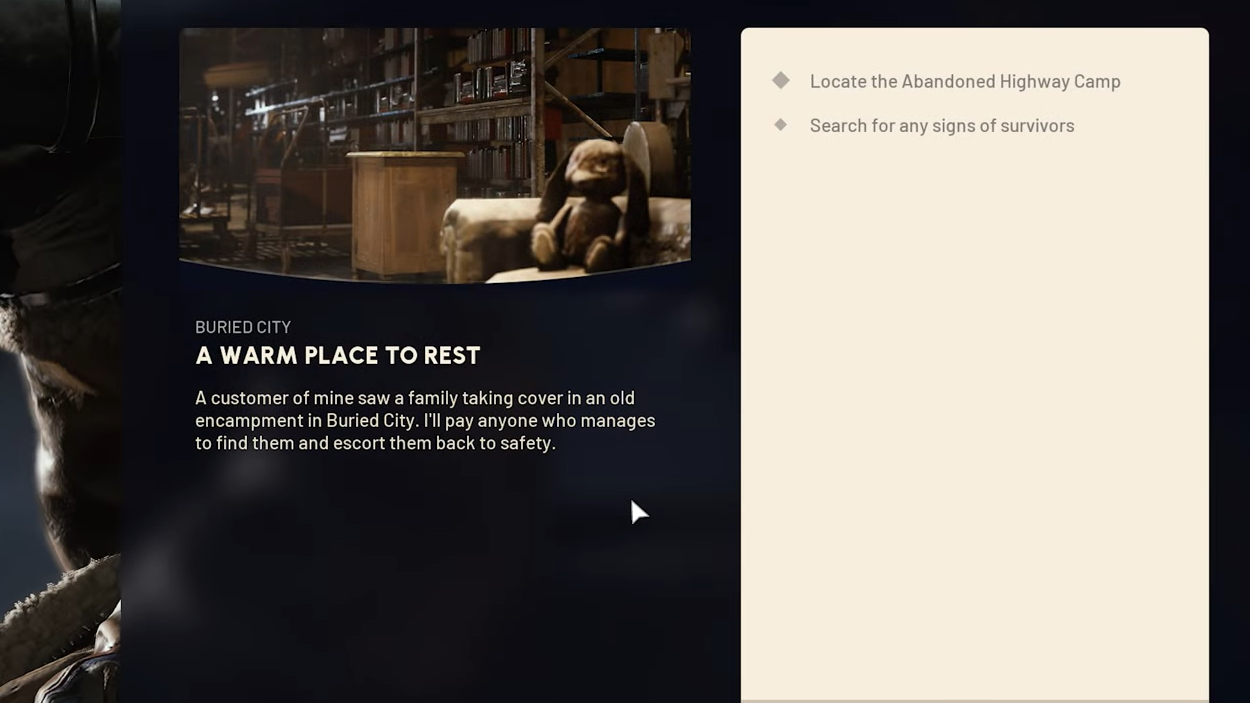
The “A Warm Place To Rest” quest in Arc Raiders sounds simple on paper: find an abandoned camp, look for survivors, and follow a series of red markers to a grave in the Buried City. In practice, the lack of map markers and the subtle red flags on the ruined highway make it very easy to get lost or pinned down by ARC patrols.
This walkthrough focuses on the part most players stumble on: getting onto the highway at the Abandoned Highway Camp and tracing the red markers all the way to the grave so you can finish the quest quickly and extract.
Quest overview: what “A Warm Place To Rest” actually wants
The quest objectives unfold in four short beats, all inside the Buried City:
- Locate the Abandoned Highway Camp.
- Search for any signs of survivors.
- Follow the red markers across the broken highway and into the sand.
- Inspect the grave at the end of the trail.
The game tracks each of these as separate objectives, but only the camp itself is labeled on the map. The flags you need to follow never get a waypoint, which is why understanding the physical layout of the Buried City matters more than staring at the UI.
How to reach the Abandoned Highway Camp in the Buried City
The Abandoned Highway Camp sits on top of a shattered overpass in the southwest quadrant of the Buried City, on the western side of the map. You can run under it from ground level, but you can’t simply climb straight up the concrete — you need to find a way onto the elevated road.
Step 1: Open your map in the Buried City and look to the far west, slightly south, for the named location “Abandoned Highway Camp.” Set it as your mental target and start moving toward the base of the overpass from ground level.
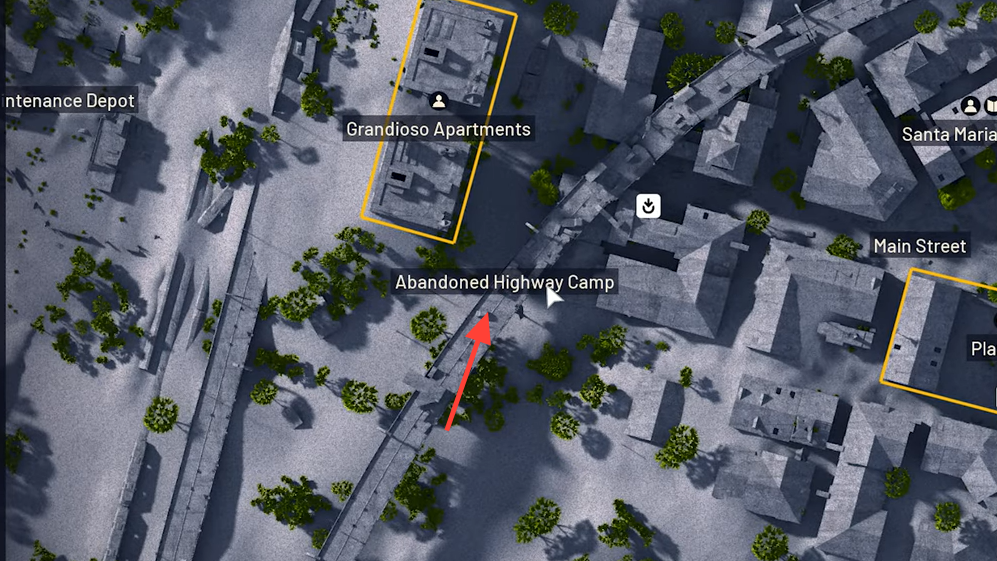
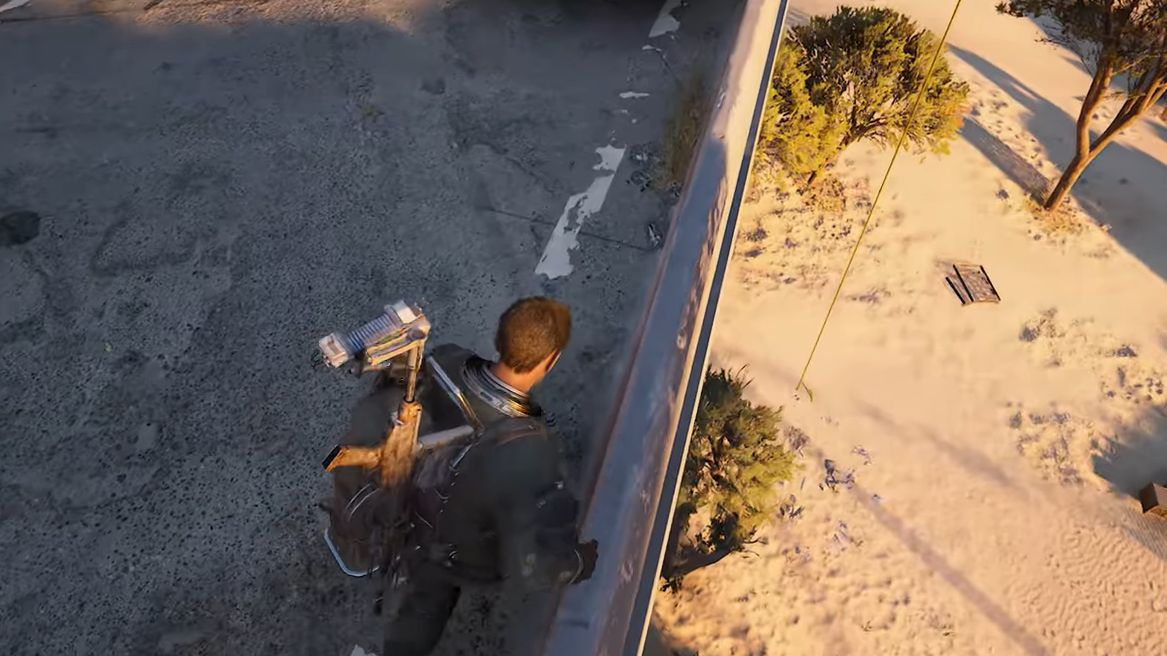
Step 2: When you reach the underside of the highway near the “Abandoned Highway Camp” label, look for a zipline mounted on the left-hand side of the structure as you face up toward the road. It sits roughly below the word “Abandoned” on the map label.
Step 3: Interact with the zipline to ride it all the way to the top of the highway. This puts you directly onto the broken road surface instead of forcing you to climb wreckage or hunt for ladders.
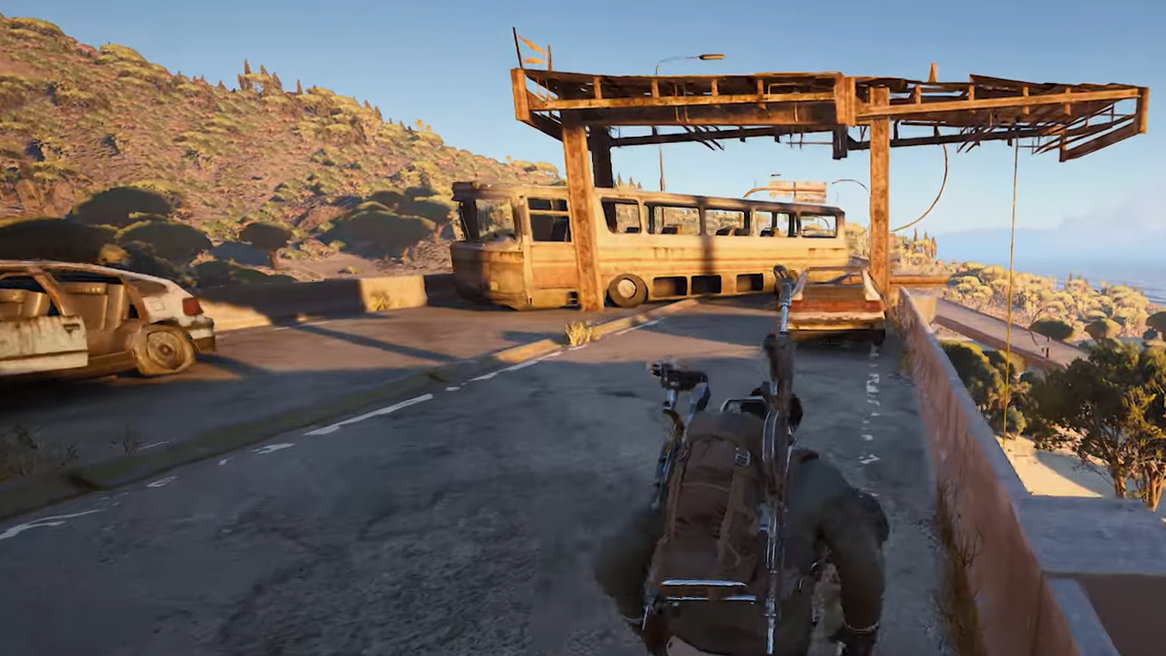
Step 4: Once you’re on the highway, turn left and head toward the cluster of derailed trains and buses that mark the Abandoned Highway Camp itself. As you approach, you’ll automatically tick off the “Locate the Abandoned Highway Camp” objective.
Where to find the backpack and start the red marker trail
The quest’s next step is to “search for any signs of survivors.” That prompt triggers from a specific object at the camp, and it’s also where you first see the red marker that defines the rest of the run.
Step 1: From the top of the zipline, move along the highway toward the abandoned trains. Focus on the right-hand side of the road as you walk between the wrecks.
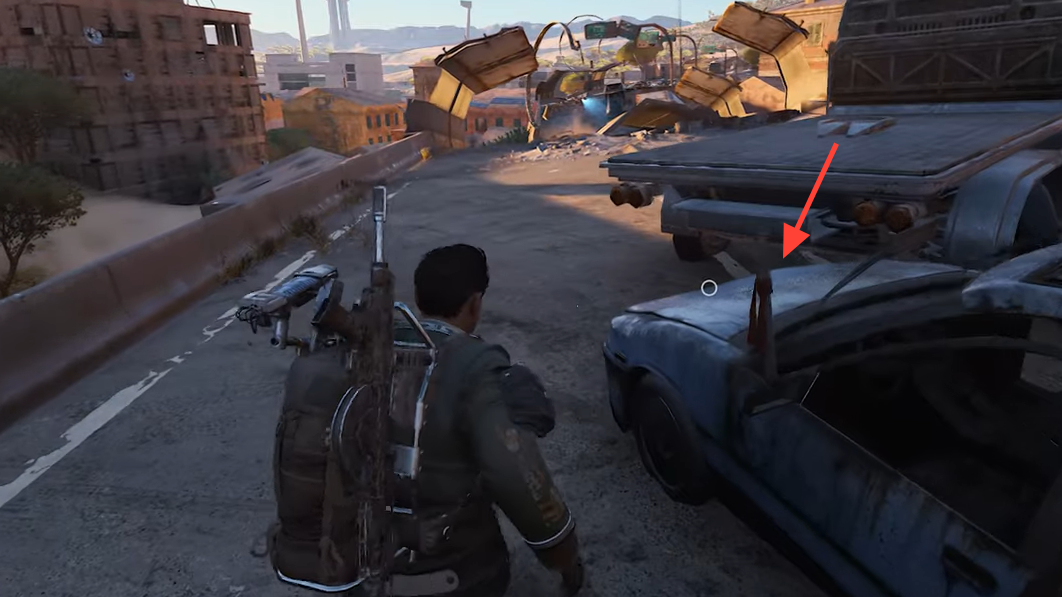
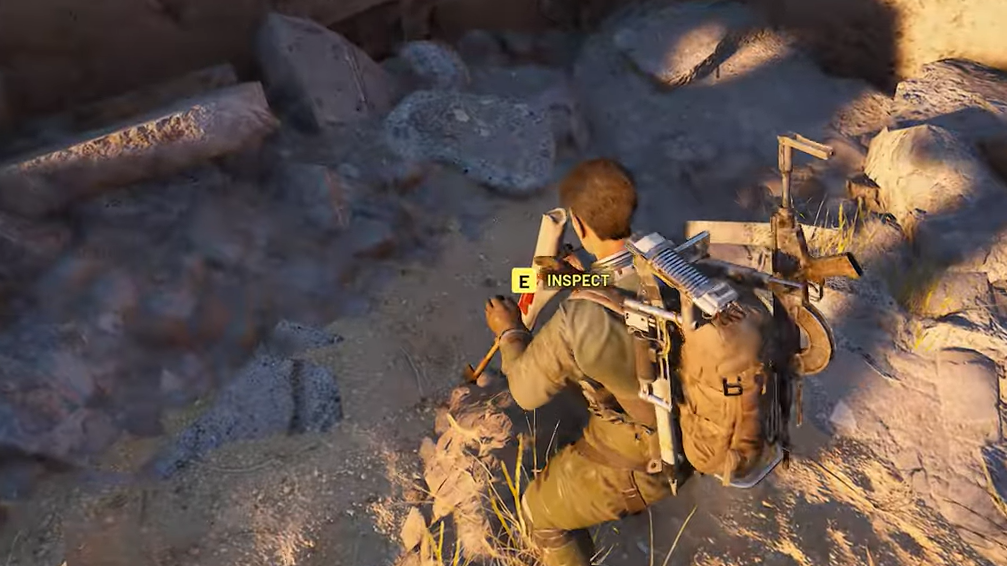
Step 2: Look for a small yellow backpack tucked up against a bus or train car on the right edge of the highway. This backpack is easy to miss in the clutter, so sweep carefully around the first big vehicle you encounter.
Step 3: Interact with the backpack. This completes the “search for any signs of survivors” objective and updates your task to “Follow the red markers.”

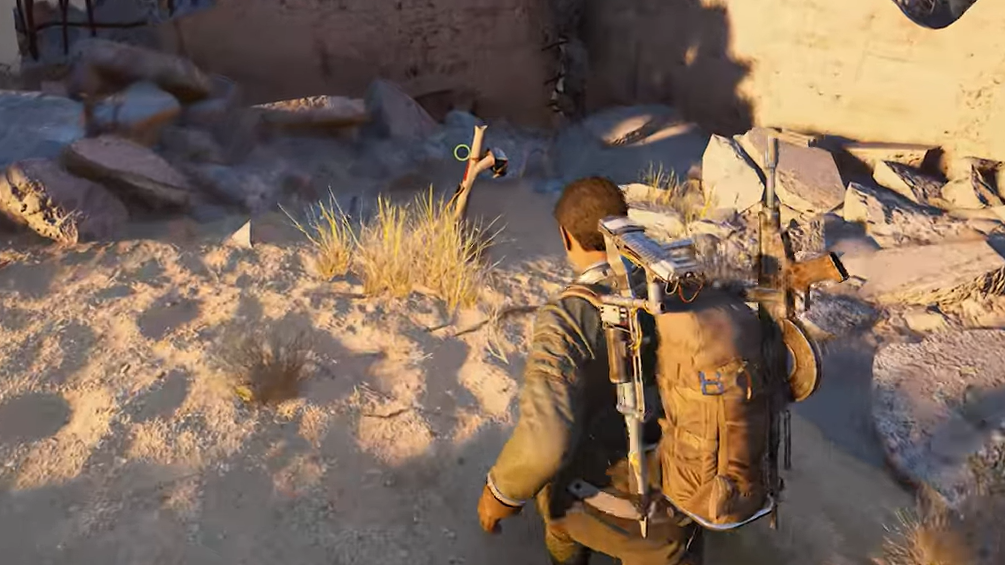
Step 4: Immediately after looting the backpack, turn your attention just ahead on the highway. A short distance north of the pack, on or beside a blue car, you’ll see a short wooden stake with a strip of dark red cloth tied to it. That small flag is the first red marker.
How to follow the red markers along the broken highway
From this point on, progression is entirely driven by following the red ribbons. The game doesn’t lock the quest if you wander off, but if you lose sight of the markers, it becomes much harder to rediscover the path in the maze of wrecked vehicles and sand dunes.
Step 1: Stand at the first red marker near the blue car and face down the length of the highway. The trail runs northeast along the road, away from the camp. Start jogging that direction while scanning for more stakes.
Step 2: As you move, watch both sides of the highway and the center of the road. The red cloths are tied to wooden stakes stuck into:
- the tops or sides of wrecked cars,
- gaps in the guardrails,
- patches of exposed asphalt or sand on the highway.
Each marker is relatively close to the previous one. If you do not see a flag within a short sprint, pause and look around instead of continuing straight — you might have veered slightly off the line.
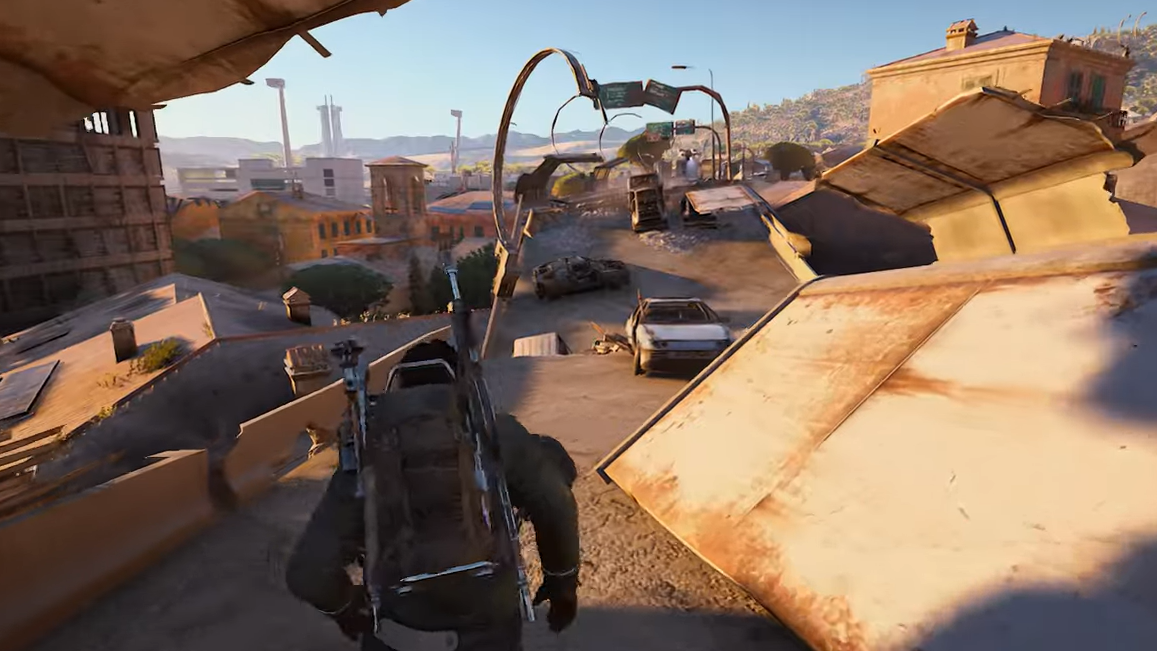
Step 3: Stay on the main overpass the entire way. The road gradually becomes more fractured, with larger gaps and debris fields. Keep following the red flags across each intact stretch of concrete.
Step 4: Eventually, the highwaybreaks dramatically and slopes down toward the Buried City below. The overpass ends near the region labeled Pizza Arbusto (Piazza Arbusto) on the map. Follow the red markers as the road dips into the sand and terminates in front of low buildings buried in dunes.
How to track the red markers through the sand and Buried Properties
Once the elevated road disappears into the dunes, the route is less linear. The markers shift from sitting high on the highway to hugging the contours of the sand and half-buried structures.
Step 1: At the bottom of the broken highway where it meets the sand, look ahead for the next red flag near the buildings partially swallowed by the dunes. The markers start to wrap around the left side of the nearest structure.
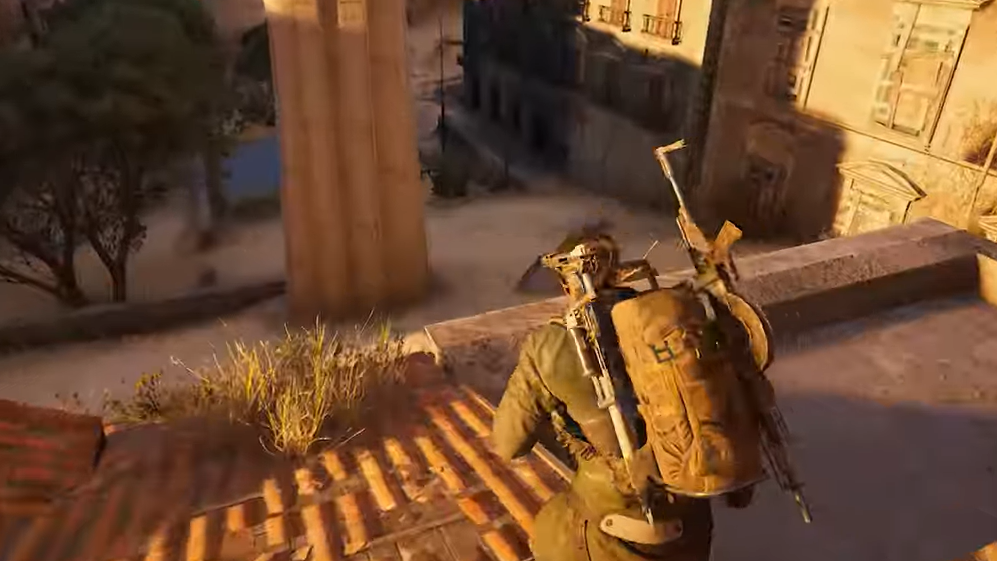
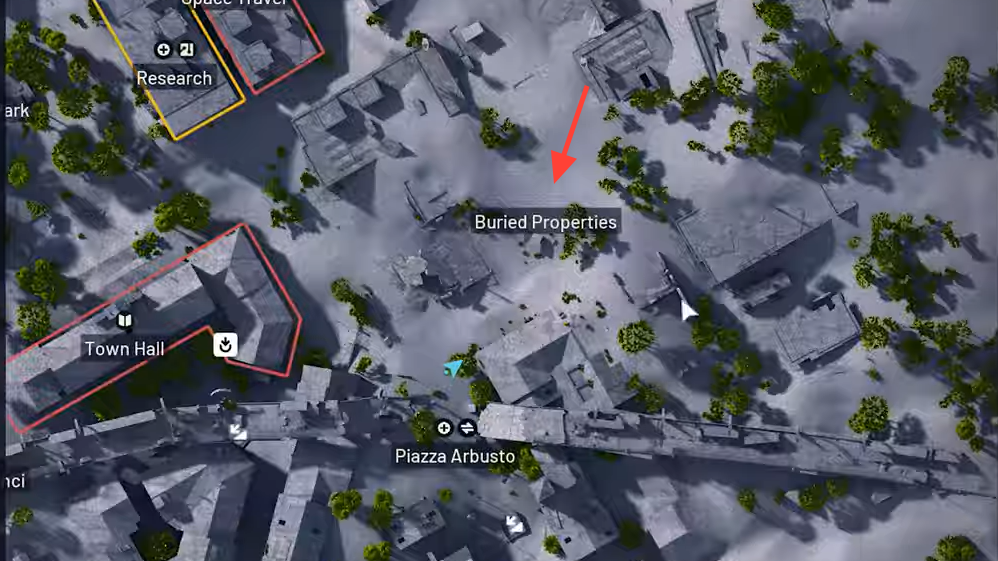
Step 2: Follow the flags as they lead around the building and deeper into the residential ruins. You are heading toward the small, more intact-looking concrete structures in the Buried Properties region, a short distance to the northeast of Pizza Arbusto on the map.
Step 3: As you move away from the highway, the sand rises into a low mound between the remains of the buildings. Climb this mound, still watching for stakes with strips of red cloth. The trail may bend slightly, but it maintains a general arc that pulls you toward the center of the ruined housing block.
Step 4: Keep moving until your screen briefly shows the location name “Buried Properties.” That indicator confirms you are in the correct zone. From here, slow down and inspect the cluster of small square concrete shells in the objective area.
Where to find and inspect the grave
The trail ends at a simple, easy-to-overlook memorial that doubles as the final quest objective.
Step 1: In the center of the Buried Properties objective zone, scan the ruined building interiors and courtyards for one last red flag. This final stake is distinct: instead of just cloth, it has a helmet resting on top.
Step 2: Approach the stake with the helmet. It stands beside a shallow grave in the sand, marking the resting place you were sent to confirm.
Step 3: Interact with the prompt tied to the grave marker or the helmet. This completes the “Inspect the grave” objective and instantly flags “A Warm Place To Rest” as finished.
Step 4: After the objective updates, you are free to extract whenever you like. A good nearby extraction option is the Eastern Metro Station, which sits relatively close to the Buried Properties area if it is active in your current run.
What happens after you complete A Warm Place To Rest
The outcome of the search is grim: there are no living survivors at the end of the trail, only the grave marked by the helmet. Once you return to Speranza and report back to Apollo, the quest resolves, and you receive a small bundle of rewards for your effort:
- 3× Noisemakers – deployable devices that act as proximity alarms and simple scanners, sounding off when enemies cross their radius.
- 5× Blue Light Sticks – throwable lights that help you probe dark interiors and tight spaces without giving away your main position as much as gunfire or bright flares.
- A rosary – a small keepsake tied to the quest’s story.
- A new cosmetic color for your raider.
The utility items are tailored to future trips into the Buried City’s interiors and alleyways, giving you quiet ways to check corners and illuminate routes while staying relatively hidden.
Once the rewards are claimed, the quest line with Apollo moves on, and you can turn your attention to other Buried City tasks such as “Untended Garden,” “Reduced To Rubble,” or other Buried City contracts that overlap the same general area. Knowing the layout of the Abandoned Highway Camp and the Buried Properties region makes several of those future runs faster and safer, since you now understand how the elevated road connects back down into the sand-choked residential blocks.