
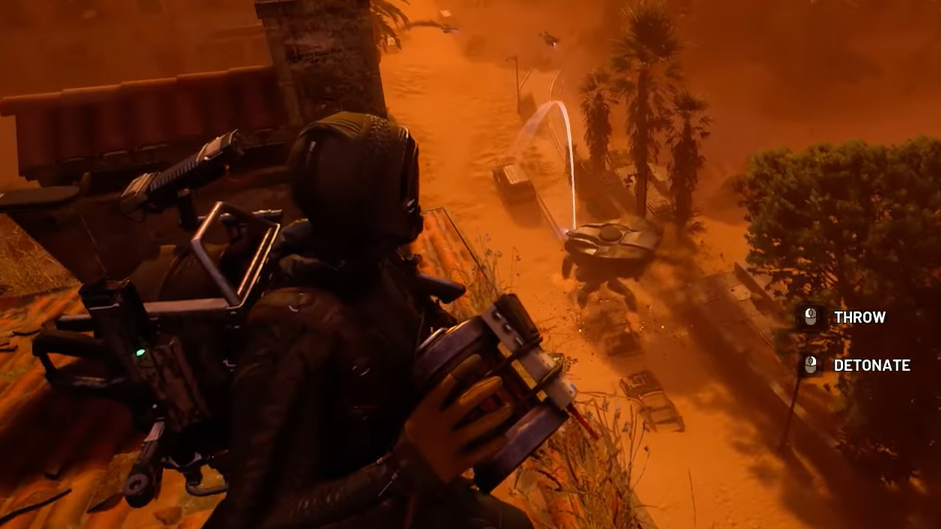
The Bastion is the game’s walking pillbox: a slow, heavily plated ground ARC that anchors control around resource-rich areas. Its frontal armor shrugs off most small arms, and its Gatling fire locks down open lanes. Treat it like a mobile turret with obvious blind spots and a very loud tell before it fires.
Bastion at a glance
| Trait | Details |
|---|---|
| Threat level | Critical |
| Armor | Full plated front; small vulnerable joints |
| Primary attack | Minigun (projectile) |
| Audio cue | Loud screech, then a brief burst (roughly three seconds) at the last known player position |
| Core weaknesses | Rear plate/cylinder and knee joints (yellow kneecaps) |
| Behavior | Slow to reposition, predictable firing cycles, dangerous in open spaces |
| Typical deployment | Patrols near high‑value resource deposits; can appear with supporting air units |
| Health | Unknown |

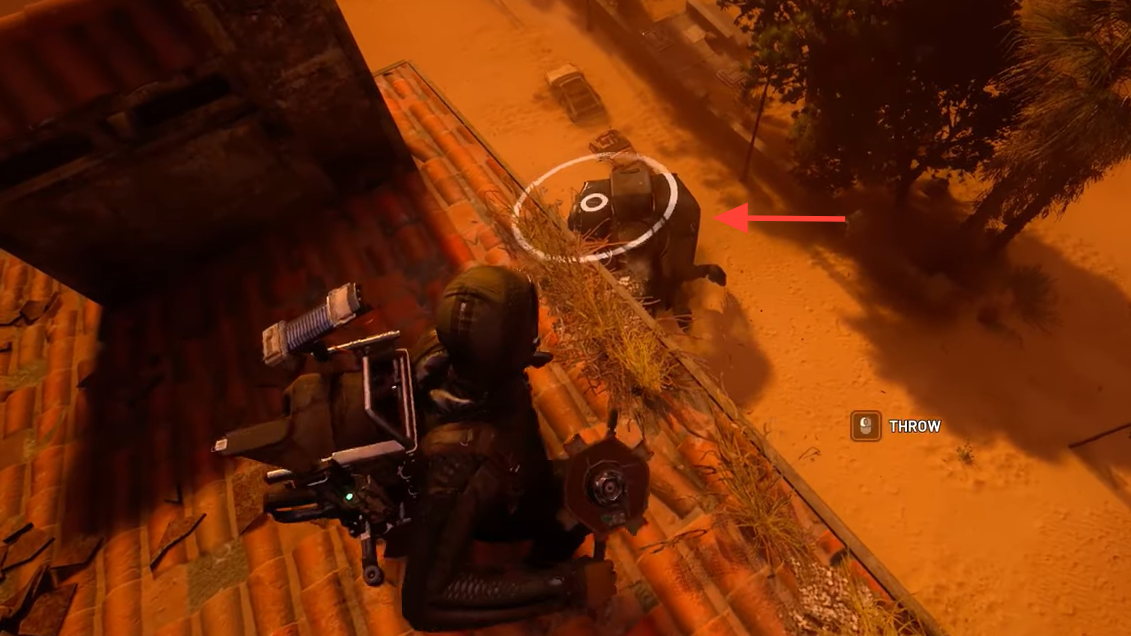
Identify weak points (and stop shooting the front)
The Bastion’s frontal plates are built to absorb punishment. You’ll waste ammunition trying to brute-force them. The damage window lives on the edges:
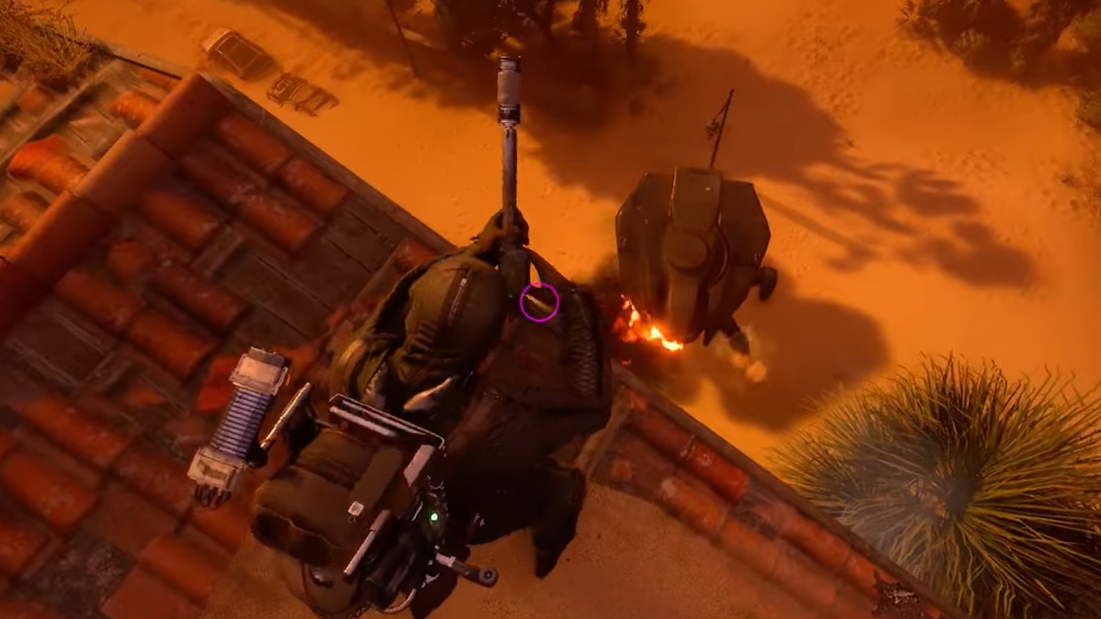
- Knee joints: look for the yellow kneecaps on the legs and focus fire there while it’s moving or staggered.
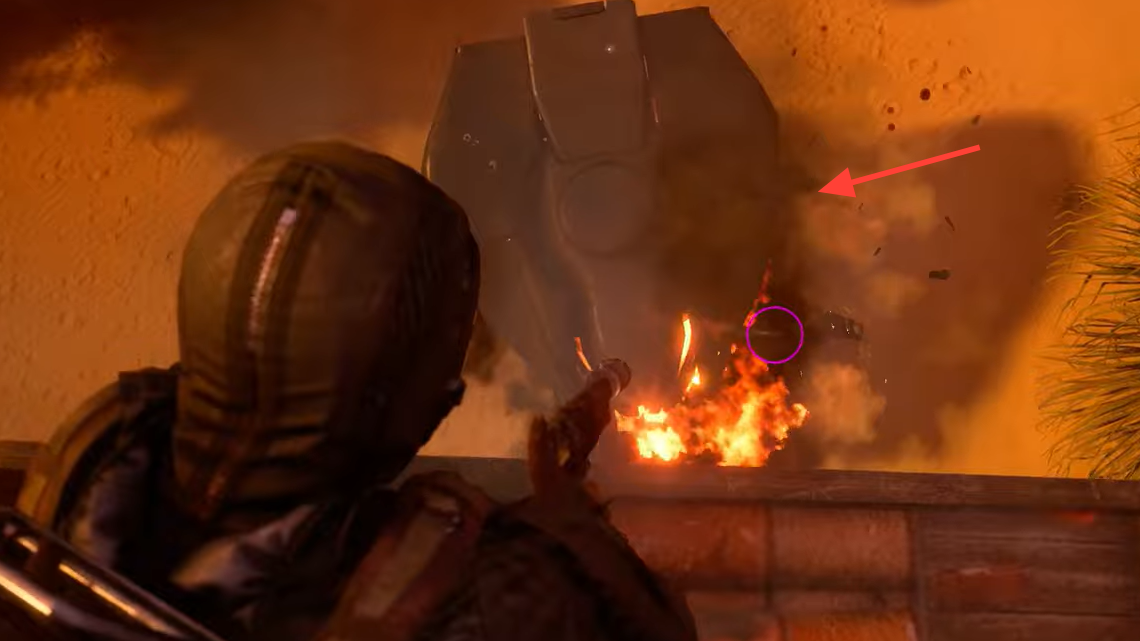
- Rear cylinder/plate: rotate to the back and punch through the exposed cylinder. This is the most reliable way to chunk its health.
Think in terms of angles: as soon as the Bastion commits to a firing lane, use that moment to slip to its side or rear and work the joints.
Read the attack cycle and use the audio tell
The Bastion telegraphs. You’ll hear a sharp screech, then it lays down minigun fire for a short, defined burst aimed at the last location it saw you. That cadence creates a rhythm: break line of sight as it screams, hold behind cover while it hoses your previous position, then slide out on the flank as the burst ends.
Because its pattern is predictable and its chassis is slow to pivot, long straight sightlines are a liability. Open fields turn that minigun into a death funnel; broken terrain turns it into an easily flanked target.
Best tactics for squads
- Clear the sky first: if drones or other units are present, remove them before committing. Crossfire is what gets teams wiped.
- Assign roles: one player draws aggro from solid cover; two others move wide to hit knees and the rear cylinder.
- Stay disciplined with cover: only the aggro player should be exposed during the firing burst. Everyone else advances while the gun is occupied.
- Bring heavy ammunition: rocket launchers, grenade launchers, and heavy machine guns efficiently crack joints and rear plating.
- Rotate, don’t trade: when the Bastion shifts to a flanker, the previous aggro player immediately moves to the rear angle. Keep the ring moving.
How to defeat Bastion solo
Solo fights are about terrain and patience. Pick an area with sturdy cover and multiple lanes to rotate.
- Bait and shift: peek to force the screech, then relocate while the burst is chewing your last position. Repeat until you have the rear angle.
- Mine the path: place mines along the route you expect it to trundle through; use cover to coax it forward into the traps.
- Commit damage only on weak points: short exposures to tag kneecaps, longer exposures when you earn the rear cylinder.
If a supporting air unit appears, disengage to cover and eliminate it first. Keeping your lanes clean matters more than uptime on the Bastion.
Where Bastions show up (and why)
Bastions tend to patrol areas with valuable resources. Expect them around deposits that are worth contesting. That makes them both a hazard and an opportunity: if you’re geared for the fight, the material payout can justify the detour.
Bastion loot and XP
Expect multiple debris piles after a kill, with randomized drops. The standout collectible is the Bastion Cell, alongside a steady stream of ARC components and mid-tier ammunition. XP is granted for the kill and for looting individual parts.
| Debris type | Possible drops |
|---|---|
| Main debris | ARC Alloy, ARC Powercell, Advanced ARC Powercell, ARC Motion Core, ARC Circuitry, Mechanical Components, Medium Gun Parts, Bastion Cell, Medium Ammo |
| Small debris | ARC Alloy, ARC Powercell, ARC Motion Core, Mechanical Components, Bastion Cell |
| XP | Destroy: 500 XP; Loot: 500 XP per part |
Loadout pointers
- Primary: a precise rifle or DMR to pick kneecaps at range.
- Heavy slot: rocket launcher, grenade launcher, or heavy machine gun for joint breaks and rear-cylinder bursts.
- Utilities: mines for solo paths; plenty of medium ammo for sustained pressure.
Light weapons and spray into frontal armor waste time and resources. Spend your heavy ammo on the damage windows you earn.
The Bastion is designed to punish impatience. If you respect the screech, move on the timer, and aim for the joints and the rear, it goes from “impenetrable wall” to “reliable farm” quickly—yielding Bastion Cells and the ARC parts you’ll use everywhere else.