
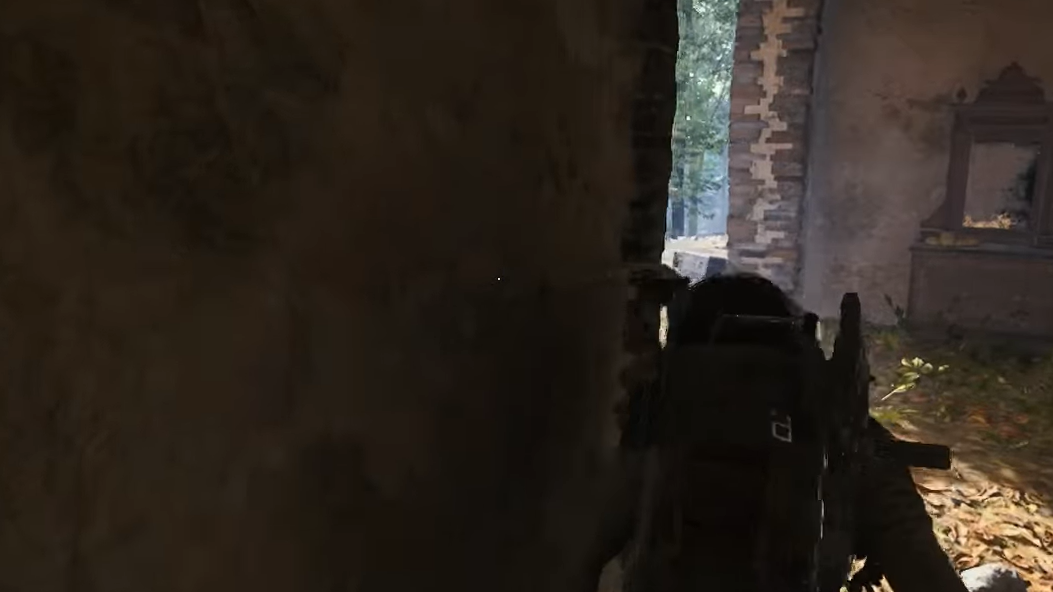
Bettina is an epic heavy assault rifle in ARC Raiders, and its blueprint sits in a strange spot: mechanically desirable for many players, yet so common that others use it as pocket cash. The blueprint can drop from almost any decent container, but there are clear patterns in where players see it the most and how to farm it efficiently.
What the Bettina Blueprint unlocks
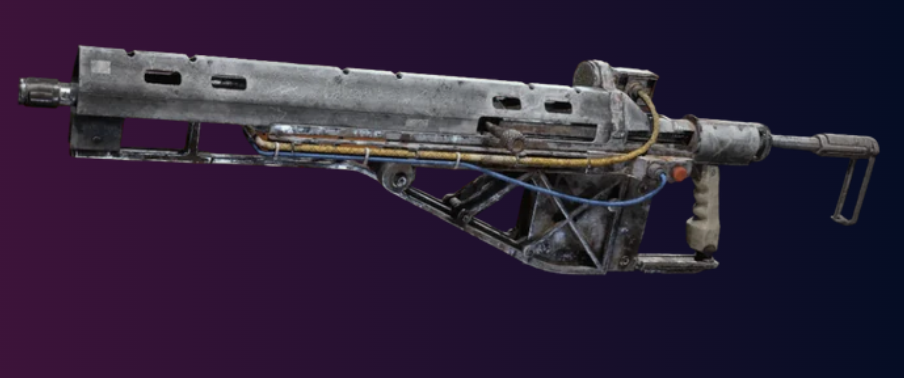
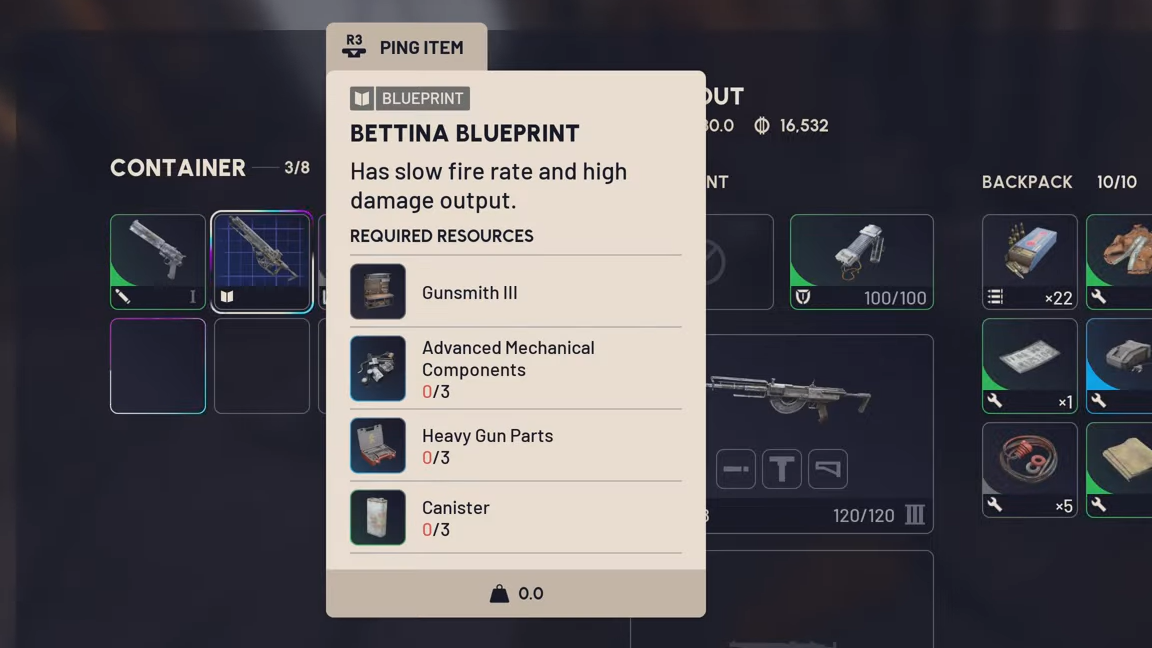
The Bettina Blueprint permanently adds the Bettina heavy assault rifle to your Workshop. Once learned, you can craft Bettina as often as you like, limited only by materials and bench level.
| Blueprint | Type | Crafting requirements | Bench requirement |
|---|---|---|---|
| Bettina | Weapon (heavy assault rifle) | 3× Advanced Mechanical Components, 3× Heavy Gun Parts, 3× Canister | Gunsmith 3 |
Bettina uses heavy ammunition and fires more slowly than medium rifles, trading fire rate for high per-shot damage and strong armor penetration against ARC enemies. The blueprint itself is an item: extract with it, then consume it in your stash to unlock the recipe. Any further Bettina blueprints become trade goods worth 5,000 credits each, or material for late Expedition steps that accept spare blueprints.
How blueprint drops work in ARC Raiders
Blueprints in ARC Raiders are global loot items. Any lootable container can roll a blueprint, and raids sometimes snowball into multiple drops while other runs stay dry. Drop rates are not published, but several traits are consistent:
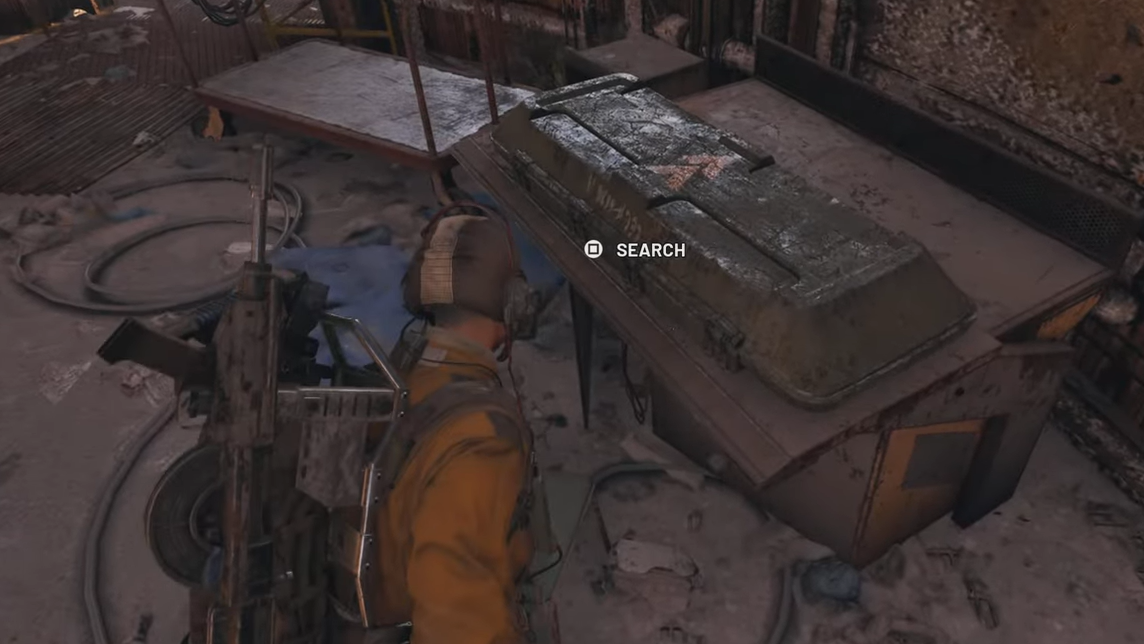
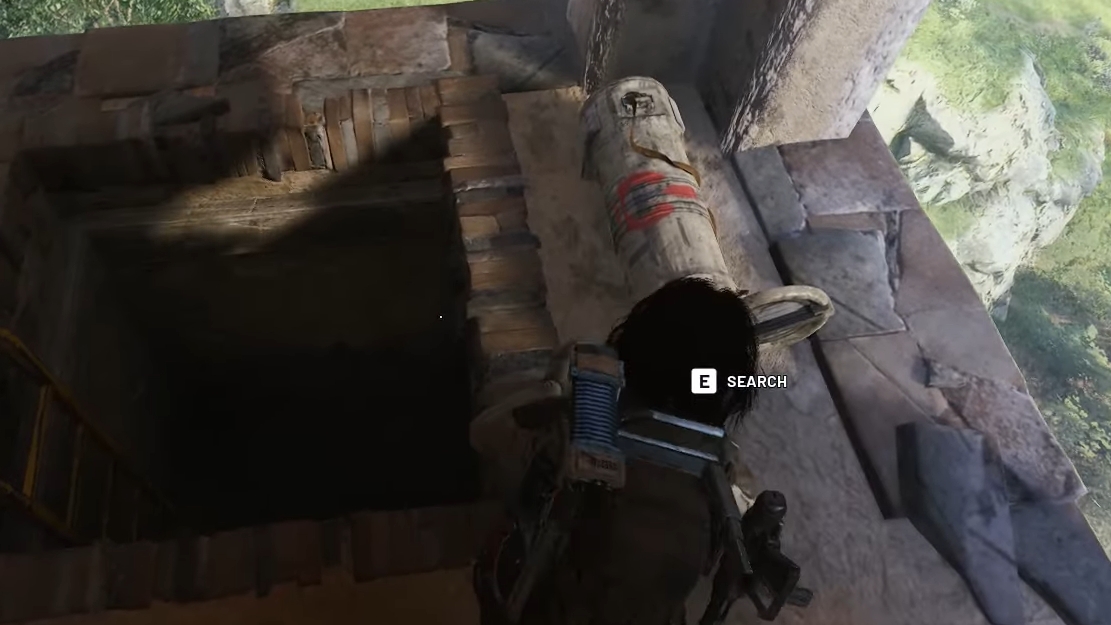
- Every loot container type can roll a blueprint. Drawers, fridges, ammo boxes, med crates, utility crates, weapon cases, raider caches, and rusty breach crates all contribute to the pool.
- Some containers are clearly higher yield. Raider caches, weapon cases, metal ammo boxes, security lockers, and med crates are disproportionately associated with blueprint finds, including weapon and weapon-part recipes.
- Higher-value areas spawn more containers and better loot tables. Marked high-loot POIs like control towers, town halls, and major complexes layer many rich containers in a tight space, which effectively increases blueprint odds per minute.
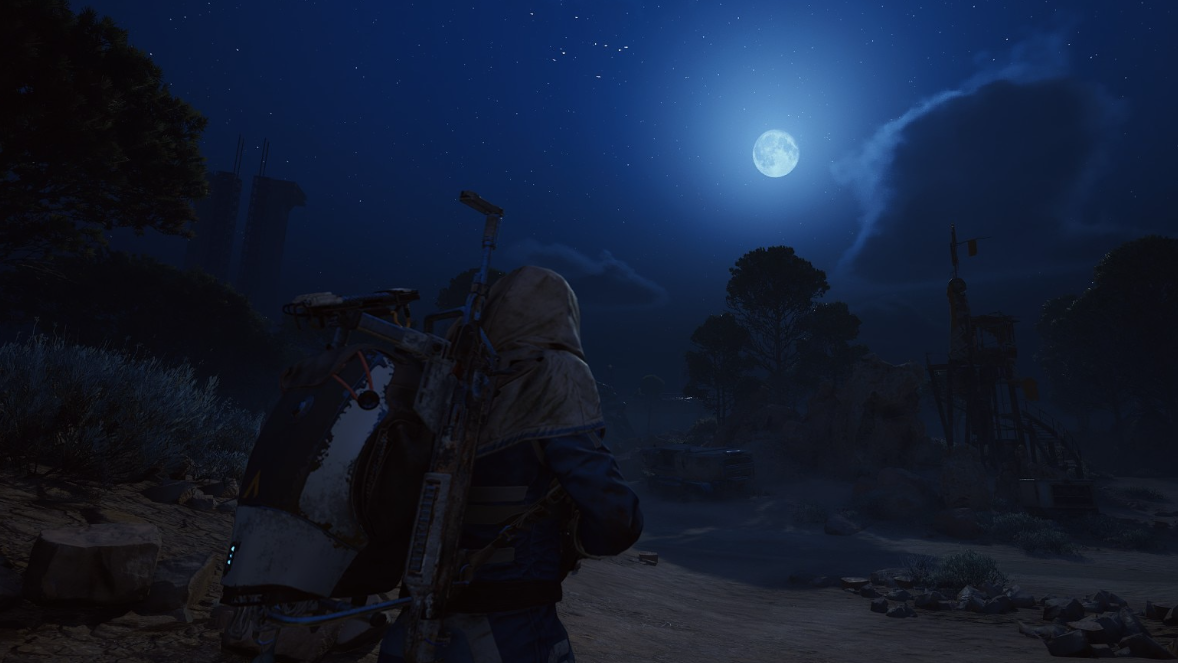
- Night Raids and Electromagnetic Storms boost rare rolls. Night versions of maps increase the chance for high-rarity loot in containers by roughly one and a half times, which also affects blueprint rolls.
On top of containers, certain systems inject more blueprints:
- Quest rewards. Several mainline quests grant specific grenade and weapon blueprints (for example, Trigger Aid, Lure Grenade, Beretta, and the Whole Cracker set) on completion.
- Trials. Once Trials unlock at account level 15, hitting three stars on objectives is a consistent source of extra blueprints.
- Surveyors. The roaming spherical Surveyor enemy on each map has a reasonable chance to drop a blueprint when destroyed.
Within that system, Bettina is one of the most frequently rolled epic weapon blueprints. Many players report double-digit Bettina finds long before seeing other epics like Anvil or Venator, and it often shows up in clusters during a single session.
Best map conditions for Bettina Blueprint
Map modifiers change the loot environment more than individual POIs. Bettina follows the same rules as other epic drops, so focusing on these conditions increases your odds:
- Night Raid. Night variants of any map significantly raise high-rarity container rolls. Running Dam Battlegrounds, Buried City, Spaceport, or Stella Montis at night is one of the most efficient ways to force more epic loot chances, Bettina included.
- Electromagnetic Storm. Storm conditions also increase the likelihood of rare and epic items appearing in containers across the map. The higher difficulty is offset by better overall loot density.
In both cases, the tactic is the same: minimize time spent fighting, maximize the number of high-yield containers opened per raid.
Dam Battlegrounds Bettina Blueprint locations
Dam Battlegrounds stands out as a reliable Bettina farm because it condenses several strong POIs, raider caches, and rich container types on a relatively readable layout.
Dam Battlegrounds apartments
The cluster of residential buildings in the northwest of Dam Battlegrounds is a major hotspot for weapon blueprints, including Bettina. Focus on:
- Ruby Residence
- Pale Apartments
- Pattern House
These areas are packed with fridges, drawers, suitcases, bags, and utility boxes. Weapon cases and ammo crates sometimes spawn in stairwells, roof access rooms, and maintenance closets. Because the apartments sit a bit out of the way, full clears are often possible before other raiders arrive, especially in solo or duo runs.
Dam Battlegrounds highway and caches
Another productive line on Dam is the highway section between Raider Outpost East and East Broken Bridge. This strip often hosts multiple raider caches and utility crates in and around burned-out vehicles and roadside structures. Bettina has a reputation for dropping from these ticking raider caches and nearby ammo boxes in this corridor.
Other strong spots on the map, while not Bettina-exclusive, help push blueprint volume up:
- Control Tower. Large number of containers, with security lockers on upper levels if you have the Security Breach skill.
- Power Generation Complex. Dense mix of utility, med, and ammo crates in a compact footprint.
Running a route that links the highway caches, Control Tower, and one apartment block during a Night Raid or Storm is often enough to see a Bettina drop over a handful of attempts.
Buried City and Blue Gate residential routes
Bettina is not restricted to Dam. Buried City and Blue Gate both support playstyles that revolve around opening huge numbers of “civilian” containers quickly.
- Buried City. Residential regions such as Santa Maria Houses, Grandioso Apartments, Town Hall, and the New District’s buildings carry many weapon cases and security lockers alongside fridges, drawers, and suitcases. Bettina can appear in any of these as a generic weapon blueprint roll.
- Blue Gate. Apartments and houses here play similarly: long corridors of doors, each hiding a handful of lootables. Running light and skipping prolonged firefights lets you touch dozens of bags, toolboxes, and lockers each raid.
Residential containers have a noticeable tendency to roll grenades, attachments, and utility items, but weapons and Bettina in particular still show up often enough to justify these routes, especially when Night Raid is active.
Stella Montis Bettina Blueprint spots
Stella Montis adds more industrial environments with excellent container density. Two POIs stand out for Bettina searches:
- Loading Bay. Packed with pallets, cargo racks, and storage rooms full of utility crates, ammo boxes, and weapon cases.
- Assembly Workshop. Functionally similar, with a high chance of security lockers in side offices and atop catwalks.
Both areas are strong for generic weapon blueprint farming, and Bettina is part of that pool. A short loop that spawns in their vicinity, hits both, and extracts early is often more time-efficient than trying to clear Stella Montis end to end.
Container types that often hold Bettina
Bettina Blueprint is not hard-locked to any one container, but certain container classes are heavily associated with it:
- Raider caches. The ticking caches scattered across all maps are among the most consistent blueprint sources in the game. Players report long strings of Bettina pulls from these alone.
- Weapon cases. Long, flat weapon crates have high odds for weapon and weapon-part blueprints across all maps.
- Metal ammo boxes. Green or metal ammo crates in control rooms, bunkers, and near outposts frequently produce Anvil, Osprey, and other weapon blueprints, with Bettina mixed in.
- Utility and med crates. While skewed toward gear and consumables, they still roll blueprints regularly.
- Security lockers. Red or high-security lockers behind keycard doors or breach points have a broad blueprint loot pool, from weapons to attachments to augments.
- Raider backpacks. Ground-spawned backpacks left by raiders are strongly associated with blueprint drops, often one per bag.
For Bettina, raider caches and weapon or ammo boxes are the most commonly cited containers, especially around Dam Battlegrounds’ apartments, highway, and outposts.
Fast Bettina farming loop on Dam Battlegrounds
A practical farm targets Bettina specifically but still benefits your overall blueprint collection. On Dam Battlegrounds, a streamlined approach looks like this.
Step 1: Queue into a Night Raid version of Dam Battlegrounds if available. Bring a cheap loadout you can afford to lose and avoid spending rare resources.
Step 2: On spawn, orient toward the residential cluster (Ruby Residence, Pale Apartments, Pattern House) or the highway corridor between Raider Outpost East and East Broken Bridge, depending on where you appear.
Step 3: Sprint past early hostiles and ignore extended fights. Your goal is to reach dense loot areas quickly, not to clear every encounter.
Step 4: In apartments, clear each floor for bags, drawers, fridges, toolboxes, med crates, utility crates, and any weapon cases or ammo boxes. Prioritize rooms with multiple containers; skip barren ones to save time.
Step 5: If you commit to the highway route, follow the road and roadside structures, listening for ticking raider caches. Open every cache, metal ammo box, and utility crate you see along that line.
Step 6: Once you pick up a Bettina Blueprint, move it into your safe pocket immediately. If your pockets are full, drop less valuable items to protect the blueprint.
Step 7: Extract as soon as practical after securing Bettina or any rare blueprint you care about. Short, successful raids are more efficient than long, risky ones if your focus is blueprint acquisition.
How to learn and use the Bettina Blueprint
Unlocking the Bettina recipe is straightforward once you extract with the blueprint safely stored.
Step 1: At base, open your stash or inventory and locate the Bettina Blueprint item. It appears as a blueprint icon with the Bettina label.
Step 2: Select the Bettina Blueprint and choose the option to learn or consume it. Confirm the prompt. This destroys the item and permanently unlocks the Bettina recipe at your Gunsmith bench.
Step 3: Upgrade your Gunsmith to level 3 if you have not already, using the usual bench upgrade materials and credits. Bettina cannot be crafted at lower Gunsmith levels.
Step 4: Once Gunsmith 3 is available, open the bench, find Bettina under heavy weapons, and check the recipe: 3× Advanced Mechanical Components, 3× Heavy Gun Parts, and 3× Canister.
Step 5: Gather the required components across raids and craft the weapon. Subsequent crafts follow the same recipe and bench level.
Further Bettina blueprints you find after unlocking the recipe no longer need to be learned. Keep them in your stash for Expedition objectives that accept blueprint donations, trade them with other players in-raid, or sell them for 5,000 credits each at base when you need currency.
What to do with duplicate Bettina blueprints
Bettina’s high drop rate creates its own problem: overflowing stacks of the same epic blueprint. Those extras still have practical value.
- Sell for credits. Each Bettina blueprint converts to 5,000 credits. Early and mid-game, that easily funds bench upgrades, insurance on riskier kits, or quick gear replacements when you do not feel like crafting.
- Save for Expeditions. Later Expedition stages include tasks that accept blueprint items rather than materials. Keeping a reserve of Bettina and other duplicates makes those steps trivial.
- Use as trade or goodwill. Many players bring spare Bettina blueprints in their stash slot and hand them to other raiders at extract or during ad-hoc truces. In some cases, they barter them for rare blueprints like Anvil or weapon parts.
Bettina’s blueprint sits at the intersection of generous RNG and tricky farming: overwhelmingly common for some players, elusive for others. Focusing on Night Raids or Storms, favoring POIs like Dam Battlegrounds’ apartments and highway caches or Stella Montis’ industrial hubs, and prioritizing raider caches, weapon cases, and ammo boxes gives the best return on time. Once you finally learn it, Bettina turns into a repeatable craft and a steady stream of credits every time its blueprint drops again.