
Blue Gate takes ARC Raiders into the mountains and builds its pace around contrast. Broad, exposed valleys and small town clusters sit on top of a dense web of tunnels and underground facilities. The surface asks for long sightlines and careful crossings; the interior turns the same route into close-quarters pushes, blind corners, and choke points. You bounce between the two constantly, and that switch is the core of how runs play here.
Blue Gate overview (what’s confirmed)
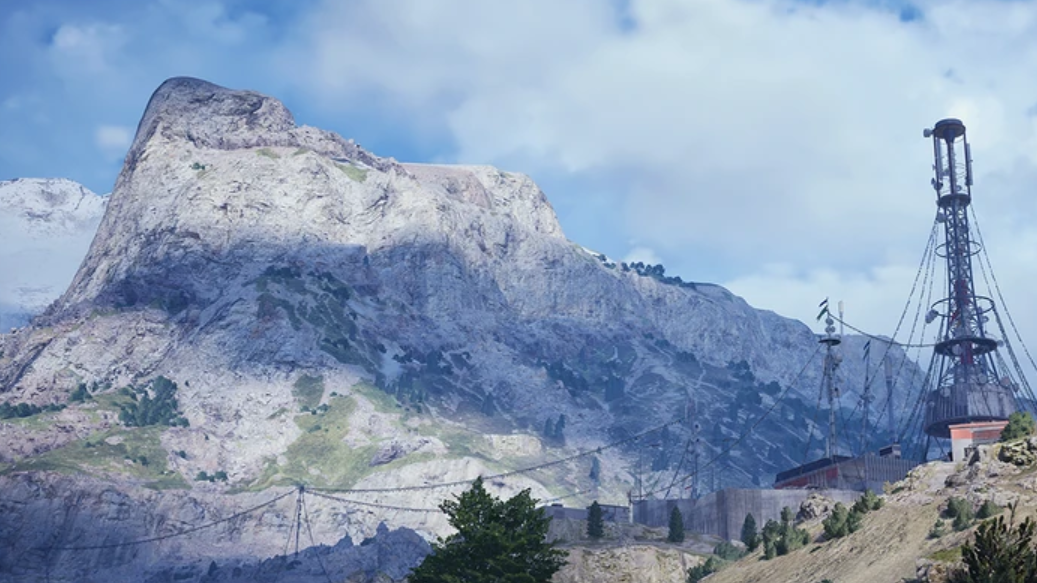
- Setting: high-elevation mountain region with open areas broken up by ridgelines.
- Settlements: scattered small towns and outposts that stitch together routes between valleys.
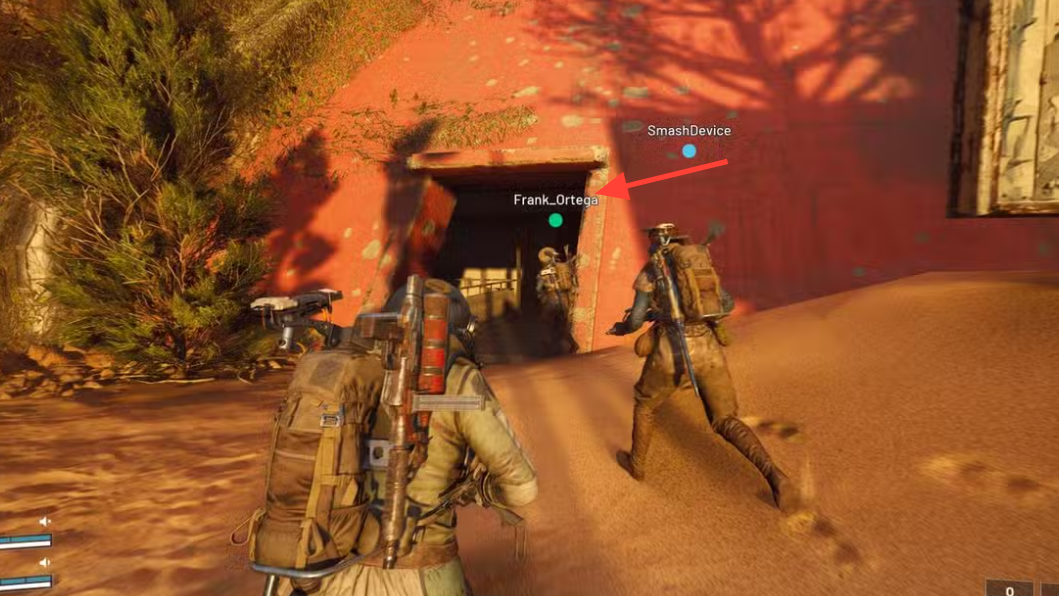
- Subterranean layer: tunnels and larger underground complexes that interconnect POIs.
- Session systems: variable weather, time of day, and rotating special conditions that change risk and payouts.
- Team size: solo or squads of up to three; matchmaking prioritizes keeping solos with solos and squads with squads.
How the tunnels change the flow of a raid
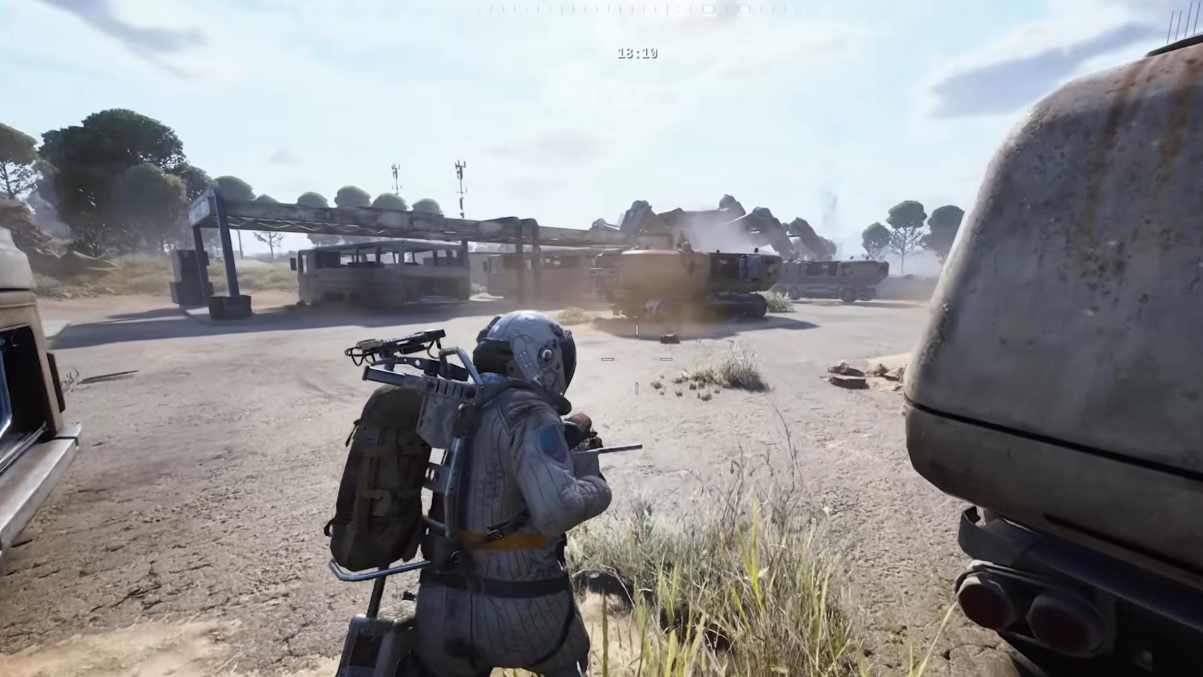
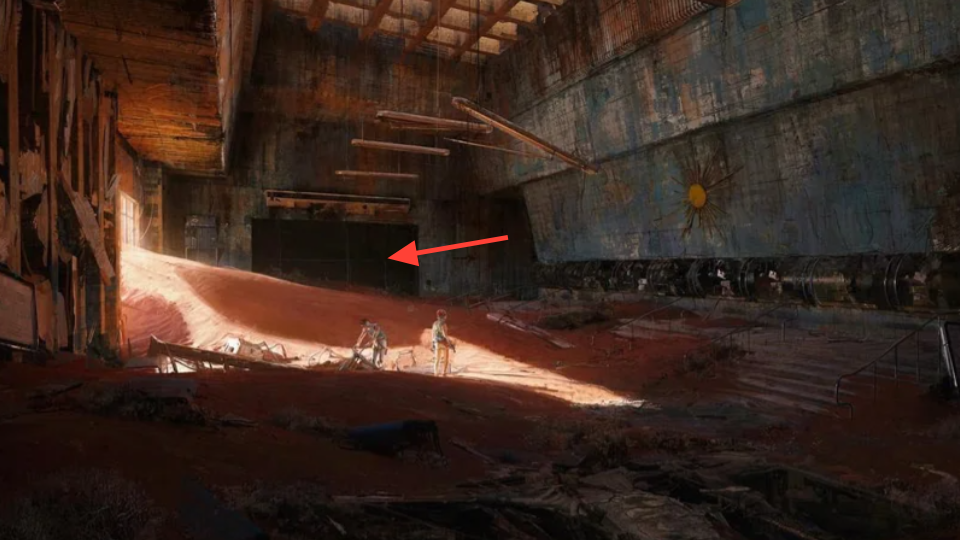
Moving through Blue Gate plays like a loop of compression and release. Underground routes compress the fight: sightlines drop, angles become predictable, and vertical stacks turn into short, sharp contests. Exiting back onto a ridge or into a valley releases that pressure: you’re visible from multiple angles again, weather matters, and the map opens up.
- Interiors: tighter corridors, more corners, forced pathing, faster engagements.
- Exteriors: long-range lines, higher exposure, wind and lighting that affect visibility and timing.
Diving into tunnels is the safer way to slip past attention top-side, but committing underground also reduces escape options. Plan entries and exits before you drop in; the next safe surface crossing might be a full segment away.
Conditions, variants, and timing
Blue Gate runs under changing weather and at different times of day. Special conditions can roll on a session and alter both how a route plays and what it pays. Low-visibility sessions make tunnels more attractive; clear conditions reward faster surface movement. Night variants increase reliance on artificial light and make open crossings riskier, which can push you toward underground paths until you reach a favorable exit.
Solo vs. squad on Blue Gate
Both work. Solo players can thread smaller interior routes quietly and avoid drawing eyes in the open. Squads can share risk and carry more, but they’re noisier and easier to spot on ridgelines. Given matchmaking’s emphasis on pairing similar team sizes, build your plan around the spaces you prefer to contest—interior chokepoints demand different kits and pacing than exposed slopes.
Tunnels, passages, and key‑gated rooms
| Underground element | What it does | Requirements and tips |
|---|---|---|
| Standard tunnel network | Core corridors linking towns, ridges, and interior facilities; funnels traffic and reduces sightlines. | Generally open access; expect chokepoints and patrols. Use to flank, evade, or reposition. |
| Confiscation room (locked) | Dedicated loot room inside the tunnels; concentrated rewards behind a locked door. | Needs the Blue Gate Confiscation Room Key. Only carry the key if your route is tunnel‑centric. |
| Entry/exit shafts and vertical links | Transitions that connect the subterranean layer to the surface quickly. | Memorize exits before committing underground; use to break pursuit or set up ambushes. |
| Communication tower (key‑locked) | Indicated among Blue Gate keys; suggests locked access in or around a comms site. | Details on the specific door or passage are limited; treat as a future route anchor. |
Expect ARC patrols at approaches and chokepoints underground. Special conditions can raise density or alter behaviors, tightening the window you have to clear rooms and reset.
Key economy for Blue Gate runs
| Key | Primary use | Vendor value | When to carry |
|---|---|---|---|
| Blue Gate Confiscation Room Key | Opens the confiscated‑goods room in the tunnels | 100 credits | Bring on tunnel‑first routes where you’ll pass the door naturally. |
| Blue Gate Communication Tower Key | Unlocks a communication tower access point | 100 credits | Carry once you’ve confirmed the tower route; specifics are still sparse. |
| Raider Hatch Key | Opens hatch extraction points across maps | 1,000 credits | High‑value utility if you want a quick extract after a successful loot grab. |
Keys take space. If a route won’t touch the relevant door, leave the key behind and spend the weight on ammo or utility. The 100‑credit sell value on most location keys is a modest consolation if plans change mid‑raid.
Planning a Blue Gate run (Quick summary)
- Map your layer changes: identify where you’ll drop underground and where you want to surface. Avoid staying too long on a single layer.
- Pre‑plan exits: know two surface exits for any tunnel segment you enter; hatch extracts are ideal if you have the key.
- Time the crossings: use weather and time of day to decide when to sprint ridgelines versus staying below.
- Commit to objectives: only bring the Confiscation Room Key if you intend to hit the door; otherwise, keep your kit lighter.
- Expect pressure: chokepoints amplify enemy presence and player traffic. Clear angles methodically and keep recovery items accessible.

How Blue Gate stacks up to other maps
| Location | Core setting | Notable terrain and spaces |
|---|---|---|
| Dam Battlegrounds | Lowlands around a power facility | Forests, swamps, old research centers, apartment blocks |
| Buried City | Pre‑collapse city under sand | Hospital, mall, town squares, apartments, older architecture |
| Spaceport | Derelict launch site | Industrial pads, hangars, fenced compounds with aging tech |
| Blue Gate | High‑altitude mountain region | Open ridgelines, small towns, tunnels, larger underground complexes |
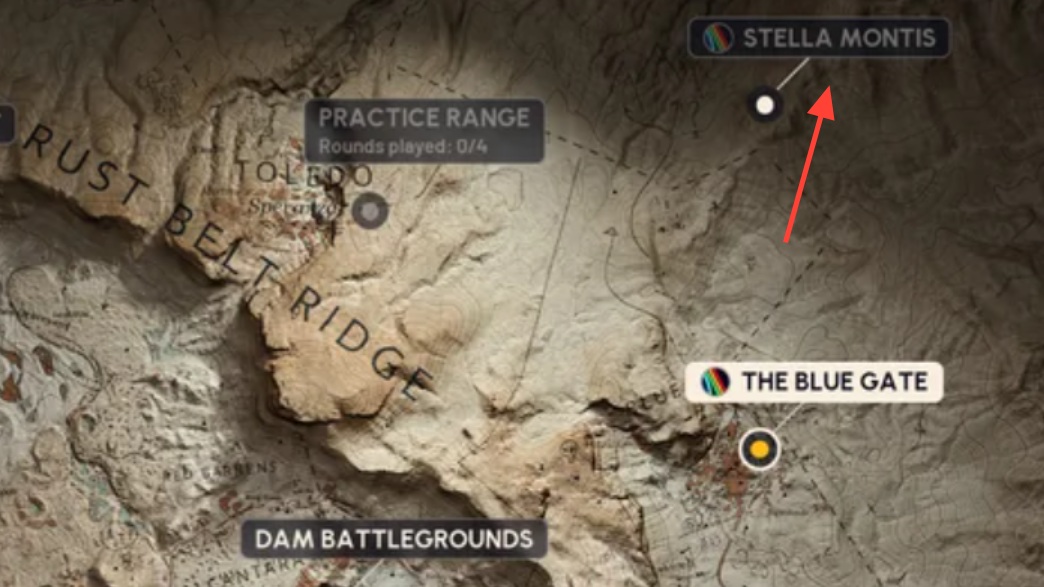
| Stella Montis | Teased destination | Details are intentionally undisclosed; access is unknown |
Blue Gate’s density of interconnected tunnels is the differentiator. Instead of isolated interiors, the underground acts like a parallel map layer you weave through repeatedly.
Stella Montis and the “entry into the mountain” idea
Stella Montis appears alongside Blue Gate on the selection screen, but remains deliberately vague. The name is teased, access isn’t defined, and specifics aren’t shared. Blue Gate itself is framed as a push into higher elevations and into the mountain via tunnels; Stella Montis reads as a separate thread to pull later rather than a target to route around now.
Surface waypoints that matter
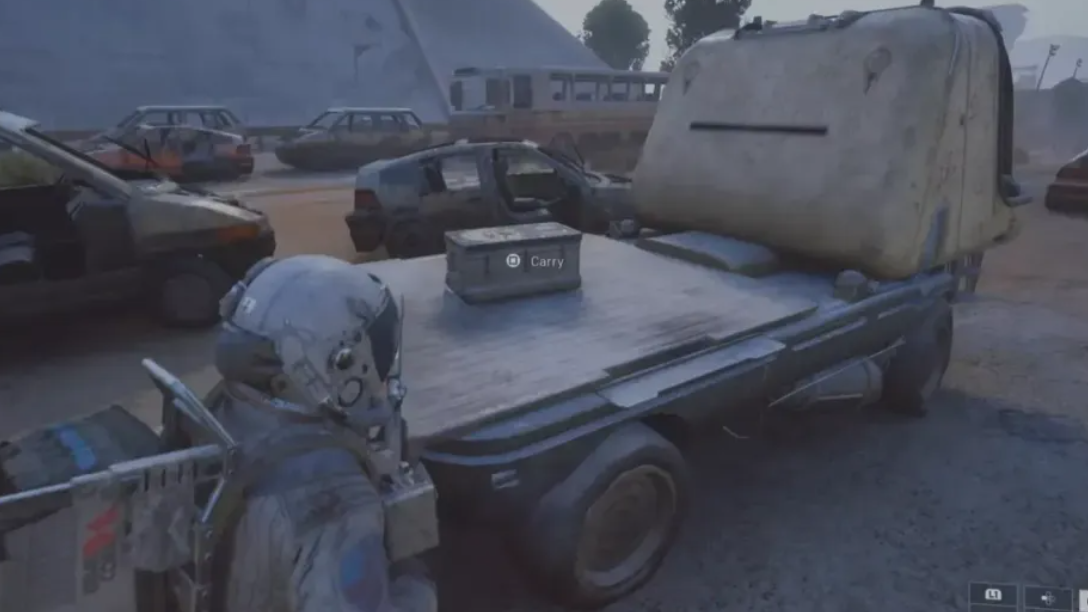
Small towns in the valleys function as staging points between tunnel segments, and you’ll often find tunnel entrances near them. Field Depots marked by satellite dishes serve as delivery points for Field Crates and tend to sit close to these entryways, making them reliable anchors for route planning when you need to resupply or cash out progress before committing underground again.
The promise of Blue Gate is variety in a single run: light to dark, ridge to corridor, sprint to slow clear. Pack for both layers, let conditions decide when you’re visible, and only carry keys that your route will actually touch. Keep Stella Montis on your radar, but build plans around what’s concrete today—the mountain you can see and the tunnels right beneath it.