
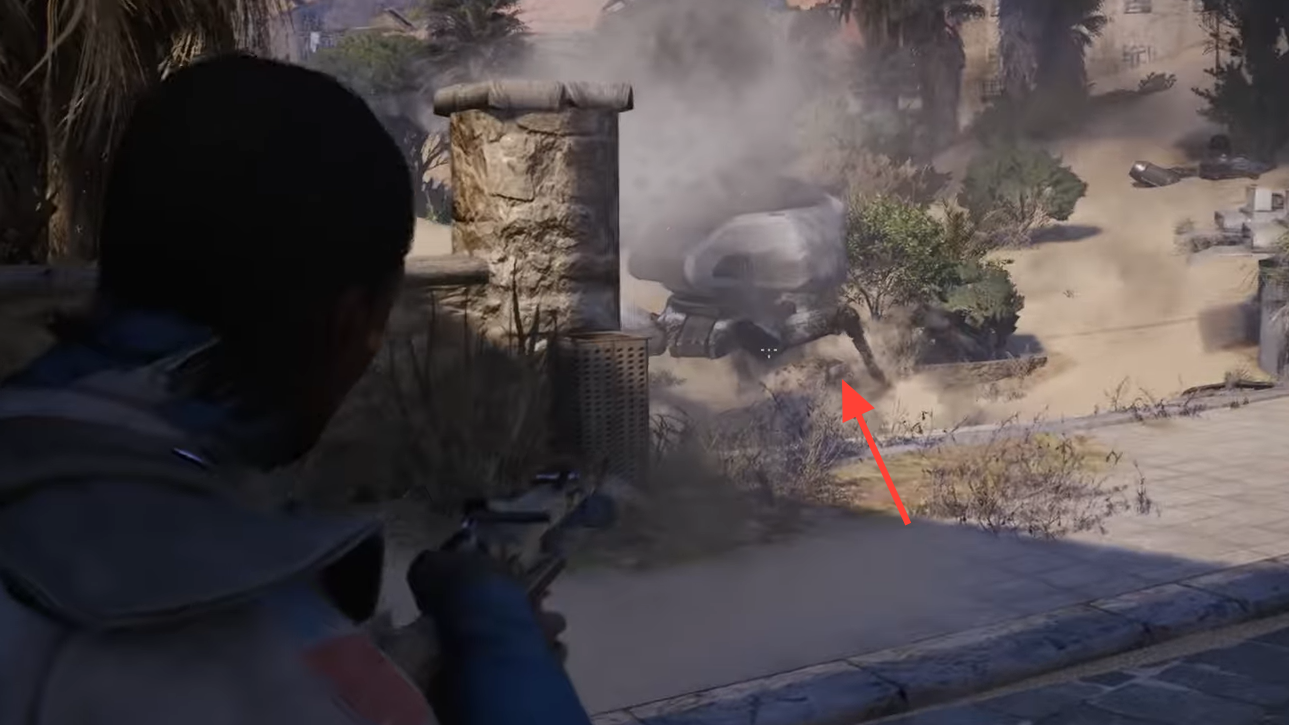
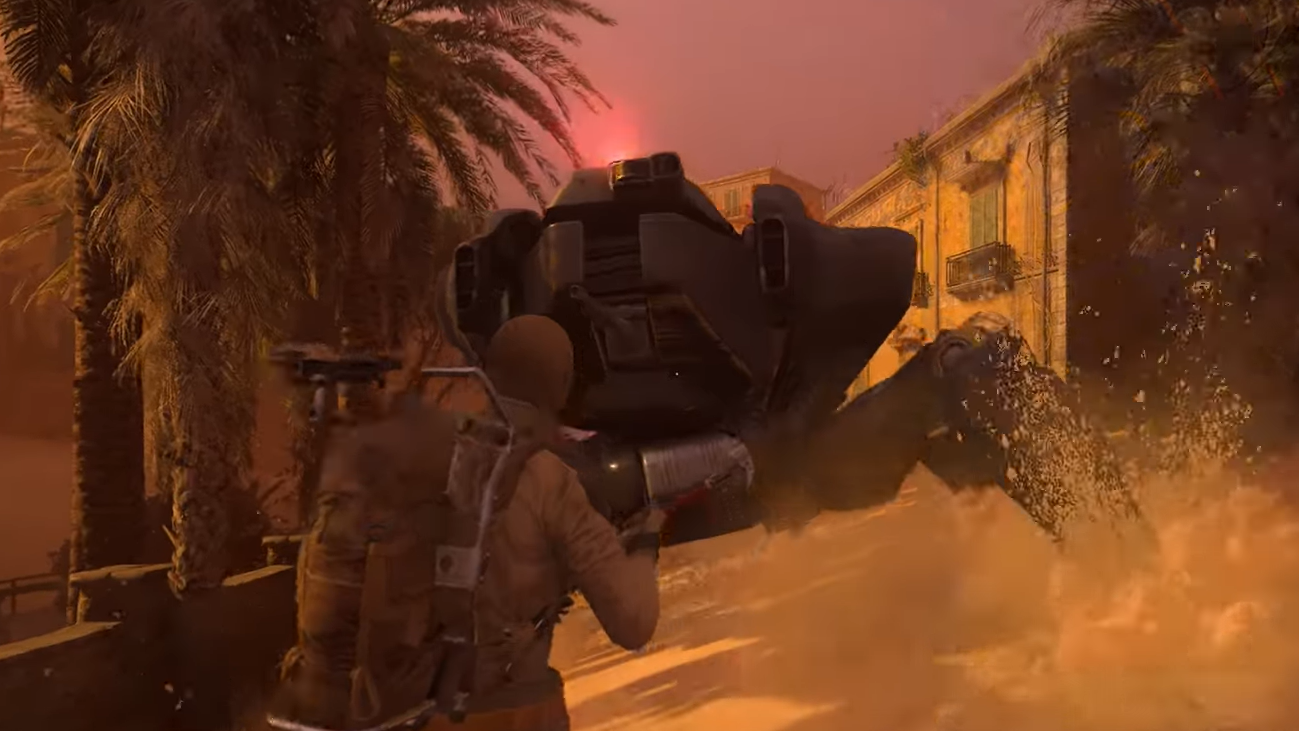
The Bombardier is ARC Raiders’ dedicated indirect-fire threat: a mid-sized artillery platform that uses Spotter drones to mark you, then rains explosives on the area. It’s built to punish groups and static positions. It can be unforgiving if you linger in the open, but it also exposes clear openings you can exploit if you know its rhythm.
Bombardier overview (ARC Raiders)
| Attribute | Detail |
|---|---|
| Role | Indirect-fire artillery unit targeting marked positions |
| Threat level | Critical |
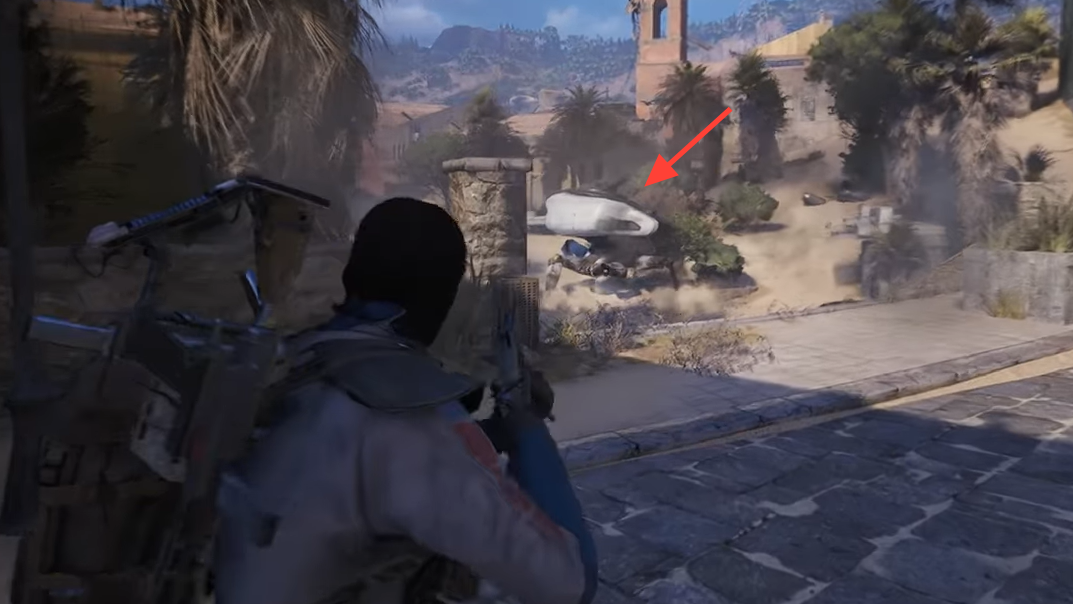
| Mobility | Tends to stay put or reposition slowly |
| Armor plate | None (still durable under fire) |
| Primary attack | Explosive mortar rounds focused on grouped players |
| Special | Releases kinetic energy (post-fire vulnerability window) |
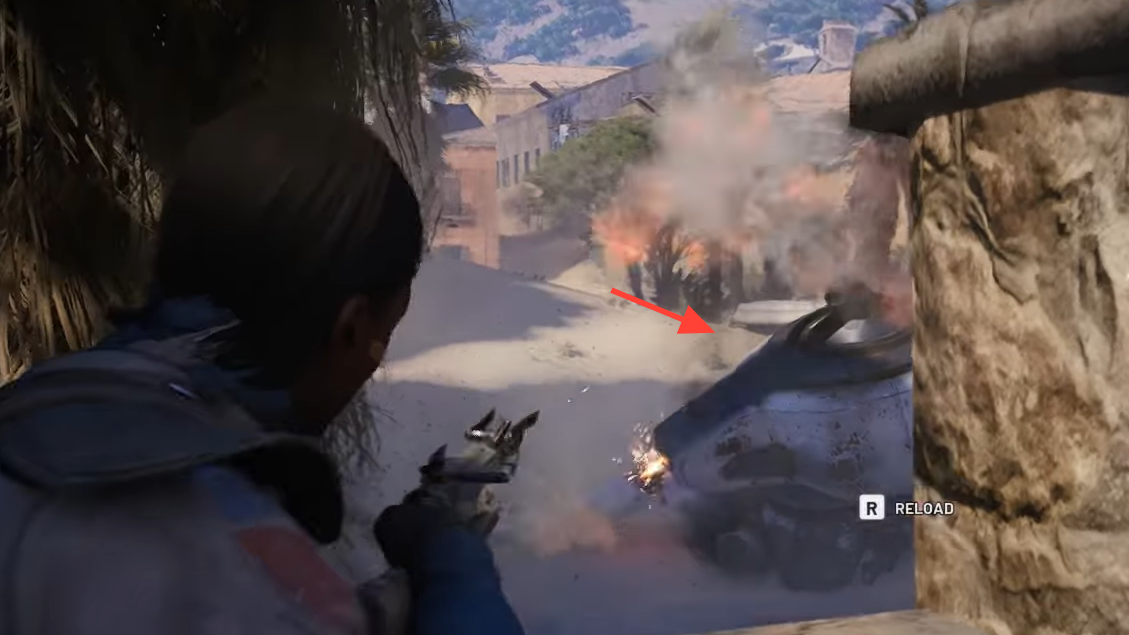
| Key weakness | Rear plate joints, exposed core, and other rear elements |
| Accomplices | Uses Spotter drones to pinpoint Raider locations (often two) |
Notes on toughness vary, but it’s consistently described as lacking external armor plates while still absorbing a fair amount of punishment. What’s reliable: it becomes easier to damage right after it finishes a firing cycle.
Bombardier attacks and behavior
- Predictive mortar fire: rounds adjust to where you’re moving, not just where you were. Expect accurate arcs that can reach into partial cover or through narrow sight lines.
- Area denial: barrages are especially dangerous to stacked squads. If you cluster, you invite overlapping blasts.
- Target designation: Spotter drones scan for you and feed precise coordinates, enabling the Bombardier to lock in quickly.
- Positioning: it prefers to hold ground or make slow, deliberate repositioning moves rather than chase.
If you break line of sight and keep moving, the Bombardier’s predictive aim is still dangerous but manageable. Standing still—even behind thin cover—invites follow-up rounds that “walk” onto you.
Weak points and counterplay
- Keep moving between impacts. The safest pattern is lateral movement with short sprints from one solid cover to the next. Don’t outstay a single piece of cover.
- Punish the reload window. The Bombardier is briefly vulnerable right after a firing sequence. That’s the moment to push or pop out for heavy shots.
- Target the rear. Shots into the rear plate joints and any exposed core elements register the most consistent damage.
- Bring the right tools. Heavy ammunition and explosives are the most reliable way to punch through and finish the unit efficiently.
- Don’t clump. Spread your team to reduce multi-kill barrages and make its predictive aiming less effective.
Spotter drones and target acquisition
Spotter drones scout and mark positions for the Bombardier, enabling quick, precise mortar solutions. Encounters frequently include two Spotters, and their scans are what convert your movement into accurate arcs. If you’re being bracketed immediately after relocating, assume a Spotter still has eyes on your position.
Bombardier loot drops
Expect two debris tiers with overlapping pools. “Main” debris can include weapon and ammo components on top of standard ARC materials; “small” debris focuses on materials and the Bombardier’s unique cell.
| Debris tier | Items |
|---|---|
| Main debris | ARC Alloy; ARC Powercell; ARC Performance Steel; Advanced ARC Powercell; Mechanical Components; Medium Gun Parts; Bombardier Cell; Launcher Ammo |
| Small debris | ARC Alloy; ARC Powercell; ARC Performance Steel; Advanced ARC Powercell; Mechanical Components; Bombardier Cell |
If you’re target-farming Bombardier Cells, confirm the unit variant before committing and plan for a quick, rear-angle burn during the vulnerability window to limit exposure to follow-up salvos.
The Bombardier’s fight is a tempo check: survive the first predictive barrage, then use its post-fire vulnerability and rear weak points to end the encounter on your terms.