
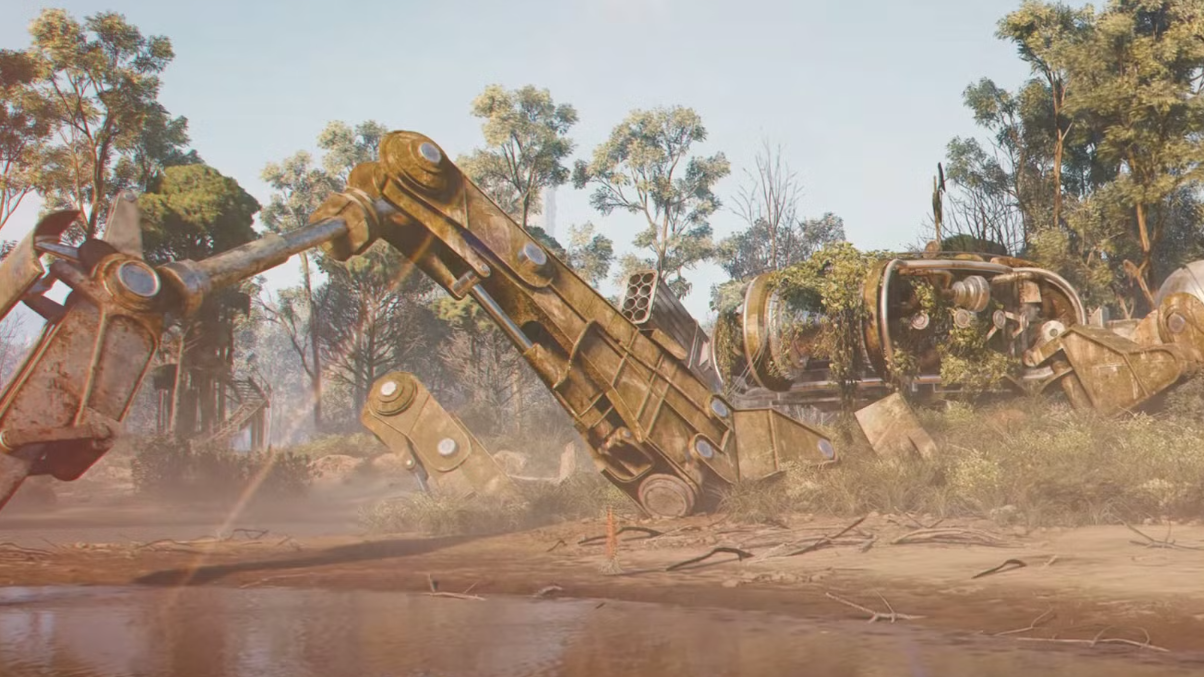
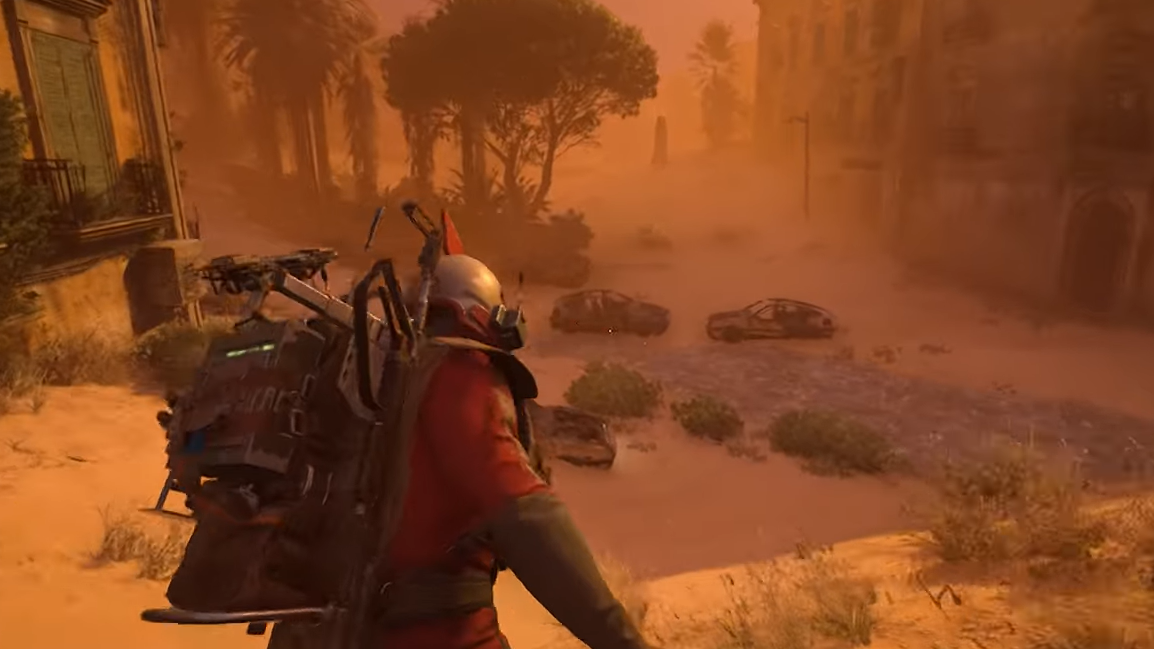
Buried City is one of ARC Raiders’ mid‑to‑late locations in the Rust Belt: a pre‑collapse urban zone swallowed by dunes, carved into narrow streets and open plazas, with interiors like hospitals, malls, and apartment blocks to pick through. It’s designed for higher tension and denser routes than the Dam Battlegrounds, with more choke points and more opportunities for machines and Raiders to surprise you around tight corners.
Buried City at a glance (layout, difficulty, and points of interest)
| Category | Details |
|---|---|
| Biome | Arid, sand‑covered urban remnants with buried streets and exposed rooftops. |
| Difficulty | High (community shorthand often places it near the top of the curve). |
| Points of Interest | Hospital, Mall, Town Squares, Apartment blocks, older architectural sites. |
| Playstyle impact | Narrow lanes favor close‑quarters fights; plazas and courtyards invite cross‑angles and third parties. |
| Match size | Solo or squads up to three; PvPvE with both Raiders and ARC machines. |
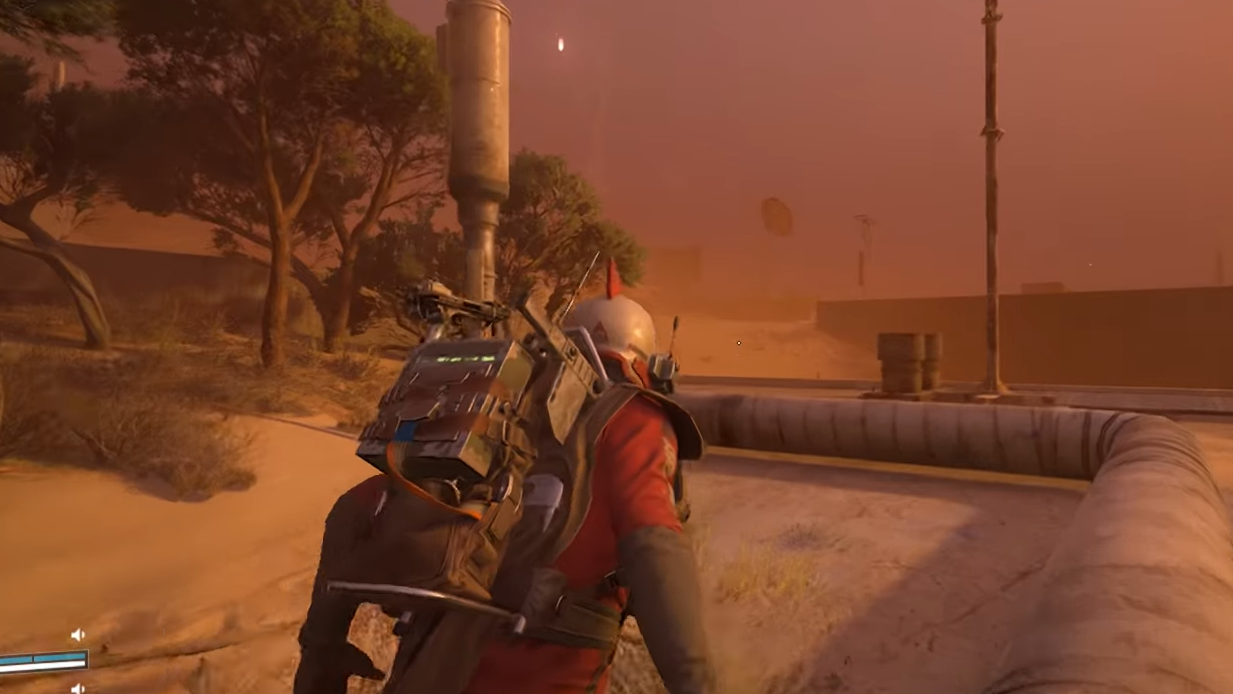
Expect frequent transitions between interior rooms and exposed sand‑blasted alleys. Sound travels in these tight corridors, and any fight in a plaza tends to pull in curious squads and patrolling ARC.

What spawns topside: ARC machines and how they pressure you
ARC machines range from skittering ambushers to area‑denial bruisers. You’ll encounter a mix on any raid; learn their roles before you push into loot‑rich interiors.
- Ticks: small, eight‑legged climbers that cling to ceilings and walls, then pounce. Clear rooms methodically and watch vertical surfaces.
- The Snitch: airborne spotters that mark “suspicious” activity and pull reinforcements. Prioritize them early or stay concealed.
- Leaper: fast outdoor patrols with a destructive leap; don’t linger in open lanes without cover.
- Bombardier (+ spotter drones): marks you for mortar fire; move after engagements and break the line of sight fast.
- Other ground/fliers: Pop, Fireball, Bastion on the ground; Wasps, Hornets, Rocketeers in the air. Each pushes you in different ways—area denial, swarm, or sustained pressure.
- Queen (rare, large‑scale): an enormous ARC that defends Harvesters. Engage only with a plan and plenty of space.
In Buried City’s tighter paths, Snitches and Ticks force patience, while Bombardiers punish static looting. Rotate often, avoid repeating routes, and assume you’re being watched once shots ring out.
Dynamic conditions: time of day, weather, and rotating events
Every Rust Belt location cycles through weather and time of day and can roll special conditions that materially change risk and rewards. Night Raids improve loot quality but increase ARC lethality and visibility challenges. Other conditions, such as Harvest Season, Electromagnetic Storms, or Hidden Bunkers, adjust what’s worth picking and how safely you can traverse.
Buried City also features event‑style objectives that hinge on urgency. One example: uncovered caches that destabilize the longer they’re exposed—high yield if you find and solve them quickly, risky if you overstay in an area that invites ARC patrols and other Raiders.
Squads, solos, and how PvP tends to unfold here
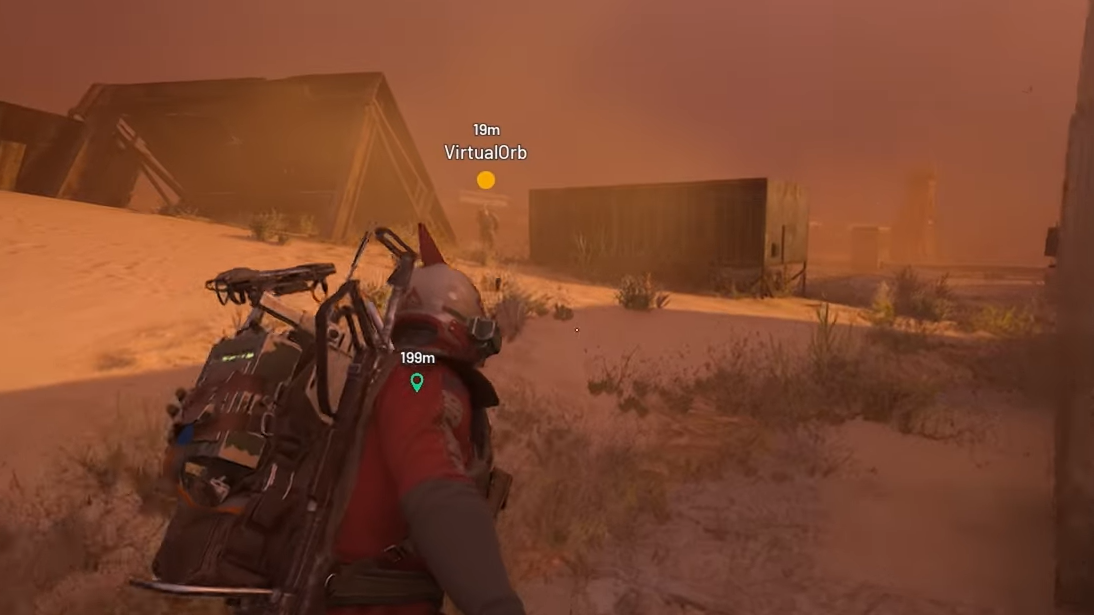
Matchmaking generally aims to keep squads fighting squads and solos meeting other solos, but it’s still a shared instance. In Buried City, PvP flashpoints form anywhere two high‑value routes intersect—typically near hospitals, malls, and central squares.
- Solos: use the city’s line‑breaking alleys to disengage, then re‑enter on a new angle.
- Trios: hold cross‑fires on plazas and cover flanks; avoid stacking bodies in doorways where Ticks and grenades punish you.
The most reliable way to survive fights here is to leave quickly after you win one. ARC attention spikes after gunfire, and third parties often arrive within seconds in this map’s tighter footprint.
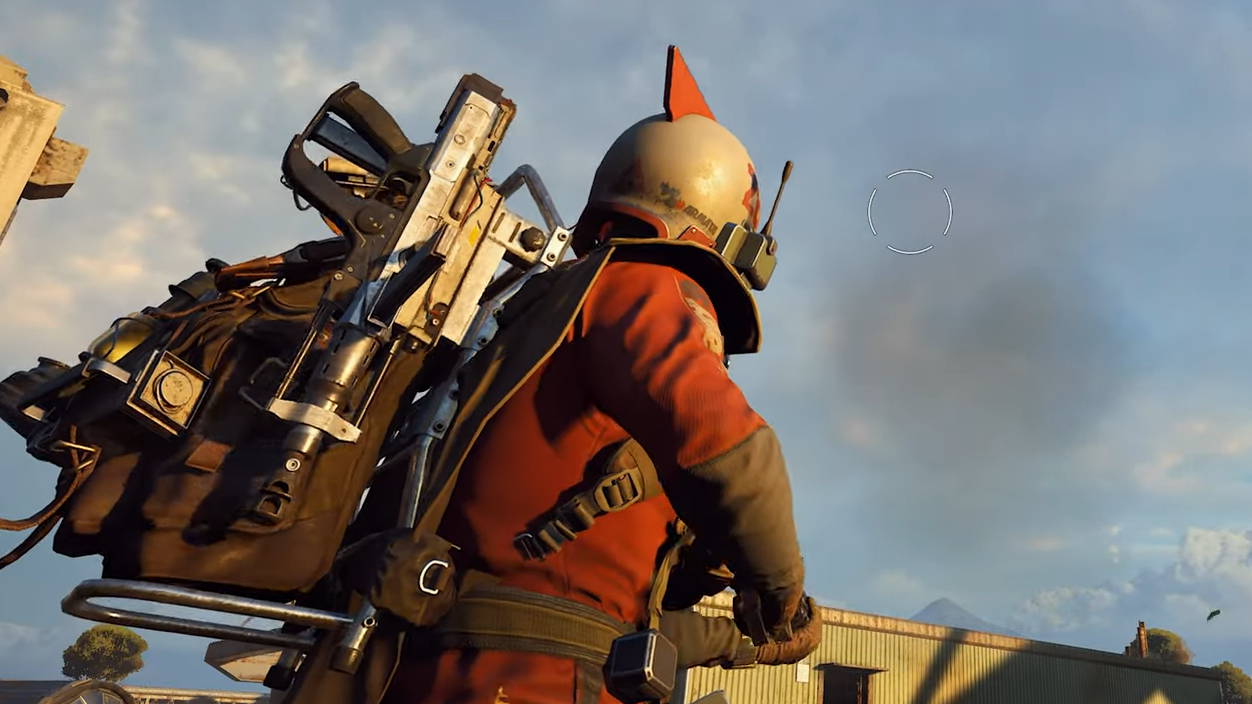
Loadout planning for Buried City (weapons, gadgets, and mobility)
Because fights swing from door‑to‑door clears to mid‑range sightlines across a square, bring a flexible primary and a decisive backup.
- Weapons: a dependable automatic rifle (e.g., Rattler) for general use, a shotgun (e.g., Vulcano) for stairwells and tight interiors, or an energy platform (e.g., Equalizer) if you’re comfortable managing ammo and attachments.
- Gadgets: lure grenades to misdirect ARC, ziplines for escape or roof access, mines for stair traps, door blockers to buy time, flares and bandages for sustain and visibility.
- Shield and Augments: decide early—light and fast with less carry capacity, or heavier with room for more ammo and gadgets. In Buried City, mobility often beats raw storage.
- Safety net: Free Loadouts can reset a dry run, and Scrappy (your rooster companion) helps backfill basic supplies between raids.
Extraction in Buried City: how exits work and when to leave
ARC Raiders is an extraction shooter with a raid timer. You enter topside, scavenge, and bank your gains by leaving through extraction points before time or luck runs out. You have multiple ways to get out:
- Extraction elevators and metro stations: standard exits once you reach them safely.
- Raider hatches: safer but require keys; plan your route only if you actually hold a key.
Extraction availability changes over time. Some exits are open at the start of a raid and begin closing as the clock ticks down. If you’re pushing a deep objective—like a Mall cache run—budget time for a longer path to a still‑active exit, or carry a hatch key as a backup plan.
Practical rules that hold up in Buried City’s layout:
- Don’t anchor your run on a single exit; map two options on opposite sides of your route.
- After a fight, move immediately; elevators and metro stations attract both ARC and opportunistic squads.
- If you’ve hit your carry threshold or landed a quest item, leave. The risk curve climbs sharply in late raid windows.
Raid length is finite, so pace looting to the clock. Buried City’s tight lanes make late extractions more volatile than open maps.

Why you’re here: progression that pays when you extract
Everything you bring back feeds Speranza—the underground hub where Raiders live and upgrade between sorties. Actions topside award XP that convert to skill points for new abilities. Completing Feats grants Cred that unlock rewards in Raider Decks. The Workshop is where you repair, upgrade, and eventually craft better gear as you improve the Workshop itself. Traders issue quests that tell the Rust Belt’s story and pay out gear or currency when you return successful. Weekly Trials introduce higher‑difficulty challenges, with leaderboards and rotating rewards.
The bottom line: extracting isn’t just about keeping loot—it’s how you expand your build options and fund tougher, more ambitious raids.
Route ideas that match the map
- Interior chain: Apartment block → Hospital service halls → Rooftop hop → Secondary square. You’ll stay under cover, clear Ticks room‑by‑room, and pop out across a plaza with multiple exits.
- Plaza loop: Town Square → Mall perimeter stores → Delivery alleys. Good for squads that can hold angles; leave as soon as your bags are full to avoid the late‑raid dogpile.
- Keyholder run: Start near mid, beeline to a Hatch if you have a key, and loot outward in a fan pattern; reverse course if exits start closing.
Buried City rewards deliberate movement and decisive exits. Pick a route that respects its choke points, fight only when it’s on your terms, and cash out early once you’ve met your goals. The faster you turn loot into progress in Speranza, the sooner you can return with better gear and a wider margin for error.