
The Dam Testing Annex Key targets one area on the Dam Battlegrounds map, and it’s easy to waste time hunting the wrong buildings. Here’s the fastest way to reach the right doors, what kind of loot to expect, and how this key stacks up against the other dam keys.
Dam Testing Annex Key location (where it’s used)
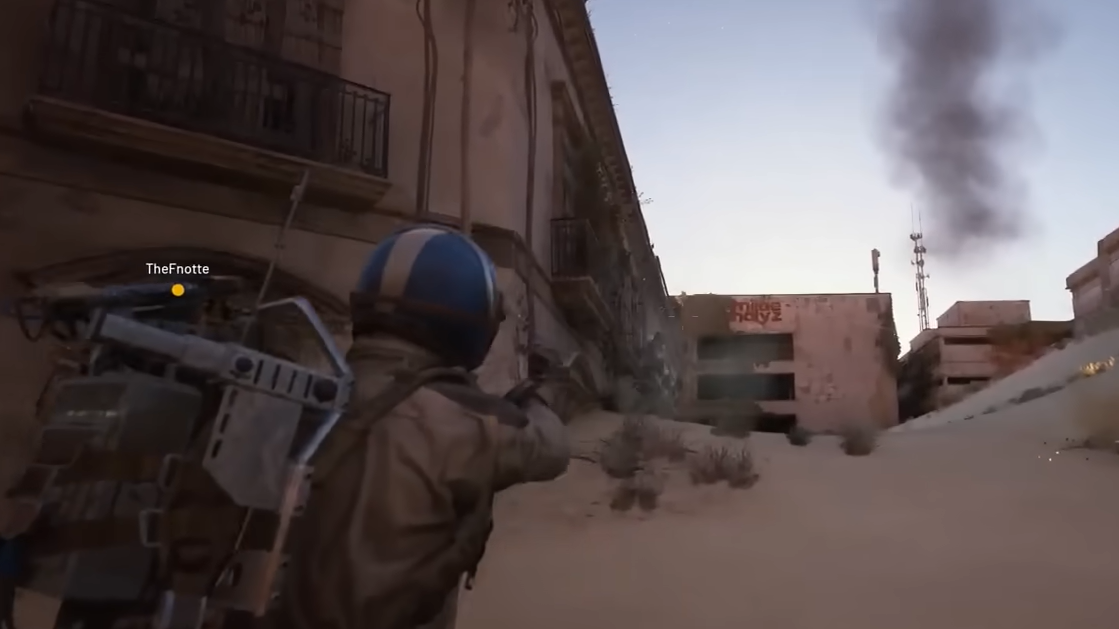
The Testing Annex sits on the southeastern edge of the Dam Battlegrounds map. The Dam area has several named structures clustered on the southeast side; the Annex is part of that same complex. Bring the key when you head there — you won’t find a prompt for it anywhere else.
Use the Dam Testing Annex Key
- Enter Dam Battlegrounds and navigate to the southeastern edge of the map toward the Testing Annex cluster of buildings.
- Look for locked interior rooms with a card reader prompt that mentions the Annex. These are standard security doors — no terminals or puzzle steps needed.
- Interact with the reader while the key is in your inventory. The door unlocks immediately.
- Clear the room, loot quickly, and move out — this area draws both bots and players.

What’s behind the Testing Annex doors
Expect a mix of mid‑tier loot. These rooms are worth a detour if you’re already working the southeast Dam cluster for materials or gear. They don’t match the highest-value red zones on the map, but they’re reliable enough to restock between fights.
Should you sell or keep the Dam Testing Annex Key
The Annex Key typically sells for around 100 Creds. Keep it if your route regularly passes the southeast Dam buildings — opening one or two doors can outvalue the sale. If you’re prioritizing extractions, high‑risk POIs, or another map entirely, cashing it out is reasonable.
All Dam Battlegrounds keys at a glance
| Key | Unlock location | Typical resale (Creds) | Utility notes |
|---|---|---|---|
| Dam Testing Annex Key | Testing Annex on the southeastern edge of Dam Battlegrounds | ~100 | Opens at least one Annex room; mid‑tier loot; low risk detour if nearby |
| Dam Control Center Tower Key | Door at the top of the Control Center Tower on the southeast side | ~100 | Useful if you’re already pathing through the tower; not a top farm |
| Dam Staff Room Key | Research & Administration building on the southeast side | ~100 | Decent but not high‑tier loot; rotational pickup |
| Dam Surveillance Key | Water Treatment Control building near the center of the map | ~100 | Standard loot; convenient during central rotations |
| Raider Hatch Key | Raider Hatches (marked on the map) for private extraction | ~1000 | High utility — fast, safer extracts; hold unless you need Creds |
How to get keys more reliably
- Loot density: Keys are rare drops from containers across all maps. Focus runs on high‑value zones highlighted in red for better odds.
- Player loot: Third‑party engagements near popular POIs and extraction elevators often yield keys and higher‑tier items.
- Route discipline: Anchor your path through two to three high‑yield areas per raid rather than sweeping broadly; you’ll reset faster and keep pressure on hot zones.
Quick answers
- Does the Dam Testing Annex Key work anywhere else? No — it’s tied to the Testing Annex in Dam Battlegrounds.
- Is it one‑time use? No. Keys stay in your inventory until you sell or discard them.
- Is the Annex room guarded? The area typically has stronger bots and higher player activity; clear methodically before looting.
- Best overall key to hold? Raider Hatch Key, for the extraction flexibility and time saved under pressure.
If your raids frequently sweep the southeast Dam buildings, keep the Dam Testing Annex Key in your pack. It opens dependable mid‑tier rooms without forcing you off‑route. If your plans pull you elsewhere or you’re flush with keys, turning it into 100 Creds is a clean, low‑regret trade.