
The Deliver Carriables weekly trial in Arc Raiders looks simple on paper and quickly becomes one of the most frustrating challenges to three‑star. The problem is not the difficulty of hauling crates but how few of them exist in a raid and how hard it is to beat other players to them before the timer runs down.
The goal is to earn 4,000 trial XP in a single raid by delivering “carriables” — large objects you pick up with both hands and place into a receptacle. These include field crates at Field Depots and puzzle items such as batteries and fuel cells. On a major map condition that gives 2x points, four deliveries are enough to reach the 3‑star threshold.
What counts as a carriable delivery
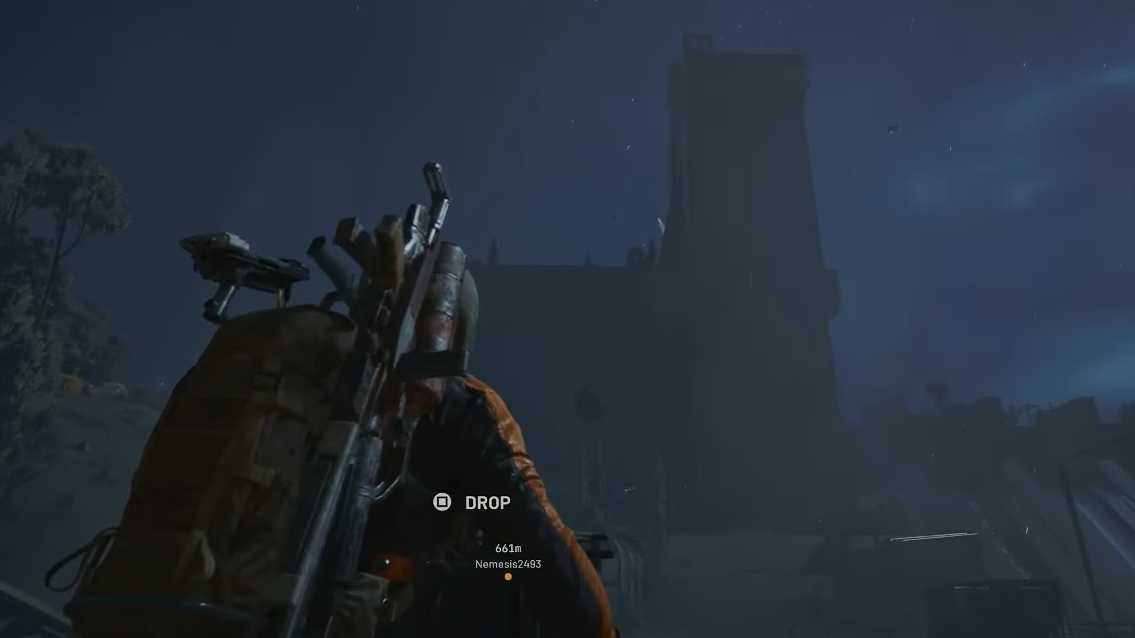
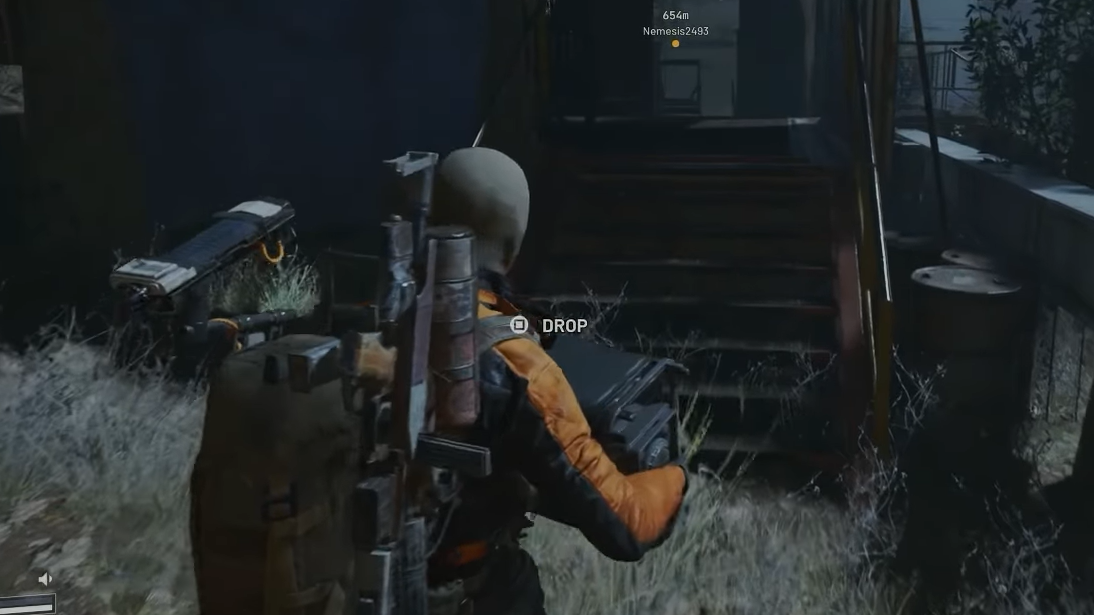
Several different objects feed this trial, but they all behave the same mechanically: you pick them up, you move slowly, you cannot jump, and you “deposit” them at a specific location.
- Field crates at Field Depots – The classic carryable: big yellowish fuel‑style crates that spawn near each Field Depot and must be slotted into the depot’s socket.
- Puzzle batteries and fuel cells – Multi‑battery and multi‑cell puzzles, like the Ancient Fort and Manticore puzzles on Blue Gate, or the reinforced reception tunnel batteries, also count. Each individual battery or fuel cell deposited is one delivery.
- Other map‑locked carriables – Doors and gates in places like Stella Montis that require hauling a single large power unit into a socket also contribute as one delivery each.
Only the act of depositing the object matters. The game tracks each successful deposit as one unit of progress; there is no requirement to complete a whole puzzle for it to count.
Carriables do not respawn during a raid. Once a crate, battery, or cell has been picked up and deposited by anyone, that specific spawn is gone for the rest of the session. This is why the trial feels contested: multiple players are racing for a finite number of objects.

How many deliveries you need for 3 stars
The trial score scales off how many carriables you deliver and whether the raid is under a major map condition that grants double trial XP.
| Condition | Approx. XP per delivery | Deliveries needed for 4,000 XP |
|---|---|---|
| Major map condition (2x) | ~1,000 XP | 4 deliveries |
| Standard conditions | ~500 XP | 8 deliveries |
Major map conditions are:
- Night Raid
- Electromagnetic Storm
- Hidden Bunker event at Spaceport
Other rotating modifiers, such as Lush Blooms or Raider Caches, do not count as major map conditions for Trials, even if they show green “x2” indicators in the UI for other rewards.
Practically, you should always do this trial during a major map condition, so you only need four deliveries.
The best overall setup for Deliver Carriables
For a high‑success run, three variables matter far more than your weapons: the map, the condition, and how early you spawn into the raid.
- Map choice – Dam Battlegrounds and Spaceport Dam Battlegrounds has six Field Depots and a dense set of field crate spawns around each. Spaceport has fewer depots but an excellent event (Hidden Bunker) and a long timer. Both work; Dam is better if you want many depot runs, Spaceport is strong when Hidden Bunker is active.
- Condition – Night Raid, Electromagnetic Storm, or Hidden Bunker These double your trial XP. Hidden Bunker also extends raid time to roughly 40–45 minutes and tends to attract friendlier players to one corner of Spaceport, leaving the outer wall quieter.
- Join early You need time to make a loop between multiple depots. Late joins where the match is half over often mean the crates near spawn points are already gone.
Loadout tweaks help but are secondary:
- Carry Adrenaline shots to sprint longer while hauling crates.
- Bring at least one reliable mid‑range gun and a panic grenade to clear small ARC patrols that block your path.
- Use binoculars or scopes to scan depot areas from a distance for visible crates before you commit to a detour.
Using Dam Battlegrounds for Deliver Carriables
Dam Battlegrounds is the most consistent solo option because of how many Field Depots and field crate spawns it packs into one map.
There are six key Field Depots:
- Swamp Outpost
- Water Towers field station
- Red Lake Balcony
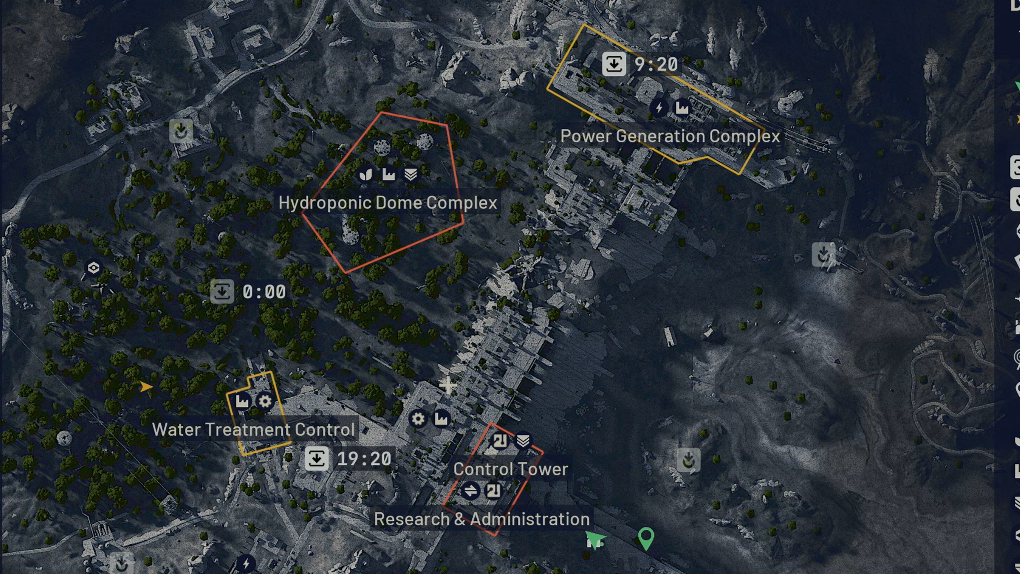
- Power Generation Complex
- Hydroponic Dome Complex
- Water Treatment Control / Primary Facility
Each depot has multiple possible crate spawns, often five to eight spots spread around nearby structures. You rarely need all of them; you just need four crates that have not been claimed by other players yet.
Dam Battlegrounds solo path (example)
This map is large enough that you should decide on a clear route rather than wandering. A typical solo Night or Electromagnetic Storm path might look like this:
Step 1: Start at the depot farthest from common PvP hotspots. Water Towers or Swamp Outpost are ideal openers because they sit away from high‑value interior complexes. Sweep the known crate spots around the towers or the swamp buildings and haul anything you find back to the depot for your first delivery or two.
Step 2: Rotate to the next quiet depot, such as Hydroponic Dome Complex. Each dome building can house a crate, often on ledges or tucked by interior equipment. Take your time to scan each dome and pull any crates back to the depot, watching for bigger ARC patrols that path nearby.
Step 3: Push toward Power Generation Complex. Two crates can appear in the underground section, with three above ground near buses and power equipment. A quick check below and above is usually enough to confirm whether someone has been there already.
Step 4: Leave Water Treatment Control / Primary Facility for last. It has the highest number of individual spawn points and sits near an extraction, which makes it more likely to have players around. If the doors are already wide open and loot is missing from obvious spots, assume some crates are gone, but still check the deeper hallways and trucks where people often miss one or two.
This kind of loop can easily yield four or more crates if the lobby is not stacked with players doing the same challenge. If several depots seem completely empty, it usually means another player is ahead of you on the same route; flip direction or switch maps for the next attempt.
Using Spaceport and Hidden Bunker
Spaceport has fewer depots than Dam Battlegrounds, but it becomes very attractive when the Hidden Bunker event is active. Hidden Bunker counts as a major map condition, gives double XP, and extends the raid timer, while also funneling most players into the southwestern bunker area.
The key advantages of Spaceport with Hidden Bunker are:
- Longer time limit – Around 45 minutes instead of the standard 30, which is critical for slow, methodical crate hunting.
- Localized PvP – Many players rush antennas and the bunker interior, leaving the perimeter wall and outer depots relatively quiet.
- Clear search pattern – Running the outer wall and checking each Field Depot in turn is straightforward and low risk.
A simple solo approach on Spaceport is to climb onto the perimeter wall, then move clockwise or counter‑clockwise, dropping down at each depot marker you see. Field crates spawn nearby, never extremely far away from the depot itself, so sweeping the immediate surroundings is usually sufficient.
If a Field Depot is already activated and all nearby crate spawn spots are empty, move on immediately. The crates are gone, and they will not come back that raid.
Collecting batteries and fuel cells on Blue Gate
Field crates are not the only way to finish the trial. Puzzles that require multiple batteries or fuel cells also feed the Deliver Carriables counter, and each unit you slot in counts separately.
Examples on The Blue Gate include:
- Ancient Fort cellar puzzle – Three fuel cells must be carried and placed to complete the objective. Each deposited cell is one delivery.
- Reinforced Reception and Checkpoint tunnels – Batteries under Reinforced Reception, accessible from both Reinforced Reception and Checkpoint, can be carried and delivered to sockets in that underground area.
- Manticore fuel cells – Fuel cells used for the Manticore puzzle also increment the trial.
The challenge with relying solely on Blue Gate is volume and timing. The Ancient Fort provides three guaranteed deliveries, but you still need at least one more elsewhere to hit four during a major condition. Blue Gate does not have regular Field Depots on the surface; you can easily fold into this run, so you must either:
- combine the fort with the underground battery area, or
- treat Blue Gate as a partial progress map and finish the fourth delivery in a different raid.
These tunnels also attract PvP because they sit under high‑value loot areas. If your focus is clean trial completion, Dam Battlegrounds and Spaceport are less volatile choices.
Practical survival tactics while carrying crates
Carriables slow you down and limit your movement options, which makes you a target for both ARC and other players. A few habits reduce the risk of dying on your final delivery with seconds on the clock.
- Path around combat, not through it – If you hear heavy ARC units or gunfire ahead, detour instead of trying to sprint past with a crate. Losing the crate and time is worse than walking the extra 30 seconds.
- Use cover religiously – Move between solid objects and walls; avoid crossing open plazas with a crate in your hands if you can snake through alleys instead.
- Pre‑clear high‑risk choke points – When possible, clear a chokepoint (for example, a narrow tunnel or bridge) before you pick up the crate, so you are not fighting while encumbered.
- Talk to other raiders – Many players are open to cooperation, especially in events like Hidden Bunker, where the social tone is friendlier. Quickly calling out that you are “just doing trials” often turns a potential fight into a truce.
If you are in a trio, splitting up across different depots is efficient: each player runs a different depot and meets back after their first delivery. The downside is that trios tend to attract more PvP attention, so you trade speed for risk.
Dealing with bugs and non‑tracking attempts
Occasionally, players report completing the required number of deliveries in a raid and seeing no trial progress. When this happens, the cause is usually one of three things:
- The raid was not under a major map condition, so the per‑delivery XP was lower and did not cross 4,000 XP.
- One or more carriables were destroyed or abandoned before properly depositing, so they did not count.
- The trial tracker failed to update correctly.
If you are certain you delivered at least four carriables during Night, Electromagnetic Storm, or Hidden Bunker, and your Deliver Carriables trial still shows no progress afterwards, submit a bug report through the game’s official support channels with the time, region, and map. Developers can use your path and match information to investigate and correct genuine tracking problems.
Deliver Carriables is less about mechanical skill and more about planning: pick the right map and condition, enter raids early, follow a clean depot route, and avoid unnecessary fights. Once you stop treating crates as side activities and build a raid entirely around them, hitting four deliveries in one run becomes a manageable, repeatable task rather than a lucky accident.