
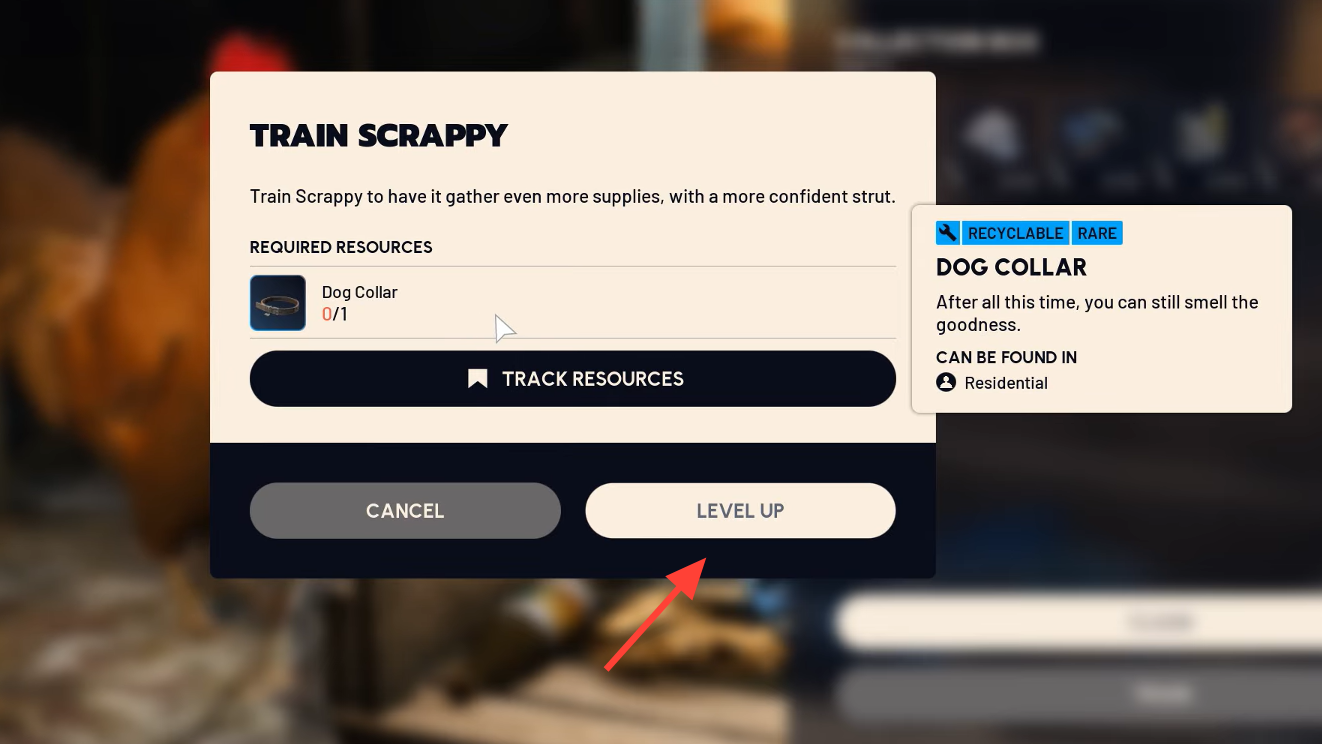
Scrappy isn’t just a mascot — he quietly bankrolls your runs. The dog collar is the first gate to training him, taking Scrappy from his starter tier to a more productive scavenger that comes back with more materials and the occasional rare find. Here’s what the item does, where it reliably spawns, and how to handle it so you don’t lose it on extraction.
Dog collar purpose and upgrade path
One dog collar upgrades Scrappy I → Scrappy II at the Workshop. That first training bump increases the volume and quality of loot Scrappy brings back between raids, which is especially helpful when you’re short on basic crafting parts.
You can recycle or salvage a collar for materials (details below), but the first one you find should go into Scrappy’s upgrade — it delivers more long‑term value than a quick payout or a few scraps.
Where dog collars drop (best odds)
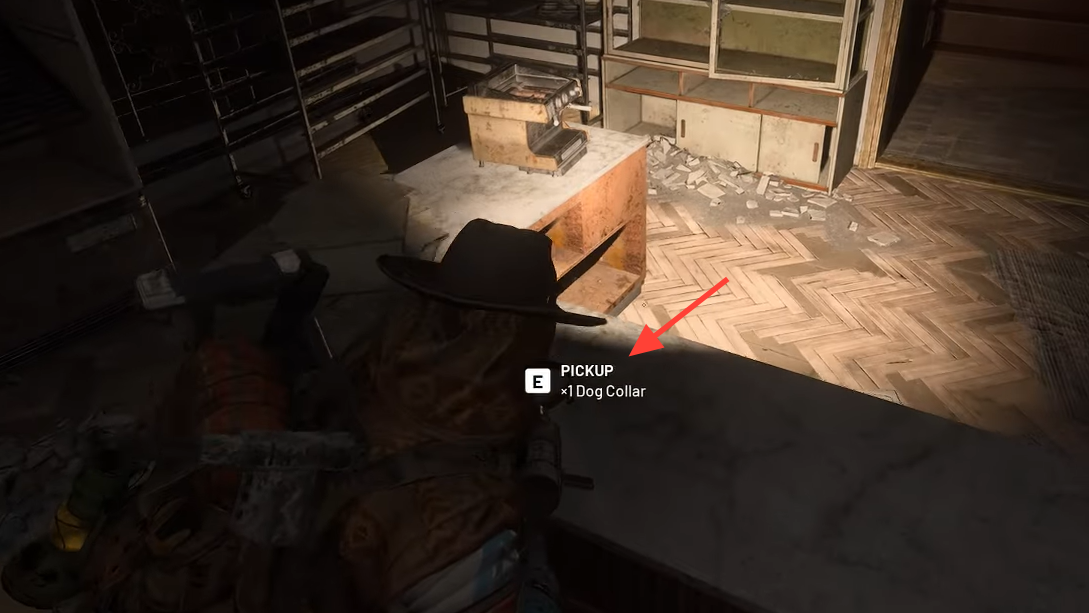
Dog collars can appear across maps, but the highest odds are in Residential locations and containers. Prioritize:
- Any Residential container (wardrobes, drawers, bins, cabinets).
- Loose placements atop furniture like desks and shelves inside homes and apartments.
If you’re low on time, make a beeline for Residential clusters and sweep every container before moving on.
Residential hotspots worth sweeping
The following points of interest have been consistent places to check for collars. Work through these, container by container:
| Map | Residential POIs with better odds |
|---|---|
| Buried City | Grandioso Apartments; Red Tower; Santa Maria Houses |
| The Blue Gate | Raider’s Refuge; Village; Ruined Homestead northwest of Ancient Fort |
How to track and keep it safe
- From the main menu, open Scrappy’s collection page and select Training to track the collar requirement. When you do find one, the item card will show a distinct diamond marker so it stands out in the field.
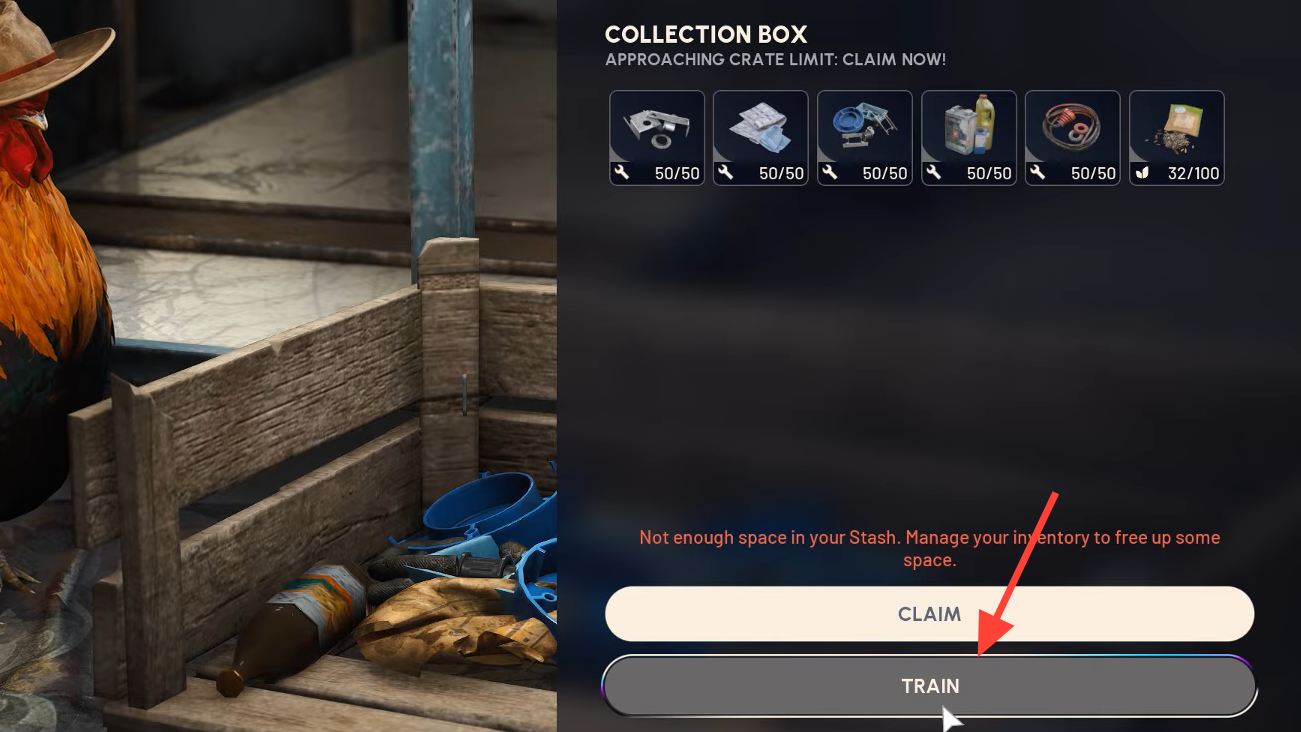
- Move the collar to your safe pocket as soon as you pick it up. If you’re eliminated or fail to extract, items outside the safe pocket are at risk.
Sell, recycle, or save?
Keep the first collar for Scrappy’s upgrade. If you find extras, here’s what each path yields:
| Action | Return | When to choose |
|---|---|---|
| Sell | 640 | Quick cash if you already upgraded Scrappy and don’t need materials. |
| Recycle | 8× Fabric + 1× Metal Parts | Best material value from a single collar. |
| Salvage | 5× Fabric | Use only if you specifically need Fabric and lack the recycler. |
Dog collar item stats
| Property | Value |
|---|---|
| Category | Recyclable |
| Rarity | Rare (blue) |
| Tag | Residential |
| Weight | 0.8 kg |
| Stack size | 3 |
| Sell price | 640 |
Notes on version changes
Earlier test builds required a dog collar plus a torn blanket for the first Scrappy upgrade. In the release build, only one dog collar is needed, making that first training step much simpler.
Once Scrappy hits level II, you’ll feel the difference in your post‑raid haul. If you’re still empty‑handed after a few runs, tighten your route to Residential interiors, track the item via Scrappy’s Training menu, and protect any collar you find in the safe pocket until you can extract.