
The Dolabra is a legendary energy shotgun introduced in Arc Raiders' Flashpoint update, and it's quickly become one of the most coveted weapons in the game. It drops exclusively from Arc Assessor containers during the Close Scrutiny map condition, and the drop rate is low enough that you should expect to grind through multiple Assessors before one shows up.
Quick answer: Breach and search Arc Assessor dropship containers during the Close Scrutiny map condition. The Dolabra blueprint is a random drop from these containers — put it in your safe pocket immediately when you find it.
Where the Dolabra blueprint drops
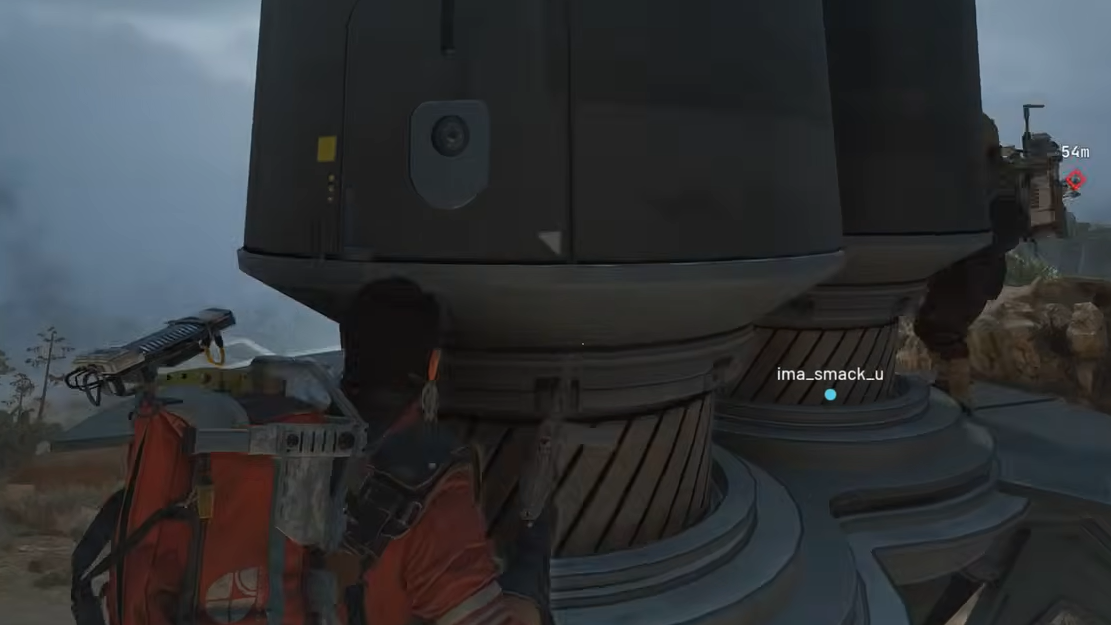
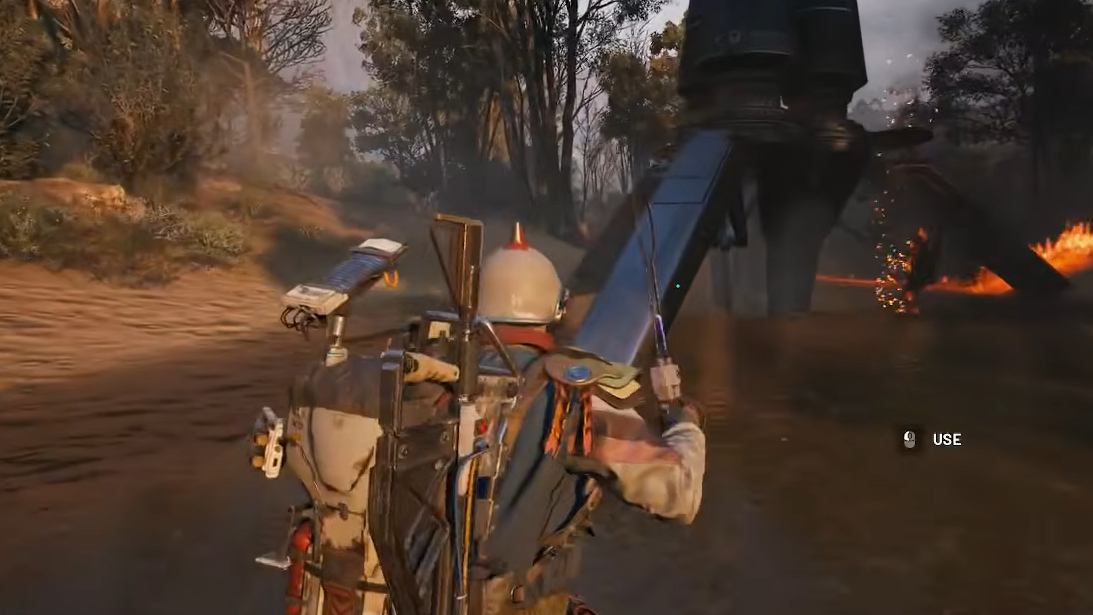
Arc Assessors are massive platforms that deploy from the sky during Close Scrutiny. A Surveyor calls them in, and once they land, they activate with a tall red beam of light visible from across the map. Each Assessor has three loot chambers, and each chamber gives you a separate chance at the blueprint. The chambers don't all open simultaneously — they unlock one at a time in sequence.
The drop rate is genuinely low. Some players report breaching 20, 30, or even more Assessors before finding the blueprint. Others get lucky on their first attempt. There's no way to influence the RNG; you just have to keep running the event. There are also unverified player reports of the blueprint dropping from regular raider caches, but this hasn't been confirmed.
How Assessor chambers unlock
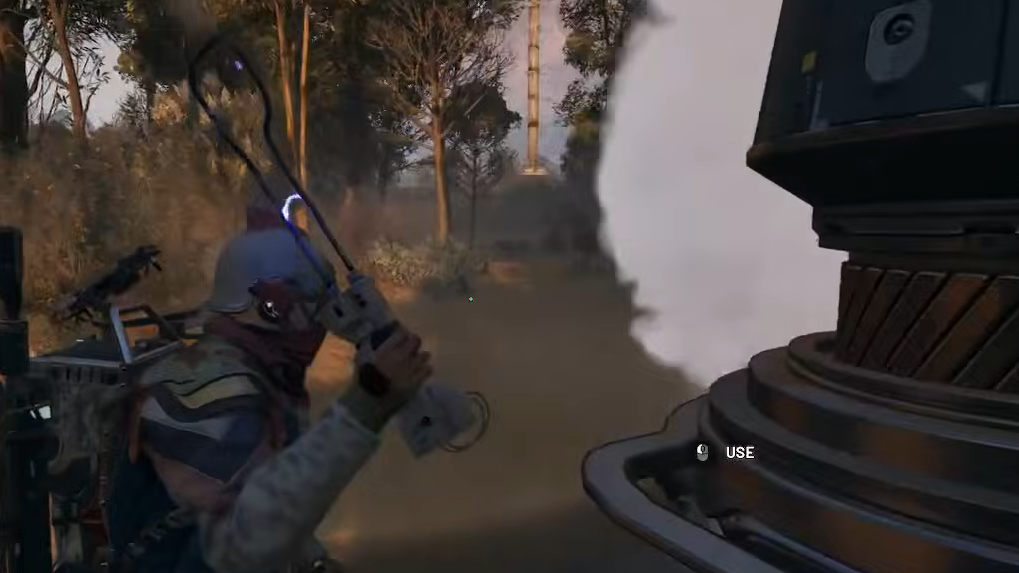
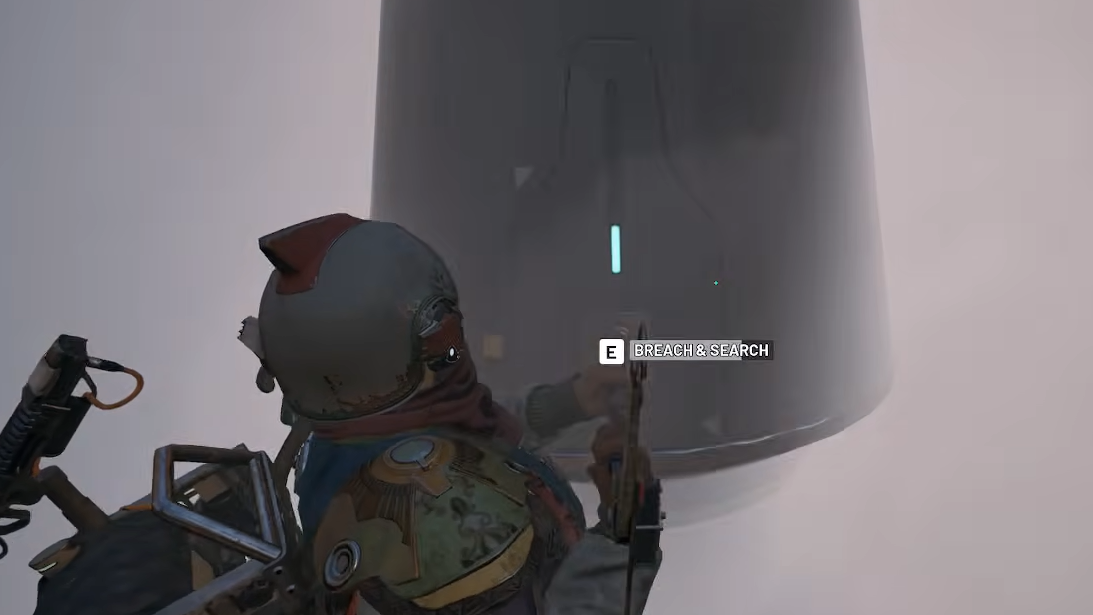
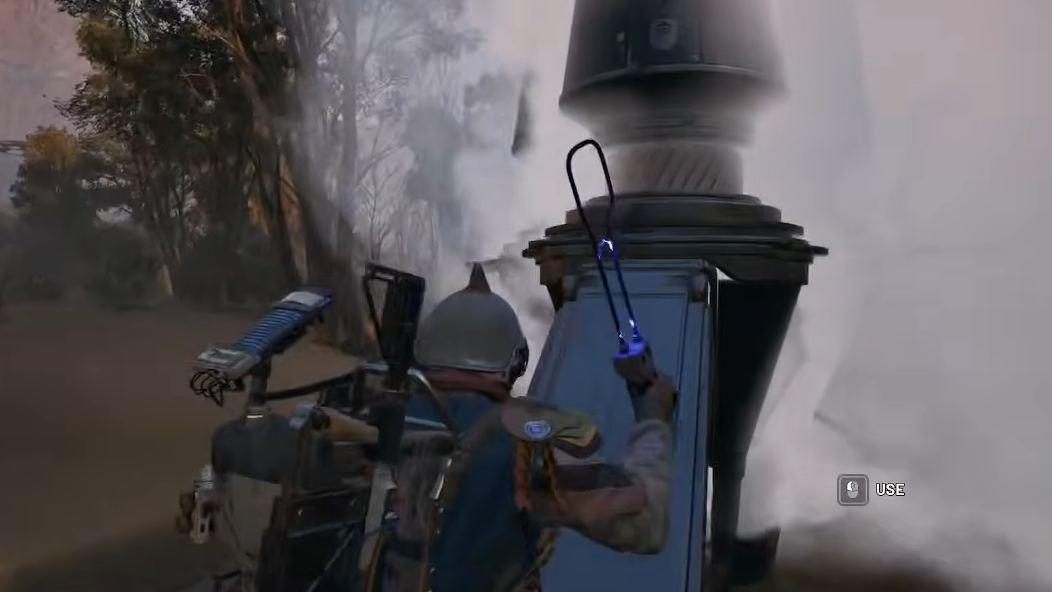
Understanding the unlock sequence is critical to farming efficiently. After an Assessor lands, there's a 5–10 second delay before the first chamber becomes available. When a chamber is ready, a platform extends beneath it so you can stand on it, and a blue line appears above it. You'll see a "Press E to Breach and Search" prompt. If you don't breach it in time, it locks, and the next one opens instead.
Breaching a chamber spawns a massive wave of ARC enemies, including Vaporizers, Rocketeers, and smaller units. The next chamber won't unlock until that wave is cleared. This means accessing all three chambers on a single Assessor requires either a full squad or cooperation with other raiders nearby.
Speed-farming strategy (naked runs)
The fastest way to farm the blueprint is to strip your loadout down to almost nothing. Load in with only a smoke grenade and four or five adrenaline shots. No weapons, no armor, no extra gear. The empty loadout gives you one safe pocket slot, which is the entire point of this approach.
Step 1: As soon as you spawn, start running toward the center of the map. Watch the sky for the Surveyor beam — in Close Scrutiny, it has distinctive yellow pulse waves traveling upward. Most players don't react until they see the Assessor's red lasers, which means it's already landed. Spotting the Surveyor beam gives you a head start.
Step 2: When the Assessor lands, pick one of its three legs and stand on it before the platform deploys. Each leg corresponds to a chamber, and you have roughly a one-in-three chance that yours opens first. Don't scramble between legs trying to chase whichever one opens — by the time you react, someone already standing there will have started breaching.
Step 3: When your chamber unlocks, throw the smoke grenade at the base of the compartment. The smoke provides enough cover to breach and loot everything inside before the ARC wave reaches you. Grab the blueprint if it's there, move it to your safe pocket immediately, then open the menu and surrender. You keep whatever's in the safe pocket.
Step 4: If the blueprint didn't drop, don't wait around for the second chamber. Clearing the ARC wave requires geared players, and more competition will show up for the remaining compartments. Instead, surrender or look for the next Assessor spawn and repeat the process.
Full-kit approach (teamwork)
If running naked feels too much like a slot machine, bring a proper loadout and fight the ARC waves alongside other raiders. This is how Assessors were designed to be tackled. The Jupiter energy weapon and the Hullcracker work well against Vaporizers, so build your kit around those.
The advantage here is access to all three chambers per Assessor, tripling your chances per landing. On friendly servers, there's usually an unspoken first-come-first-served system for who breaches next. Proximity chat helps — call out your intent, and most players will cooperate. Even if the blueprint doesn't drop, you'll pick up Vaporizer Regulators and other crafting materials along the way, so the run isn't wasted.
Using the Photoelectric Cloak
The Photoelectric Cloak pairs well with the full-kit approach. The simplest method is to keep the Cloak in your safe pocket and use it freely for stealth breaches throughout the run. When you finally find the blueprint, swap it into the safe pocket in place of the Cloak. You lose the Cloak, but you walk away with the blueprint secured. No complicated inventory juggling required.
A riskier alternative involves equipping a blue augment that gives you two safe pocket slots. Keep the Cloak in one and leave the second open for the blueprint. You'll need to move the Cloak between your active slot and safe pocket as needed, which can go wrong under pressure.
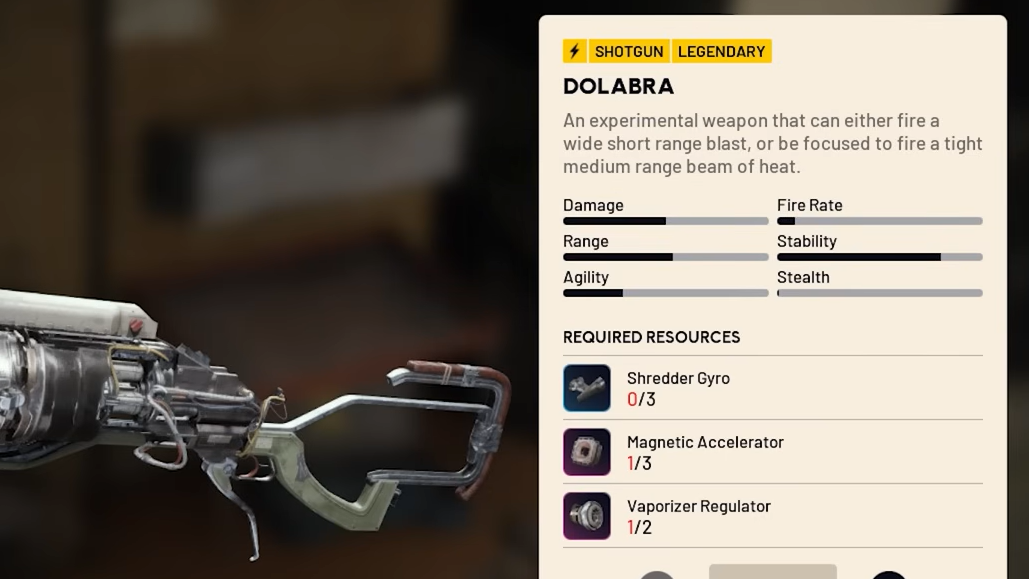
Dolabra crafting requirements
Once you have the blueprint, you'll need Gunsmith level 3 and the following materials to craft the weapon:
| Material | Qty | Source |
|---|---|---|
| Shredder Gyro | 3 | Dropped by Shredders — found on all maps, though only sometimes on Dam Battlegrounds |
| Magnetic Accelerator | 3 | Exodus material from Stella Montis, or dropped by Matriarchs and Queens |
| Vaporizer Regulator | 2 | Dropped by Vaporizers during Close Scrutiny map events |
Shredder Gyros are the most accessible component now that Shredders appear on every map following the Flashpoint update. Magnetic Accelerators require either a trip to Stella Montis or taking down high-tier ARC enemies. Vaporizer Regulators are the bottleneck — they only come from the new Vaporizer enemy type that spawns during Close Scrutiny.
Farming Vaporizer Regulators
The easiest way to collect Vaporizer Regulators is on friendly servers during Assessor events. When a breach triggers an ARC wave, everyone nearby focuses on killing the enemies to unlock the next chamber. They kill the Vaporizers but often forget to loot them. Hang back and pick up the Regulator drops while others rush toward the next compartment.
If you want to solo a Vaporizer, bring an energy weapon or a Hullcracker. The Vaporizer deploys a shield every time it takes significant damage, forcing you to wait it out or reposition. Buried City is the safest map for solo Vaporizer fights — you can use buildings for cover, shooting through windows, and retreating inside when the Vaporizer retaliates.

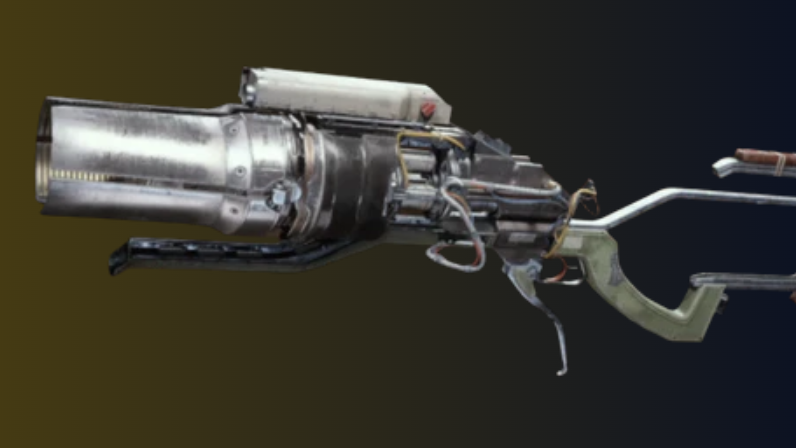
How the Dolabra performs
The Dolabra's defining feature is its dual firing mode. Hipfiring produces a wide cone spread, ideal for close-range fights and clearing groups of smaller ARC units. Aiming down sights switches to a focused laser blast with tighter accuracy and longer effective range. Toggling between modes mid-fight is essential — use the wide cone when enemies are on top of you and the focused beam when you have room to aim.
In PvP, the Dolabra hits extremely hard. It can break heavy shields in two shots at close range and kills most players in a couple of hits. It also has strong armor penetration, making it effective against both raiders and robots. The weapon uses Energy Clip ammo, which you can craft with Advanced Arc Powercells and Batteries or buy from Tian Wen for 3,000 Coins per clip. Energy ammo is expensive, so stock up before heading out.
The Dolabra sits in a "budget legendary" category compared to other legendary weapons in Arc Raiders. Its crafting materials come from enemies that are tough but far more accessible than Queens or Matriarchs. The real grind is getting the blueprint to drop in the first place. Whether you speed-farm naked or bring a full kit, persistence is the only reliable strategy — keep breaching Assessors and the blueprint will eventually show up.