
ARC Raiders lets you survive long drops, but non‑lethal falls still chip away at your health. The most consistent way to minimize that damage is a timed landing roll: hit your dodge input in the final half‑second before you touch down. When executed correctly, the roll either nullifies fall damage or cuts it significantly.
Two boundaries matter. First, none of this applies to truly lethal heights; if a drop would kill you outright, mitigation won’t save you. Second, encumbrance tightens the timing window. When you’re over‑encumbered, triggering the roll on impact is much harder, so treat heavy carries as higher risk when choosing to jump.
Mobility skills that mitigate falls
The Mobility tree includes two perks that directly affect fall outcomes:
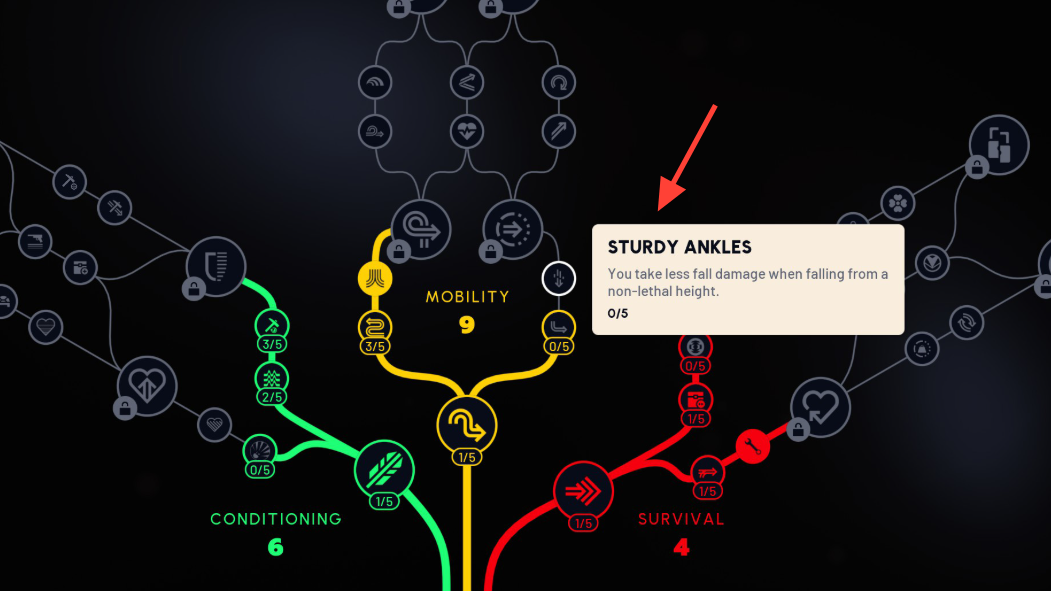
- Sturdy Ankles: Reduces damage from non‑lethal falls. It has five levels; each rank increases your resistance.
- Ready to Roll: Expands the timing window for the landing roll, making successful damage negation more forgiving.
Neither perk changes the lethal threshold, but together they make aggressive traversal far safer. If you rely on vertical escapes or fast parkour routes, prioritize these early.
How to hit the landing roll consistently
The game rewards precise timing rather than button mashing. Use these principles to improve consistency without adding extra risk:
- Press the dodge input late, not early — within roughly the last half‑second before contact. Premature rolls won’t register on landing.
- Aim for a clean, flat touch down when possible. While uneven terrain can still work, flat ground makes the timing more predictable.
- Mind your carry weight. The heavier you are, the harder it is to land the roll reliably; if you’re pushing encumbrance, reconsider big drops.
When to drop and when to detour
Avoid fall damage altogether when you can — it preserves resources and keeps you ready for the next fight. That said, a controlled drop is often the fastest way out of a bad engagement. Before you jump, make a quick assessment: is the height clearly non‑lethal, are you light enough to trust your timing, and is there a safe landing zone with immediate cover? If yes, commit to the landing roll on contact and keep moving.
Methods at a glance
| Method | What it does | How to activate | Limits |
|---|---|---|---|
| Timed landing roll | Negates or greatly reduces damage from non‑lethal falls | Press dodge in the last ~0.5s before touching down | Doesn’t work on lethal heights; harder when over‑encumbered |
| Sturdy Ankles (Mobility) | Increases fall damage resistance from non‑lethal drops | Invest points; five levels scale the reduction | No effect on lethal falls |
| Ready to Roll (Mobility) | Wider input window to trigger the landing roll | Invest points to widen timing tolerance | Still requires contact‑timed input; encumbrance remains a factor |
Quick troubleshooting
- The roll didn’t trigger on landing: You likely pressed too early or too late; try delaying your input slightly.
- I rolled, but still took a big hit: You were near the upper bound of a non‑lethal drop — the roll reduces damage but won’t fully cancel it at extreme but survivable heights.
- Rolls feel inconsistent when loaded with loot: High encumbrance makes the landing window more punishing; lighten your load or avoid risky drops.
The safest approach is to plan routes that don’t require jumps at all. When you do need to drop, combine a late landing roll with Mobility perks to keep damage manageable and your extraction on track.