
Utilities don’t just get you out of trouble in Arc Raiders; they let you pick your fights, shape sightlines, and escape on your terms. These are Quick Use items that sit alongside grenades and traps, and they’re built for mobility, control, and information. Below is a complete, current list of gadgets and utility items, what each one actually does, and the practical ways to acquire them.
All Arc Raiders gadgets and utilities (what each does)
| Gadget | Primary function | Key limits and behavior |
|---|---|---|
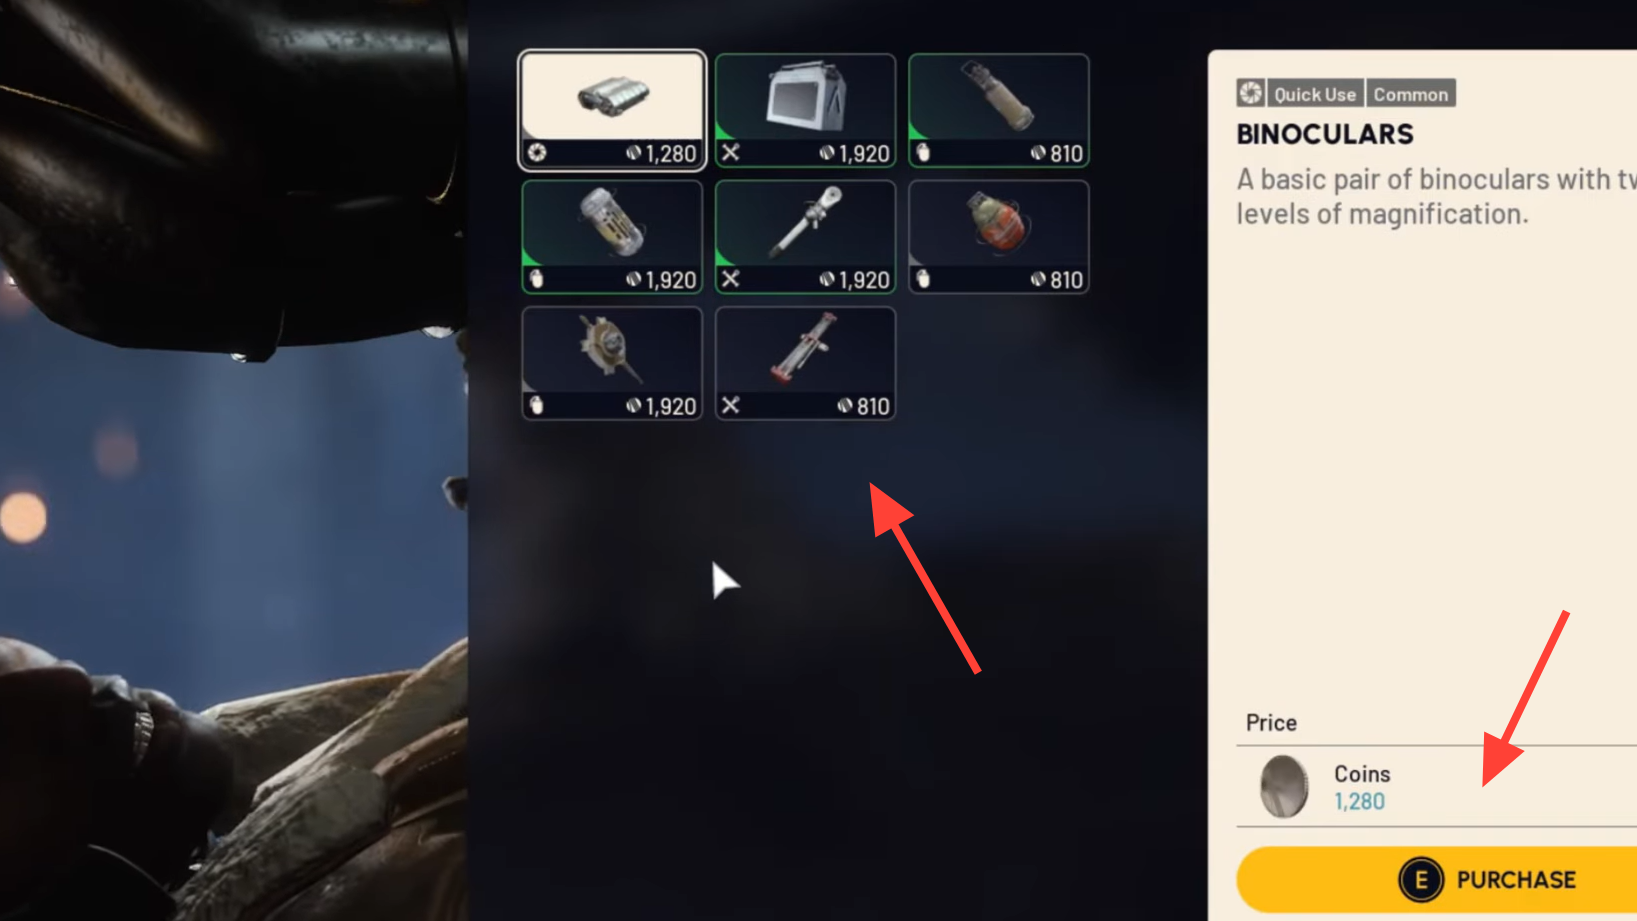
| Binoculars | Long‑range spotting | Two levels of zoom; can ping while scoped. |
| Barricade Kit | Deployable cover | 500 health; can be picked back up after placement. |
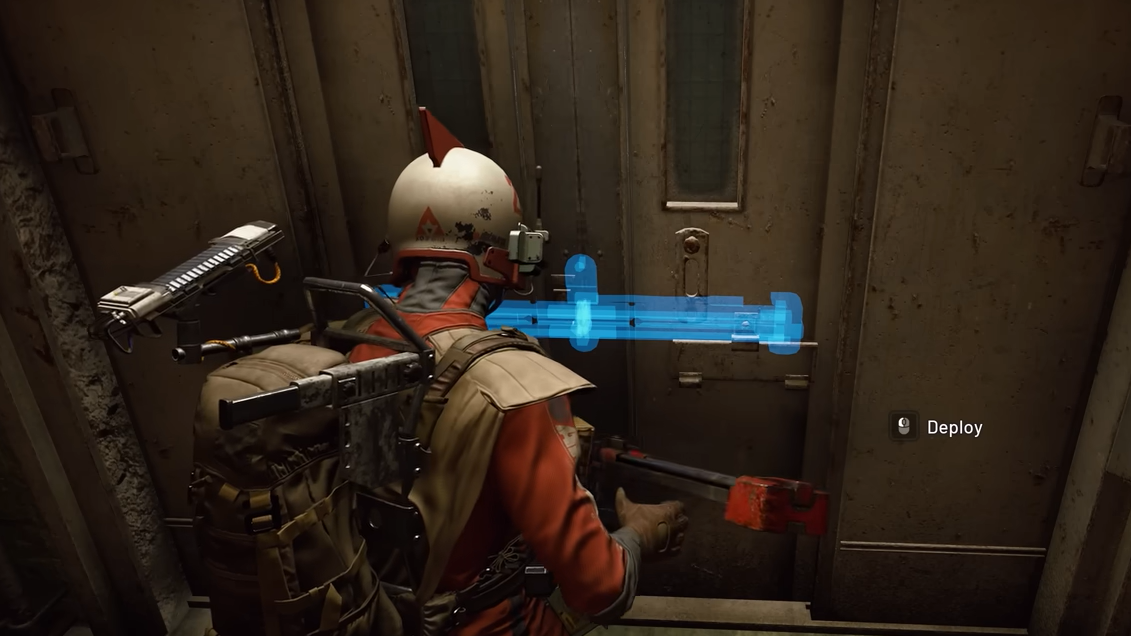
| Door Blocker | Locks down access | Fits large metal doors without an existing player or natural blocker. |
| Photoelectric Cloak | Concealment from ARC | Must be held to work; usage bar slowly refills when idle; makes you undetected to ARC (not invisible); emits a loud beep when active. |
| Raider Hatch Key | Quick extract | Opens any Raider Hatch; starts a 20‑second timer during which anyone can extract. |
| Remote Raider Flare | Manually trigger a distress flare | Place and detonate remotely; launches the same distress flare signal as when a Raider goes down. |
| Snap Hook | Short‑range grappling | 20 m range; usage bar refills over time; three uses at full charge. |
| Zipline | Rapid traversal between anchors | Up to 50 m; requires line of sight to deploy. |
Crafting and trader prices (bench level, recipes, and coin costs)
| Gadget | Utility Bench | Recipe | Buy price (coins) | Recipe unlock |
|---|---|---|---|---|
| Binoculars | I | 8× Plastic Parts; 4× Rubber Parts | 1,280 | No |
| Barricade Kit | I | 5× Metal Parts; 1× Steel Spring | 1,920 | Yes |
| Door Blocker | I | 3× Metal Parts; 2× Rubber Parts | 810 | Yes |
| Photoelectric Cloak | III | 2× Advanced Mechanical Components; 3× Speaker Components | N/A | No |
| Raider Hatch Key | — | — | 6,000 | Yes |
| Remote Raider Flare | I | 2× Chemicals; 4× Rubber Parts | 810 | No |
| Snap Hook | III | 4× Advanced Electrical Components; 4× Rope | N/A | Mastery only |
| Zipline | I | 1× Rope; 7× Metal Parts | 1,920 | No |
Trader availability rotates. Common patterns: Apollo sells Barricade Kit (1,920), Door Blocker (810), Remote Raider Flare (810), and Zipline (1,920). Raider Hatch Key is sold by Shani (6,000). Binoculars have been seen at 1,280 coins, with trader varying by rotation.
How to get gadgets (loot, craft, buy)
- Find in raid: Gadgets and other utility items can drop from lootable containers across the map. Higher‑tier items are more likely in locked rooms or high‑risk zones.
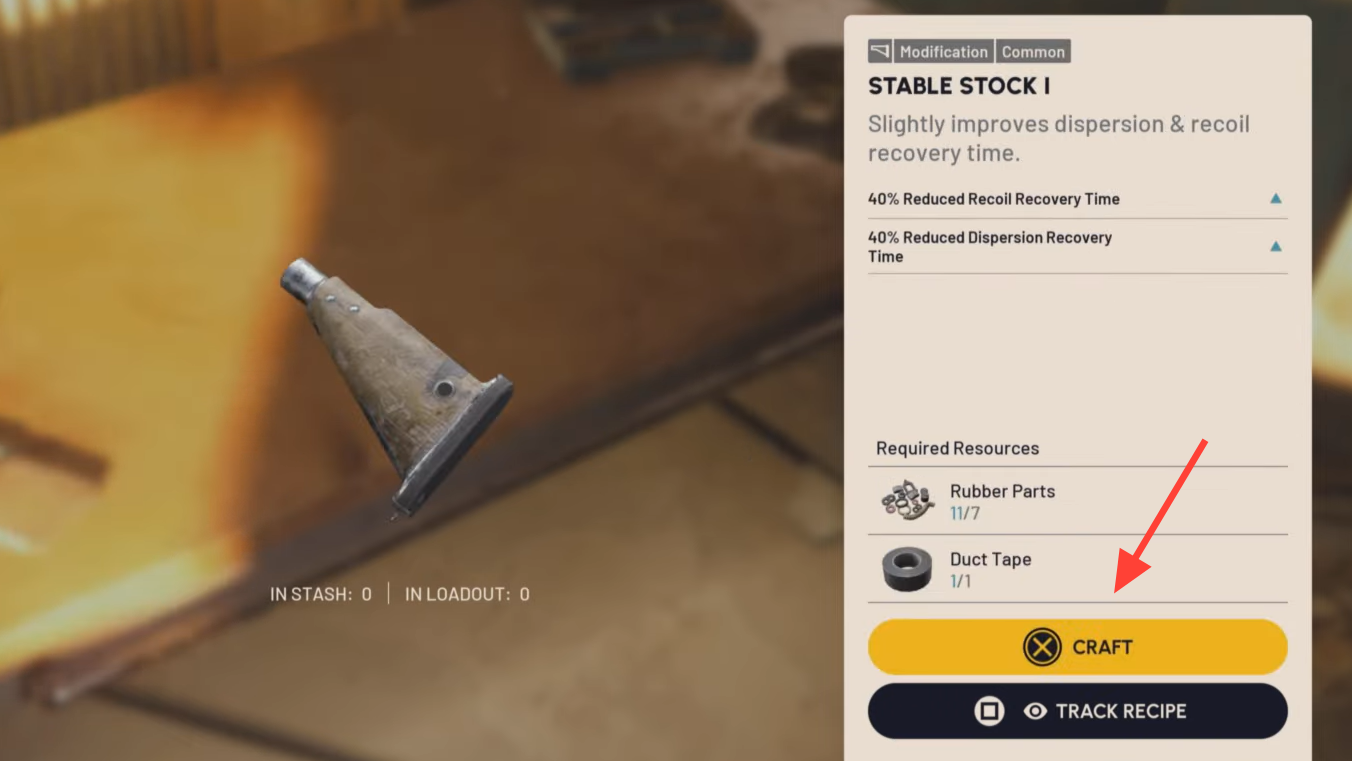
- Craft at the Utility Bench: Gather the listed parts during raids and build them at the proper bench tier. Blueprints permanently unlock new crafts once you have the required bench level.
- Buy from traders: Spend Raider Coins for specific utilities when they’re in stock. Inventory rotates, and not every item is available at all times.
How to equip and use gadgets during a raid
Load gadgets into your build before going Topside. In a raid, you can equip them from your inventory or assign them to a Quick Use slot for faster access. Holding the Quick Use input brings up a selection wheel; choose the item, follow its placement or activation prompt, and commit.
- Placement examples: Ziplines require line of sight to both anchors; the Door Blocker only attaches to eligible large metal doors; the Barricade Kit drops as cover and can be recovered if you reposition.
- Charged tools: Snap Hook and Photoelectric Cloak consume a usage bar that refills when idle. The Snap Hook offers three charges when the bar is full.
- Extract control: The Raider Hatch Key starts a 20‑second global timer on the hatch, giving anyone nearby a short window to leave. Plan your timing.
- Signaling: The Remote Raider Flare fires the same distress flare you’d see when a Raider is down—use it deliberately, because it broadcasts your presence.

Pick utilities that support your route, not just your firefights: a Zipline and Snap Hook for vertical maps, a Door Blocker and Barricade for contested buildings, and a Hatch Key for planned exits. Prices and trader stock rotate, but the recipes and limits above are stable touchpoints for building a dependable kit.